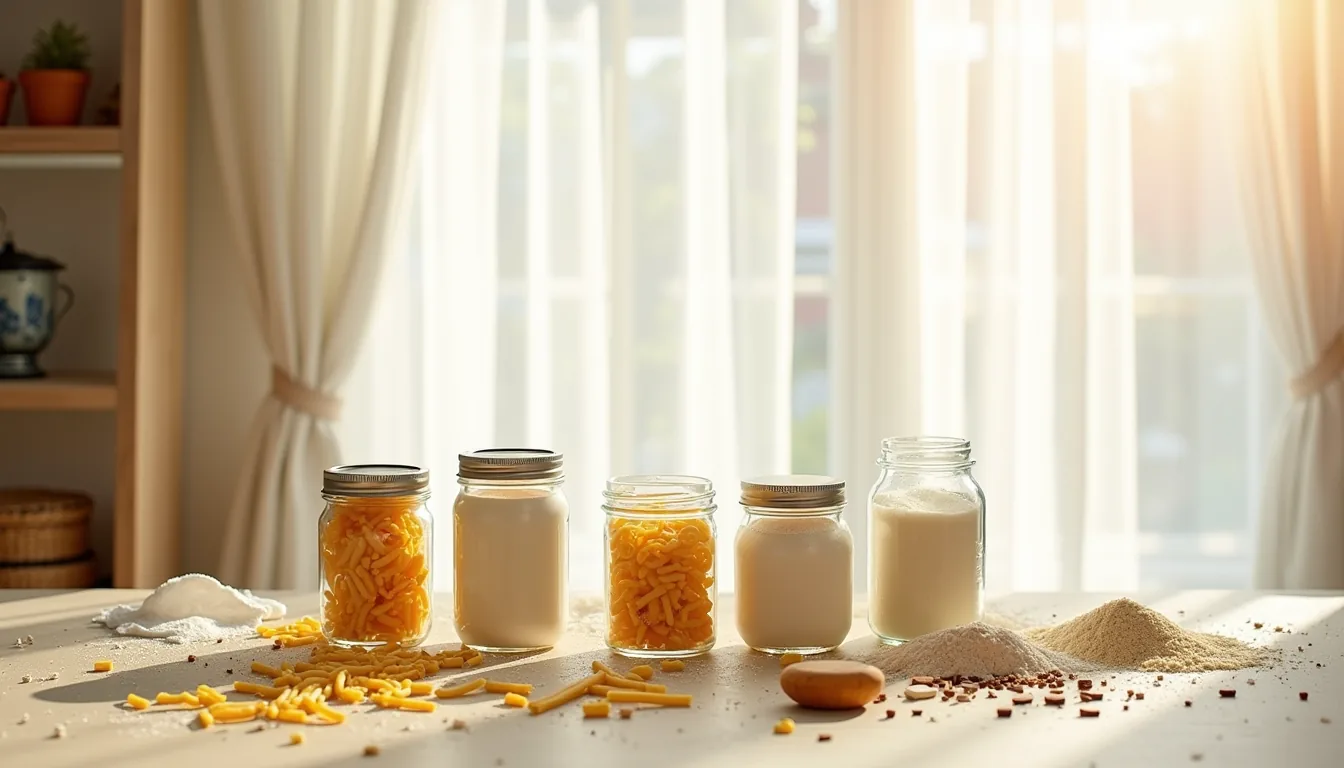
Before you buy a single jar or shelf, empty every mason jar you own onto a table and sort them by size, condition, and whether the lid still seals. This inventory step is non-negotiable, it prevents you from purchasing storage for jars you’ll ultimately discard. Once you know your true count, you can match each jar’s capacity to a specific pantry, craft, or hardware need, and only then decide between a fixed shelf, a tension-rod system, or a rolling cart.
The right configuration depends on your wall space, your access habits, and how much you’re willing to drill.
Key takeaways
- Audit first: Count what you actually store before buying a single jar, since most pantries need 10–20 quart-sized jars for staples, not the 50 you might assume.
- Fixed vs. Adjustable: Wall-mounted fixed shelves cost less per linear foot but lock you into one layout, while adjustable racking lets you shift jar heights as your inventory changes, worth the extra $20–$50 if you rotate stock often.
- Labeling matters: Use a chalk or erasable label on the jar body, not the lid, so you can swap contents without scrubbing adhesive residue; clean jars monthly by hand-washing, never in a dishwasher if you want the rubber seals to last.
- Scale down first: For a small kitchen, stick to one 24-inch shelf of grouped quart jars; in a large pantry, dedicate a full 36-inch section to dry goods and keep craft jars on a separate caddy to avoid cross-contamination of dust and food.
Audit Your Inventory Before Buying Jars
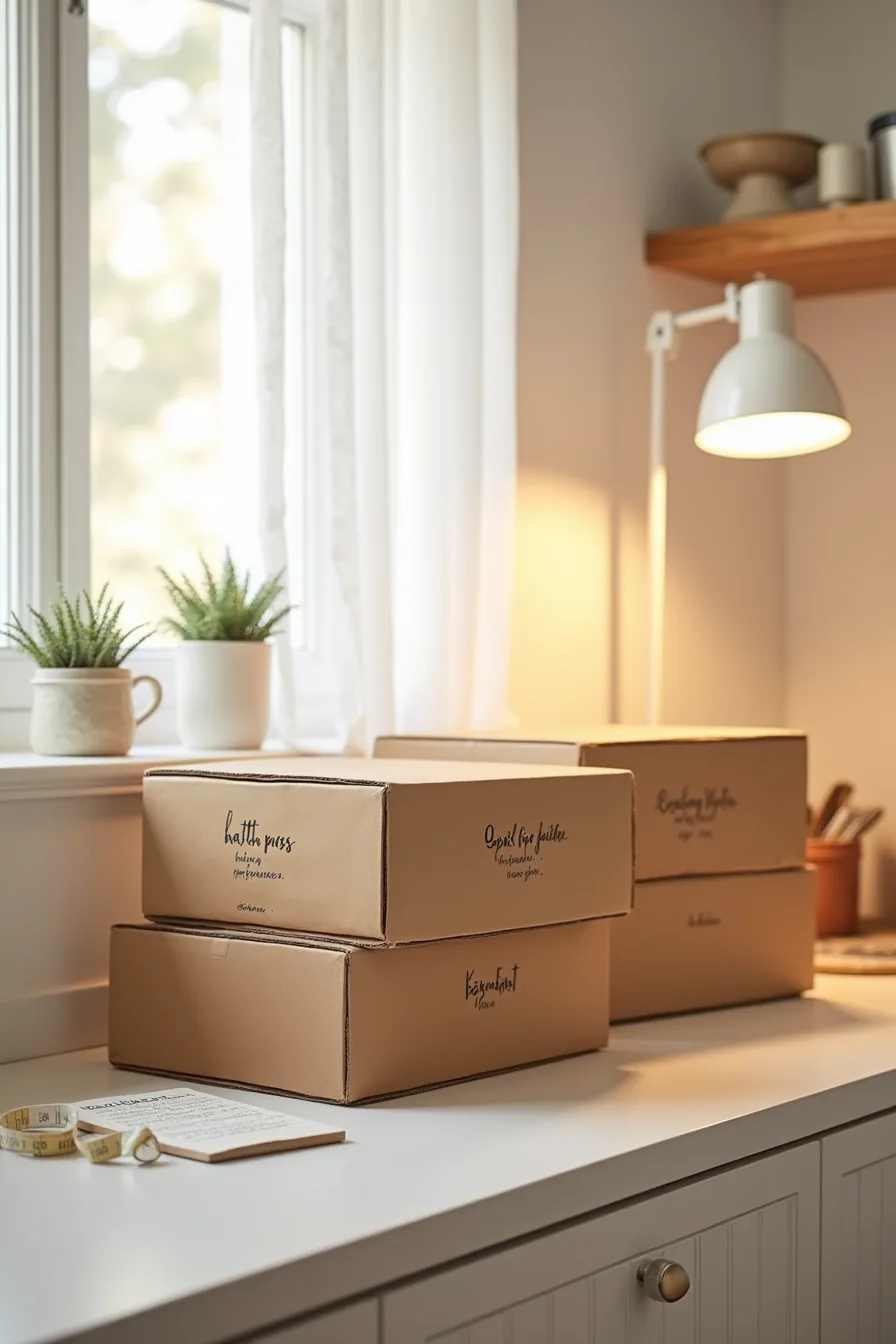
Before you order a single jar, tip everything you intend to store onto your counter. Group items into categories, pasta types, baking ingredients, mixed hardware, and box them separately, as this also gives you a visual inventory of what you actually use versus what you keep out of habit prescriptions.
Measure the contents of each category with a measuring tape and notepad. Note the height and diameter of the largest and smallest item in each group; a 12-ounce jar suits most dry pasta shapes, but a one-pound bag of flour needs a quart-size jar at minimumwf. Count portions or pieces per box to determine jar quantities, not just sizes.
This audit typically takes 20-30 minutes and prevents the most common mistake: buying 24 half-pint jars when you really need six quart jars and a dozen pint jars for your actual pantry load.
Fixed Shelf Systems vs. Adjustable Racking
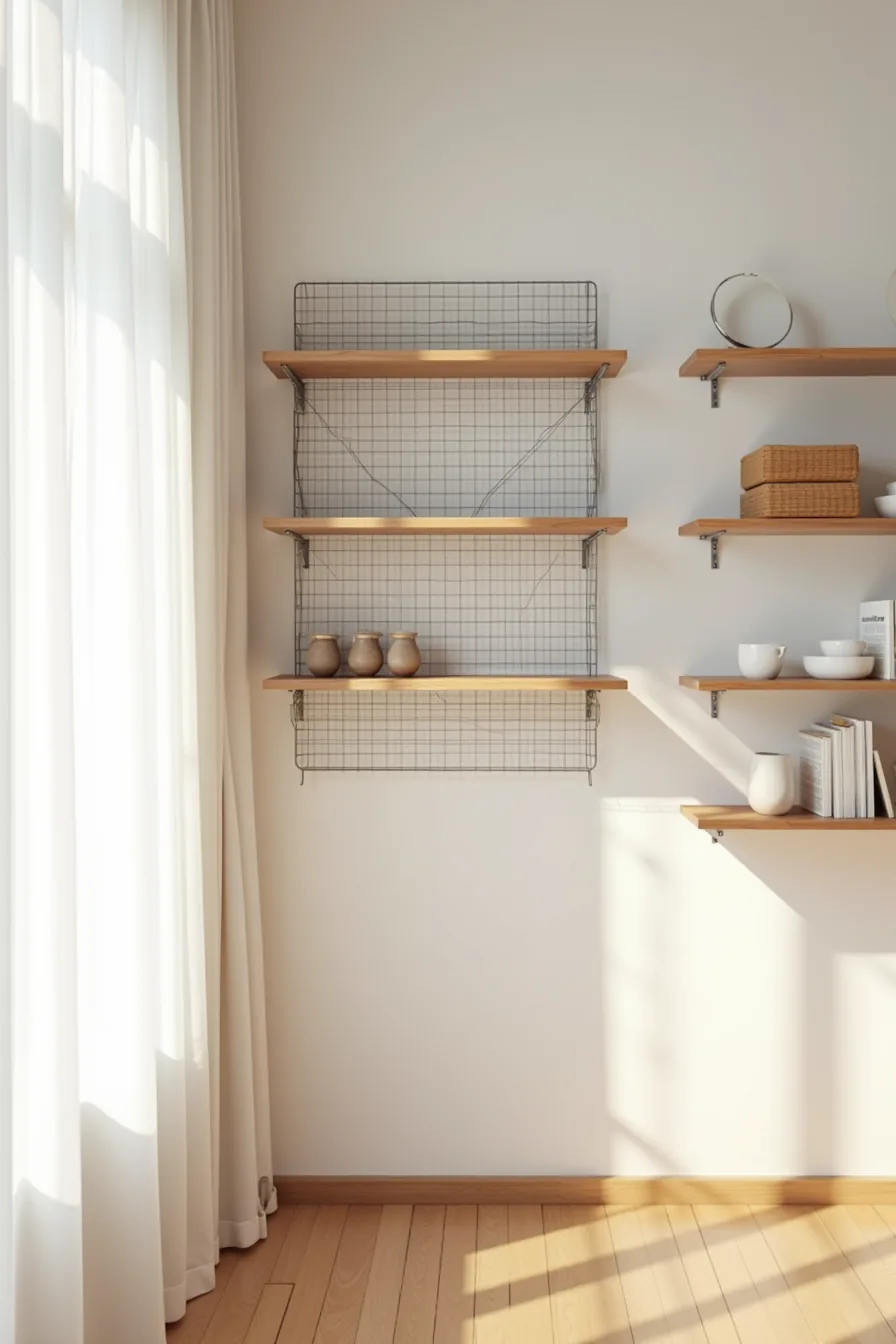
Fixed wooden shelves win on stability but lose on flexibility. They handle heavy quart jars filled with flour or sugar without sagging, yet a 12-inch spacing that fits cereal boxes wastefully towers over half-pint jars holding spices. Installation requires a stud finder, level, and roughly 45 minutes per bracket pair; you’ll also patch drywall when you move out, so this option suits homeowners more than renters.
Adjustable wire racks with metal brackets solve the spacing problem. They let you shift shelf heights in 1-inch increments, meaning you can dedicate one level to tall canning jars and another to squat jam pots without wasted vertical clearance. Setup takes about 20 minutes, costs 30-40% less than comparable wood, and leaves only small holes behind, a compromise many landlords accept.
Floating shelves offer the cleanest look but the least capacity. They hold roughly 20-25 pounds per mounted bracket, fine for lightweight pasta and baking staples, but risky for a full row of gallon jars. If you choose them, keep heavier glass on lower fixed shelving and use the floating tier exclusively for daily-use items you can reach without a step stool.
Pantry Jar System: Dry Goods Organization
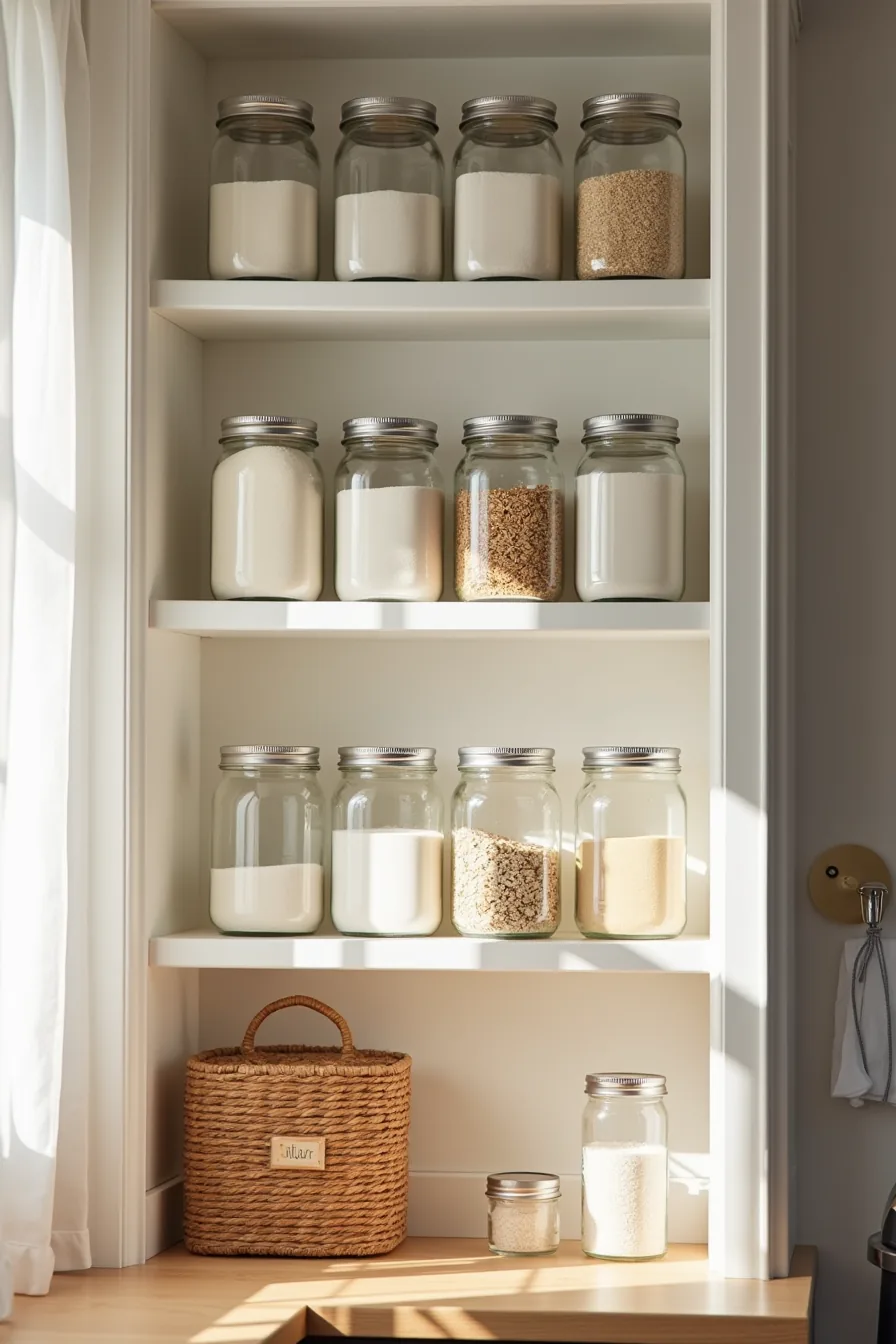
A pantry jar system works best when you decant only what you use within six to eight weeks. For a quick reset, start with a twelve-jar arrangement in three rows of four, flour and sugar in the largest jars, rice and oats in medium ones, and smaller jars for grains you rotate less often. This scale suits a standard 30-inch-wide pantry shelf without crowding airflow.
Airtight lids are non-negotiable for flour and sugar; they keep humidity out and prevent pantry pests from scenting the contents. You’ll also need a permanent marker or label maker, plus a small notebook or phone list to track what’s inside each jar. Write the item name and purchase date on a handwritten tag, and rest it against the jar so you can read it without lifting the glass.
Store the heaviest jars at waist height or below, full quart jars of flour weigh roughly two pounds, and reaching overhead for them strains your shoulders. Place daily-use items like sugar and coffee in the front row, reserve the back for oats and rice, and commit to a first-in, first-out rule: when you refill a jar, put the new batch behind the old. That habit prevents stale grains and keeps your Mason Jar Storage Ideas for a Quick Pantry Reset from becoming a recurring chore.
Expect to spend about 30 minutes on the full setup, including washing and drying jars before filling.
Craft Room Storage: Small Parts and Supplies
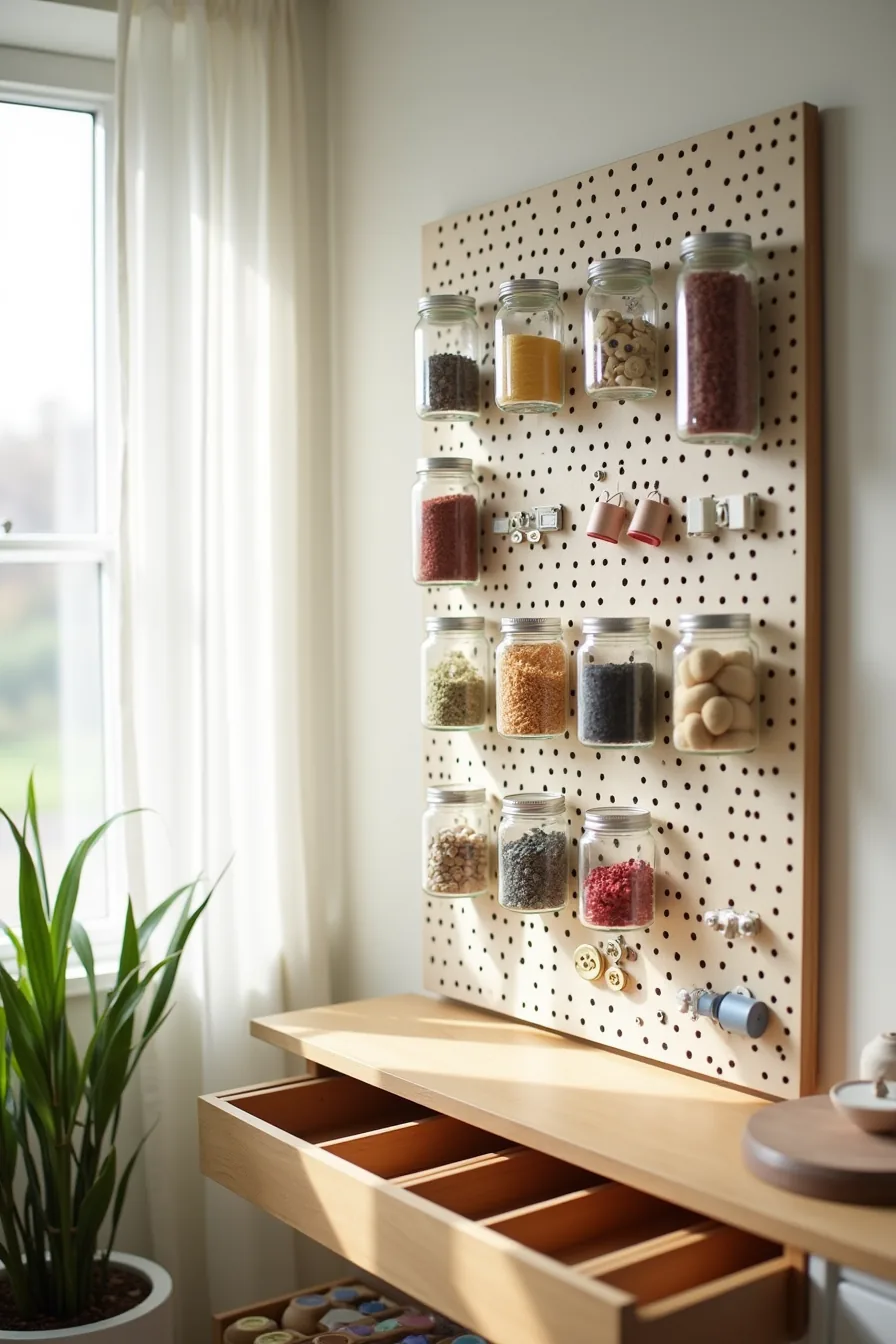
A pegboard wall-mounted rack puts small parts at eye level, where you can see thread colors and button sizes without opening a drawer. Attach jars with metal screw-top lids to the pegboard using hose clamps or purpose-built jar-holder hooks; space them 4–6 inches apart so spools and beads remain visible and reachable between jars. This setup suits a dedicated craft corner, clear a 24- by 36-inch wall section to fit six to eight jars comfortably without crowding your work surface.
Below the pegboard, a wooden drawer with dividers holds overflow inventory, keeping refill jars within arm’s reach. Sort by frequency of use: thread spools in the front section, buttons and beads in the back, and hardware like screws or eye pins in a separate small jar inside the drawer to prevent metal from scratching glass. Use wide-mouth pint jars for buttons and half-pint jars for beads and hardware, narrow mouths force you to tip the jar aggressively to retrieve a single item.
Label each jar on the lid with a permanent marker or a chalkboard sticker, not the side; stacked jars read clearly from above, and sides stay unobstructed for visibility. Wash jars only when empty, and check for rust on metal lids monthly if your craft room has high humidity, swap for plastic lids if you notice corrosion. Expect to spend 45 minutes sourcing mounts and sorting parts, and budget $20–$40 for a pegboard kit plus jar hardware if you don’t already own them.
Open Shelf Styling With Grouped Jars
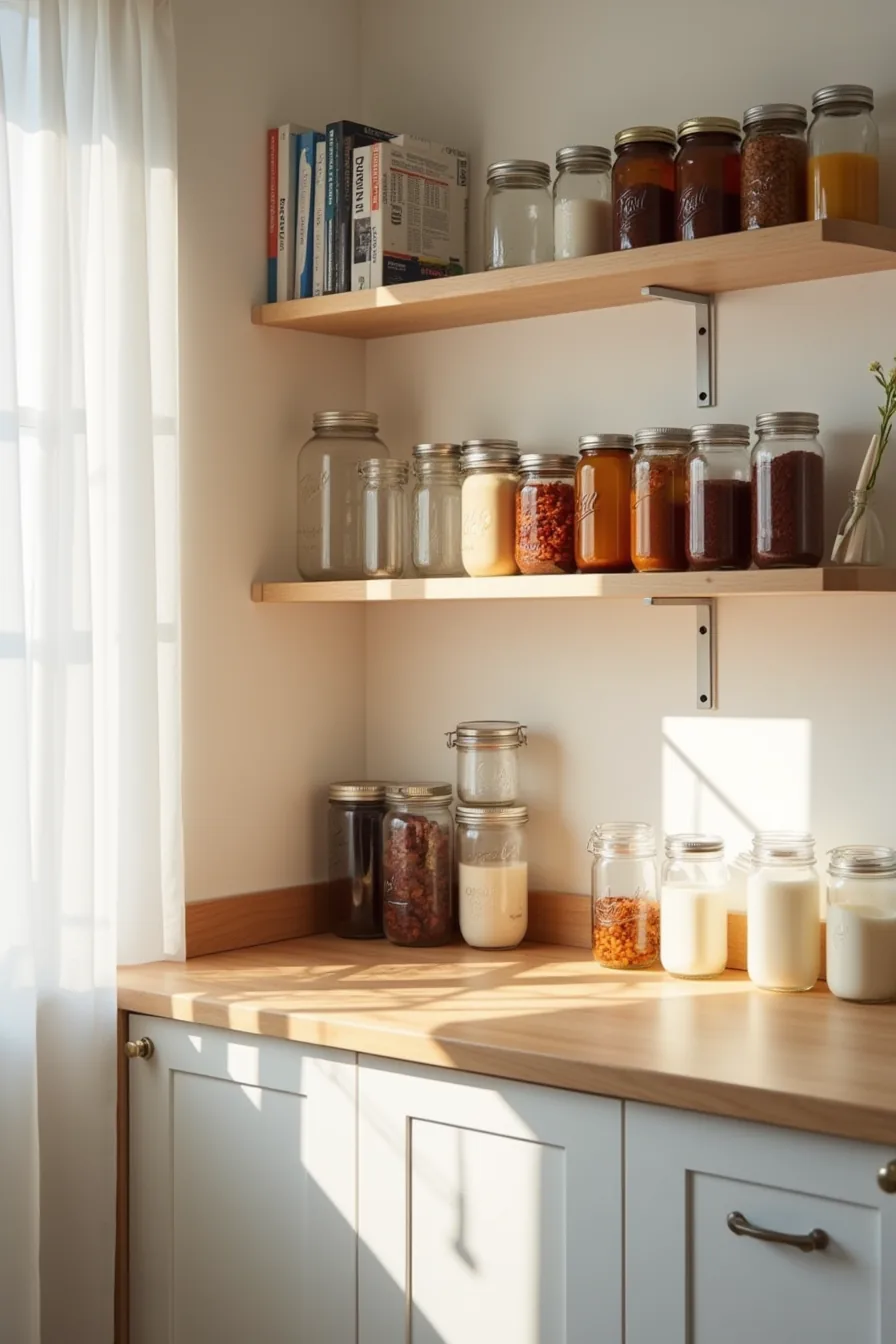
Group jars on open shelving in clusters of three to five, varying heights within each cluster to create rhythm without visual chaos. The shelf face reads best when you sort by content color and glass treatment, dark contents in clear jars on one side, amber jars anchoring the center, frosted jars finishing the right, so the wall behind each group becomes a deliberate negative space. Leave a gap of 2–3 inches between clusters; this spacing keeps the arrangement breathable and lets you slide a jar out without disturbing its neighbors.
This approach suits open shelving in kitchens or dining rooms where you actually use the contents weekly. Keep frequently accessed jars at the front edge of the shelf, and store duplicates behind them only if you can reach the back row without stretching across the front jars, otherwise, move overflow to a closed cabinet. Dust settles on jar shoulders within a week in most homes, so plan a monthly wipe-down with a damp cloth; skip polished finishes on the shelf itself, since they show dust rings from jar bases immediately.
For a 36-inch shelf, budget for six to eight jars total; more than that reads as clutter, not styling, and makes every access point a juggling act.
Scaling Mason Jar Storage Ideas to Your Space
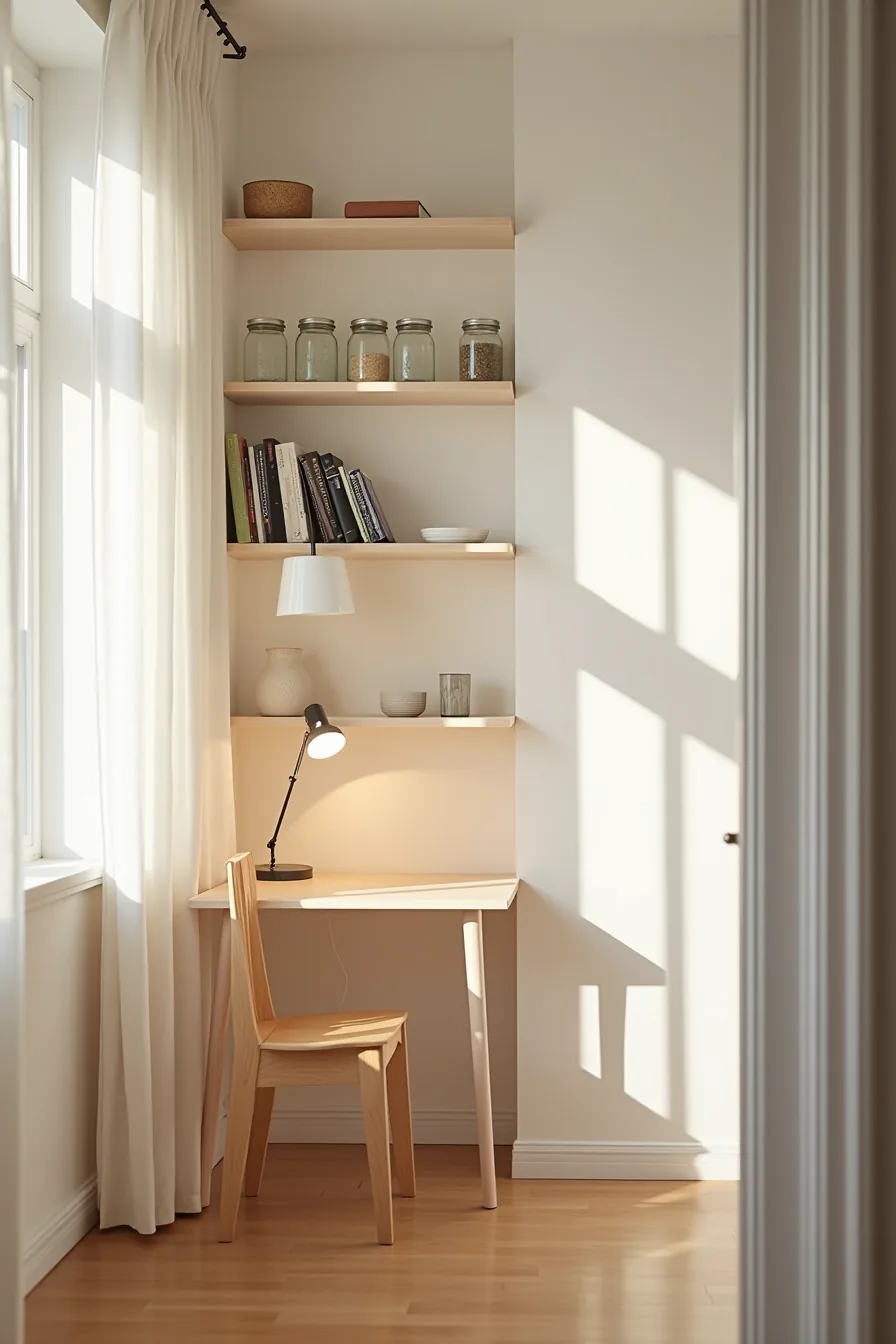
In a studio apartment kitchen corner, a compact shelving unit with two narrow shelves holds just eight mason jars total, four per shelf. That count works because the unit sits beside a small table, and the clear floor space in front stays unobstructed, preserving a circulation path at least 36 inches wide. Scale down to this density if your countertops or shelves measure under 24 inches deep; wider jars like half-gallons need 5–6 inches of clearance between shelves for lifting them out.
Medium kitchens can double that capacity with a 30-inch-wide unit across three shelves, but keep the heaviest jars, filled quarts weigh roughly 2–3 pounds each, on lower shelves to prevent tipping when you reach across. Large pantries support up to 30 jars on a 48-inch wall-mounted system, yet you still need an 18-inch clearance zone in front for safe access without bumping adjacent shelving. Match jar count to your actual weekly usage, not your storage potential; every jar you add increases retrieval time and cleaning surface area.
Your first move
Before you buy a single jar, empty your pantry and pull everything out. Group items by category, then toss anything expired or unused. This inventory walkthrough takes 20–30 minutes and reveals exactly how much space you actually have, most people find they need half the jars they planned for.
Once you see what remains, measure your shelf depth and height. A standard 12-inch-deep shelf fits quart jars two deep, while pint jars work better on 8-inch shelves. Match your jar size to what you store most: quarts for grains and flour, pints for leftovers, half-pints for spices and dry mixes.
Your next step: grab a measuring tape, clear one shelf, and test one quart jar on it today. That single check determines which system from this guide fits your space.
Frequently Asked Questions
How do I know what size mason jars to buy for my pantry?
Match jar size to how much you actually use weekly. Quart jars suit bulk staples like flour; pint jars fit rice or pasta; half-pint jars handle spices or leftovers. Buy one size first, test it for two weeks, then scale.
Can I use mason jar storage in a rental apartment without damaging walls?
Yes, use freestanding shelving units or tension rods between cabinets instead of drilling. Adhesive hooks rated for 5–10 pounds work for lightweight jars, but remove them slowly with heat from a hair dryer to avoid peeling paint.
What’s the best way to label mason jars so labels don’t peel off?
Write directly on the jar with a grease pencil or use chalkboard labels with a wet-erase marker. For permanent labels, apply clear packing tape over paper labels to seal out moisture. Avoid adhesive labels on cold jars, they fail within days.
How often should I clean mason jars when using them for open shelf storage?
Wash jars every 2–4 weeks if they hold dry goods, and immediately after any spill or if you notice condensation. For jars with oils or sticky contents, clean weekly. Always dry upside down on a rack for 24 hours before refilling.