
Before you buy a single Billy bookcase or KALLAX cube, the most effective IKEA storage idea begins with emptying your space and measuring what you actually own. This inventory step, sorting items into keep, relocate, and discard piles, takes most rooms 60 to 90 minutes and prevents the common mistake of buying containers for clutter you no longer need. Once you know your true volume and dimensions, you can match a system to your space, access needs, and rental agreement, rather than forcing a generic solution into a room that demands something more specific.
Key takeaways
Declutter first: Sort every item into keep, donate, or toss piles before measuring or buying a single IKEA container, since storage needs shrink by 30-50% once you remove what you don’t use. Match the system to your space: Fixed shelving (like IKEA’s Besta) suits permanent walls and heavy loads, while adjustable units (like Elvarli or Boaxel) adapt to changing needs and renter-friendly layouts without drilling into studs. Buy for access, not just looks: Choose open bins for daily-use items and lidded boxes for seasonal gear, then label each container on the front edge, clear labels cut retrieval time by half in most households. Budget for the full setup: A typical IKEA storage wall runs $200-$600 for rails, shelves, and drawers, but add 10-15% extra for mounting hardware, bins, and spacers so you don’t hit a mid-project stop.
Audit Your Stuff Before Buying Containers
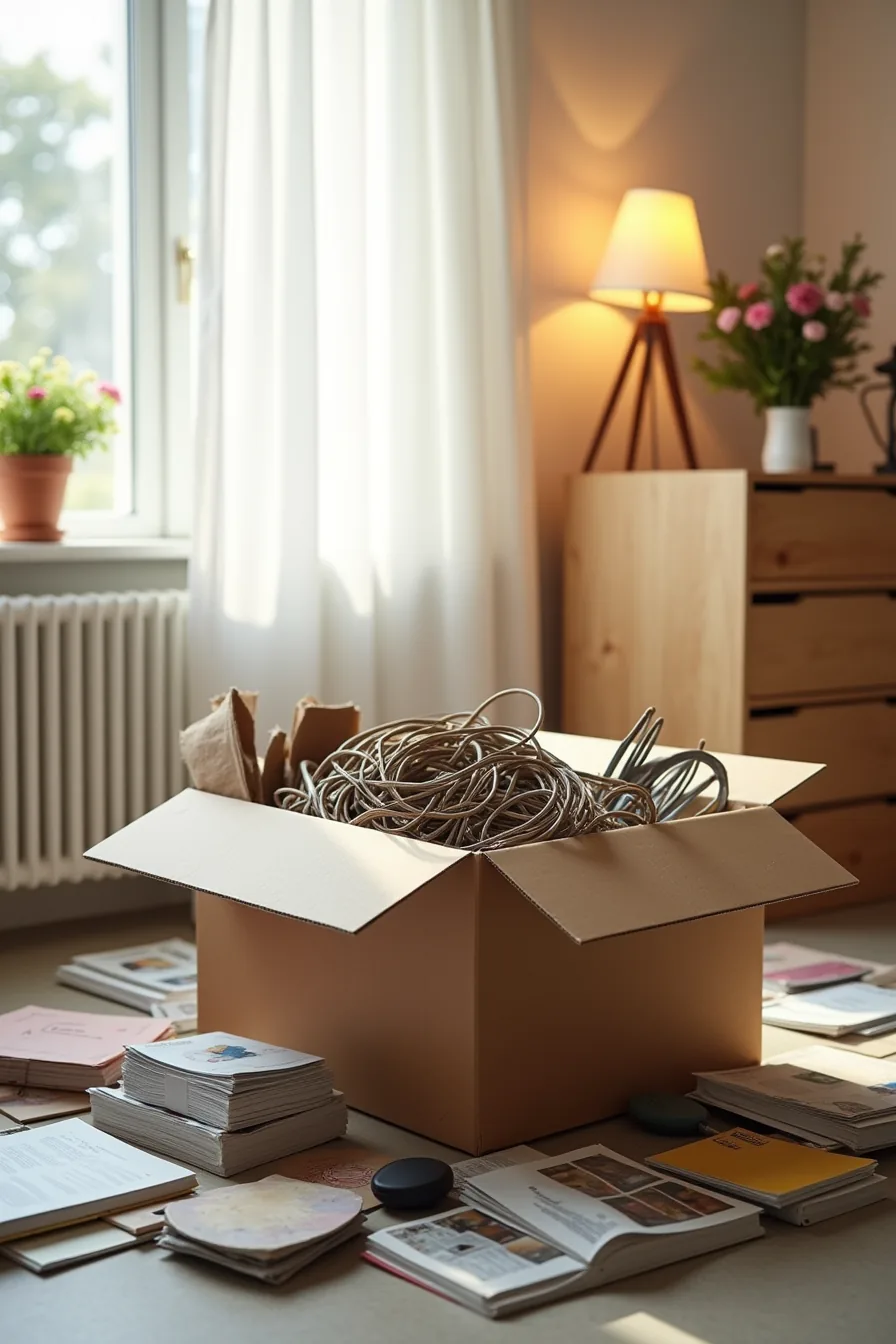
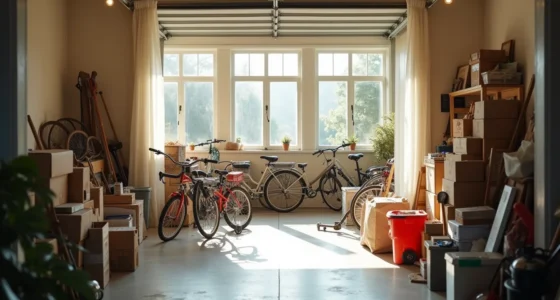
The single biggest mistake with IKEA storage ideas is buying containers before knowing what they must hold. That open cardboard box, with tangled cables, old magazines, kitchen utensils, decorative boxes, and craft supplies spilling across a concrete floor, is exactly the scenario that leads to wasted money. You can’t match a drawer organizer or shelf unit to contents you haven’t yet counted.
Sort everything into five broad categories: keep, relocate, donate, recycle, and toss. Measure the keep pile by volume, not by item count. A roll of paper towels and a stack of old magazines occupy very different cubic space than a set of kitchen utensils.
Only after that inventory do you know whether you need deep bins for bulky craft supplies, shallow trays for flat utensils, or zip pouches for cable tangles. Skip this step and you risk buying storage that either swallows your items or leaves them overflowing.
Fixed vs. Adjustable: Which IKEA Storage System Fits Your Life
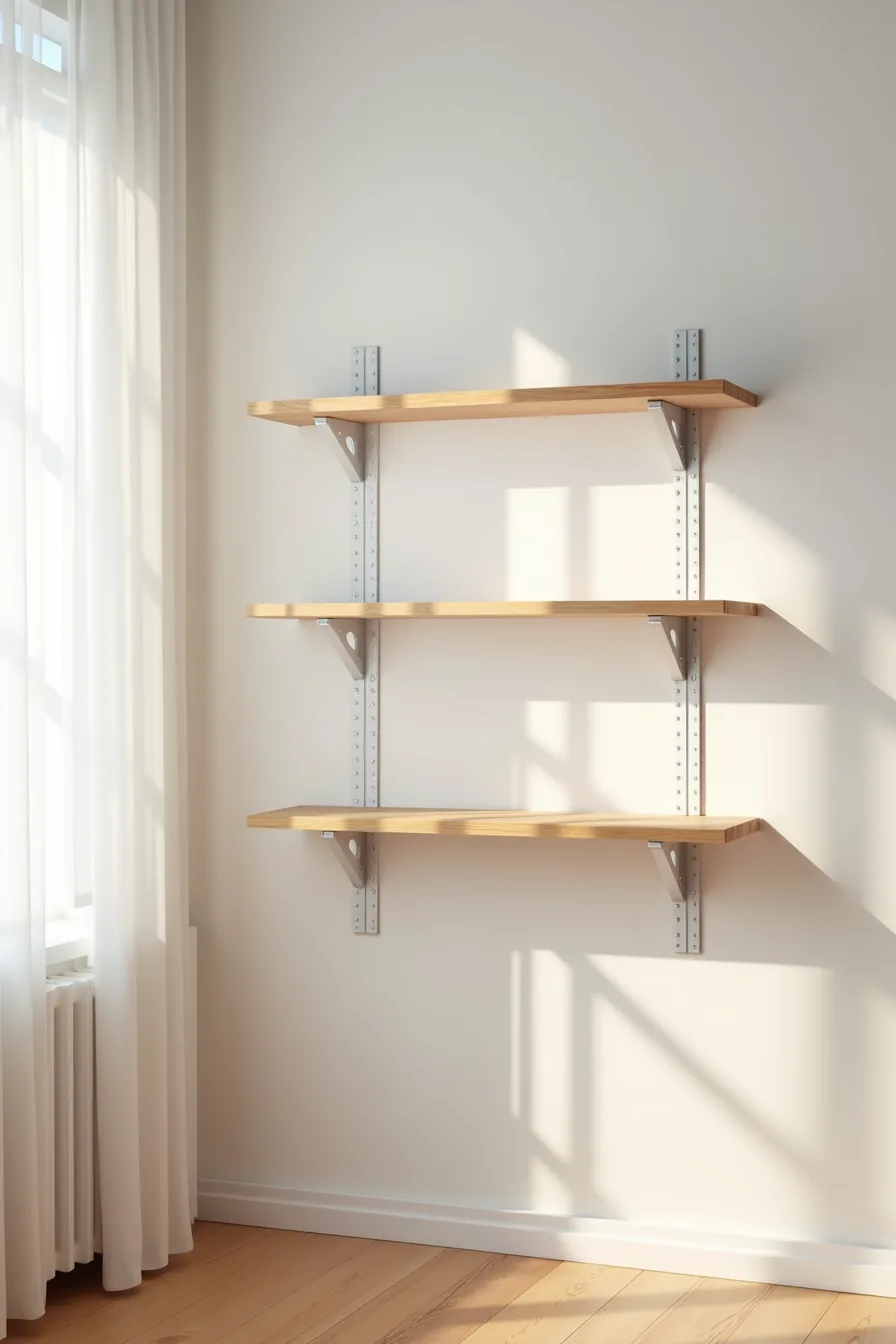
The wall-mounted shelving systems IKEA sells come down to one core trade-off: fixed metal shelves bolted to drywall versus adjustable brackets that let you reposition wooden planks at will. A fixed configuration wins when your inventory is stable, seasonal bins, heavy books, or a permanent media collection, because the welds and locking pins carry more load per shelf, typically 50–70 pounds, without sagging. Adjustable systems suit homes where contents shift: craft supplies that grow, kids’ toys that change size, or a home office that reconfigures seasonally.
Installation separates the two more than price. Fixed shelving requires precise wall anchors spaced to studs, and once the metal columns are set, the shelf heights are permanent unless you unbolt everything. Adjustable tracks let you slide a 2-inch metal bracket to any of a dozen slots in seconds, but the moving parts, brackets, plank edges, and locking tabs, demand occasional re-tightening and dust removal to stay stable.
Renter-friendly? Neither bolts into drywall without leaving holes, though adjustable tracks need roughly five anchors per column versus three for fixed units.
Choose fixed if you hate re-leveling and want maximum rigidity for dense storage. Choose adjustable if you value reconfiguring over raw strength and accept the extra maintenance. Match the system to how often you expect to change your shelves, not how they look on the wall.
Built-in Look on a Budget Without Renovation
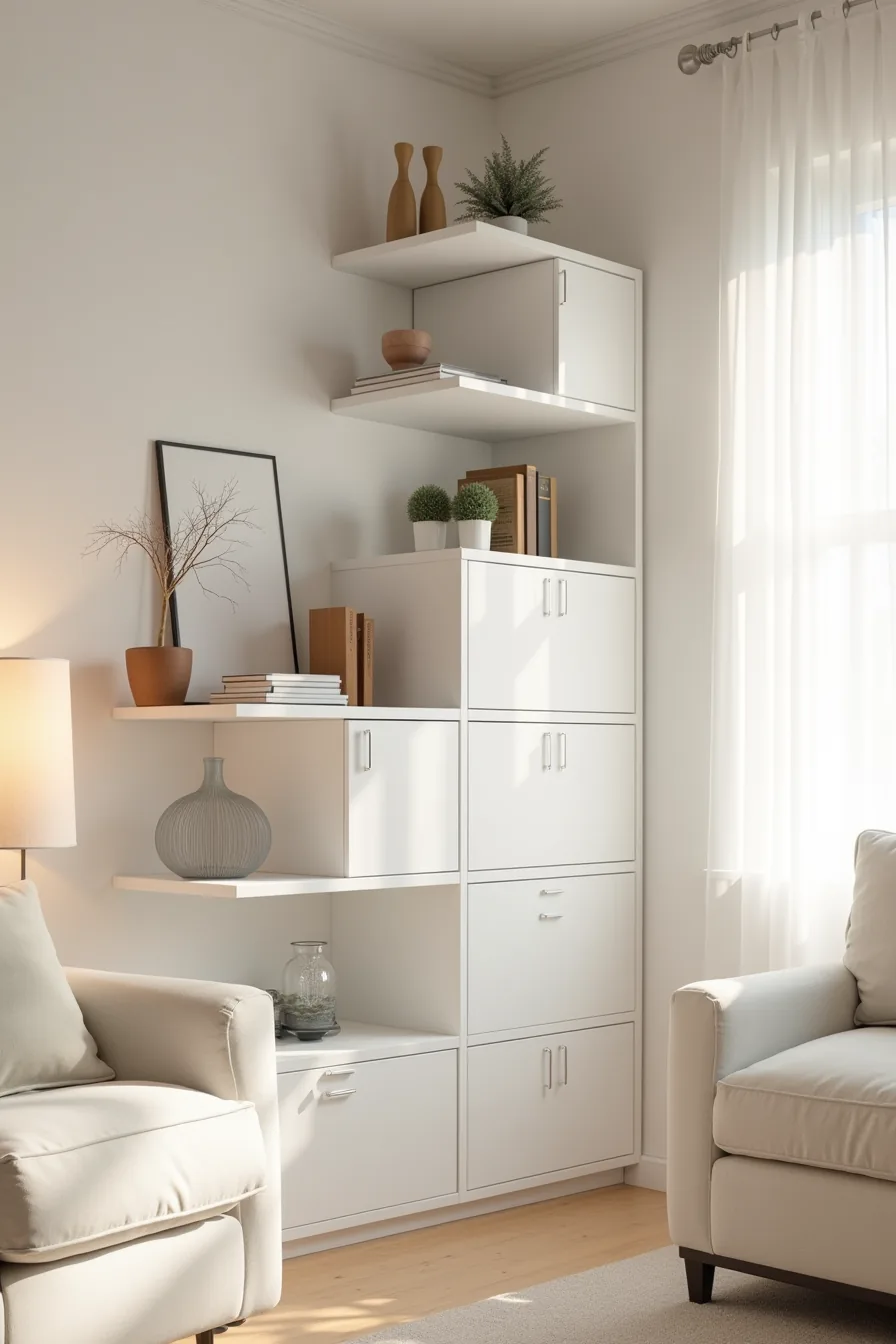
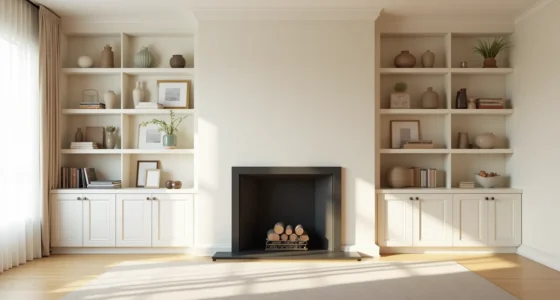
A floor-to-ceiling run of stacked modular cabinets with doors and open shelving mimics custom millwork for a fraction of the cost. True built-ins from a carpenter typically run $3,000–$8,000 per wall; replicating the look with IKEA units lands closer to $800–$1,500 depending on how many door fronts and interior fittings you choose. The trick is uniformity, use the same cabinet depth and finish across the entire wall, and cap the top with a continuous crown molding to hide the gaps between individual units.
Placement matters more than the cabinets themselves. Start the run at a corner to anchor the composition, and keep open shelving on the ends or upper tiers where decorative objects break up the mass of closed doors. Leave 1–2 inches of clearance above the units for the molding, and verify the floor is level before stacking, shim the base units with plastic wedges if it isn’t.
Securing the stack is non-negotiable. Every cabinet must be anchored to a stud behind the drywall with at least one bracket per unit, and adjacent cabinets need to be bolted together through their side panels. Without those anchors, a full-height column becomes a tip hazard, especially in homes with children or seismic activity.
The weight capacity of the base units determines how high you can stack safely, distribute heavy items in the lower third and keep the top third for lightweight decor.
Small-Space IKEA Setup: Vertical and Hidden Storage
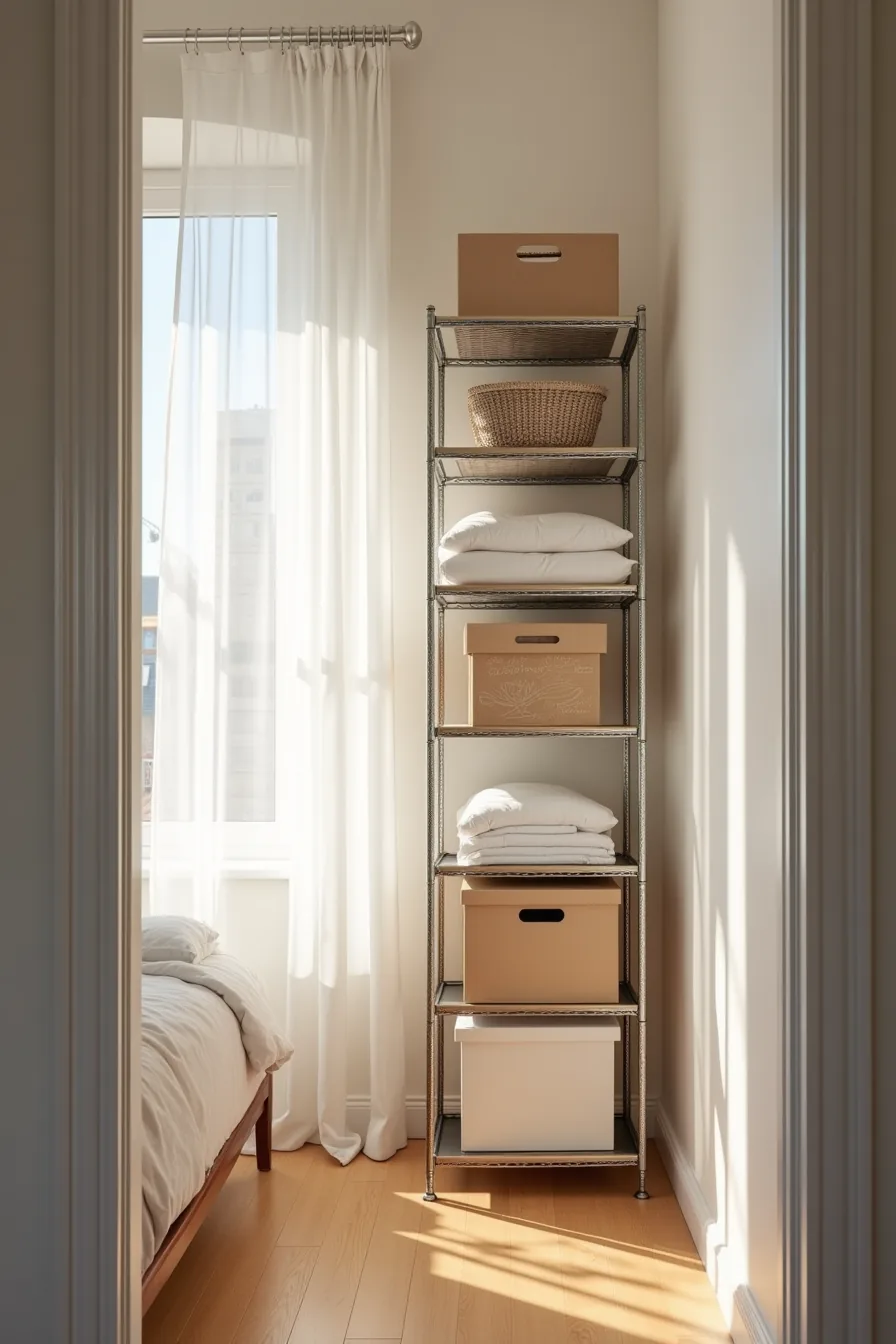
In apartments under 800 square feet, your usable storage is measured in vertical inches you haven’t claimed yet. A narrow corner beside a bed frame can hold a tall wire shelving unit, most run 60–75 inches high but only 15–20 inches deep, without stealing floor space from your walking path. That footprint fits alongside a standard queen mattress and still leaves 24–30 inches of clearance for a doorway swing.
For your under-bed zone, low-profile storage bins in the 5–6 inch height range maximize the gap under a typical frame; measure your actual clearance first because most bed frames sit 8–12 inches off the floor. Store folded textiles in the bins nearest the foot of the bed for easy access, and reserve the far corners for seasonal items you retrieve twice a year. On the wire shelving, stack boxes vertically, transparent boxes work best so you don’t pull everything down to find one item.
A small-space IKEA setup like this requires you to map your circulation before you buy. Position the top shelf at arm’s reach (roughly 60–70 inches) so you’re not climbing, and anchor the unit to the wall regardless of how light the load feels. Dust the wire surfaces monthly with a microfiber cloth; open shelving in bedrooms collects more fiber and lint than closed cabinets.
Modular Storage Mix: Combining IKEA Units for Custom Layouts
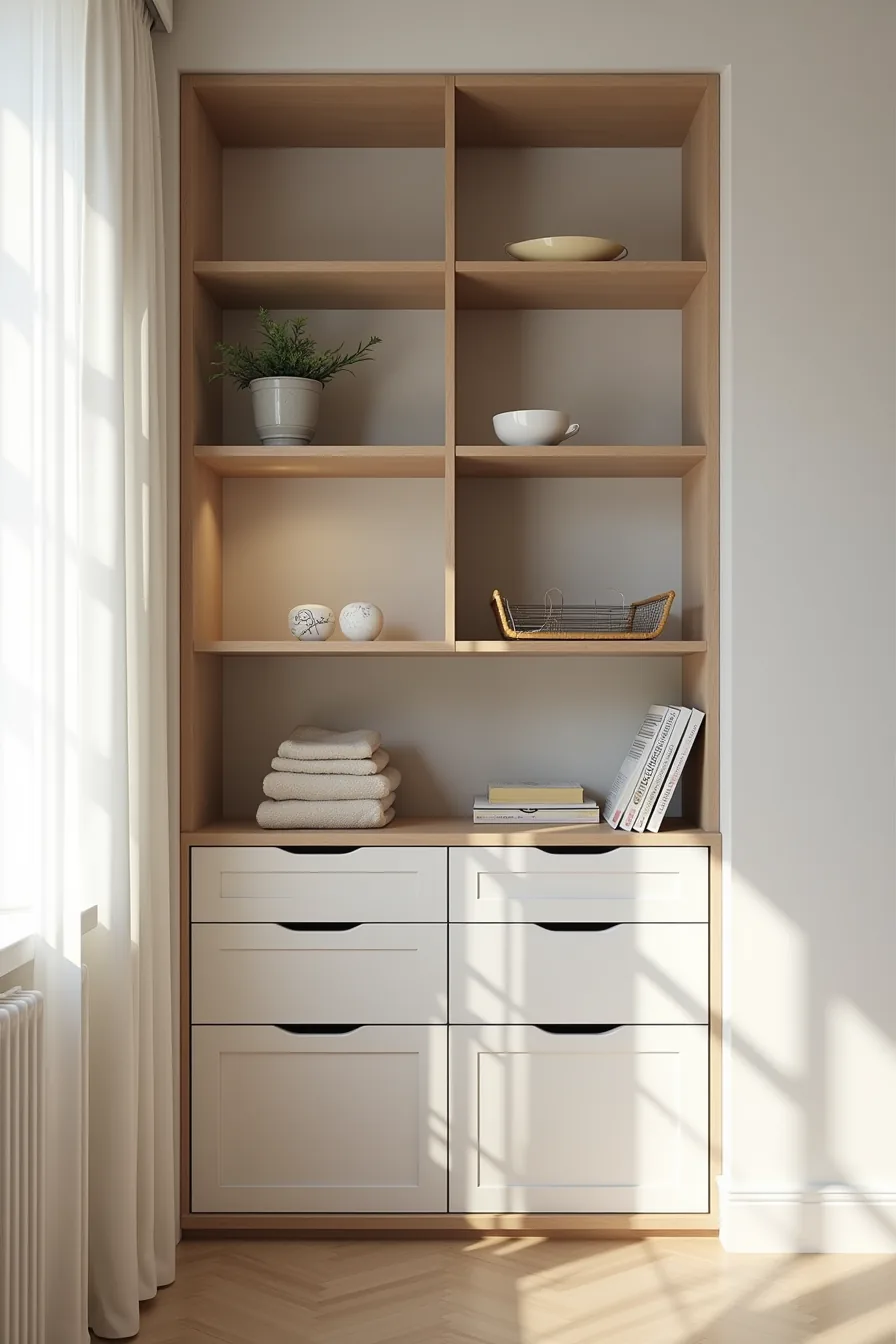
Pairing different product lines, open shelving, drawer cabinets, and wire shelves, lets you turn an irregular alcove into usable storage without custom millwork. In a typical 90–120 inch wide recess, run shallow open shelving across the top band, place dark wooden drawer cabinets on one side for hidden bulk, and fill the remaining depth with narrower metal wire shelves. The mixed depths create an asymmetrical rhythm that reads as intentional, and each unit does a different job: shelves for display, drawers for concealment, wire for airflow-heavy items.
Measure the alcove’s width, depth, and floor-to-ceiling height before selecting units, accounting for baseboard protrusion of roughly 0.5–1 inch. Cohesion comes from repeating one finish, like white frames on all units, while letting the wood and metal surfaces vary. Start with the cabinet footprint, then fill upward and outward, because the system scales later: add another shelf bay or swap a wire tier for a solid panel as your needs shift.
IKEA Storage Ideas for a Fast Weekend Reset
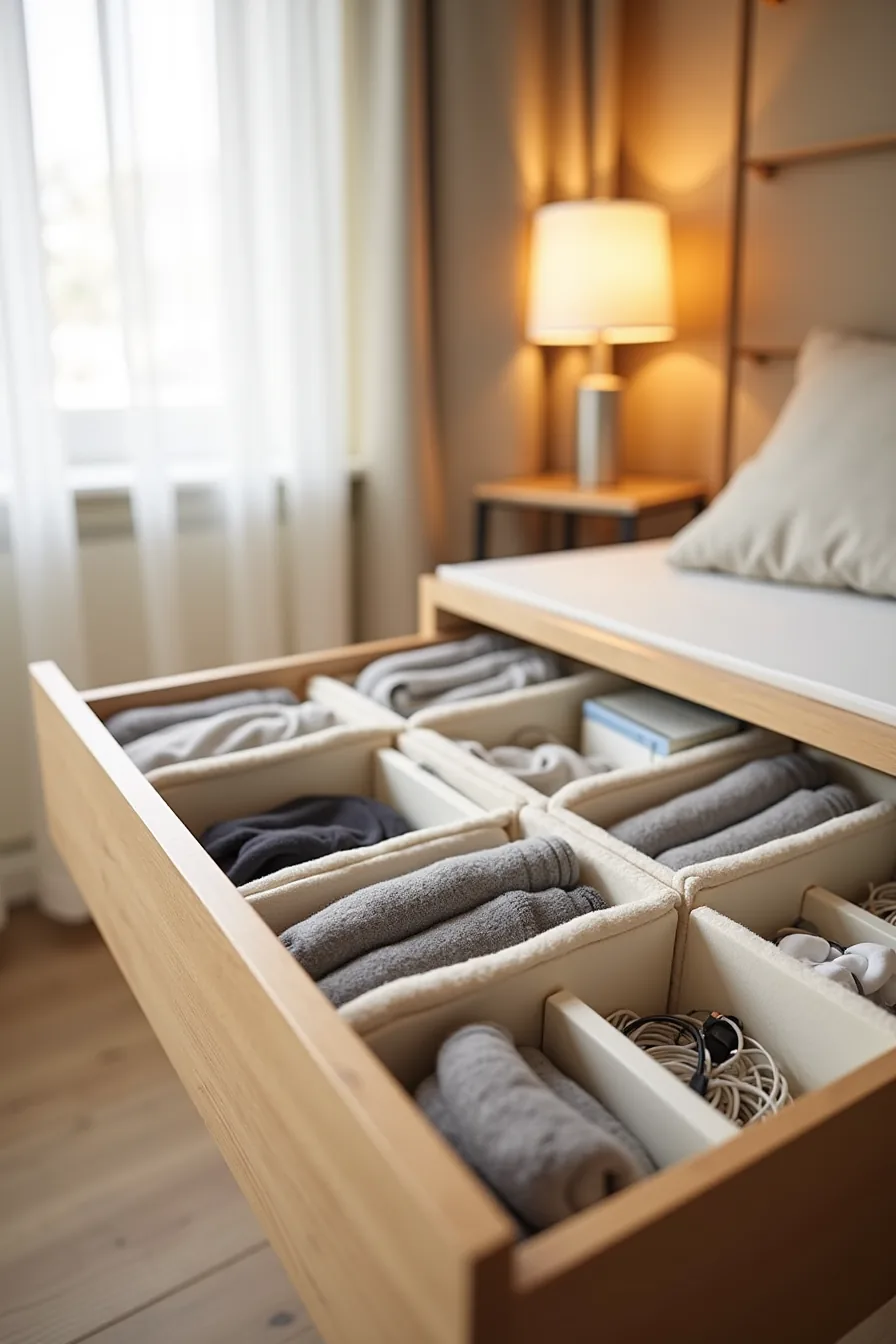
A single drawer can absorb your entire Saturday if you let it. The quickest reset uses plastic dividers to create fixed zones: rolled socks in one lane, stacked underwear in another, coiled cables in a third, and small items like chargers or accessories in a corner compartment. You can complete a standard bedroom dresser drawer in about 20 minutes per drawer, and a full six-drawer unit in a half-day session.
The SKUBB and KUNGSFORS lines offer plastic dividers in the $4–$10 range, and they stay clean longest because smooth plastic wipes down in seconds and won’t absorb odors like fabric bins. Label each compartment with a handheld label maker or chalk tags, skip handwritten paper, which frays within weeks. For renters, these dividers require zero drilling or adhesive; they simply sit inside the drawer and lift out when you move.
Maintain the system with a 10-minute monthly sweep: re-roll anything loose, re-coil cables that have escaped their lane, and wipe the dividers with a damp cloth.
What to do first
Start with the inventory, not the containers. Measure your available wall, floor, and vertical space in centimeters before you shop, most IKEA units come in fixed widths, and returns are easier than reconfiguring a room around the wrong size. Set a firm budget that includes mounting hardware, which none of the flat-pack prices cover.
Your single next step: choose one problem zone, a hallway, a pantry shelf, or a wardrobe, and count what lives there. Write down the largest item’s dimensions and the smallest item’s quantity. That list tells you whether you need adjustable shelving, drawer dividers, or stackable bins before you ever open the IKEA website.
Frequently Asked Questions
Can I use IKEA storage in a rental without losing my security deposit?
Yes, if you stick to freestanding units or use tension rods and adhesive hooks. For wall-mounted pieces, patch and repaint before moving out. Avoid drilling into plaster unless you’re prepared to repair it.
How do I anchor IKEA shelves safely to drywall or plaster?
Use toggle bolts rated for at least 50 pounds per anchor for drywall. For plaster, drill pilot holes first, then use molly bolts. Never rely on plastic anchors alone; they pull out under load.
What’s the typical lifespan of IKEA particleboard storage before it sags or warps?
Expect 5–10 years with normal use in climate-controlled rooms. Excess humidity or overloading shelves cuts that to 2–3 years. Reinforce long spans with a center support or metal rail to extend life.
How much weight can IKEA’s wall-mounted shelves actually hold?
Most single-shelf brackets hold 15–30 pounds when anchored into studs or drywall with toggles. The shelf board itself is the weak point, particleboard spans over 30 inches sag at half that load. Distribute weight evenly.