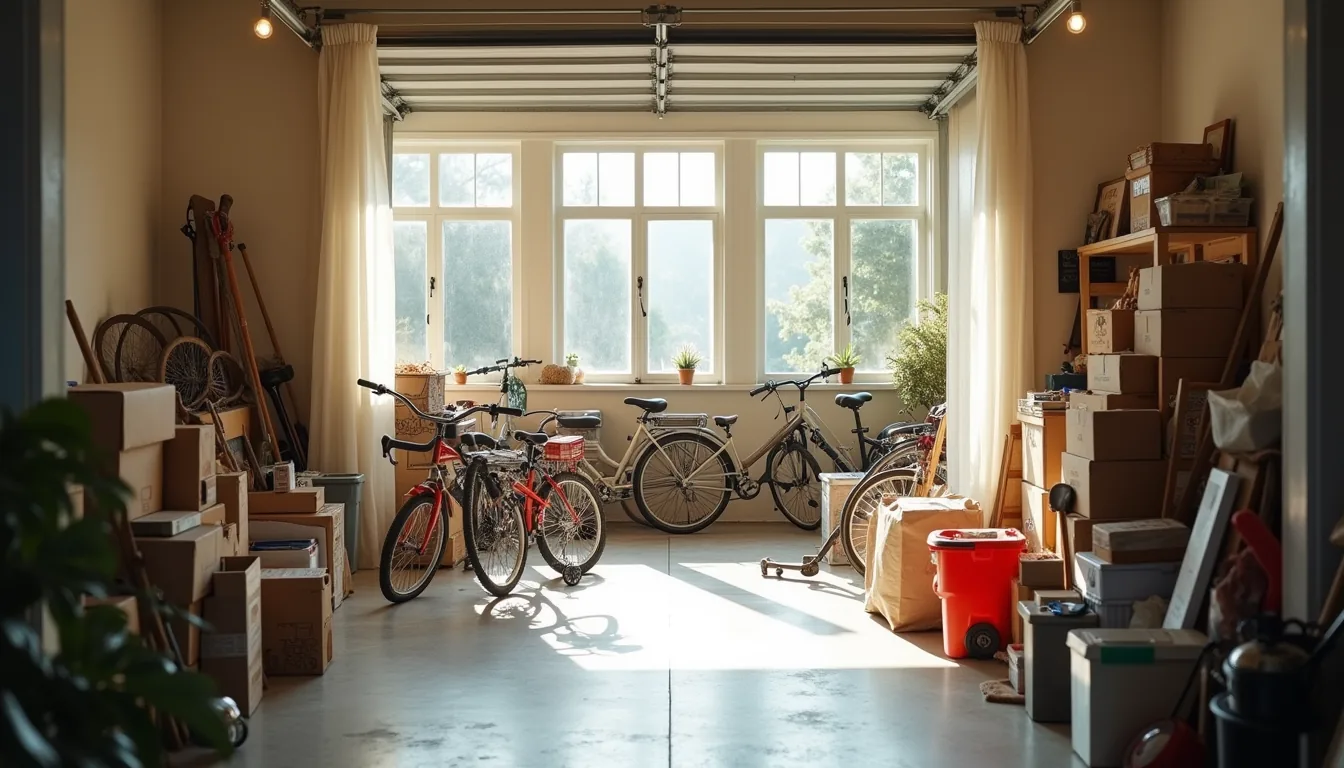

Your garage isn’t short on space; it’s short on a system that matches how you actually use it. Most homeowners waste 30–40% of their garage volume on items they rarely touch, stacked in ways that block the car, tools, or the door itself. The fix isn’t buying more bins, it’s deciding what stays, what goes, and what deserves wall height versus floor footprint.
The six approaches that follow each solve a specific failure point, from ceiling dead zones to the classic “pile against the wall” trap, so you can match a solution to your actual habits rather than guessing.
Key takeaways
- Start with an audit: Sort every item into keep, donate, sell, or trash before you measure or buy a single shelf, bin, or hook.
- Mount walls first: Use heavy-duty slatwall or French cleats rated for 50–100 pounds per linear foot to store bikes, ladders, and tools, keeping the floor clear for a car or workbench.
- Choose overhead racks only for lightweight, rarely-used items like seasonal decor or camping gear, since they require a ceiling height of at least 8 feet and a rated capacity of 250–600 pounds total.
- Label every bin on two sides with a permanent marker or printed tag, and schedule a 15-minute monthly wipe-down of shelves and a quarterly re-check of wall anchors to prevent rust, sagging, or accidents.
Audit and Inventory Before Buying Anything

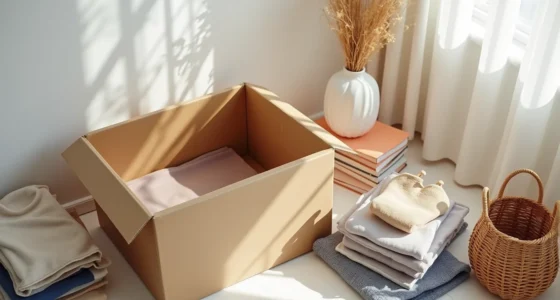
Most people shop for storage solutions backward. You pick up shelving units and bin systems first, then struggle to fit your actual belongings into them. The sorted flat lay on your garage floor, hand tools grouped in one pile, paint cans stacked by size, coiled rope, folded drop cloths, and extension cords bundled separately, represents the only correct starting point.
That inventory tells you exactly what volume you need to accommodate, not what a catalog suggests you should need.
Work through every item in three passes: keep, donate, and discard. The keep pile determines your storage requirements; the other two shrink them. Extension cords alone can consume a full shelf if left tangled, but bundling them with hook-and-loop straps cuts their footprint by half.
Paint cans need a dedicated shelf near floor level, they’re heavy and prone to leaking. Rope and drop cloths compress well into vacuum bags or lidded totes.
This audit takes 2-3 hours for a typical two-car garage. That time investment prevents the most common mistake in small garage storage ideas: buying capacity you don’t need while ignoring the space you already have. Count your linear feet of shelving required before you spend a dollar on containers.
Use the Walls First: Vertical Storage Wins
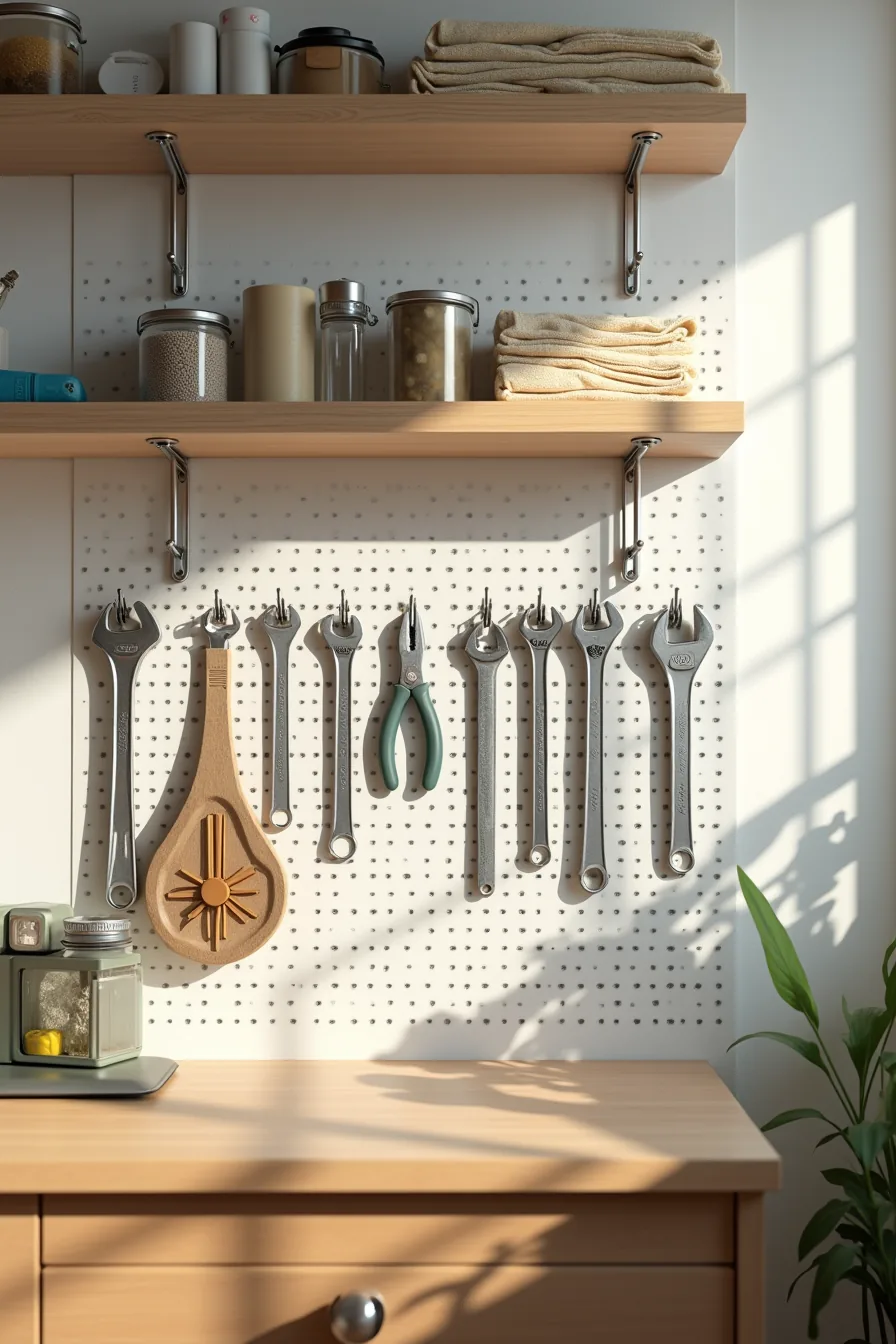
Your garage floor is premium real estate. Wall-mounted systems convert dead space above the workbench and between studs into accessible storage, and they keep frequently used tools within arm’s reach.
A pegboard mounted at eye level, typically 60-72 inches from the floor, turns a bare wall into a tool dashboard. Hook patterns arranged by frequency of use put wrenches, pliers, and a measuring tape exactly where you reach for them. Combine this with a single shelf above the board for folded rags and small parts containers; the vertical spread uses the full wall height without encroaching on floor space.
The trade-off: pegboards expose tools to dust and humidity, so they suit frequently used items rather than seasonal gear. Install 1-2 inches of clearance between the board and the wall to let air circulate behind it and keep moisture from settling. Wall systems typically cost $50–$200 depending on board size and hook count, and they take about 30 minutes to mount with a stud finder and level.
Overhead vs. Cabinet Storage: Trade-Offs Explained
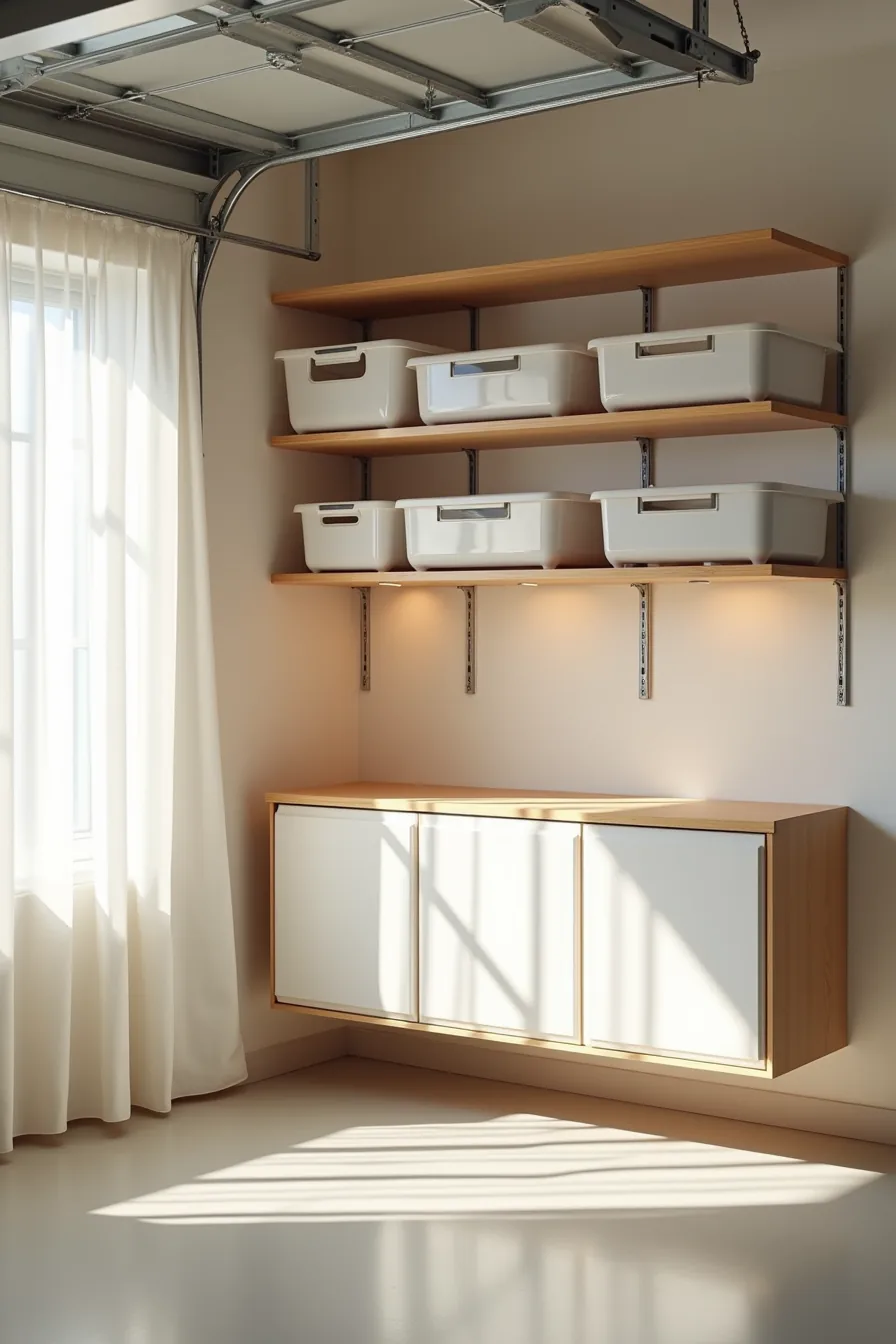
Overhead vs cabinet storage comes down to one core question: how often do you need what you’re storing? Ceiling-mounted pulley racks, like the one holding stacked plastic bins in the corner setup here, maximize dead airspace and keep bulky items out of your path. They suit seasonal gear you touch only a few times a year, such as holiday decorations or camping equipment.
The trade-off is access: you’ll climb for a bin, and the load usually stops at 60-80 pounds total for manual pulley systems.
Wall cabinets, by contrast, serve daily-use items. A closed unit mounted at 18-24 inches above the floor keeps paint cans, sprays, and cleaning chemicals contained and dust-free while multi-layer shelving behind the doors triples your usable capacity in the same footprint. Cabinets run $100–$400, take roughly an hour to install with two people, and demand solid studs since loaded cabinets often reach 100-200 pounds.
For garages under 200 square feet, choose one system per wall, not both on a single surface, this preserves pathway clearance for opening car doors completely.
Renter-Friendly and Adjustable Solutions
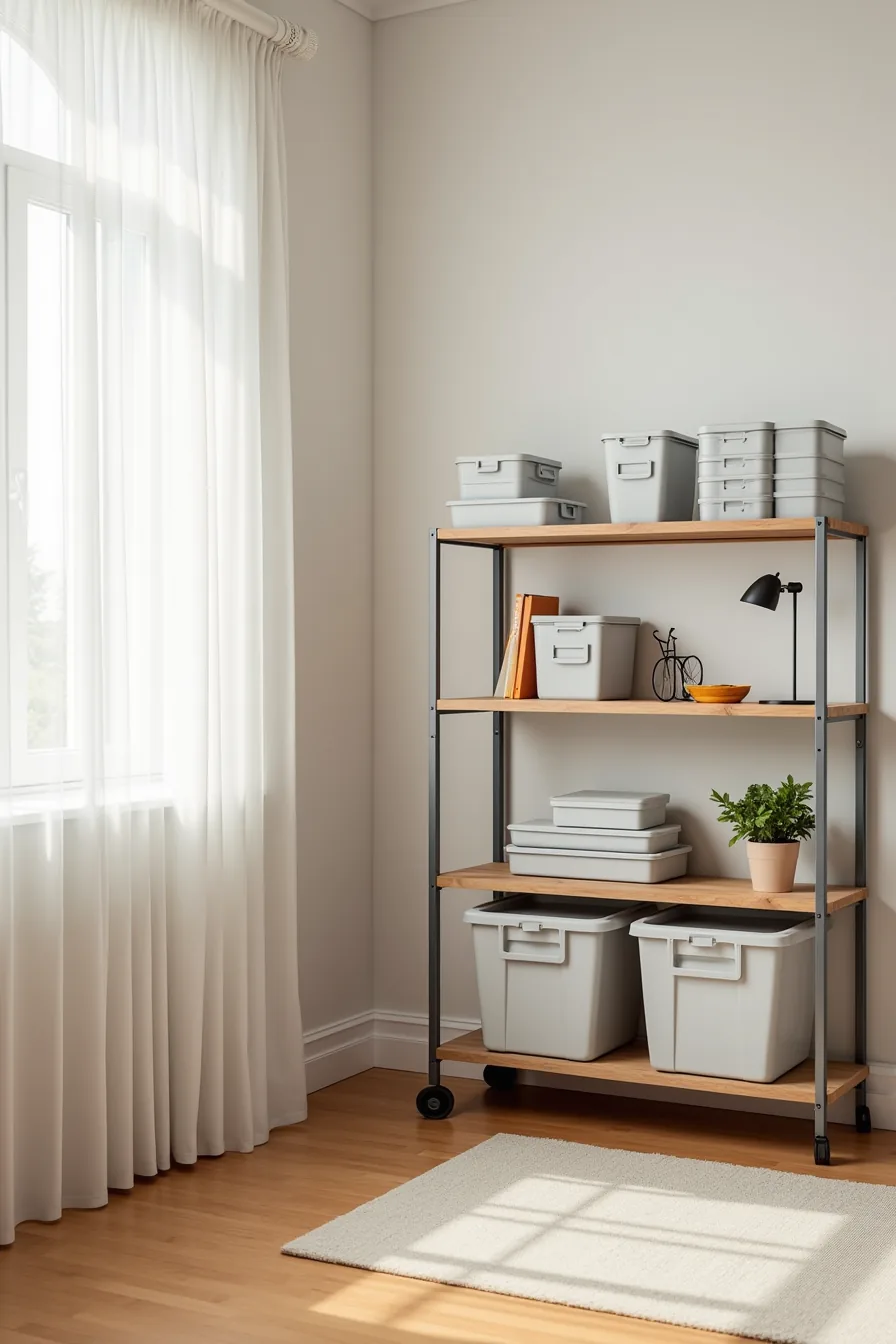
Freestanding metal shelving with adjustable shelf levels is your primary weapon in a leased garage. A standard 48-72 inch unit costs $60-$150, assembles in 20-30 minutes with no tools beyond a mallet, and supports roughly 150-250 pounds per shelf when evenly distributed. The adjustable levels let you reconfigure clearances as your plastic containers swap sizes, a tall bin for winter tires today, flat totes for camping gear next season.
Pair it with a portable rolling tool chest instead of a fixed workbench. The chest consolidates frequently used hand tools in one mobile footprint, so you can roll it to your driveway or workspace and tuck it against a wall afterward. Both pieces leave zero damage behind, no anchors, no brackets, and move with you when the lease ends.
The key limitation is stability: keep heavier items on lower shelves and lock the chest’s casters before loading drawers to prevent tipping on sloped garage floors.
Budget-Friendly Garage Storage for Tight Spaces
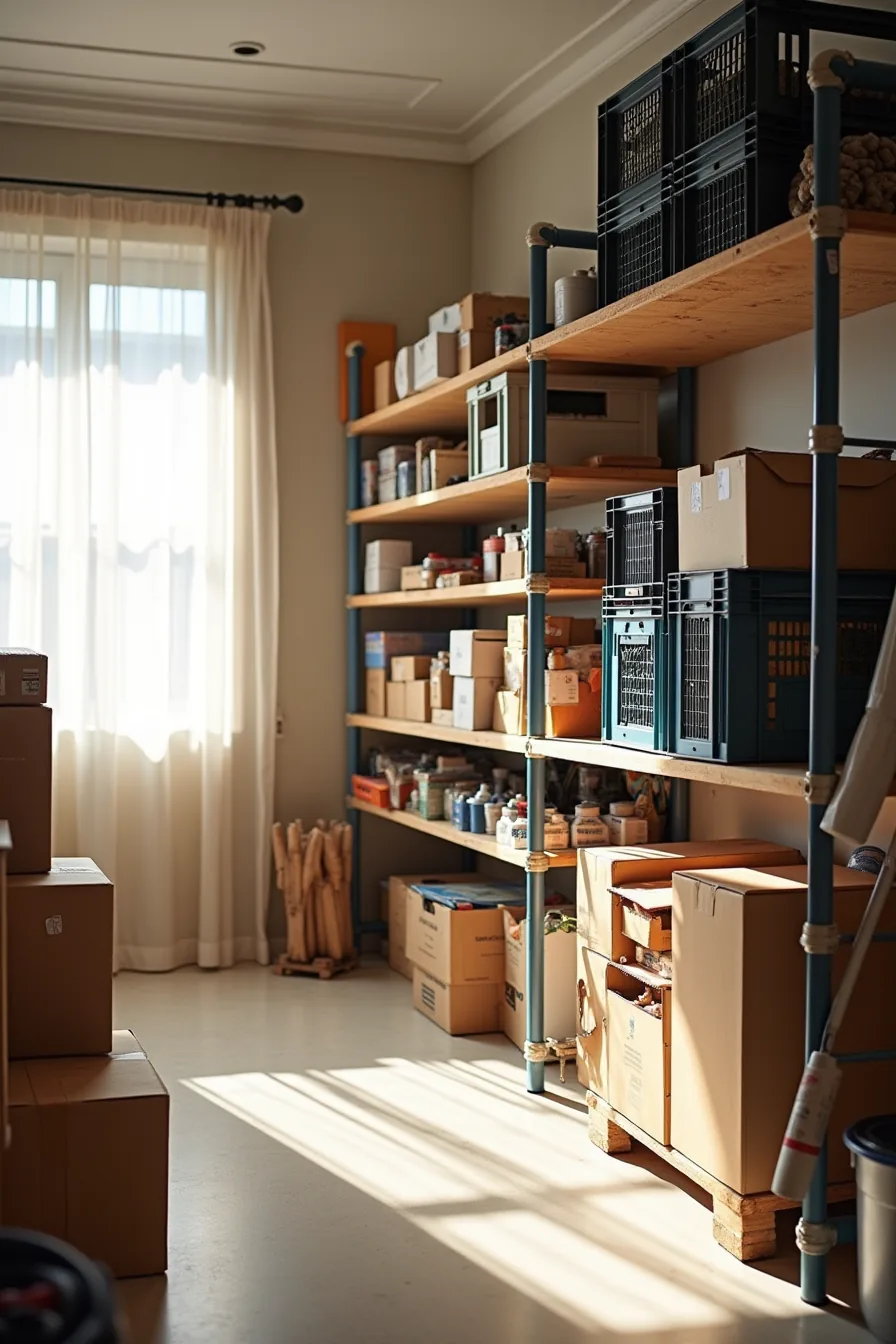
A narrow wall can hold surprising density if you stack vertical instead of spreading wide. Plastic milk crates, $3-$5 each at office supply stores, interlock when alternated top-to-bottom, creating a stable grid for power tools and hardware without shelf brackets. Their open weave lets dust escape, but also means smaller items need bags or boxes inside to avoid slipping through.
A repurposed wooden pallet mounted flat against the wall gives you instant shelving for roughly $10 in lumber and brackets. Sand it first to avoid splinters, and seal it with a $15 can of polyurethane if your garage sees humidity, unsealed pallet wood warps within two seasons. For long-handled tools, a PVC pipe organizer cut from 4-inch diameter pipe costs about $8 and mounts with two pipe straps; it holds rakes and shovels upright, clearing the floor entirely.
Cardboard boxes work for seasonal décor or out-of-season clothing, but they fail in damp garages, mold sets in within weeks. Use them only for dry, non-critical items you can afford to lose. If your budget stretches another $20, swap cardboard for clear plastic totes with locking lids; the visibility saves you from unstacking everything to find one item.
Labeling, Access, and Maintenance Routines
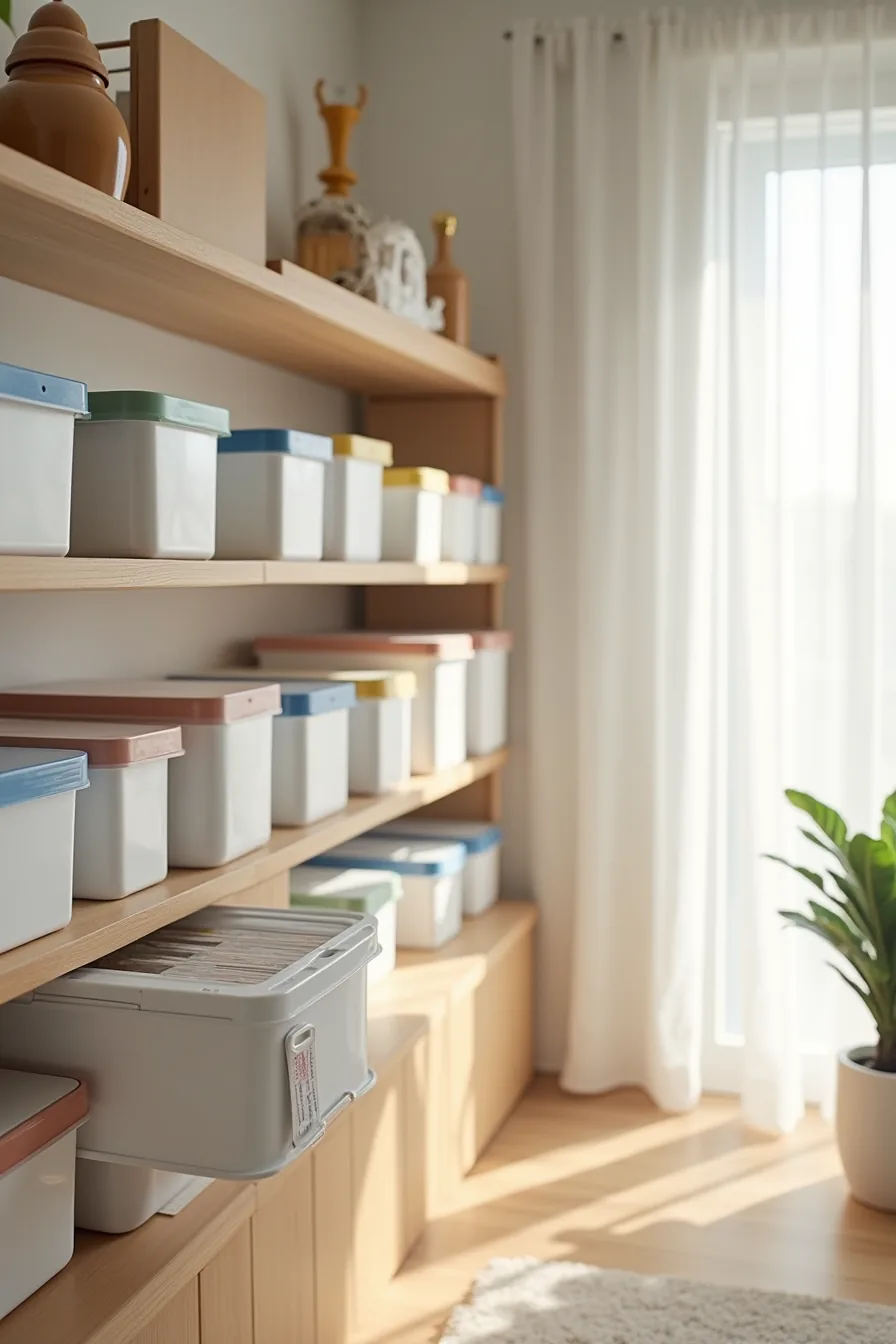
Uniform plastic containers arranged by size on a shelf bay create a system you can maintain in minutes. Color-coded tape markers on the edges, one color per category like tools, automotive, or holiday, let you spot the right bin from across the garage. The container pulled forward demonstrates the core rule: never stack bins deeper than one row if you need regular access.
Label the front and the top of each container, because you’ll sometimes view the shelf from above. Write the contents in plain language with a paint pen, not a label maker, since tape labels peel in temperature swings. A weekly five-minute reset, returning misplaced bins and wiping dust from the shelf edges, keeps the color coding legible and prevents the system from degrading.
Schedule this as part of your weekend garage reset, checking that lids seal properly and tape markers stay adhered. Rotate seasonal containers to the front of the shelf as the calendar changes, so the most relevant items sit within arm’s reach. This routine costs nothing beyond your time and stops the clutter from returning within a month.
Your 15-minute first step
Clear the floor before you buy a single bin. Move everything to the driveway or a tarp, then sort into four piles: keep, donate, sell, discard. Photograph anything you’re unsure about, if you don’t reference the photo within two weeks, it goes.
Measure the cleared floor space and the wall height from floor to ceiling joists. Note the locations of electrical outlets, the garage door track, and any water heater or furnace clearance zones. That data determines whether fixed shelving, wall-mounted racks, or freestanding modular units will actually fit.
Take those measurements with you when you shop. Buy nothing else until this is done.
Frequently Asked Questions
How much can a typical wall-mounted garage shelf hold before it needs reinforcement?
Most wall-mounted shelves safely hold 50–100 pounds per linear foot when anchored into studs. Exceeding that requires diagonal bracing or floor supports. Check manufacturer ratings; drywall anchors alone reduce capacity dramatically.
What’s the difference between overhead racks and ceiling-mounted cabinets for a small garage?
Overhead racks are open wire platforms, ideal for bulky, rarely used items like bins or tires. Ceiling-mounted cabinets are enclosed, offering dust protection and a cleaner look, but they cost more and require stronger ceiling joists for the added weight.
Can I use small garage storage ideas in a rented garage without losing my security deposit?
Yes, if you stick to freestanding units, tension rods, or adhesive hooks. Avoid drilling into walls or ceilings unless your lease permits it. Use heavy-duty shelving on wheels that you can dismantle and move without leaving marks.
How do I decide between fixed shelving and adjustable systems for a garage I might move from?
Choose adjustable systems with vertical tracks and repositionable shelves if relocation is likely, they adapt to new ceiling heights and wall layouts. Fixed shelving is cheaper and sturdier but locks you into current dimensions, making it harder to reuse elsewhere.