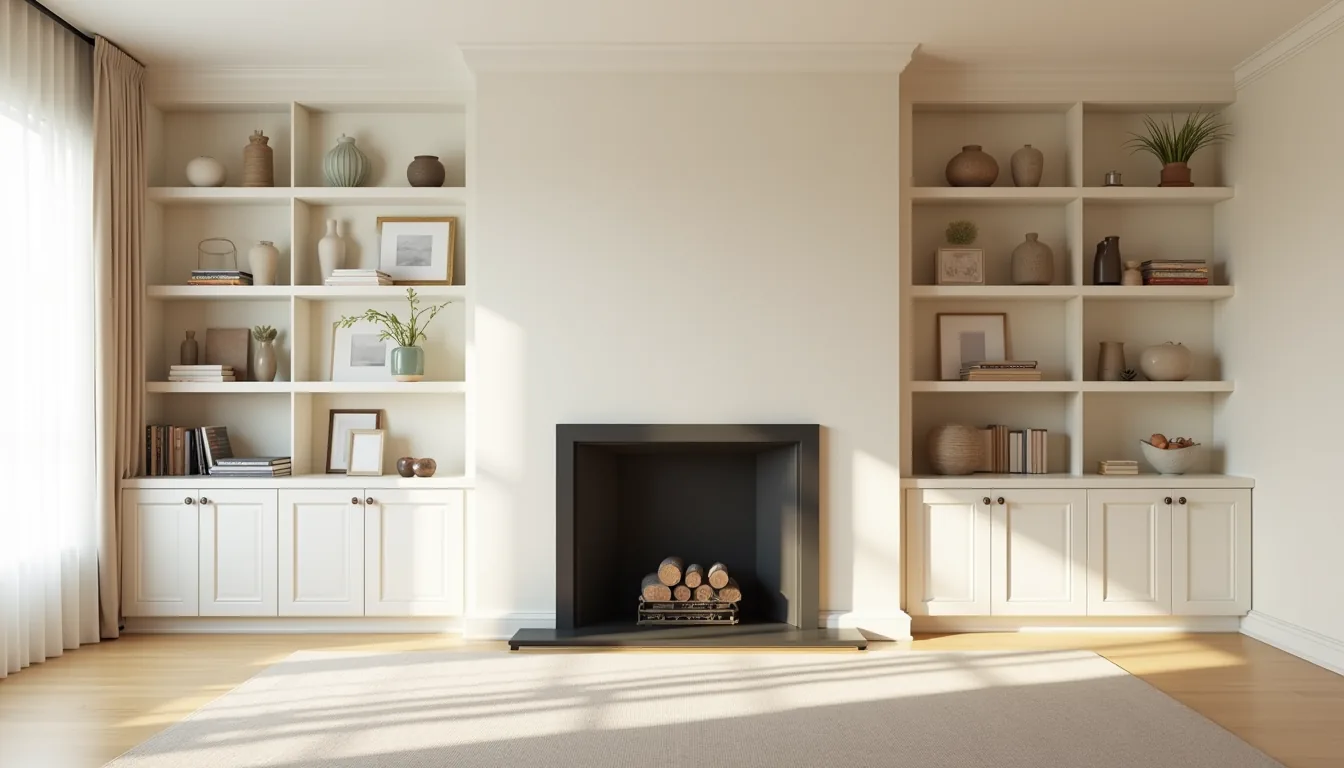

Built in shelves living room designs range from floor-to-ceiling statement walls to compact, modular units that fit a single alcove, and choosing the right approach depends less on trend and more on your room’s dimensions, your budget, and how you actually use the space. That distinction matters because a 10-foot-wide wall demands a different structural strategy than a 3-foot nook beside a fireplace. The six approaches that follow break down the practical trade-offs, cost, installation time, and storage capacity, so you can match the design to your room’s real constraints rather than forcing an aesthetic that fights them.
Key takeaways
- Symmetrical fireplace shelving works best in formal living rooms with a centered focal point, requiring at least 12–18 inches of clearance on each side to avoid a cramped look.
- Asymmetrical shelves with varied spacing suit casual, eclectic spaces and let you display tall vases or stacked books, but keep the heaviest items on lower shelves to prevent tipping.
- Lower cabinets in built-ins add 30–40% more hidden storage than open shelves alone, ideal for families needing to stash electronics, toys, or media equipment out of sight.
- Renter-friendly floating shelves mimic built-ins without permanent construction, using heavy-duty brackets rated for 50–75 pounds per shelf and spackle to patch holes when you move out.
Symmetrical Shelving Around a Fireplace
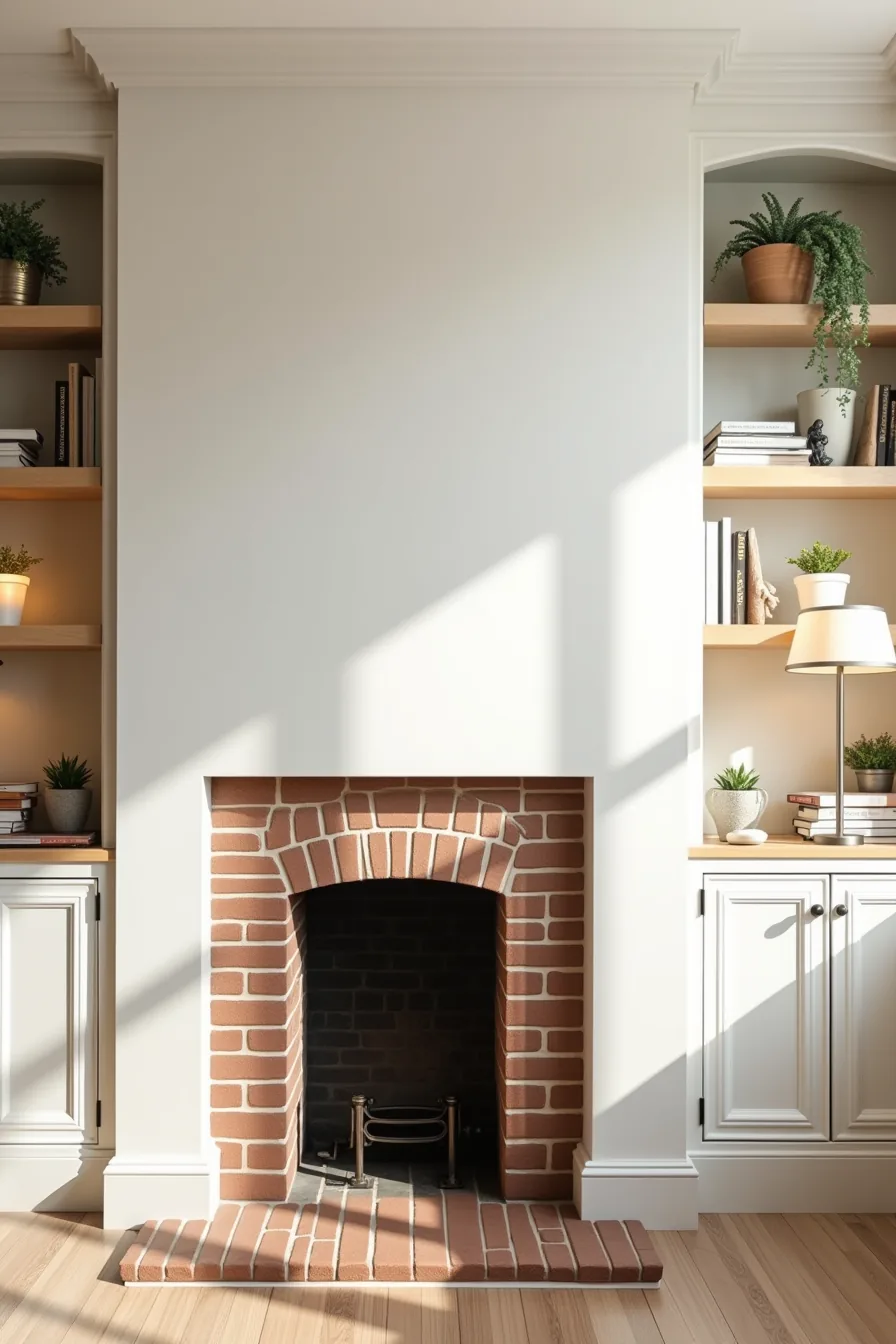
Centering identical shelf units on either side of a fireplace transforms the hearth into a commanding focal point, anchoring the entire built in shelves living room design. The mirrored layout works because your eye naturally reads the fireplace as the axis, and matching shelves reinforce that symmetry without competing for attention. You see this effect with stacked books, potted plants, and sculptural objects arranged as deliberate pairs on each shelf, the repetition creates a sense of order that feels intentional rather than cluttered.
This approach suits medium-to-large rectangular rooms where the fireplace sits on the primary wall, ideally with at least 12 to 18 inches of clearance on each side to avoid crowding the opening. Plan for shelf depths of 12 to 14 inches to hold standard hardcovers and decor without protruding awkwardly, and space shelves 12 to 16 inches apart vertically. For material durability, opt for solid oak or maple rather than MDF if the shelves will hold heavy books; the wood resists sagging over decades, while painted MDF suits lighter styling and a tighter budget.
Avoid this layout in narrow rooms under 10 feet wide, the flanking units can visually compress the space and block natural light from nearby windows.
Asymmetrical Shelves with Varied Spacing
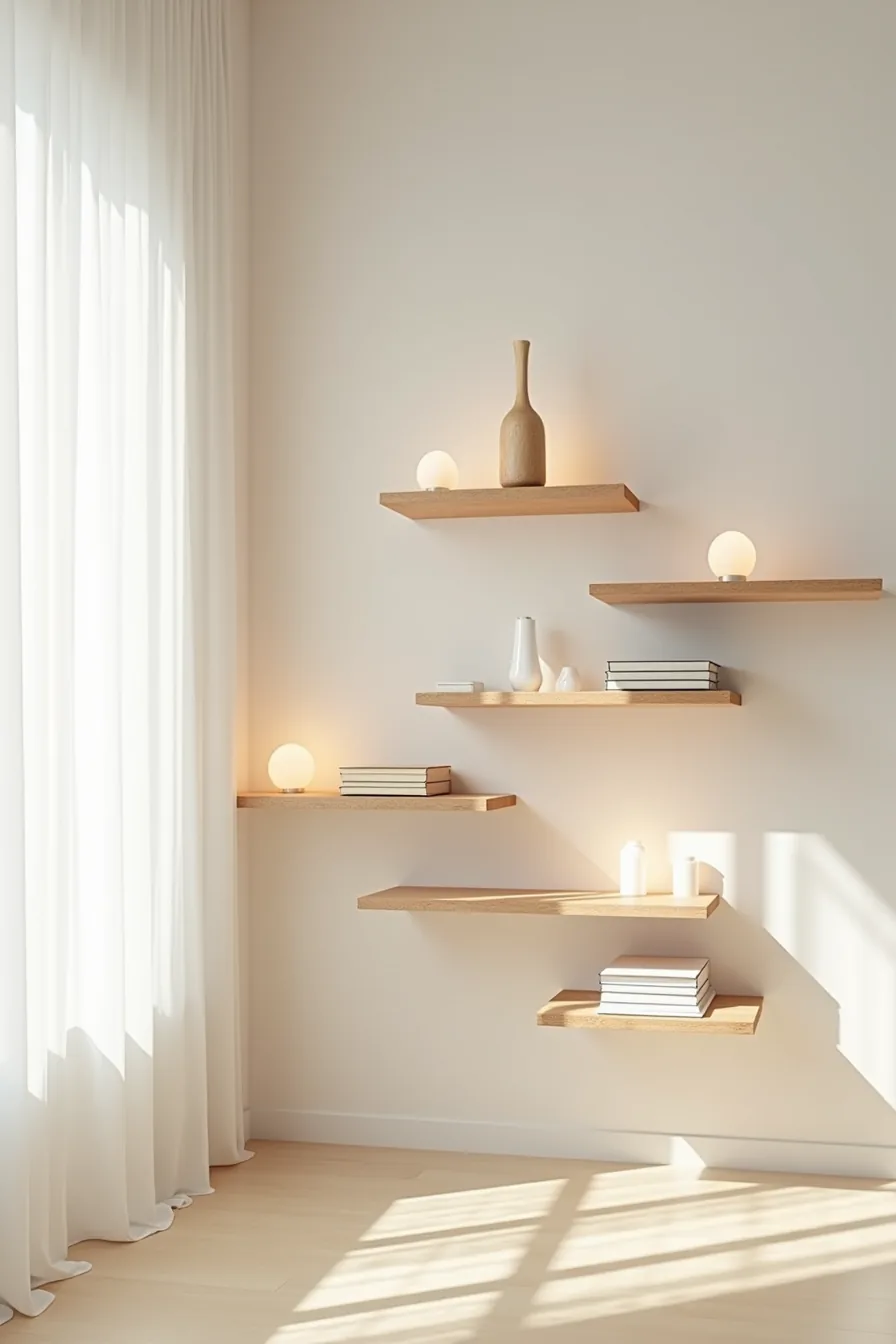
Irregular shelf placement breaks the rigid grid that defines symmetrical designs, letting each ledge carry its own visual weight. On a single wall, floating shelves of different lengths create rhythm through contrast, a tall sculptural piece anchored on the top shelf, stacked books filling the wider middle span, and a shorter, sparser bottom shelf that leaves room to breathe. The varied vertical gaps between shelves amplify this effect, drawing your eye upward in a staggered, organic path.
This configuration suits smaller rooms or awkwardly shaped nooks where symmetry feels forced, such as alcoves beside a doorway or walls interrupted by radiators. You gain flexibility to work around architectural quirks, but you sacrifice storage efficiency, irregular spacing means fewer usable rows for uniform items like box sets or binders. Balance the trade-off by reserving the most accessible mid-level shelf for everyday objects and using the topmost ledge purely for display.
For a cohesive look, stick to one finish across all floating shelves, and keep the sparse bottom shelf intentionally light to avoid a top-heavy feel.
Shelves with Lower Cabinets for Hidden Storage
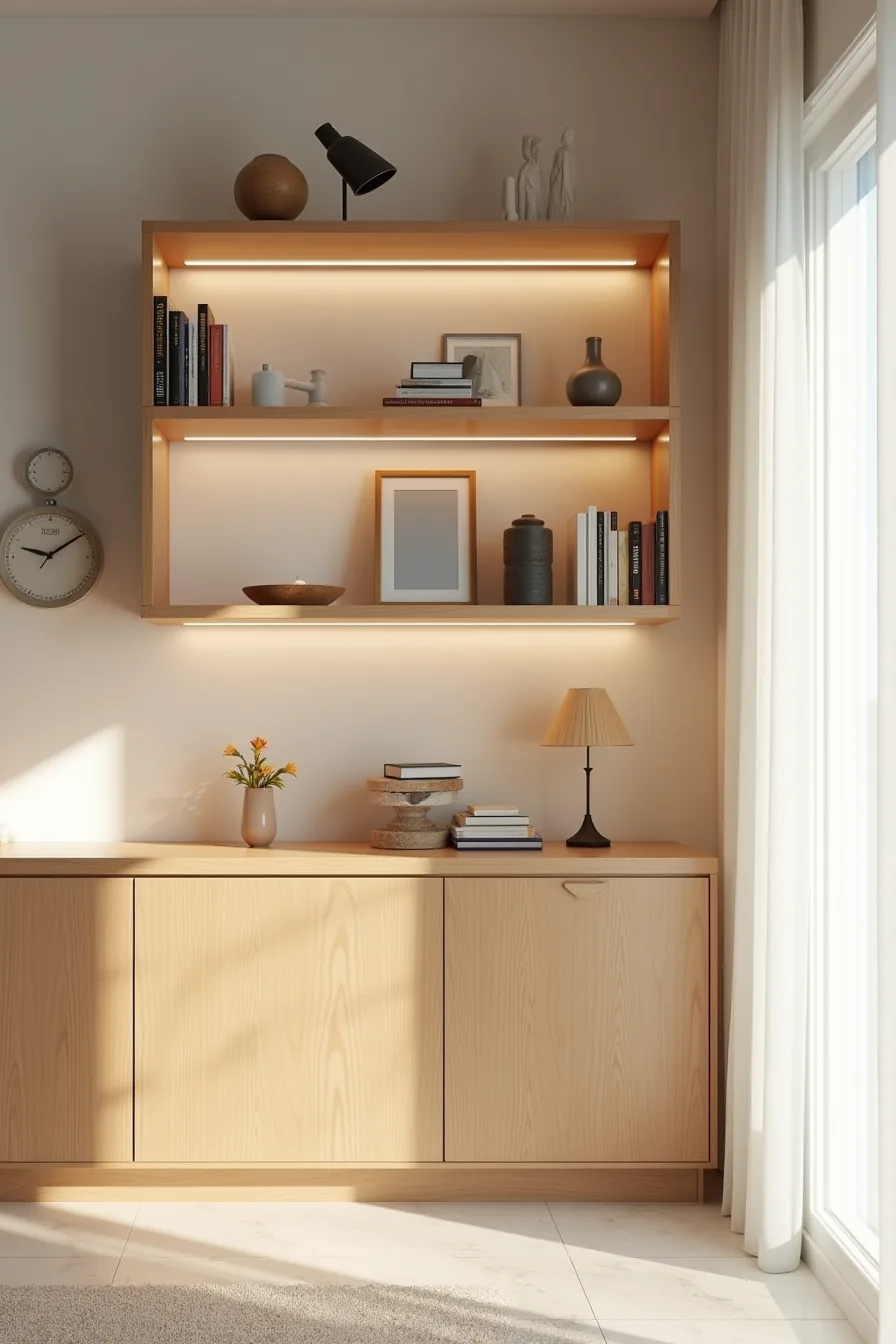
Pairing open shelves with closed cabinetry below solves the storage-versus-display tension in one unit. The upper half, here carrying books and decorative objects, keeps your curated pieces visible and dust-prone, while the lower solid doors conceal the daily clutter: remote controls, board games, charging cables, or kids’ toys. This split gives you the visual lightness of open shelving without committing every inch to public view.
This layout suits busy family living rooms or anyone who wants a styled look but lacks the discipline for fully open storage. You get roughly half the shelf space for display and the other half for hidden capacity, which is a pragmatic trade-off for mixed-use walls. Lower cabinets run 24–36 inches tall with doors that swing or slide; choose push-latch mechanisms if you want a smooth, handle-free front.
Solid wood cabinetry costs more but withstands years of opening and closing, while MDF with a veneer keeps the budget down. For renters, freestanding cabinet bases with floating shelves above mimic the built-in look without permanent attachment, secure the top shelves with heavy-duty brackets rated for your load, and anchor the unit to the wall studs for safety.
Floor-to-Ceiling Shelving on a Single Wall
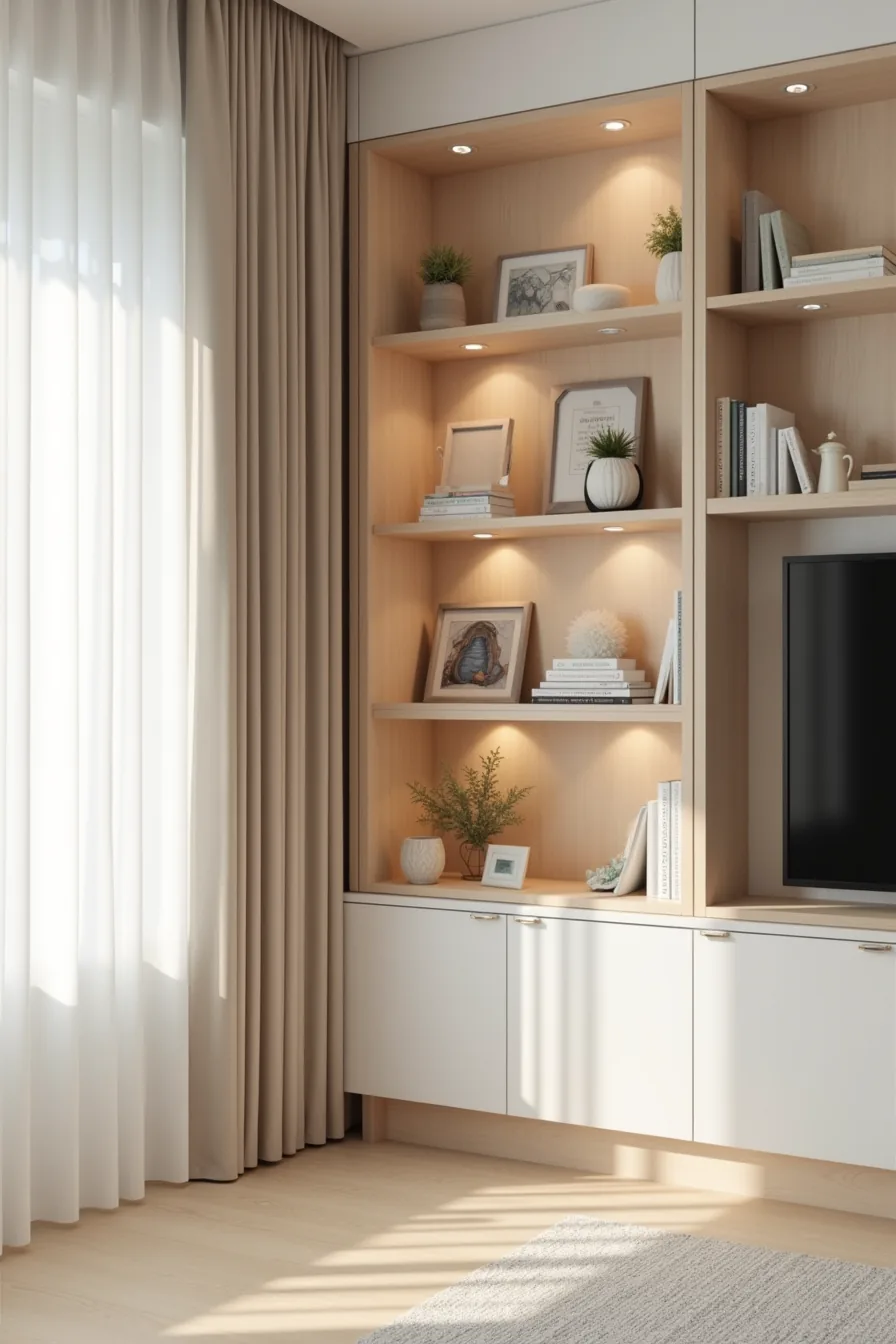
When square footage is tight, the only unused real estate is vertical. A floor-to-ceiling unit on one wall, ideally in a corner where two surfaces meet, converts dead space into a full-height storage and display system without eating into your floor plan. This configuration works best in compact living rooms where a media console or sideboard would consume precious walking space.
Vary the shelf depths and spacing to keep the wall from feeling like a solid, oppressive block. Shallower shelves (10–12 inches deep) suit lighter items like framed prints and small decorative objects, while deeper runs (14–16 inches) handle books and larger sculptural pieces. Place heavier objects, stacked books, ceramics, planters, on the lower third, where the wall studs and floor bear the load more effectively.
Upper shelves should carry only lightweight décor, since anything over roughly 15–20 pounds per bracket risks pulling away from drywall anchors over time. In the corner junction, let shelves meet flush or overlap slightly to create a continuous look; this also hides the inevitable gap where walls aren’t perfectly plumb. If your room is narrow, leave the shelves uncluttered, about 40 percent empty, so the wall reads as architectural rather than packed.
Styled Built-In Formula: Balancing Books, Objects, and Negative Space
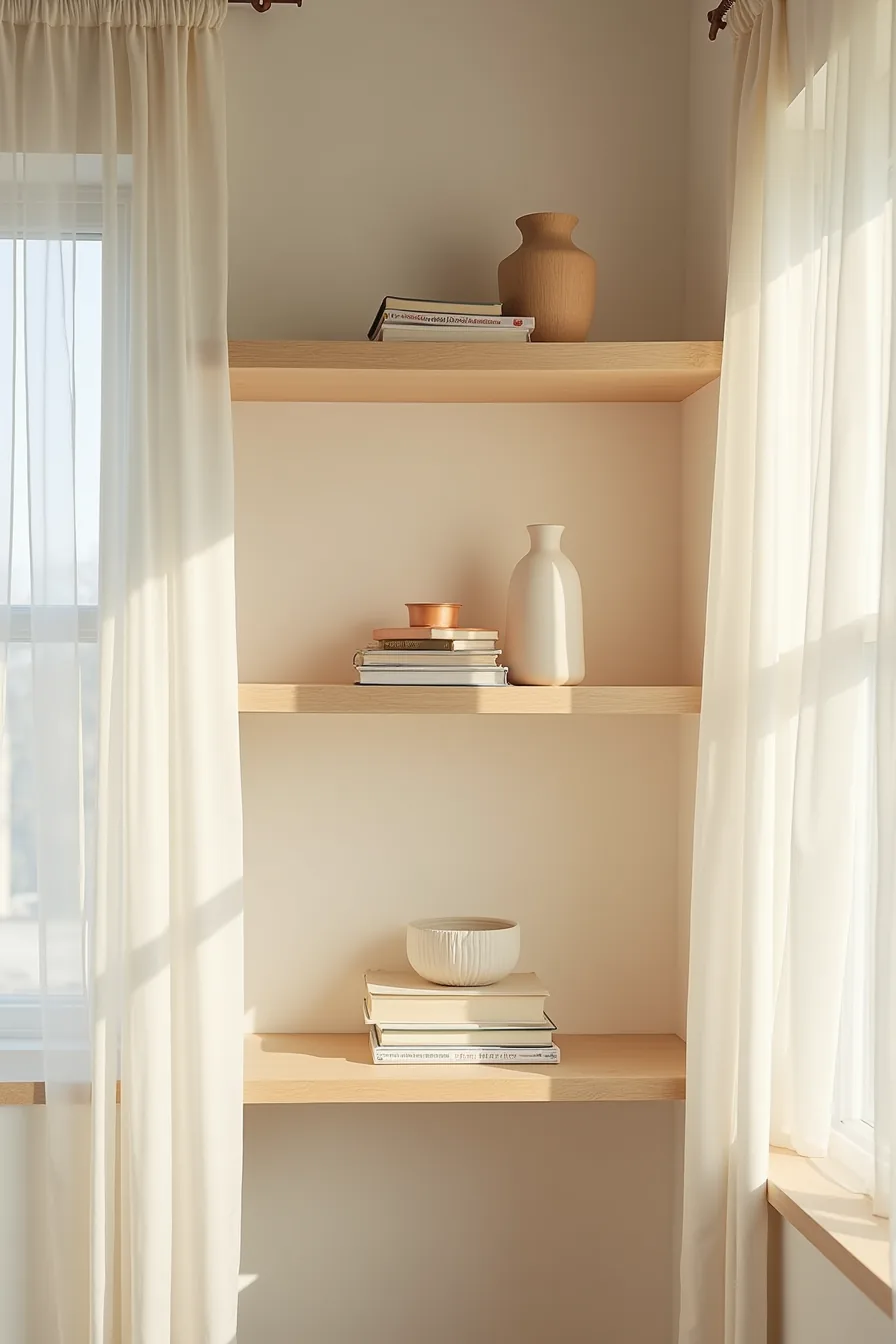
The difference between a curated built-in and a cluttered bookcase comes down to a repeatable formula: roughly 60 percent books, 30 percent objects, and 10 percent empty shelf. That negative space isn’t wasted, it gives the eye a resting point and makes the styled items around it feel intentional. On a single shelf section, try horizontal stacks of three to five books on one side, a single sculptural object in the center, and no more than one-third of the surface left bare.
This arrangement suits living rooms where the shelving spans a long wall, since repeating the same rhythm across each bay creates a cohesive line. Refresh built-in shelves for a new season by rotating in one or two large objects, a ceramic vase in spring, a woven basket in fall, rather than restyling every shelf. Dust at least monthly; with this 60-30-10 split, you can wipe the empty sections and object tops in under ten minutes per bay.
The most common mistake is filling every inch with small trinkets, which reads as noise from across the room, edit ruthlessly, and group small items in pairs of two or three.
Renter-Friendly Floating Shelves as Built-In Alternatives
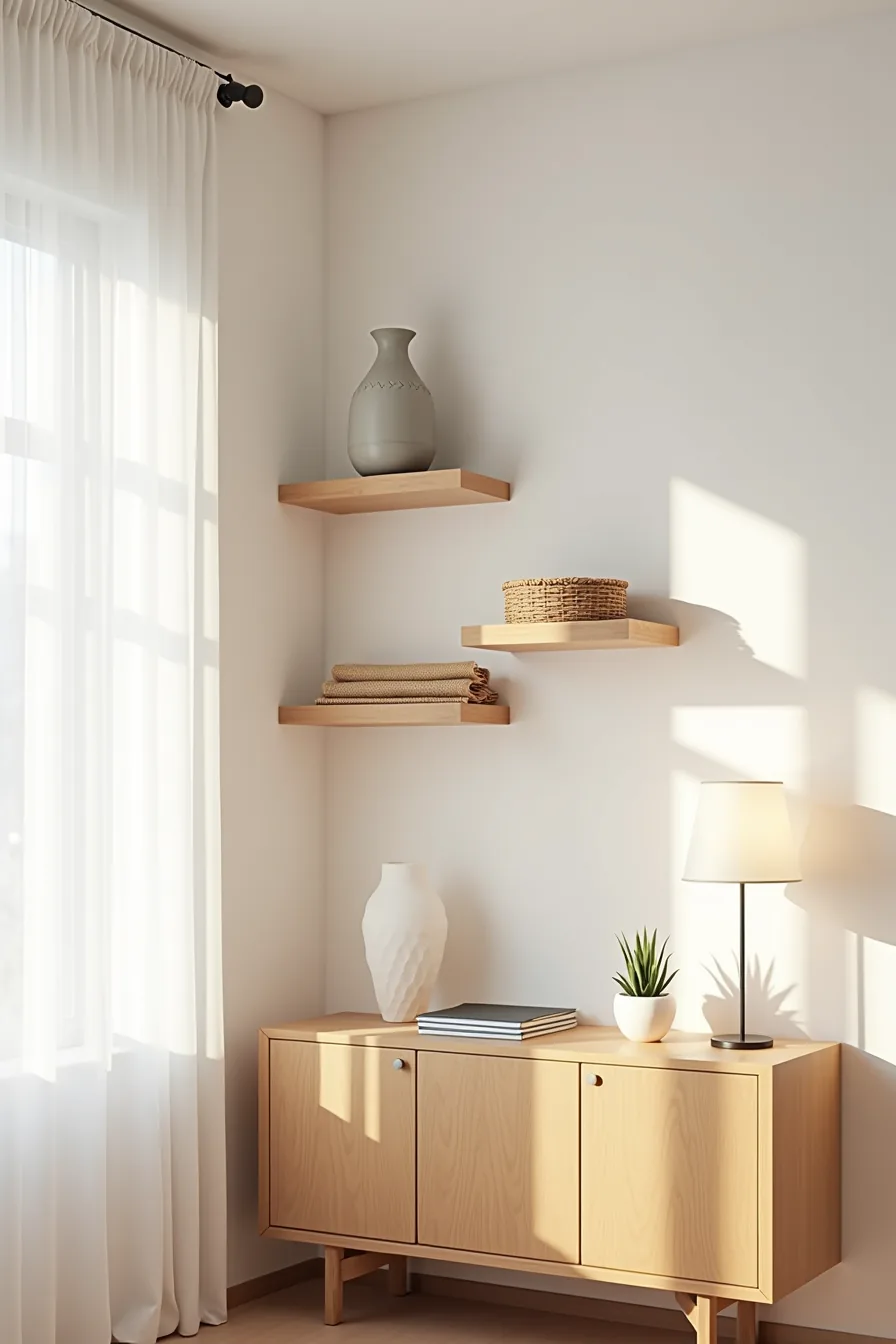
Floating shelves deliver the look of built-ins without a single nail in your landlord’s wall, provided you anchor them at the studs. The setup in your space, three staggered shelves above a low credenza, reads as architectural because the vertical rhythm creates a column of visual weight, just like a floor-to-ceiling unit. Here, the top shelf holds a ceramic vase and woven basket, the middle displays a potted succulent and rolled textiles, and the bottom stays nearly empty to prevent the composition from feeling top-heavy.
For renters, the math favors this route: expect to spend 60–80 percent less than permanent cabinetry, with most floating shelf kits landing in the $80–$200 range per shelf. Wall damage stays limited to small pilot holes you can patch with spackle in under an hour during move-out. Load each shelf to 20–30 pounds maximum, keeping heavy books on lower units, the staggered heights here suit lightweight décor, not a full library.
When you leave, remove the shelves and fill the holes; unlike built-ins, there’s no demolition, no patching of trim, and no negotiation with a landlord over permanent fixtures.
Where to start
You now have six distinct directions, from budget-friendly floating shelves to full custom built-ins. The right choice depends on your timeline, renovation comfort, and how long you plan to stay in your home.
Start by measuring your wall space and setting a firm budget range, $200–$600 for shelving units, $1,500–$4,000 for semi-custom, and $5,000+ for fully built-in cabinetry. Sketch three layout options on graph paper, then live with your measurements for a week before ordering anything.
Your next step: take photos of your wall, note your measurements, and send them to two local carpenters for quotes. Comparison pricing will tell you whether custom or off-the-shelf makes sense for your space.
Frequently Asked Questions
What depth should living room shelves be to hold books and decorative objects?
Standard depth is 10–12 inches for books and décor. Go 14–16 inches for larger objects like vases or frames, but avoid exceeding 16 inches, which can overwhelm smaller rooms and make items hard to reach.
Can you install built-in shelves in a rental apartment without losing your security deposit?
Yes, if you use freestanding, wall-mounted units with removable adhesive strips or tension rods. Avoid drilling or permanent fasteners, use peel-and-stick brackets or leaning ladder shelves instead. Always patch and repaint before moving out to secure your deposit.
How do you prevent built-in shelves from looking cluttered or too busy?
Apply the rule of thirds: fill one-third with books, one-third with grouped objects (odd numbers, varying heights), and leave one-third empty. Stick to a two-color palette for décor and use closed lower cabinets to hide clutter. Edit monthly, remove anything that doesn’t serve function or joy.
What’s the typical cost difference between floating shelves and permanent built-in installations?
Floating shelves run $50–$150 per shelf (materials and DIY labor), while permanent built-ins range $1,500–$6,000+ depending on size, cabinetry, and finish. Floating shelves suit rentals and budgets; permanent units add resale value but require professional installation and are non-removable.