The bathroom light fixtures ceiling you choose determines not just visibility, but how the room feels from the moment you step in, and most homeowners default to a single overhead unit without considering the spatial trade-offs. The fix isn’t one perfect fixture, but a layered strategy that matches your ceiling height, vanity placement, and daily routines. From flush-mount LEDs that disappear into low ceilings to statement pendants that anchor a freestanding tub, the right choice hinges on your room’s proportions and your tolerance for maintenance.
Below, six proven configurations, each with its specific installation requirements and cost realities, will help you match the fixture to the space, not the other way around.
Key takeaways
Match your ceiling height to the fixture type: flush mounts suit ceilings under 8 feet, while semi-flush fixtures need at least 7 feet of clearance from the floor to the bottom of the globe. Prioritize wet-rated fixtures for shower zones and damp-rated options for the rest of the bathroom, or you risk corrosion and electrical failure within a year. Layer your light sources by pairing a ceiling fixture with wall sconces at eye level to eliminate shadows on your face and reduce contrast by up to 60%. Use track lighting heads to spotlight a vanity or mirror individually, and you can reposition them without rewiring, a smart choice for renters who want flexibility.
Flush Mounts for Tight Spaces
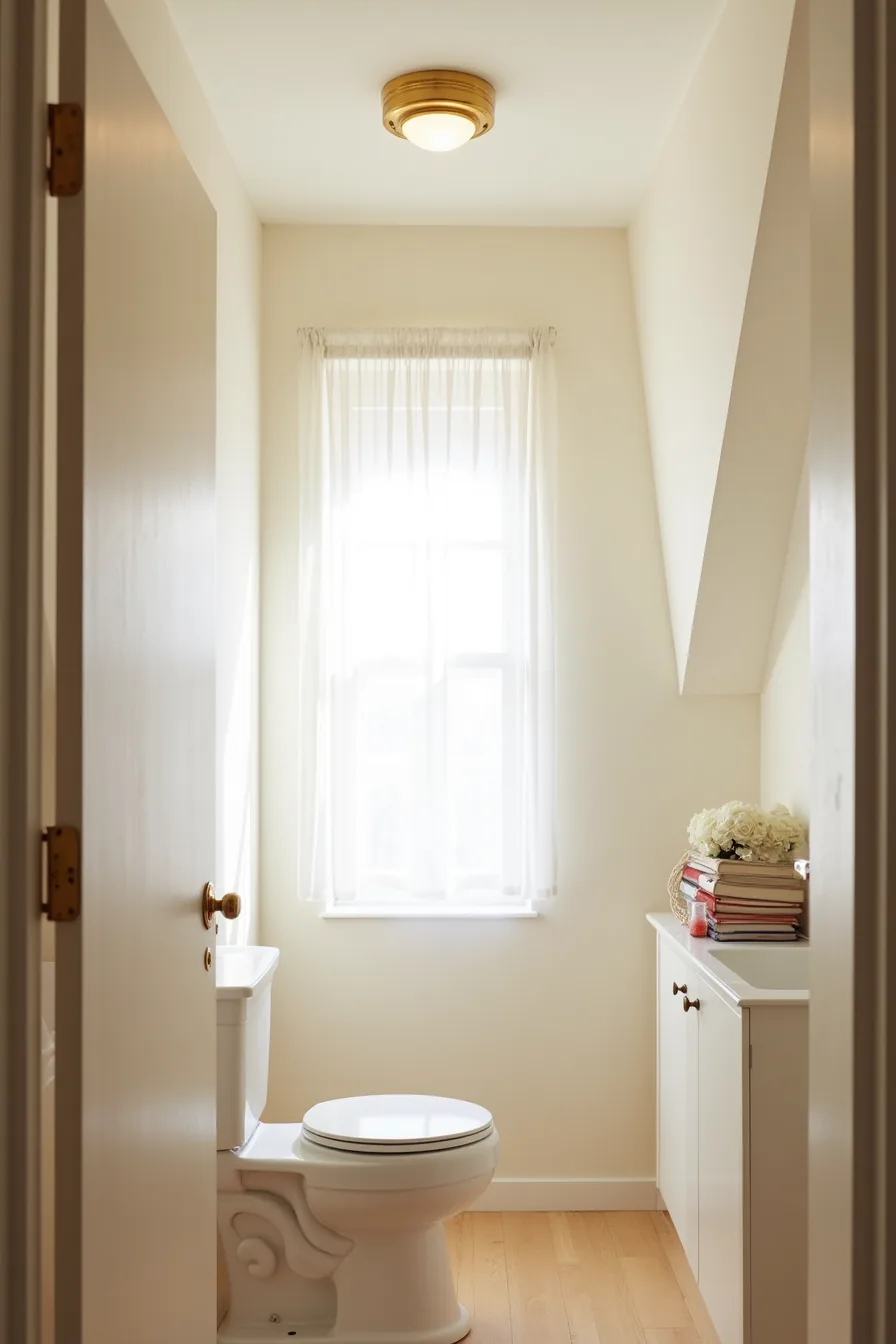
A flush mount sits directly against the ceiling, typically extending only 4–6 inches downward. This makes it the only viable fixture type for bathrooms with less than 7 feet of clearance or sloped ceilings, where a hanging fixture would intrude on headroom or block access to the vanity.
In the angled ceiling example, a brass dome fixture works because its curved profile follows the sightline of the slope without creating a visual break. The flat base mounts flush to the drywall, requiring no junction box extension or special adapter. For a sloped ceiling, confirm your mounting plate swivels or articulates slightly, otherwise, the fixture may sit crooked.
Choose this route when your priority is unobstructed circulation over ambient drama. It suits powder rooms, basement baths, and attic conversions where a toilet or swing path sits directly beneath the light. The trade-off is all-downward light: you get functional brightness, but no upward glow to soften the ceiling plane.
Pair it with a wall sconce if you want wash light on the walls without sacrificing clearance.
Semi-Flush Fixtures: The Middle Ground
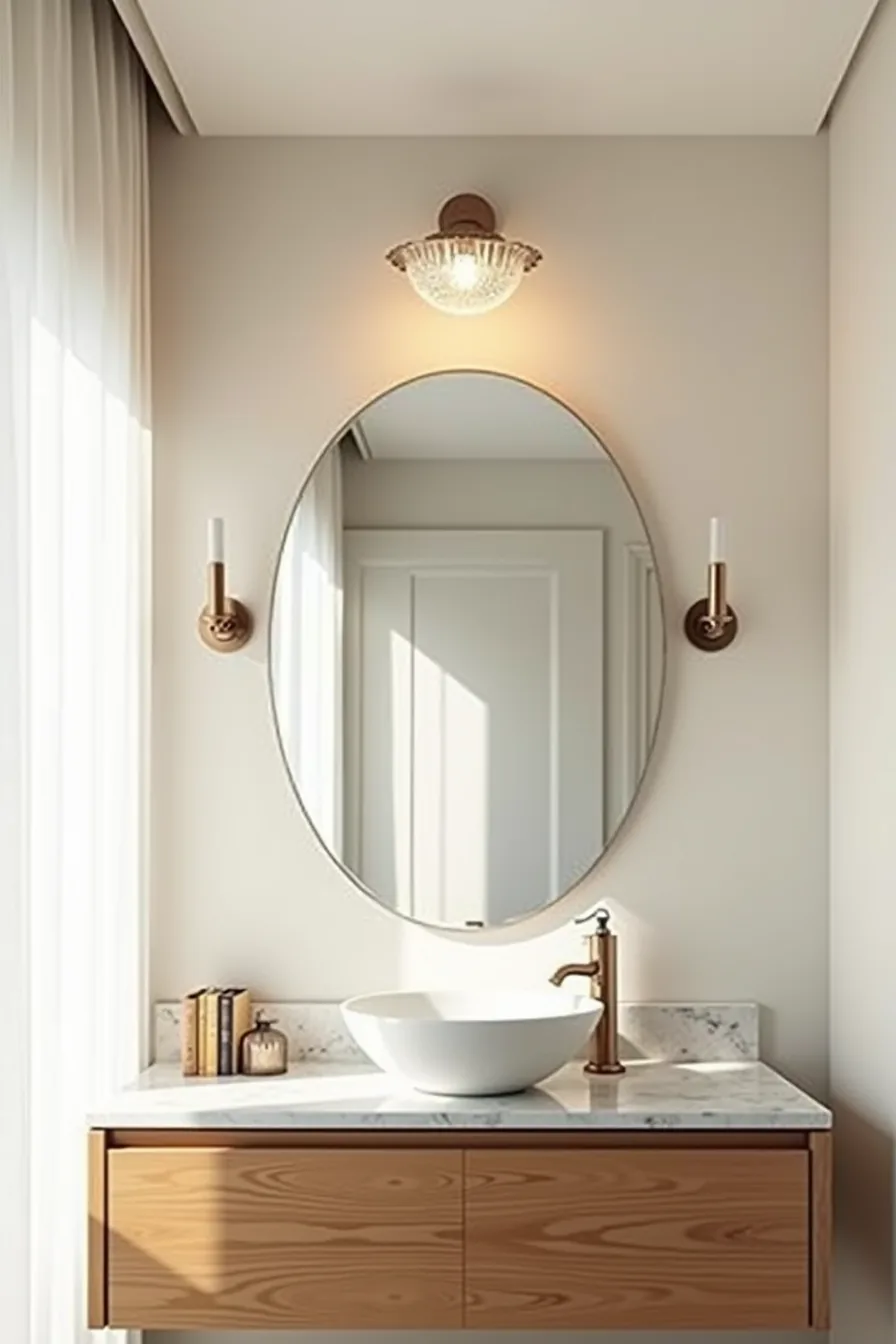
A semi-flush fixture drops 4–6 inches below the ceiling, splitting the difference between a flush mount’s minimal footprint and a pendant’s visual weight. That short stem lets the shade, here, a crystal or glass bowl, catch and refract light across a broader radius, while still keeping clearance for standard 8-foot ceilings. If your ceiling runs 8–9 feet, this is the sweet spot: you get ambient glow washing upward onto the ceiling plane without risking head contact near the vanity.
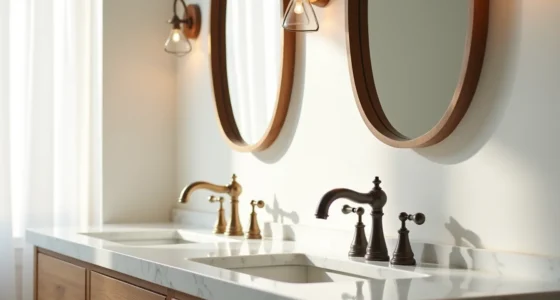
In this setup, the semi-flush fixture anchors the room’s center, while dual mirrors flanked by wall sconces handle task lighting at face level. The marble countertop reflects the fixture’s downward light, brightening the counter surface without glare. That division matters: the ceiling piece provides general illumination, the sconces provide shadow-free grooming light, and neither has to overperform.
For a medium bathroom (roughly 50–80 square feet), choose a bowl diameter of 12–18 inches; smaller reads undersized, larger overwhelms the scale of the mirrors. The flush vs semi-flush decision here comes down to whether you need upward light, if yes, semi-flush wins.
Recessed Lighting for Smooth Integration
Recessed ceiling lights, visible in this setup as three evenly spaced cans across a flat white ceiling plane, disappear into the architecture, leaving the drywall unbroken and the eye free to land on the vanity and shower enclosure below. Because the trim rings sit flush, the fixture contributes no visual weight, which makes it the strongest option for low ceilings at or under 8 feet where hanging anything would crowd the space.
Spacing matters more than fixture count. Keep the cans 4–6 feet apart and at least 2 feet from the walls; this prevents dark pooling between beams and keeps the wash of light even across the entire floor plan. Recessed housings require 6–8 inches of plenum depth above the ceiling, so confirm your joist cavity allows this before committing.
For a remodel, retrofit housings fit through an existing hole and connect to current wiring, whereas new-construction housings, installed before drywall goes up, offer better insulation contact and lower long-term energy loss. Budget for IC-rated housings if insulation touches them, and expect to replace the integrated LED modules every 15–20 years rather than screwing in standard bulbs. The trade-off: you gain smooth illumination but lose the decorative character a visible fixture provides.
Ceiling Light Plus Sconces for Layered Brightness
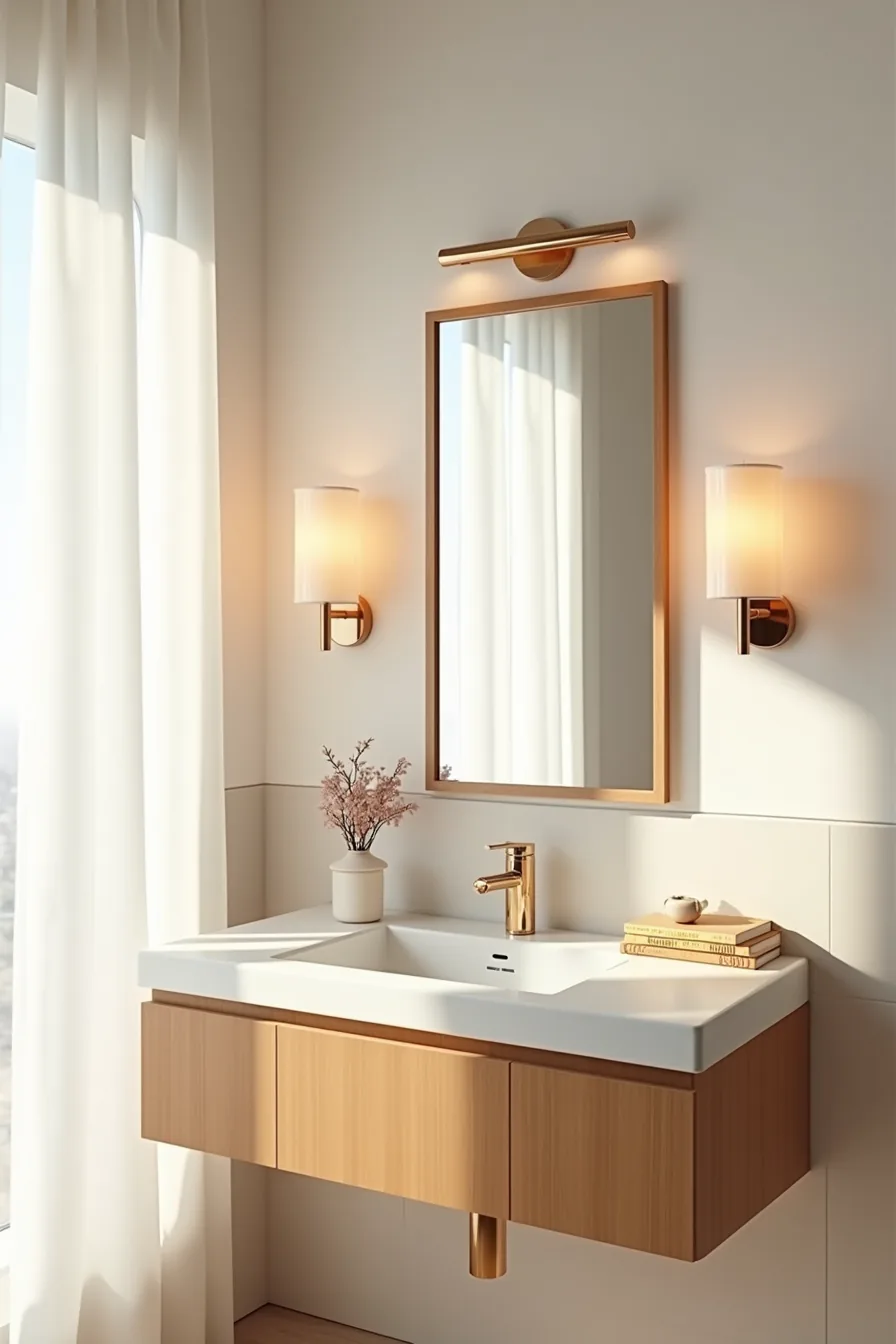
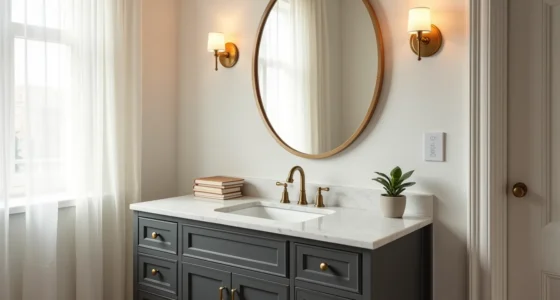
Pairing a central ceiling fixture with two wall-mounted sconces creates the two-source illumination that eliminates the harsh shadows cast across your face by a single overhead light. In this setup, the flush-mount ceiling fixture above the mirror frame handles general ambient light while the matching sconces on either side aim light directly at your reflection, which is exactly what you need for shaving or applying makeup.
Mount the sconces at eye level, typically 60–66 inches from the floor, and position them 28–36 inches apart, just outside the edges of a 30–36-inch mirror. For wattage balance, keep the ceiling fixture at 60–75 percent of the combined sconce output; three 60-watt equivalents total works well for most vanities. This configuration suits medium bathrooms from 50–100 square feet where one ceiling point alone leaves corners dark.
Expect to run separate wall switches so you can dim the sconces for evening wind-down while keeping the ceiling light off entirely.
Track Lighting for Flexible Positioning
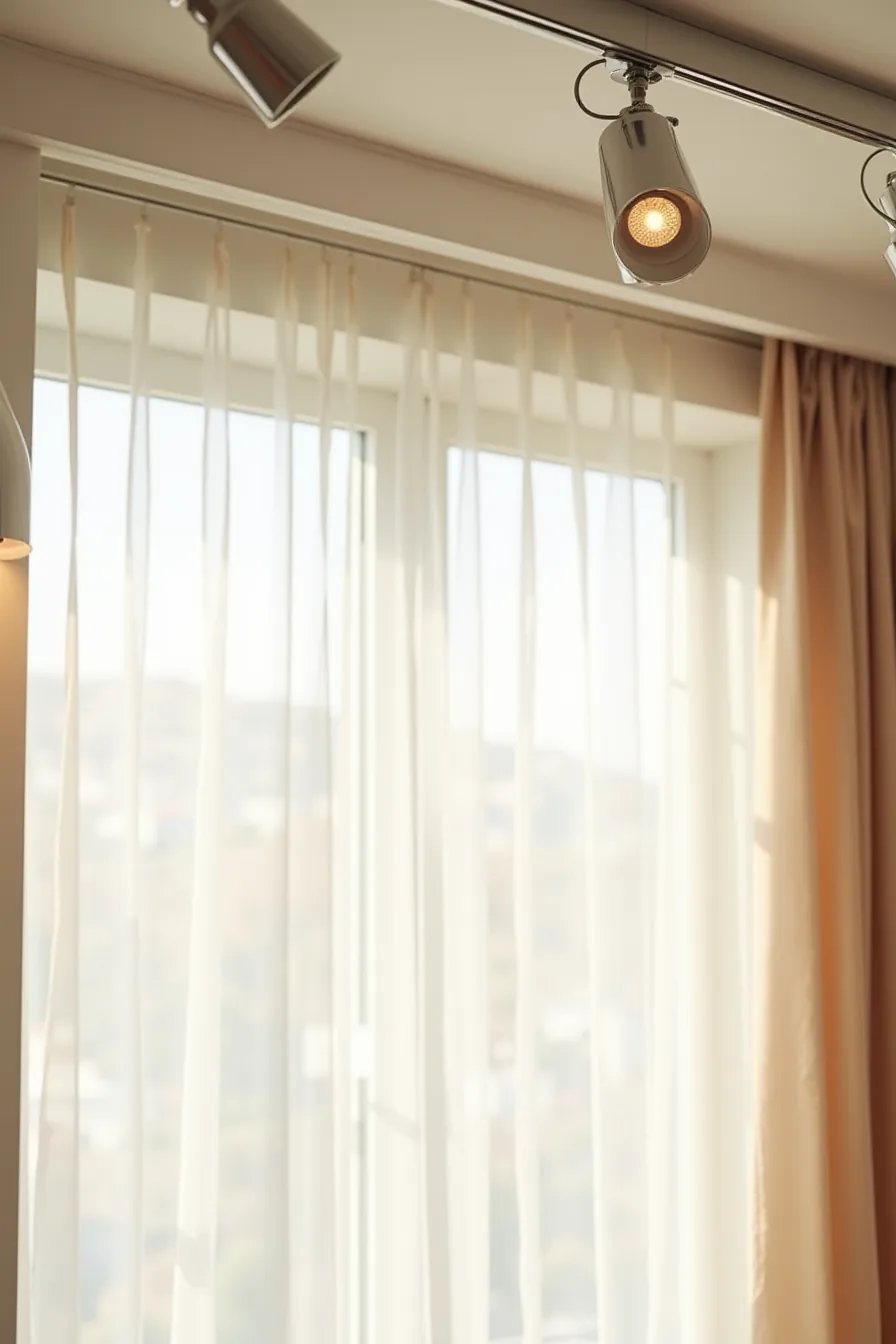
A metal track system with three adjustable spotlights gives you the ability to redirect light as your needs change, which a fixed flush-mount fixture can’t offer. You can aim one spotlight at the vanity mirror for task work, pivot a second toward the shower for safety, and point a third at artwork or a textured tile wall for visual depth. This makes it a strong choice for bathrooms with irregular layouts or multiple functional zones under a single ceiling plane.
Track lighting works on a low-voltage rail that commonly supports three to four heads, with each spotlight typically rated for 40–50 watt equivalents. Installation requires anchoring into ceiling joists, not just drywall, because the combined weight of the track and fixtures creates pull. For a 5-foot track, expect to secure it at three points minimum.
You can adapt the system to ceiling heights from 8 to 12 feet by adjusting the spotlights’ tilt angles; lower ceilings need tighter downward angles to avoid glare. The metal track and adjustable spotlights shown here suit a medium-to-large bathroom from 80–150 square feet where a single center light can’t reach every corner.
Budget, Renter, and Investment Routes
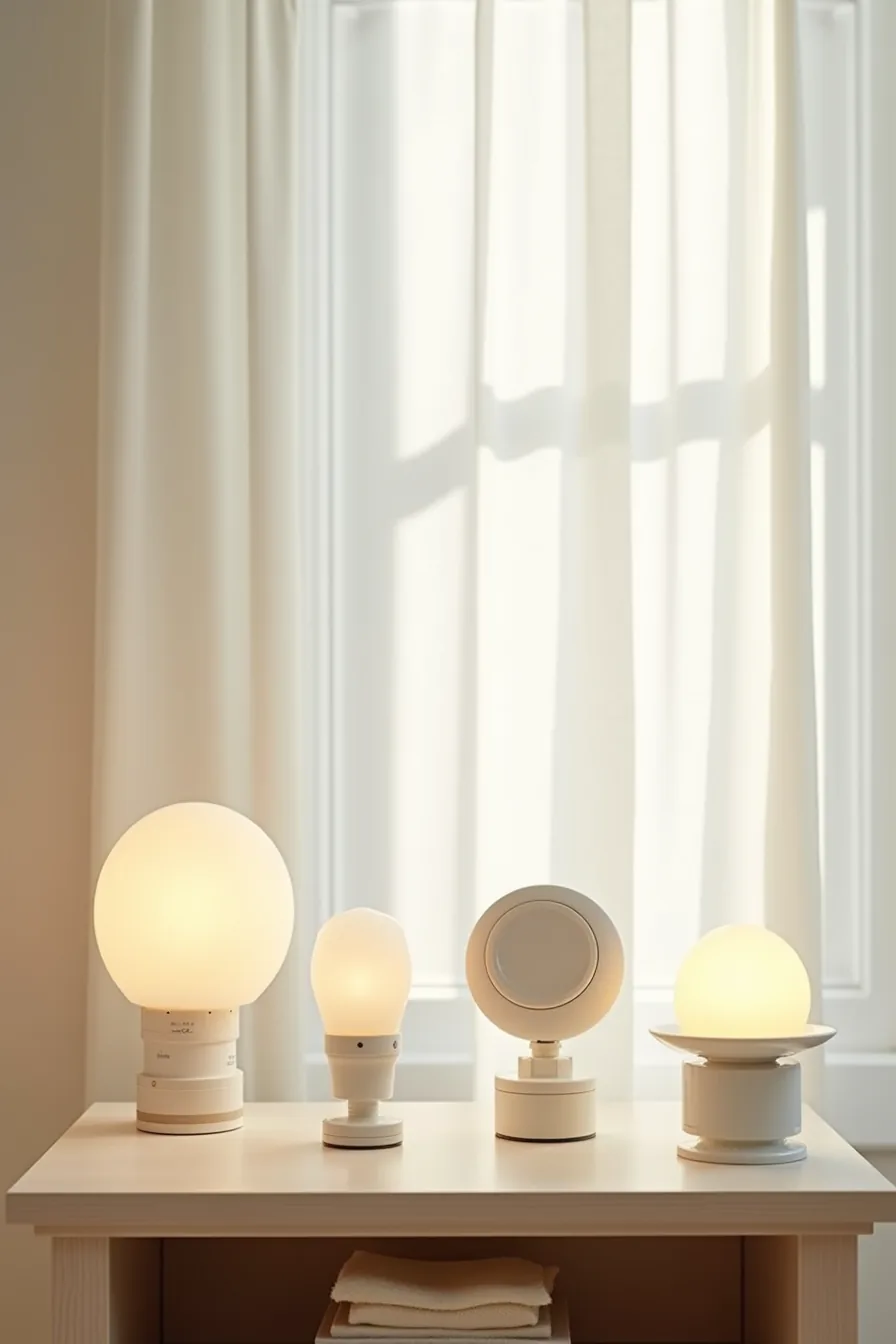
The three fixtures on the shelf represent distinct cost tiers, and each solves a different ceiling constraint. The small plug-in clip lamp is your budget route, typically $15–30, and it works by clamping directly onto a shelf edge or tension rod, so it requires zero wiring and zero wall damage. You lose ceiling real estate, but you gain the freedom to reposition it whenever you change the room’s layout.
The adhesive-mount puck light sits in the renter-friendly middle tier. Its peel-and-stick base holds up to roughly 5 pounds of fixture weight, and removal takes a few minutes with a hairdryer and a putty knife. Expect the adhesive to degrade after 12–18 months in a steamy bathroom, so budget for one replacement per lease cycle.
The semi-flush fixture base with visible wiring is the long-term investment, plan on $100–250 for the unit plus $150–300 for an electrician to hardwire it. That cost buys 20+ years of service, but it commits you to the ceiling’s current wiring location. If you rent, skip this tier unless your landlord approves permanent modifications in writing.
Where to start
Match the fixture to your ceiling height first, not your style preference. Measure from floor to ceiling before browsing, this single number eliminates half your options instantly. Low ceilings (under 8 feet) demand flush mounts; anything taller opens the door to semi-flush pendants or recessed cans.
Decide your budget ceiling separately. A quality LED flush mount runs $80–$200; recessed trim kits cost $15–$40 per unit but require electrician access above. Renters should prioritize plug-in pendants that hang from a ceiling hook, no rewiring needed.
Choose your material after that. Brushed nickel and matte black hide water spots best; chrome shows every fingerprint. Pick one finish and carry it through your faucet and hardware.
Your next step: grab a tape measure, check that ceiling height, then filter online listings by that number.
Frequently Asked Questions
What is the minimum clearance needed for a semi-flush bathroom ceiling fixture?
You need at least 7 feet from the floor to the fixture’s bottom edge, and 6 inches of clearance from the ceiling. This prevents head bumps in standard 8-foot bathrooms.
Can you install recessed lights in a bathroom with low ceilings?
Yes, if your ceiling is at least 7 feet 6 inches tall. Use IC-rated, airtight housings rated for damp locations. For ceilings under 7 feet, choose ultra-thin LED wafer lights instead.
How many lumens should bathroom ceiling lights provide for adequate morning visibility?
Aim for 4,000 to 6,000 total lumens across all ceiling fixtures for a standard 5×8-foot bathroom. This equals roughly 80-100 lumens per square foot, ensuring clear task lighting for grooming.
Are adhesive ceiling light fixtures safe for renters in bathrooms?
No. Adhesive fixtures risk falling from moisture and heat, and most violate electrical codes requiring hardwired or plug-in connections. Use a plug-in pendant with a ceiling hook instead, it’s renter-friendly and safer.