
Chair design drawing isn’t a single style but a working method, a way to translate a chair’s function, structure, and proportions onto paper before a single piece of wood or steel is cut. In practical terms, it spans everything from a quick perspective sketch to a dimensioned technical plan, and the route you choose should match your skill level, budget, and the room you actually have. The six approaches that follow range from a renter-friendly tracing trick to a long-term joinery investment, each with the scale, material, and maintenance trade-offs spelled out so you can pick the one that fits without guesswork.
Key takeaways
- Start orthographic with front, side, and top views at 1:5 or 1:10 scale to expose proportion errors before any perspective work.
- Measure seat height (16–18 inches) against armrest height (7–9 inches above seat) using ratios like 1:1.5 to keep ergonomic balance.
- Use a 3-stage sketch process, gesture, structural, refined, spending 10 minutes per stage to lock in silhouette before adding detail.
- Test materials early by building a 1:1 cardboard mockup for under $20 to verify comfort and clearance before committing to hardwood or metal fabrication.
Start with the Basic Orthographic View Setup
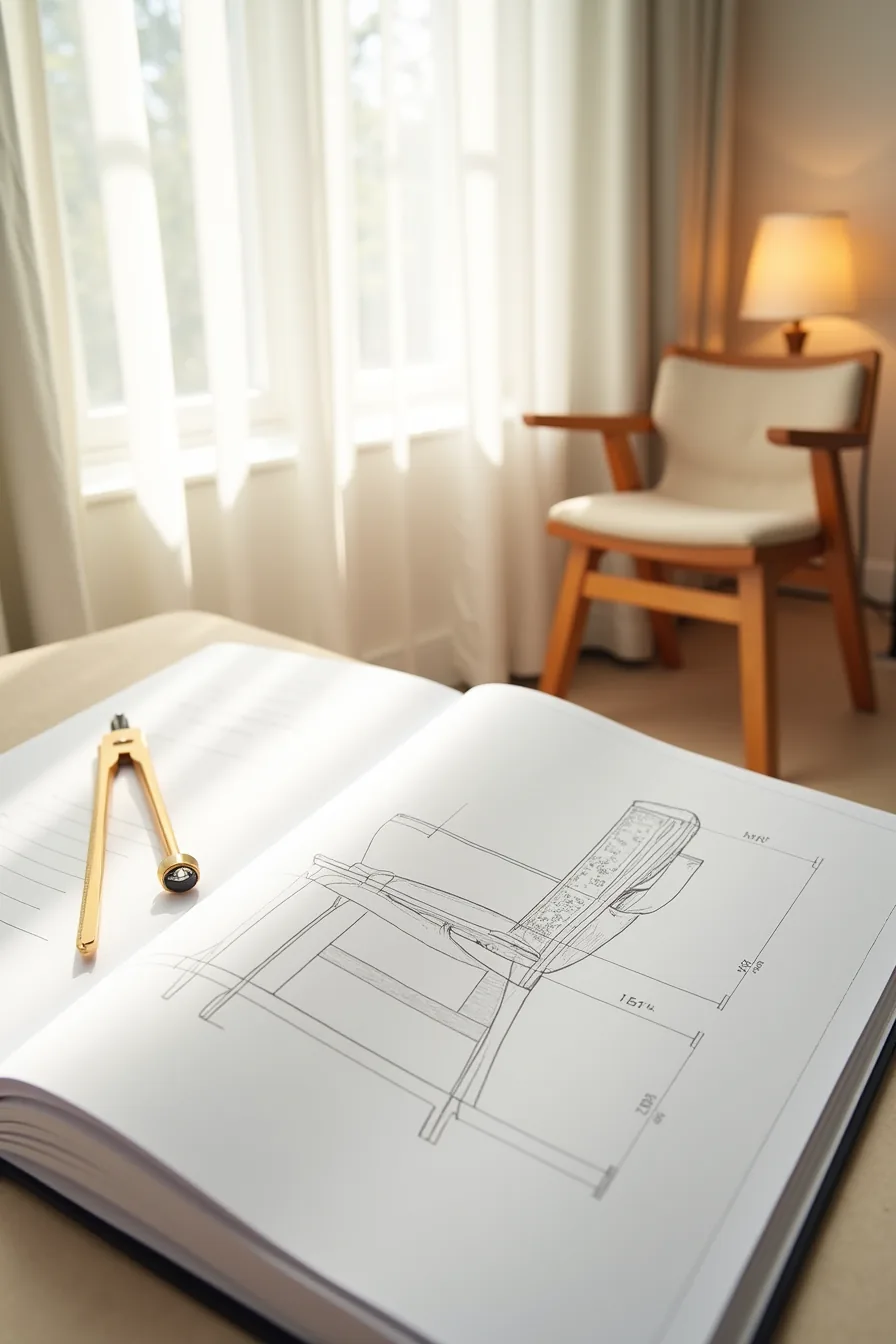
Before any shading or style decisions, lock down your chair’s geometry with a two-view orthographic layout. Place the front elevation on the left and the side elevation directly to its right, sharing the same vertical axis so the seat height, backrest angle, and leg lengths align across both views. On grid paper, use a 10mm or 0.5-inch grid as your baseline and mark horizontal construction lines at the seat plane, armrest top, and floor line, these become your non-negotiable reference points.
Draw light vertical projection lines from the front view across to the side view to transfer critical widths and depths. This is where a drafting compass earns its keep: use it to check arc radii for curved backrests and ensure the seat’s front-to-back depth matches between views. Keep dimension numerals small (2-3mm height) and placed outside the outlines so they never clutter the profile.
The payoff? You catch proportion errors, like a seat 20% too shallow or legs that taper inconsistently, before committing to a single refined line. This two-view method suits beginners learning scale and professionals who need precise construction documentation for a manufacturer.
Build Proportion Study Through Measurement Ratios
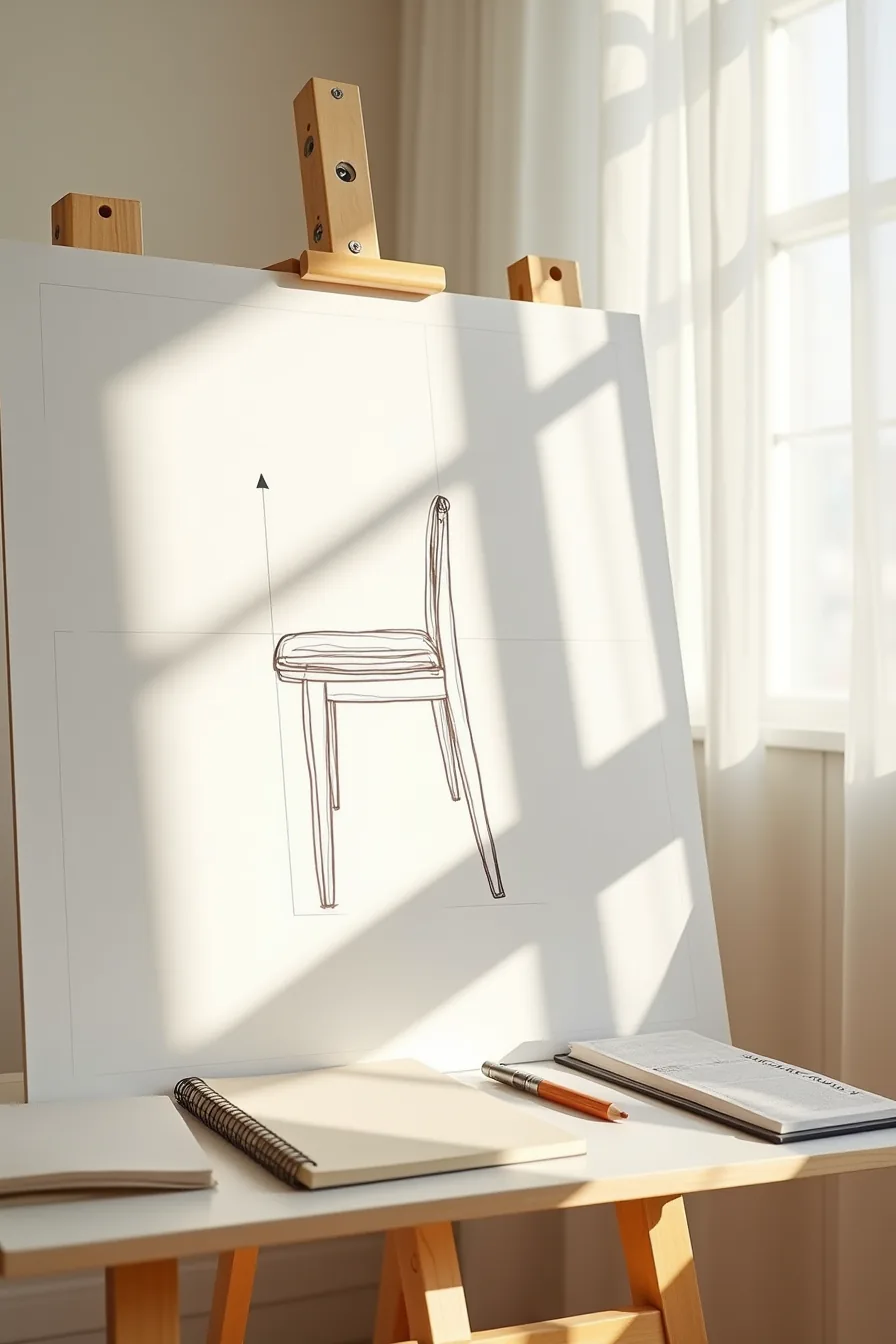
A proportion study turns your chair’s total height into a series of stacked segments you can compare and adjust before refining a single line. On your drafting board, divide the full chair height into three bands, leg length, seat-to-armrest, and backrest, using faint pencil lines that run fully across the profile. Position your proportional dividers across the seat height segment to test whether that band sits within the typical 40-45% of total height most side chairs use, then mark the resulting ratio notation in the notebook beside you.
Ratio ranges shift by style category: dining chairs commonly hold seat heights at 45-50% of total height, while lounge chairs drop the seat band to 35-40% and push the backrest taller. Check that leg length stays within 25-35% of total height across both front and side views; if the side view shows legs visually shorter than the front, your proportions read as unstable. Adjust one segment at a time and re-measure all three bands, changing the backrest without revisiting the seat height is how chairs end up looking stretched or squat.
This segment-division method works for anyone refining a single concept, whether you’re drawing for a client presentation or your own build plan.
Develop Concept Sketch Stages from Rough to Refined
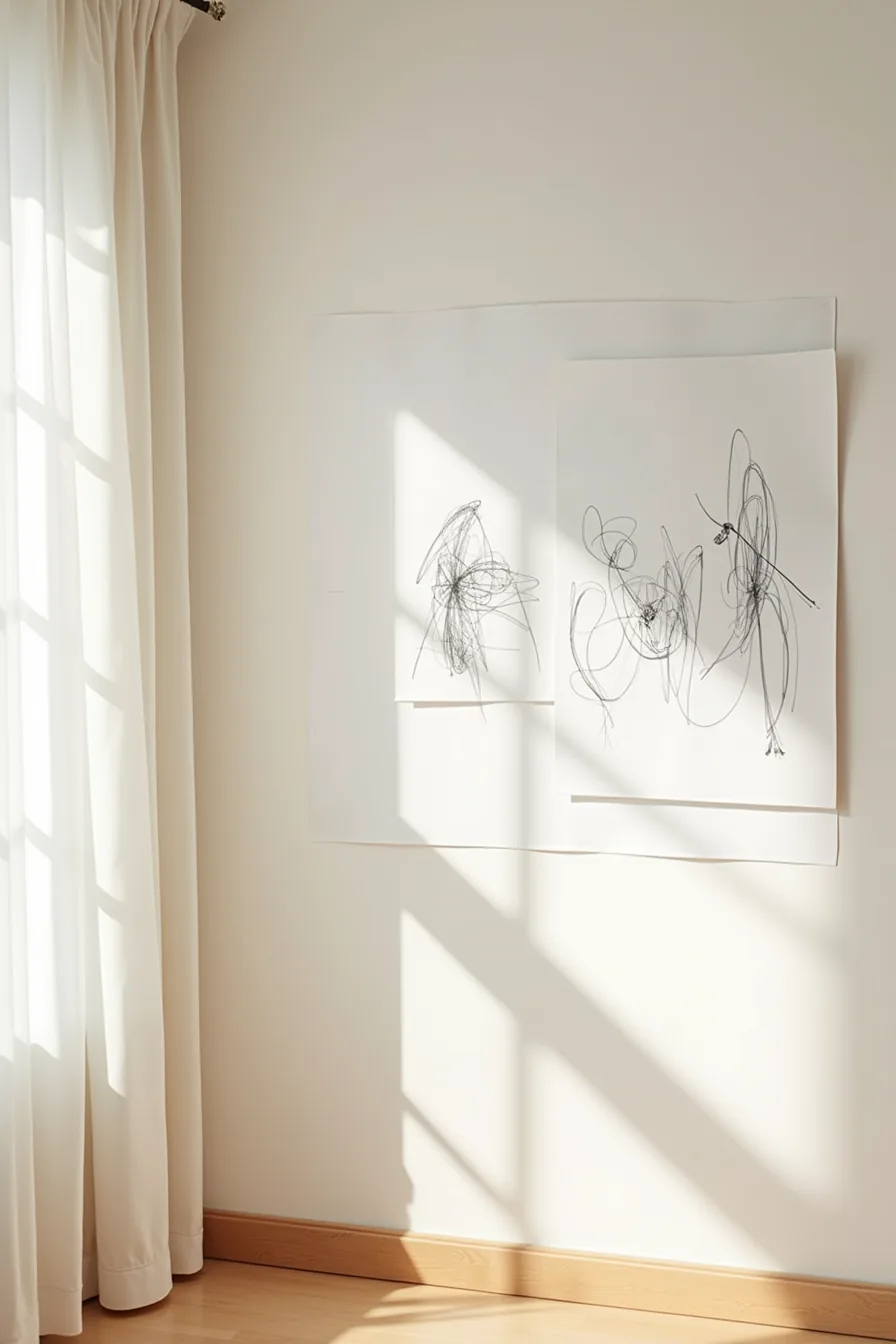
Begin with thirty-second gesture scribbles that capture the chair’s overall posture, lean, splay, and mass, without worrying about a single straight edge. Lay four of these loose sketches in an arc across your paper, letting each one overlap the previous; the graphite smudges and eraser marks between them are working evidence, not mistakes. Keep your pencil moving in long, continuous strokes rather than short hatching lines, which lock you into details too early.
Your second pass tightens the most promising gesture into defined outlines, adding construction lines for the seat plane and backrest angle. This is where you correct symmetry and check that the splay on the front legs matches the side view. Only after two or three refined iterations should you introduce shading, use it to describe the seat’s thickness and the backrest’s curve, not to decorate the page.
A kneaded eraser lifts graphite to suggest highlights on the front edge of the seat, which reads as material and form for Chair Design Drawing for Beginners finding their style. Expect five to seven rough-to-refined passes before a drawing earns the right to become final line work.
Apply Chair Design Drawing to Small-Space Constraints

When you’re working with a 20-square-meter studio or a narrow galley-living layout, scaling down a chair starts with its footprint, not its style. On the gridded paper of your working drawing, draw the chair at 1:10 scale beside three apartment floor plan outlines sketched in lighter pencil, this lets you test circulation around the piece before you commit a single centimeter of actual space.
Reduce the seat depth from the standard 45–50 centimeters to 38–42 centimeters, which keeps your thighs supported without pushing the chair’s backrest into a walking path. Swap a four-leg base for a splayed or sled-leg design; the angled legs visually recede and preserve sightlines across the room, unlike thick, straight posts that read as bulky. Keep the backrest height under 75 centimeters so the chair slides fully under a standard 74-centimeter dining table, and check your scale ruler against the floor plan outlines to confirm you retain at least 60 centimeters of clearance behind the chair for pulling it out and sitting down.
A lighter hardwood or tubular steel frame cuts visual mass, while a solid oak version at the same dimensions will feel oppressive in a tight corner, choose materials that let the footprint breathe.
Translate Drawings into Physical Prototypes and Materials
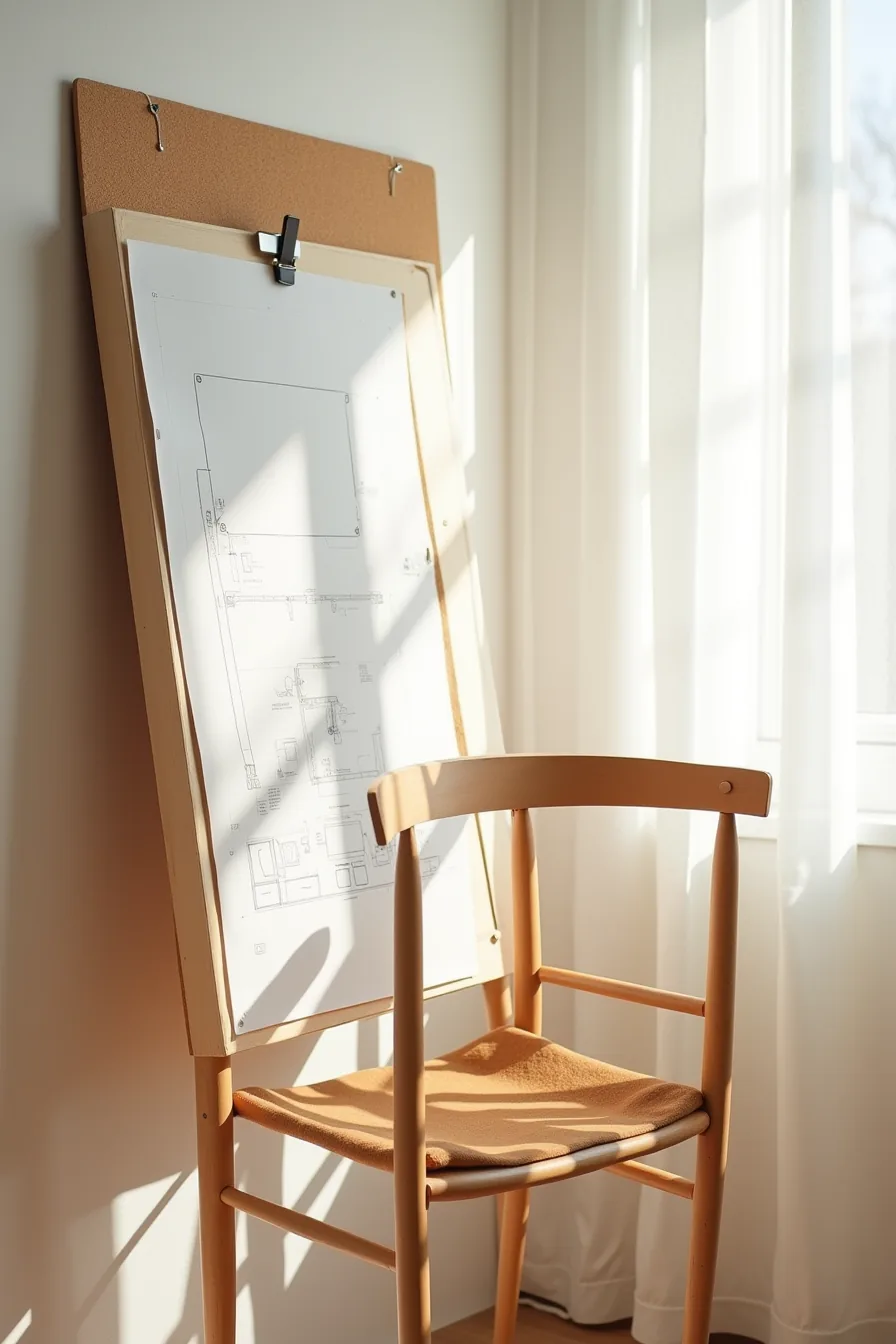
Your technical drawing becomes a fabrication blueprint the moment you add material callouts and joinery notation. On a working drawing, label the wood species, grain direction, and finish type (say “white oak, rift-sawn, matte lacquer”) so a maker never improvises your intent. Mark each joint, mortise-and-tenon, dowel, or cam lock, with a standard symbol and a dimension line; this determines whether your chair is built for disassembly or permanent assembly, which directly shifts production cost.
Pin that drawing to a cork board beside a scaled mockup frame built from dowels and plywood to validate ergonomics before touching expensive lumber. Clip upholstery swatches to the drawing margin and note their abrasion resistance and cleanability, because a fabric rated for 100,000 double rubs suits daily dining, while a 30,000-rub linen will fade and pill in months. The joinery sketch in the lower corner, say, a through-tenon with a 5-millimeter offset, tells you if you can machine it with a router or must hand-cut it, which can double your fabrication hours per chair.
Test the mockup for a full week: sit, lean, and drag it across the floor. Adjust the drawing, not the prototype.
Choose Your Drawing Medium and Tools for Your Workflow

Your choice of medium hinges on how quickly you need revisions and how much precision the joinery demands. Pencil-and-paper sketches cost nothing to start and let you explore line weight and proportion in seconds, but every dimension change means erasing and redrawing. CAD software like Fusion 360 or SketchUp offers parametric modeling, where tweaking one measurement updates the entire chair automatically, yet the learning curve runs 20–40 hours before you feel fluent, and a perpetual license typically runs $300–$600 annually.
A hybrid workflow covers both bases. Sketch freehand on paper to lock in the silhouette and ergonomic feel, then digitize that concept in CAD for exact tolerances and exploded views. A drawing tablet with a stylus bridges the two, your laptop screen becomes the drafting board, letting you trace your pencil sketch directly into vector lines without rescanning.
This setup suits beginners who want the tactile feedback of paper without abandoning digital editability, and it serves professionals iterating through client feedback where revision speed matters more than raw draftsmanship. If you only need a single custom chair for your own home, paper plus a ruler and a good eraser will carry you through; if you plan to batch-produce or hand the file to a maker, invest the time in CAD from the start.
Your first move
You now have six distinct routes to a chair that fits your space, budget, and skill level. The deciding factor is your timeline: if you need a seated spot this weekend, the reupholstery refresh takes one afternoon and roughly $40–$90 in fabric and foam. If you want a heirloom piece, start sourcing kiln-dried hardwood and a good jigsaw now, expect 12–20 hours of build time spread across weekends.
Sketch your room’s dimensions onto graph paper and mark the chair’s footprint at 1:1 scale before you invest a dollar. Taping newspaper to the floor to test the actual footprint takes ten minutes and prevents the most common mistake: a beautiful drawing that physically blocks your walkway.
Pick one option, set a completion date, and purchase materials this week.
Frequently Asked Questions
What is the difference between a front view and side view in chair design drawing?
A front view shows width and symmetry, seat span, backrest height, and arm positions. A side view reveals depth, leg splay, seat angle, and backrest curvature. You need both for accurate proportions.
How do I maintain correct proportions when sketching a chair by hand?
Start with a vertical centerline and mark the seat height first, typically 17–19 inches. Use head-height units (about 9–10 heads for a full chair) to check backrest, seat depth, and leg length against each other.
What tools do beginners need to start drawing chair designs?
You need an HB pencil, a 30-centimeter ruler, an eraser, and plain A4 or letter paper. A compass helps for curved backrests. Skip expensive markers until you master line weight and perspective.
How do I adapt a chair design drawing for a small apartment or tight space?
Reduce overall depth to 20–24 inches and keep arms slim or absent. Draw a side view with a 30-degree recline to confirm it fits under a table. Scale legs to 16–18 inches for compact seating.