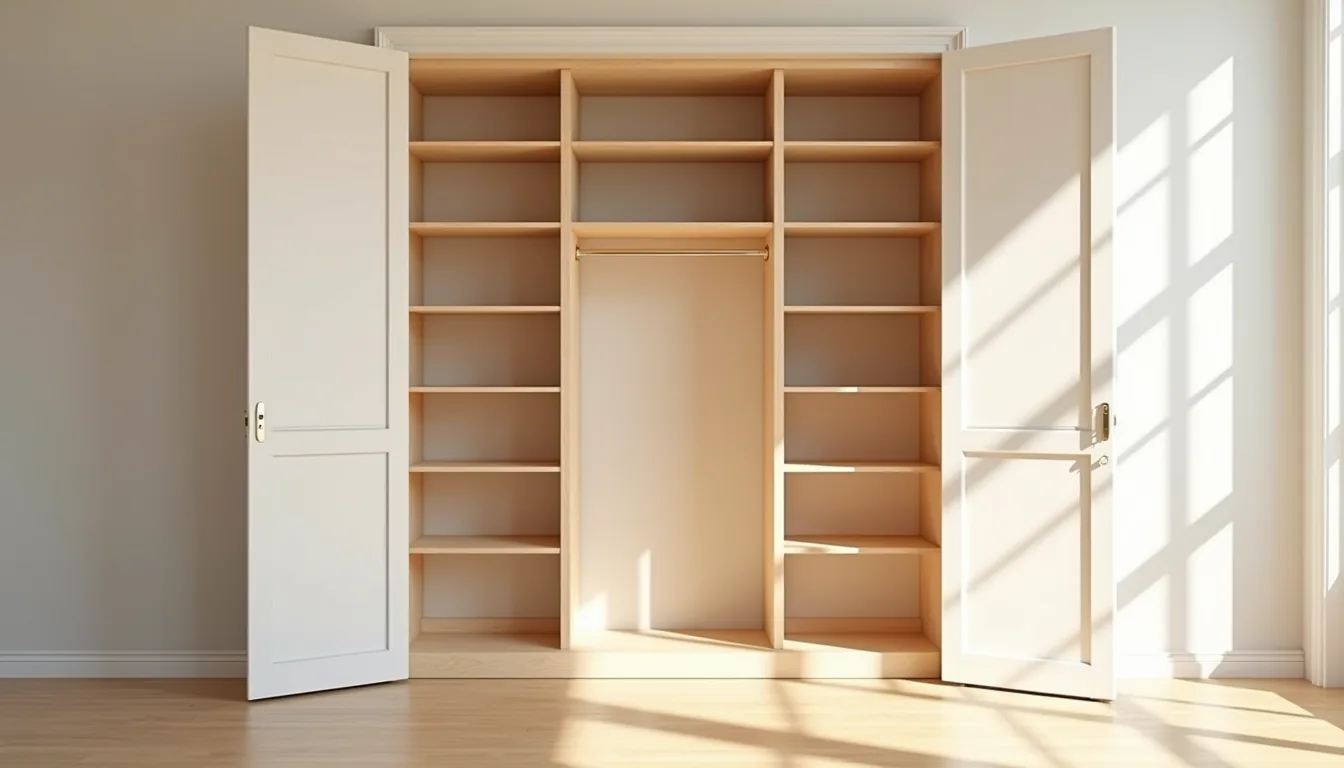
A closet turned pantry is one of the highest-ROI storage conversions you can make, delivering walk-in-style capacity in the footprint of a standard 24-inch-deep reach-in. Before you buy a single bin, though, you need to audit what you actually store, canned goods, small appliances, and bulk grains demand different shelf depths and access patterns. The six layouts that follow range from a $150 DIY wire-shelf system to a custom built-in with pull-out drawers, each matched to a specific household size and budget.
You’ll also learn the critical clearance rules that prevent your new pantry from becoming a fire hazard or a daily frustration.
Key takeaways
- Audit first, then buy: measure your closet’s depth, width, and usable height, and inventory every item you plan to store before choosing any shelving or containers.
- Adjustable systems beat fixed shelves for most closets because they let you shift shelf heights by 1–2 inches as your food stock changes, without committing to permanent holes.
- Renter-friendly setups rely on tension rods, freestanding units, and adhesive hooks that hold up to 30–50 pounds per shelf when properly installed, but avoid overloading them beyond their rated capacity.
- Label every container with a date and category (canned goods, grains, snacks) and schedule a 10-minute monthly wipe-down of shelves and a 15-minute quarterly purge of expired items to keep the pantry functional.
Audit Your Space and Inventory Before You Buy
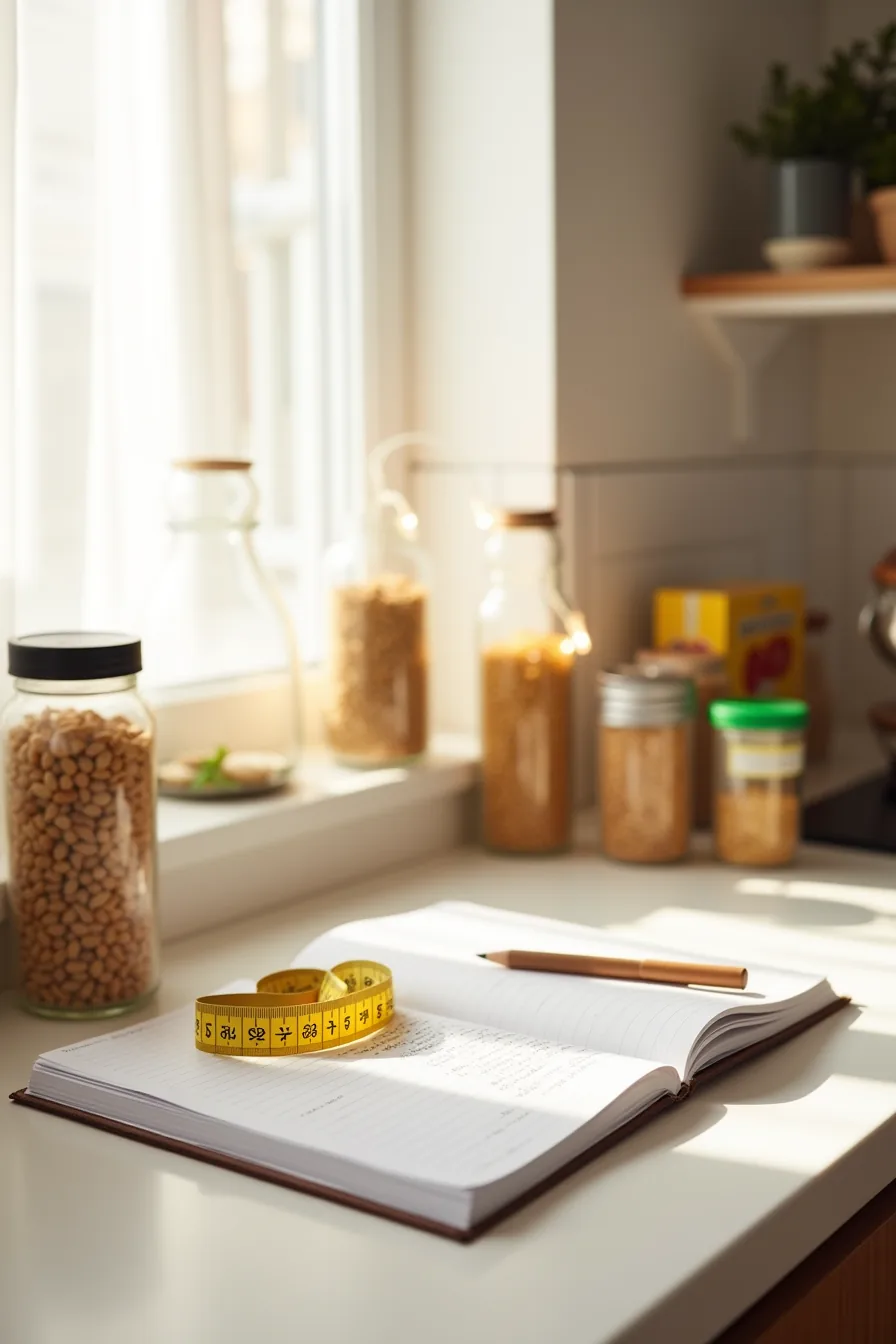
Before you spend a dollar on bins or shelving, pull everything out of the closet and group it on the floor. You need to know what you actually store, canned goods, cereal boxes, pasta, and overflow dry goods, before you design around it. Grab a measuring tape, a notebook, and a pen, and record three numbers: the closet’s width, depth, and ceiling height.
Most standard reach-in closets run 24–30 inches deep, which is enough for two rows of canned goods on a shelf, but not enough for bulky appliances.
Your inventory count matters more than the measurements. A household that cycles through 15 cereal boxes and 20 cans weekly needs different capacity than one storing a month’s worth of pasta. Separate items by category and note which ones you buy in bulk, because that determines whether you need deep shelves or tall vertical storage.
Without this audit, you’ll buy containers that either swallow your space or force you to stack cans three deep where you can’t see them.
Fixed Shelving vs. Adjustable Systems: Which Fits Your Closet
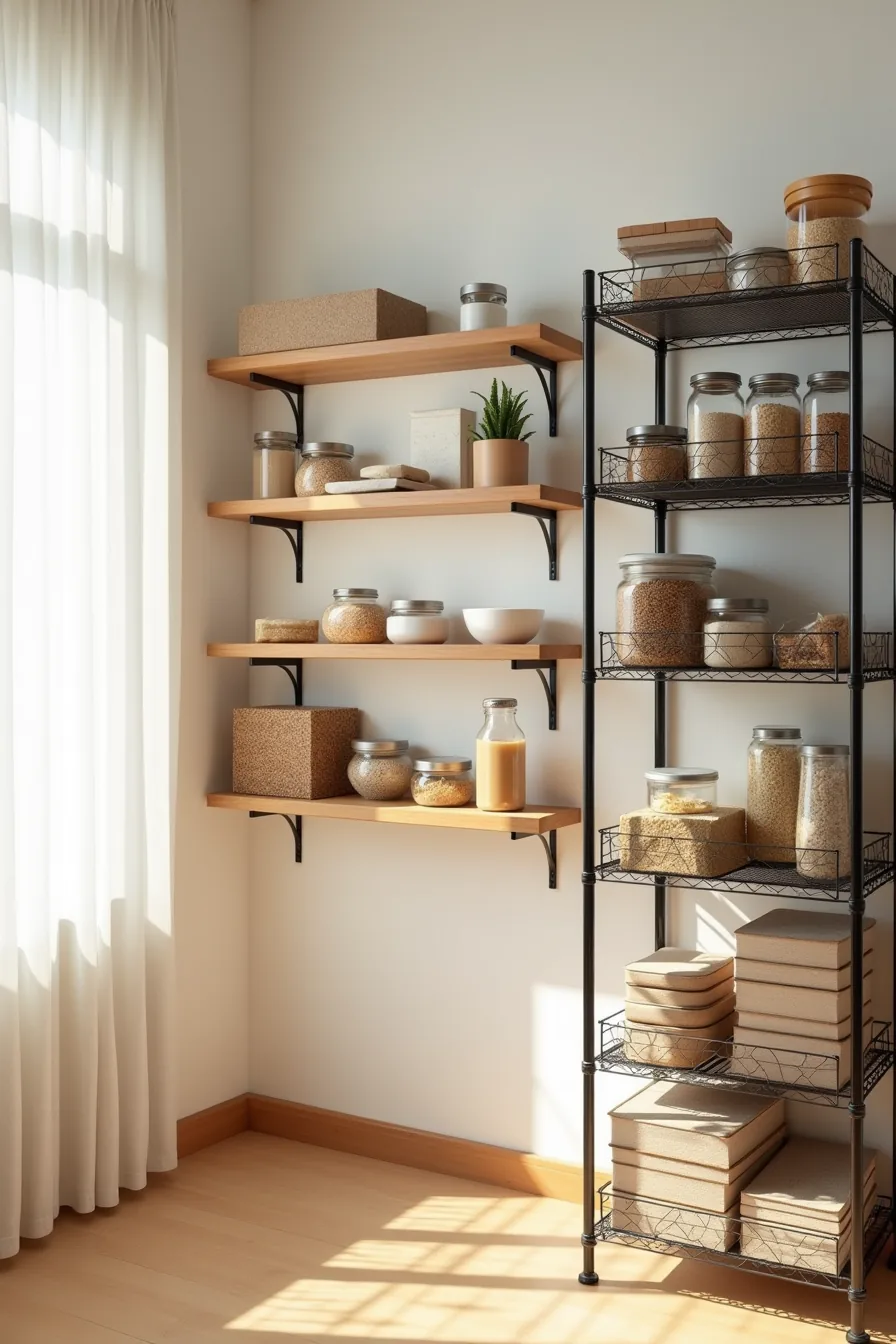
Fixed wooden shelves with metal brackets, like the three mounted on the left, cost less per linear foot and hold heavier loads without sagging, but they lock you into one shelf-depth question permanently. You must commit to a single spacing pattern before installation, typically 12–16 inches apart, which wastes vertical space if your cereal boxes run shorter than your canned goods.
Adjustable wire shelving, as seen on the right with movable clips, solves that rigidity. The perforated tracks let you reposition shelves in minutes using a screwdriver, accommodating tall pasta boxes one week and squat dry goods boxes the next. Metal wire also improves air circulation around food, reducing moisture buildup that invites pantry pests.
Expect to pay 30–50% more for the adjustable system, and factor in a weekend of DIY labor for either option. Fixed shelves suit homeowners who know their inventory won’t change, while adjustable systems reward renters and households whose buying habits shift seasonally.
Renter-Friendly Closet Pantry Without Drilling
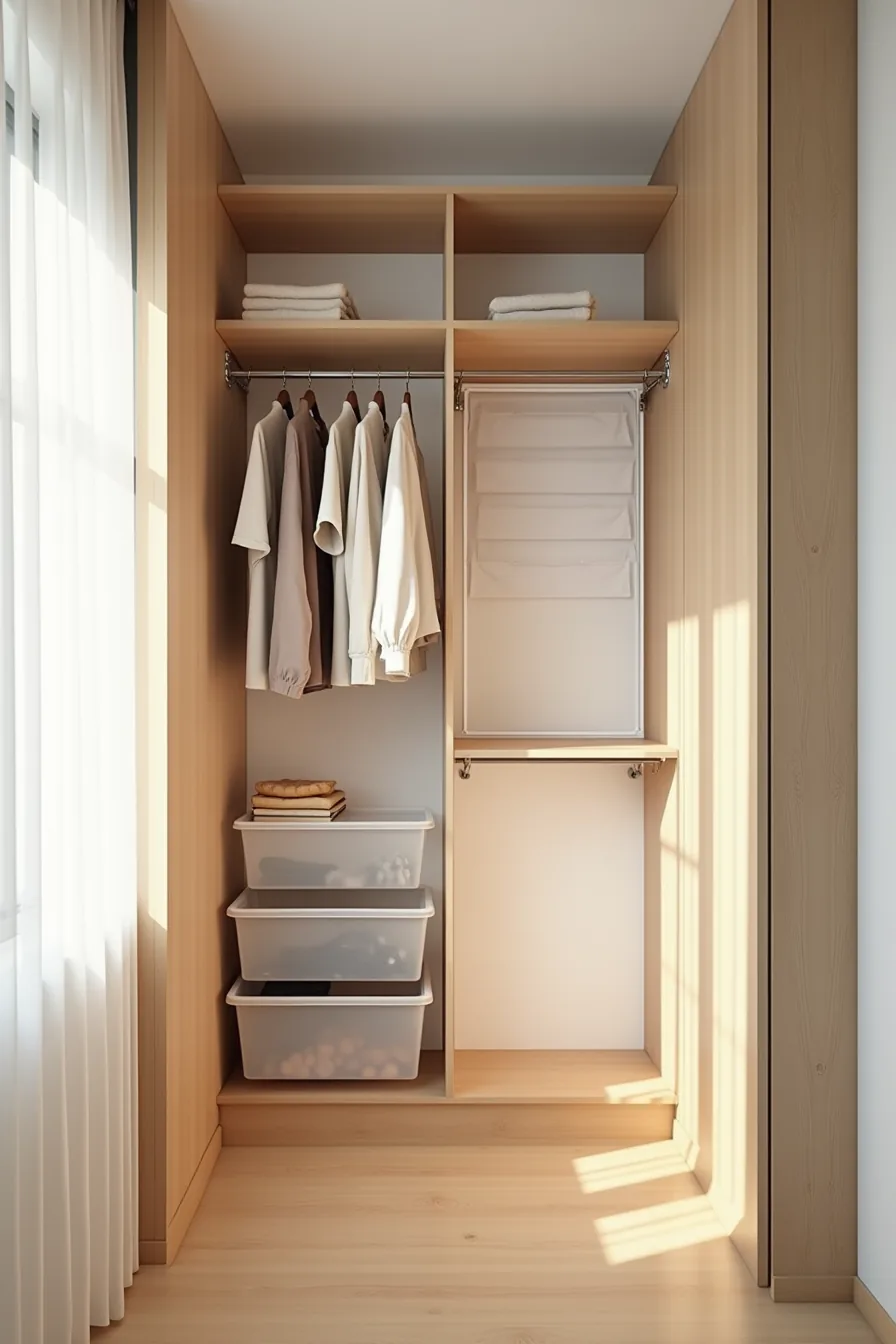
A tension rod stretched between the closet walls supports a cloth organizer with deep pockets, giving you shelf-like storage for packets, spice jars, and snack bags without a single screw. The rod holds up to roughly 20–30 pounds when properly tightened, so keep heavier cans on lower tiers and reserve the pockets for lightweight goods.
A freestanding metal shelving unit against the back wall provides the workhorse storage, typically offering four to five tiers and 150–200 pounds of total capacity. Stack clear plastic bins on the lower shelves for bulk bags of flour, rice, and pasta, keeping them sealed and visible while preventing crushing. Mount an over-the-door clear pocket rack on the inside of the door for condiments, seasoning sachets, and small baking essentials, these racks add roughly 20–30 pockets of storage without altering the door or frame.
Every item in this setup moves with you: the tension rod collapses, the shelving unit disassembles, and the bins nest inside one another for transport. Expect to pay $80–$150 for the complete no-drill arrangement, and check the shelving unit’s weight rating against your heaviest items before loading.
Separating Food Storage from Small Appliances and Supplies
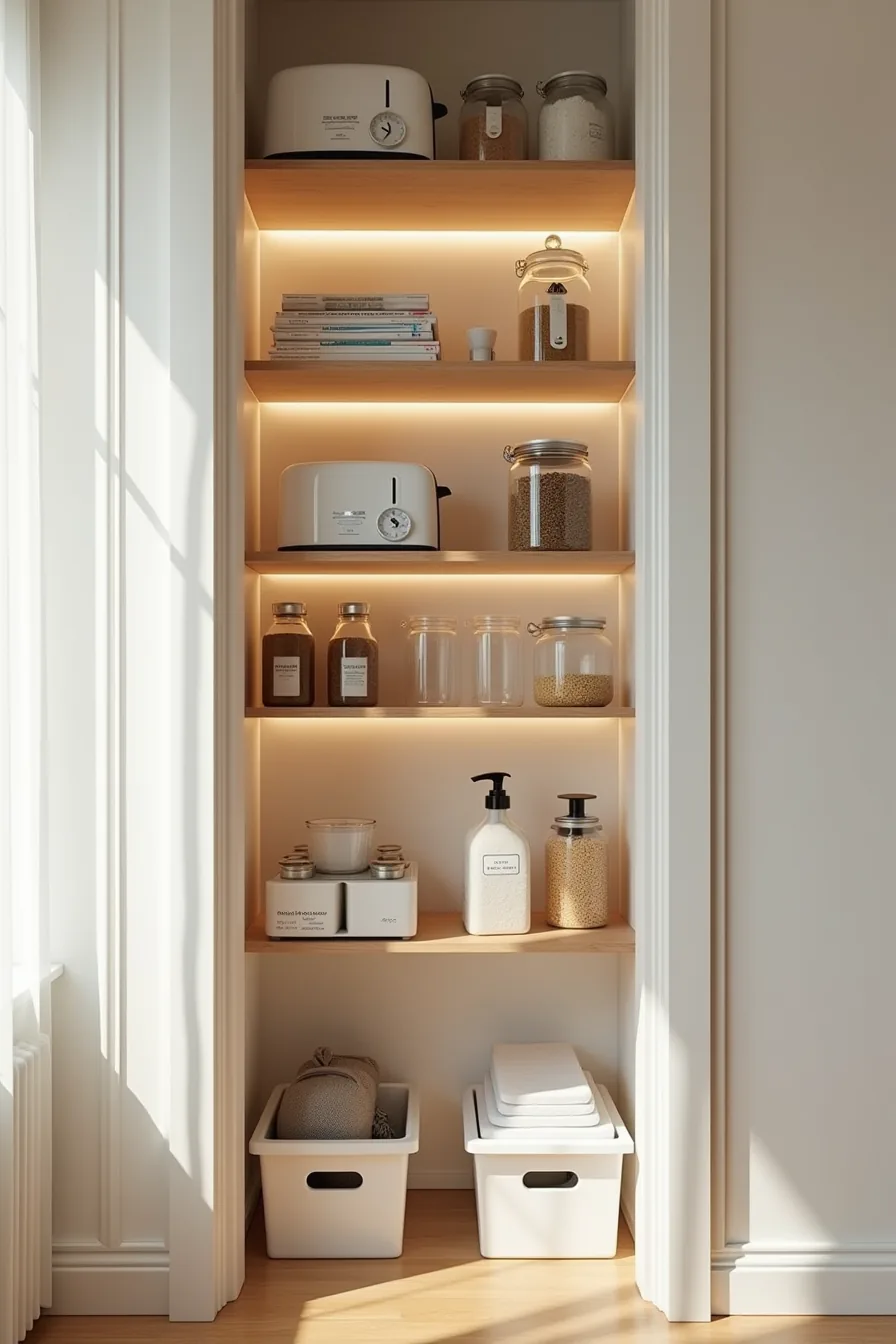
The most efficient closet pantries separate food from equipment before you ever reach for a container. Reserve the top shelf for small appliances like a toaster and coffee maker, they’re heavy, rarely used daily, and generate heat that can degrade dry goods stored too close. Keep them elevated and unplugged when idle, and leave at least 2–3 inches of clearance above each appliance for airflow.
Dedicate the middle shelves to your daily-use dry goods in sealed containers, keeping cereals, grains, and snacks at eye level for quick access. Use the bottom zone for cleaning supplies and paper goods in separate bins, never intermingled with food, bleach fumes can taint open packaging, and spills from detergent can ruin cardboard boxes. This vertical food vs appliance zones setup also keeps heavier items low, reducing the risk of strain or injury when you reach overhead.
If your closet has an outlet, confirm the circuit is GFCI-protected before running any appliance in this space.
Container Selection, Labeling, and Maintenance Routines
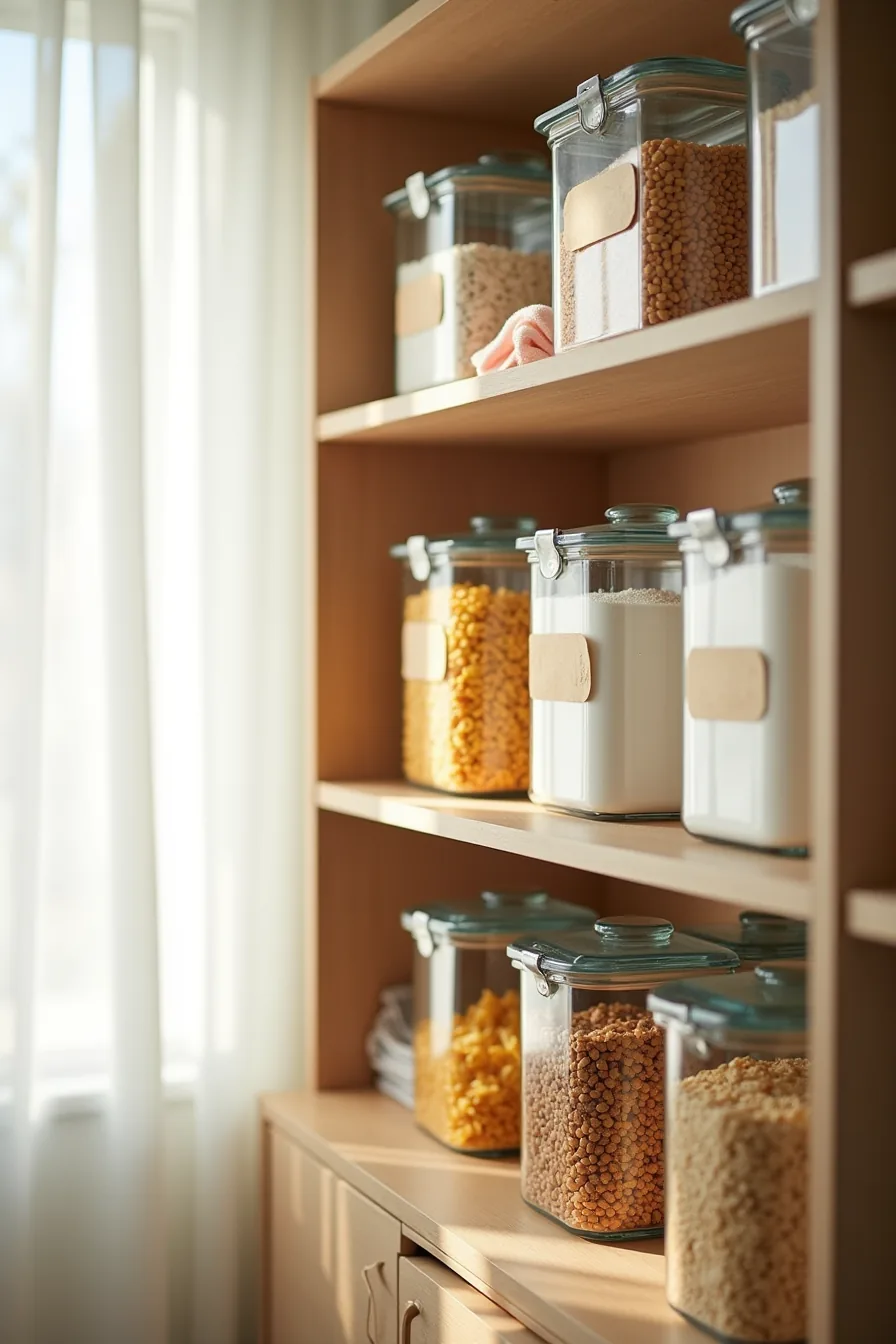
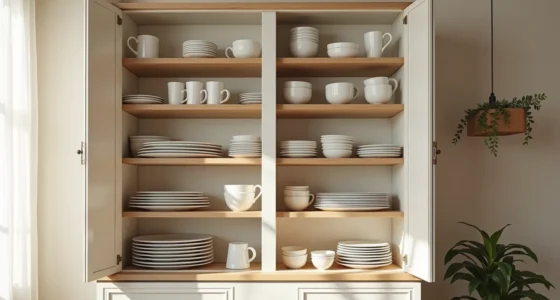
Before you buy a single bin, measure your shelf depth and height, then match containers to what you actually store. Airtight glass jars in varying heights, like those holding pasta, flour, and cereal, work best for dry goods because glass won’t absorb odors or stain like plastic can. Choose jars with gasketed lids and a wide mouth; you’ll appreciate the easier scooping and cleaning over narrow-neck options.
For shelf depths between 12 and 16 inches, standard 1-quart and 2-quart jars fit comfortably without overhang.
Label with masking tape and a permanent marker on the front, not the lid, you’ll see it at a glance without lifting anything. Write the item name and purchase date; this single habit cuts food waste by helping you rotate stock and spot aging items before they expire. Keep a small cloth beside the containers and wipe jar exteriors monthly to prevent dust buildup that can attract pantry moths.
Wash and fully air-dry every container quarterly, and check gaskets for cracks that break the airtight seal.
Scaling Your Closet Pantry for Small, Medium, and Large Spaces
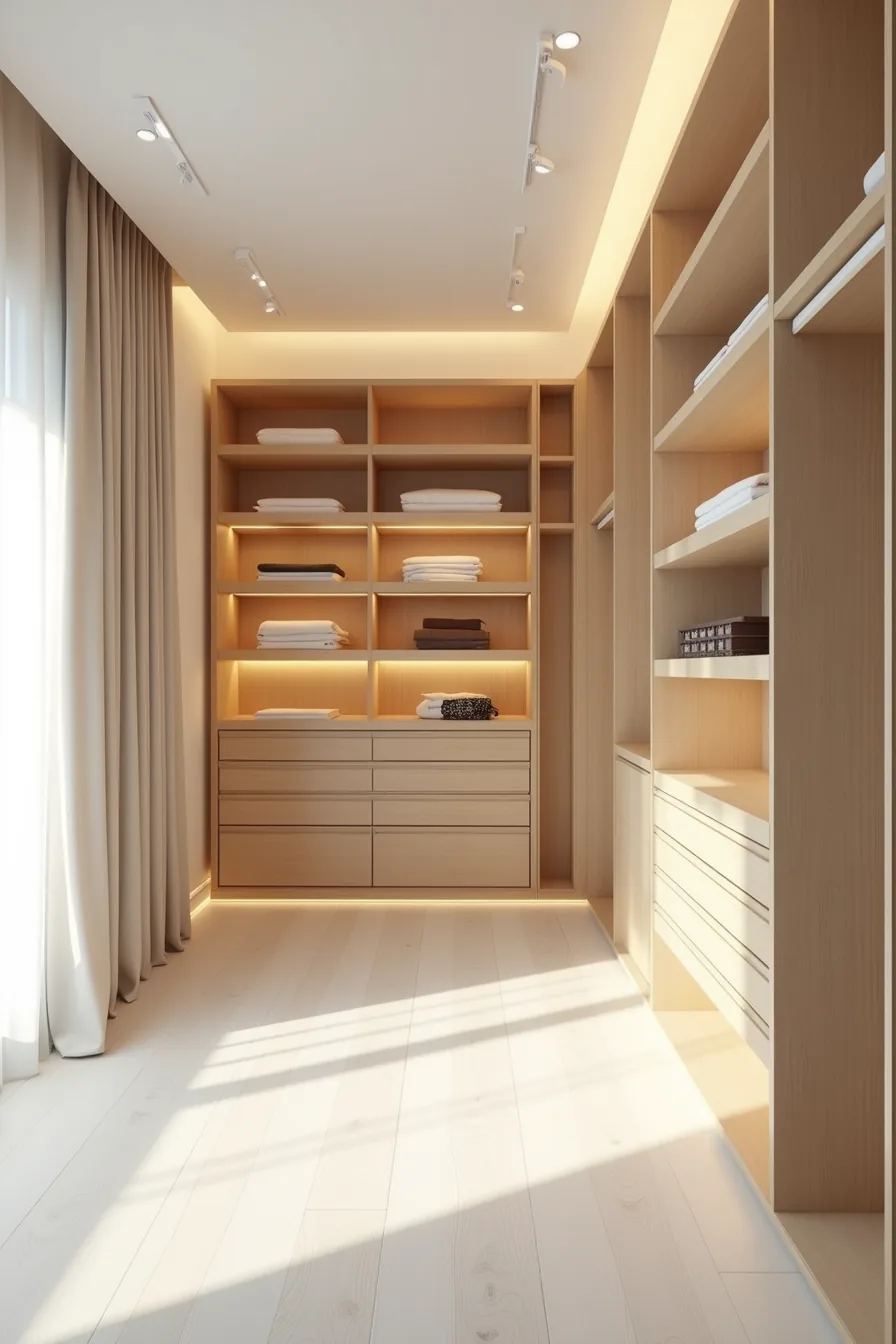
A reach-in closet under 24 inches deep suits small spaces best with 12-inch shelves on three walls, keeping center floor access open for daily retrieval. For medium walk-ins running 5 to 7 feet wide, install floor-to-ceiling shelving across two walls at 14- to 16-inch depths, then dedicate the third wall to bulk items in 3- to 5-gallon bins on lower tiers. Large walk-ins exceeding 8 feet let you expand to three walls of storage with 18- to 20-inch shelves, but you must still clear a 24-inch floor path along the center for safe movement.
Tiered containers increasing in size left to right, small jars for spices, mid-size canisters for grains, large bins for potatoes, create a logical flow that matches how often you access each category. Clear floor space is non-negotiable at every scale; blocking it turns a functional pantry into a tripping hazard, so cap shelf depth at 20 inches even in the largest closets.
What to do first
Start with the inventory, not the containers. Empty the closet completely and sort everything into three piles: keep, donate, and relocate. Measure what remains in linear feet of shelf space, then match your storage system to that number.
Finally, buy only one category of containers initially, canisters for dry goods, for example, and test the layout for two weeks before expanding. That single purchase will reveal your traffic patterns and access needs, preventing the costly mistake of outfitting an entire closet you haven’t actually used.
Frequently Asked Questions
How deep should shelves be in a closet turned pantry?
Standard pantry shelves run 12–16 inches deep. For a closet, choose 12 inches if space is tight; 16 inches suits canned goods and small appliances but makes reaching the back harder without pull-out bins.
Can I convert a closet pantry if I rent my home?
Yes, if you avoid permanent changes. Use freestanding shelving units, tension rods, adhesive hooks, and removable contact paper. Skip drilling or painting; restore the closet to its original state before moving out.
What temperature and humidity do pantry closets need?
Aim for 50–70°F and 50–60% relative humidity. Most interior closets naturally fall in this range if they’re away from heat sources like ovens or dishwashers. Use a small hygrometer to monitor; add a dehumidifier if humidity exceeds 60%.
How do I prevent food spoilage in a closet pantry without windows?
Keep the door closed to block light, which degrades oils and spices. Store grains and flour in airtight containers to deter pests. Rotate stock using a first-in, first-out system, and check monthly for signs of moisture or insects.