
College dorm room ideas usually conjure images of tapestries and string lights, but the real challenge is designing a space that survives eight months of heavy use while still feeling like yours. The six setups below prioritize durability, circulation, and storage over decor clichés. Each one fits a specific room size, budget threshold, and foot-traffic pattern, so you can match a concept to your actual constraints instead of copying a photo.
Key takeaways
- Measure before you buy: A standard dorm room is roughly 10-12 feet wide, so a twin XL bed (36 x 80 inches) leaves only 3-4 feet of floor space for a desk and dresser, making a compact layout your only safe option.
- Lofting your bed to a height of 60-70 inches clears enough floor area for a 48-inch-wide desk underneath, but you’ll need a sturdy step stool and a reading light mounted to the frame to make it usable daily.
- Modular cube shelving (12- or 16-inch cubes) costs 30-50% less than a custom wardrobe and lets you rearrange storage as your class schedule changes, but requires wall anchors to prevent tipping in a shared room.
- For a renter-friendly route, skip peel-and-stick wallpaper and use removable command hooks and tension rods instead, they hold up to 5 pounds each and leave zero residue, saving you the $50-100 security deposit deduction for wall damage.
The Compact Efficiency Layout for Small Rooms

If your dorm is under 150 square feet, the goal shifts from decorating to zoning. Push the bed flat against the longest wall, then place the desk perpendicular to it along the adjacent wall. This creates a visual L-shape that separates sleeping from studying without a physical divider.
A narrow shelving unit above the desk keeps textbooks and supplies within arm’s reach while preserving the floor space a bulky bookcase would consume.
A small area rug in front of the desk defines a standing zone and adds warmth without overlapping the bed’s clearance. Keep the rug’s footprint under roughly 4×6 feet to avoid crowding the walking path. This layout suits roommates who need independent zones or anyone who prioritizes clear floor space for movement and morning routines.
The trade-off: your back faces the door while studying, so pair it with a mirror or wall hook near the entrance to maintain awareness of foot traffic.
The Lofted Bed Strategy with Under-Desk Storage
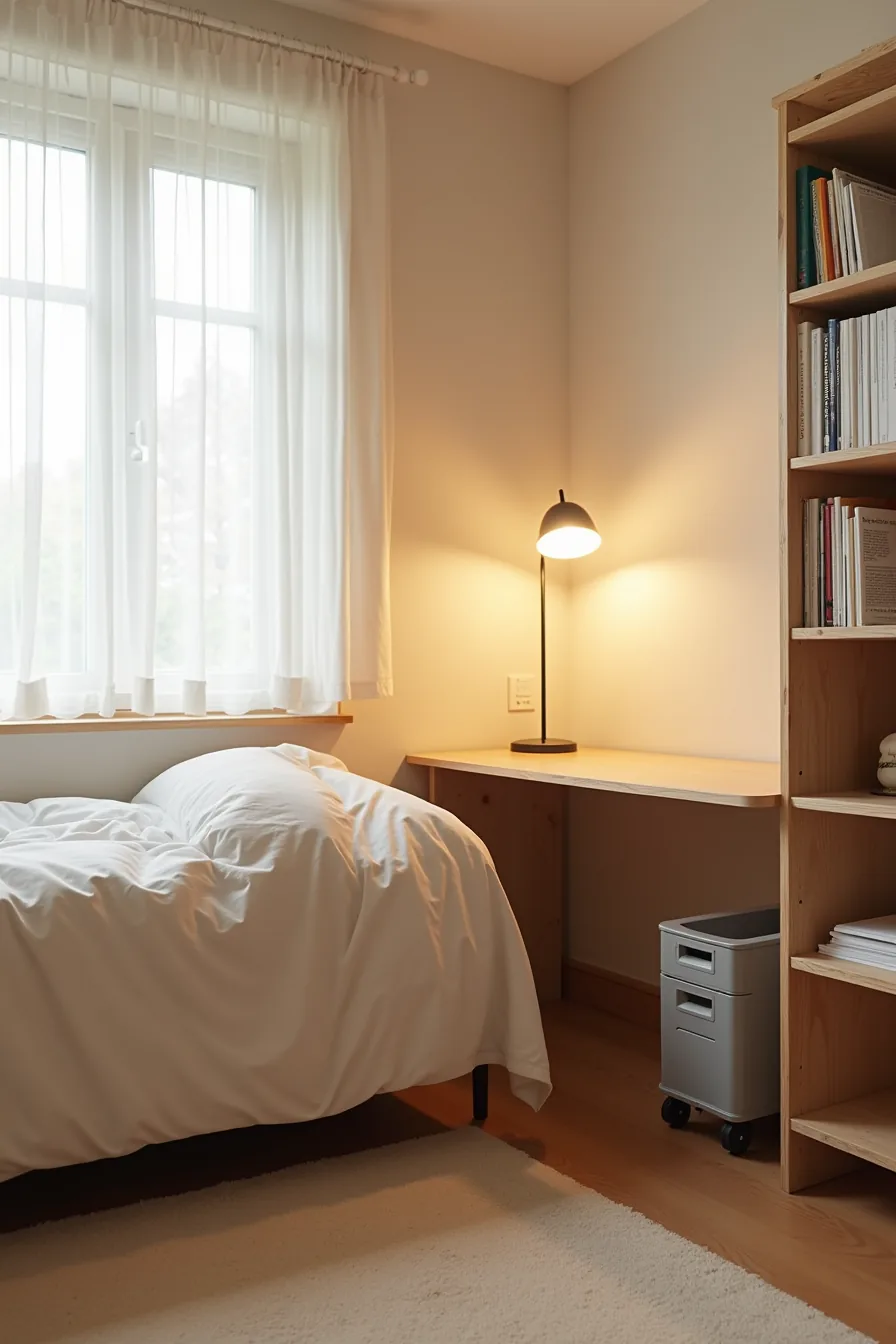
Raising your bed to roughly 50–60 inches off the floor transforms dead vertical space into a dedicated work zone, provided your ceiling clears 8 feet. The setup in this example pairs a standard twin XL loft with a desk positioned directly beneath the platform, giving you a seated clearance of about 40–48 inches, enough to stretch without hitting your head. A rolling file cart tucked to one side keeps paperwork mobile, so you can pull it out for access or push it away when you need legroom.
Wall-mounted shelving behind the desk replaces a bulky bookcase, keeping the floor footprint open while storing reference materials at eye level. This strategy suits tall students, anyone with a small room who needs both sleep and study zones, or those who want a semi-private nook without installing a partition. Check your loft’s weight rating before loading it, most support 200–400 pounds including your mattress and body weight, and confirm the bed frame’s locking mechanism is secure before climbing up.
The trade-off: making the bed requires a step stool, and you’ll lose the option of sitting on the edge of your mattress for casual seating.
The Modular Furniture Approach for Flexibility
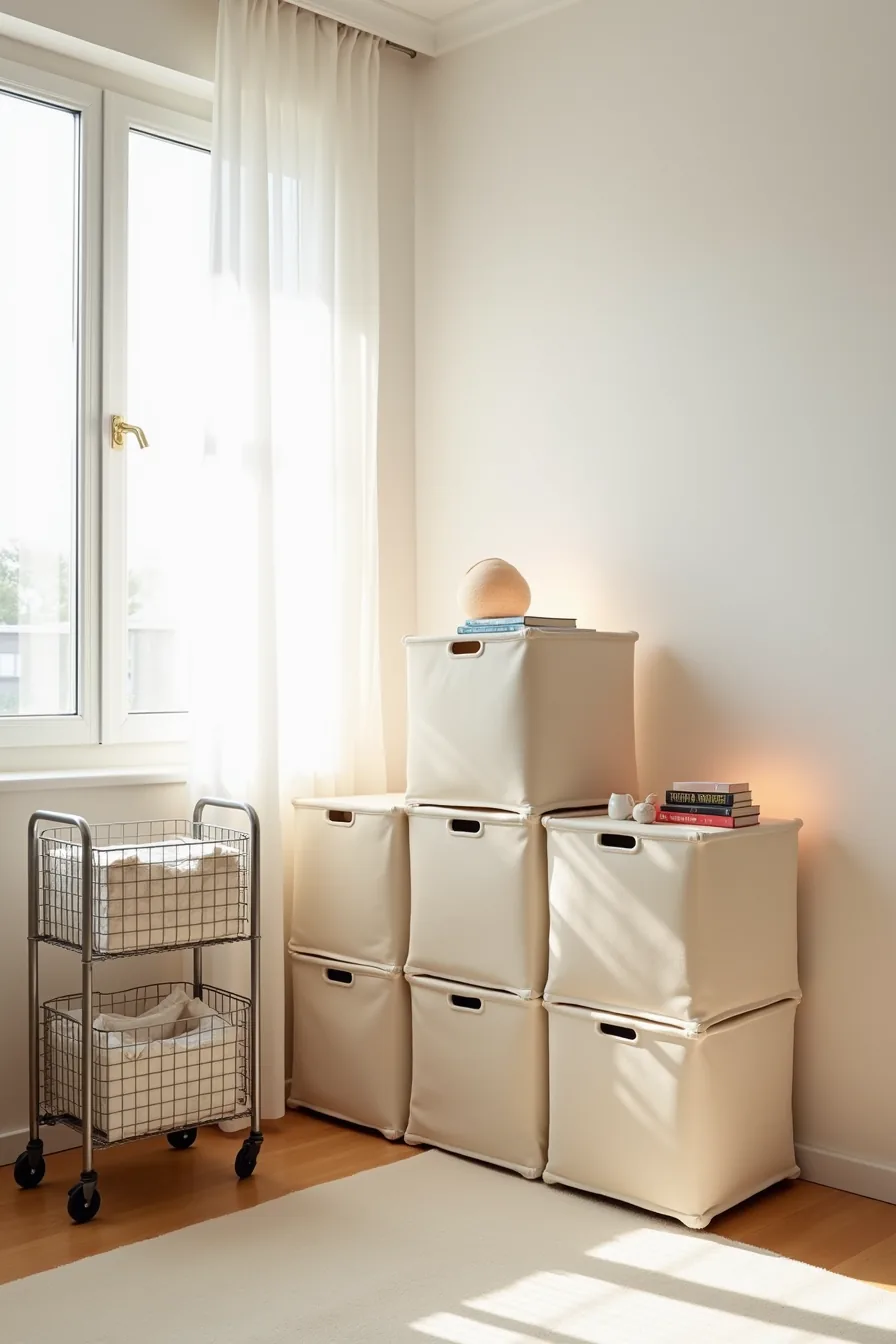
Modular pieces let you rework your layout in under an hour whenever your routine shifts. In this setup, fabric storage cubes stacked in a 2×2 configuration act as a low-profile dresser against the wall, holding folded clothes and bulky bedding without the weight or footprint of a traditional chest. Each cube typically runs 11–13 inches square and weighs under two pounds empty, so you can lift and restack them easily, though the fabric sides won’t support heavy items, so reserve them for soft goods rather than books or electronics.
A rolling cart with wire baskets stationed beside the cubes carries your daily-use items, snacks, chargers, toiletries, and glides across carpet or tile on locking casters. The visible gaps between the plastic storage bins on the floor are intentional: they allow airflow and make each bin easy to grab without digging through a stack. This approach suits renters, students who move yearly, or anyone prone to reorganizing mid-semester, because no adhesive strips, nails, or permanent anchors are required.
The trade-off is that modular pieces lack the built-in stability of fixed furniture, so stacking anything above two cubes high risks wobble, keep heavier bins on the bottom and test the configuration before loading it to avoid one of the most common College Dorm Room Ideas mistakes to avoid: overstuffing a flexible system until it tips.
The Minimal Tech-Forward Setup for Focus
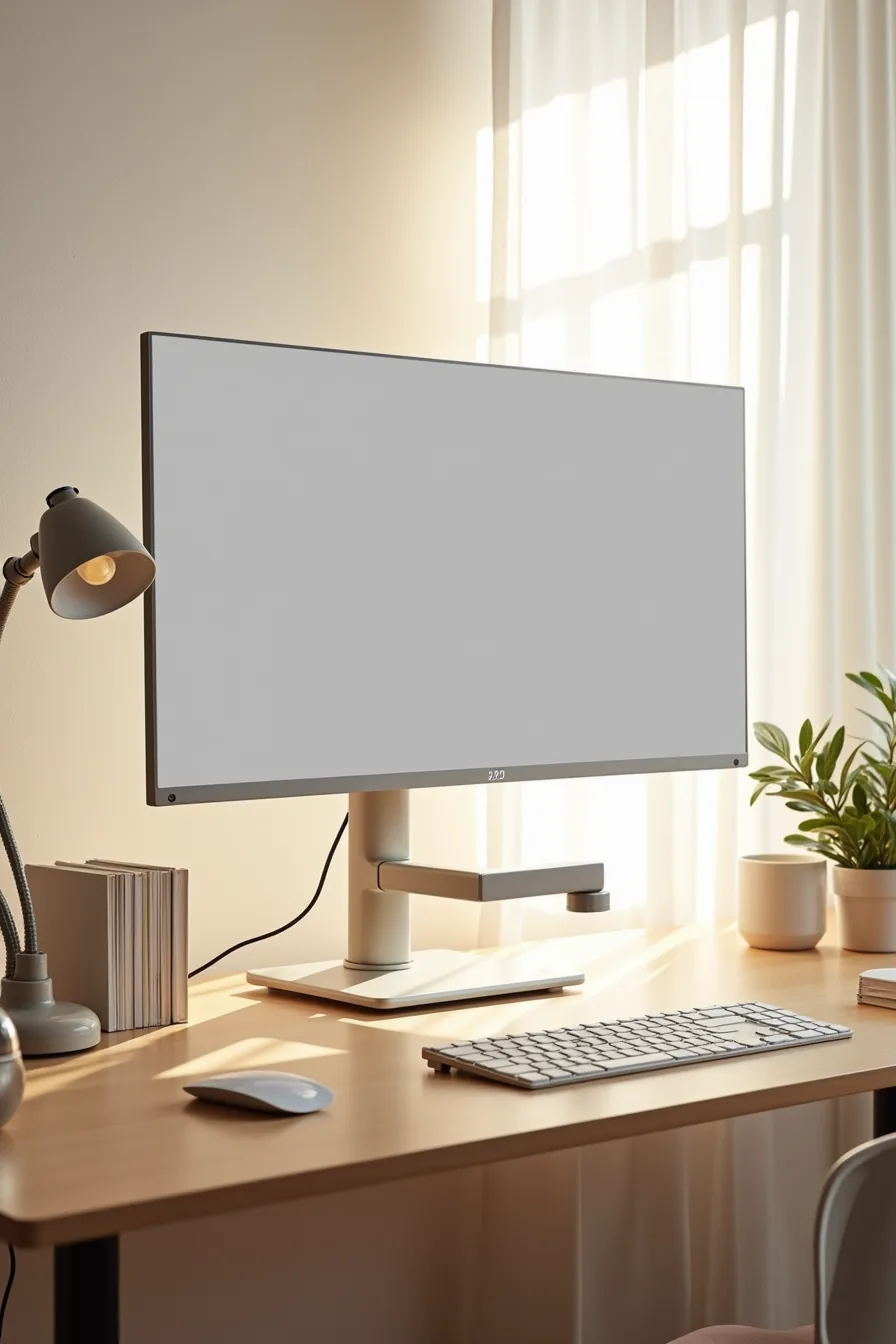
A distraction-reduced room starts with clearing your desk surface entirely. A monitor arm clamped to the desk edge lifts your display off the desk and frees the space beneath it, so you can push your keyboard and mouse onto a cable-management tray when study time ends. This setup suits anyone who studies primarily in one spot, because the fixed monitor position encourages consistent posture, and the blank wall behind it removes visual noise from your peripheral vision, no posters, no string lights, no shelves competing for your attention.
Lighting does the heavy lifting here. An adjustable-neck desk lamp positioned to the side of your monitor, not behind it, casts light across your work surface without reflecting off the screen, which most dorm rooms with overhead fluorescent fixtures can’t achieve. The trade-off is that this approach spends your budget on one quality monitor arm and a lamp rather than decorative pieces, and it requires either a desk with a clamp-friendly edge or a monitor with a compatible mounting pattern.
If you hang string lights or pin photos above the desk, you reintroduce the exact distraction this setup removes, so keep the zone above your work area intentionally empty.
The Social Hub with Seating and Display
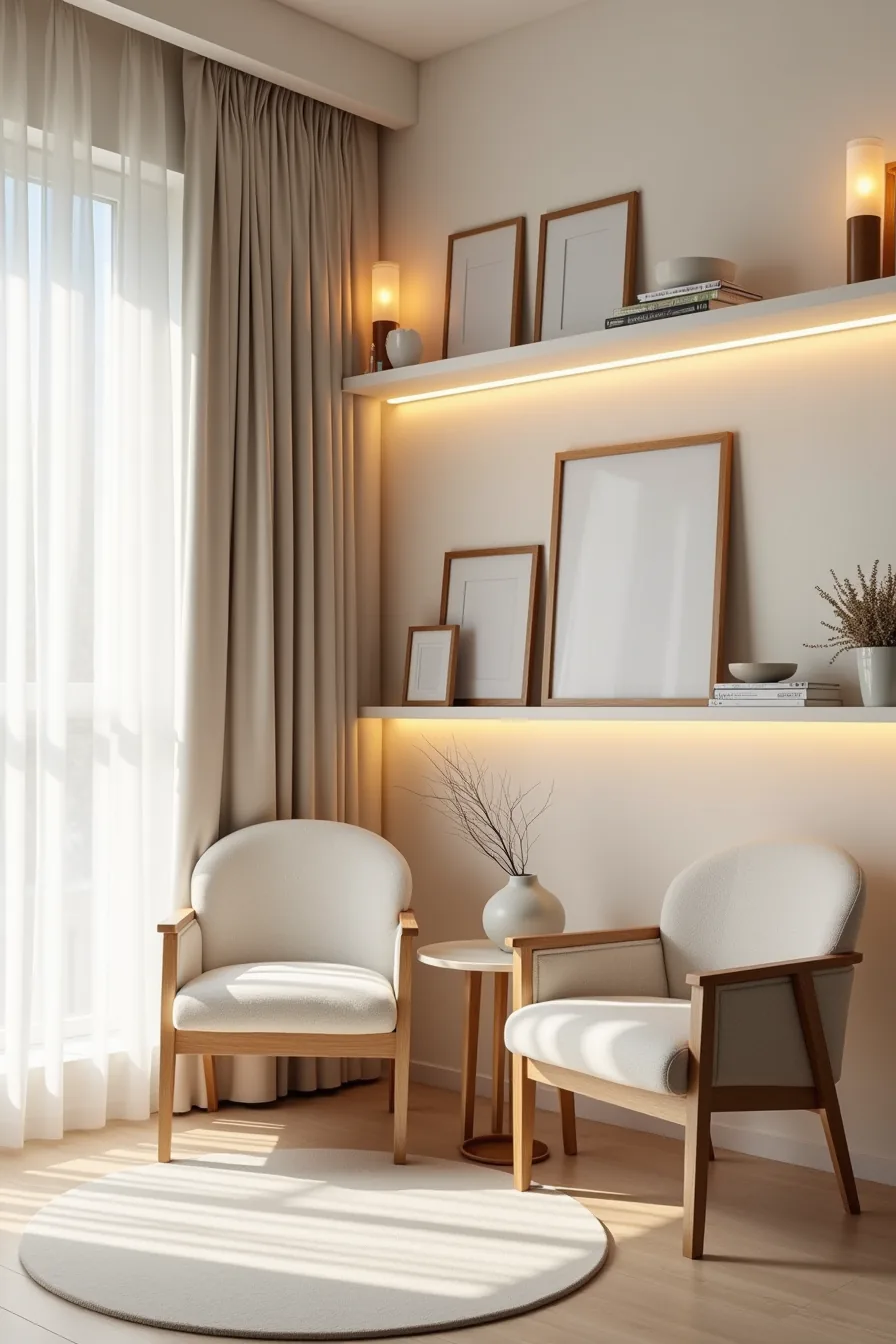
If your room is the natural gathering point for your floor, swap the standard desk chair for two low-backed accent chairs angled toward each other. That slight angle, roughly 90 degrees, creates a conversational zone without blocking the path to the door or the window, and low backs keep the sightline open so the room still feels larger than it’s. Place a small round side table between them; a 16- to 20-inch diameter keeps drinks and laptops within reach without consuming the floor space a square table would.
Open shelving behind the chairs does double duty: it displays framed items and decorative objects at eye level, and it gives you a landing spot for the things that usually pile up on shared surfaces. Use baskets on the lower shelves to hide cables, chargers, and odds you don’t want on display, this is what keeps the hub looking intentional rather than cluttered. String warm LED lights horizontally just above the shelves to cast a soft glow across the seating area, which works better for late-night hangouts than a harsh overhead fixture.
This approach suits extroverts and hosts, but it demands roughly 8 by 10 feet of usable floor space to avoid a cramped feel, and it requires a commitment to tidying the shelves weekly.
Budget, Renter-Friendly, and Investment Trade-Offs

The flat-lay setup separates your spending into three deliberate tiers. The inexpensive plastic storage bin costs $10–$25 and survives four semesters of abuse, but it scratches easily and telegraphs “temporary” no matter how neatly you stack it. Choose this tier for items you’ll replace without guilt, laundry supplies, cleaning caddies, snack overflow.
The removable adhesive-backed shelf strip runs $8–$15 per roll and holds up to 5 pounds per strip when applied to smooth painted drywall. It peels off cleanly within two years, which makes it the damage-free answer for renters facing strict move-out inspections, though it loses grip on textured walls or in humid bathrooms. You trade permanence for your full deposit back.
The solid wood storage cube costs $40–$80 and feels heavier than it looks because it’s. A single cube supports 100–150 pounds, doubles as a nightstand or step stool, and its joinery holds up to a decade of moves, making it the one piece worth hauling to your first apartment. The trade-off is upfront cost and weight; ship it home rather than dragging it up four flights of stairs.
Budget vs. Splurge College Dorm Room Ideas comes down to asking which items you’ll still want at age 25.
Where to start
You don’t need to execute all six ideas at once. Pick the two that solve your biggest pain points, usually the one that adds storage and the one that fixes your lighting. Measure your room’s usable wall space before buying anything, because a 60-inch headboard solution won’t fit a 54-inch alcove.
Set a hard budget of $150–$300 for the first pass, prioritizing items you’ll touch daily. Buy your mattress topper and desk chair before any decor.
Your next step: measure your bed’s clearance and order a washable, low-pile rug that leaves at least 18 inches of walking space on the longest wall.
Frequently Asked Questions
What size bed fits most college dorm rooms and how much floor space does it leave?
A Twin XL (36 x 80 inches) is standard. In a typical 10×12-foot room, this leaves roughly 30-40 square feet of open floor, enough for a desk and chair.
Can you use a lofted bed if your dorm ceiling is under 8 feet?
Yes, but you’ll need a low-profile loft. With a 7.5-foot ceiling, you’ll get about 3.5 feet of clearance underneath, enough for a low dresser, not a desk chair.
What’s the best way to organize a shared dorm room without conflict over space?
Divide the room vertically, not horizontally. Each person gets one wall and one shared middle zone for common items. Use labeled bins on shared shelves to prevent ownership disputes.
How do you hide cables and cords in a small dorm setup?
Run cords along baseboards using adhesive cable clips, then bundle excess length with a spiral wrap. Use a power strip with a built-in cord keeper and mount it under your desk to keep everything off the floor.