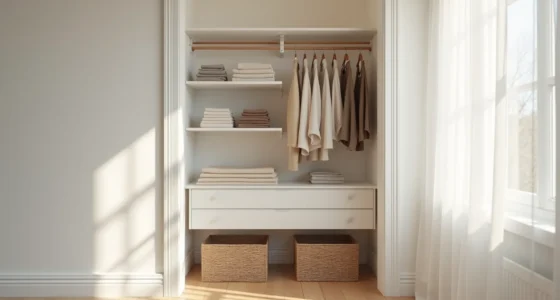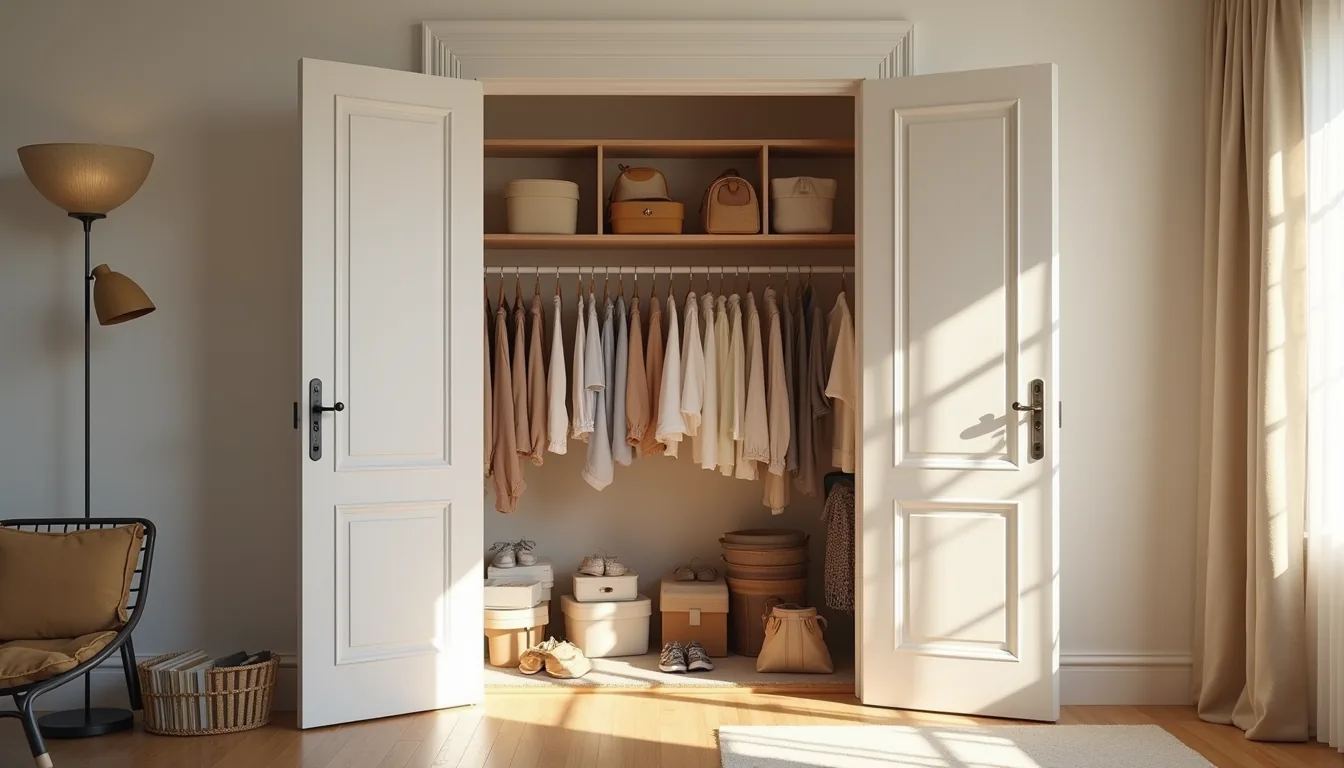
Your closet’s usable space is defined less by its square footage and more by what you remove from it before you ever buy a single bin, shelf, or rod. Strip away the unworn, the expired, and the duplicate, and you’ll expose the true dimensions you’ve to work with, often 30–40 percent more than you thought. Only then can you choose a storage system that actually fits your habits, budget, and lease terms, rather than forcing a generic solution into a space that demands precision.
Key takeaways
- Audit first, always: Empty your closet and sort every item into keep, donate, or repair piles before measuring or buying a single container.
- Match systems to space: Choose adjustable or renter-friendly tracks for small or rental closets, but fixed shelving suits large, permanent walk-ins where you can drill.
- Double-hang rods double capacity in a 60–80 inch tall section, but reserve them for shirts and folded pants to avoid dragging long coats.
- Label zones and re-evaluate every 3–4 months, moving rarely used items to upper shelves and keeping weekday essentials at eye level for a 5-minute morning routine.
Audit and Declutter Before Buying Anything
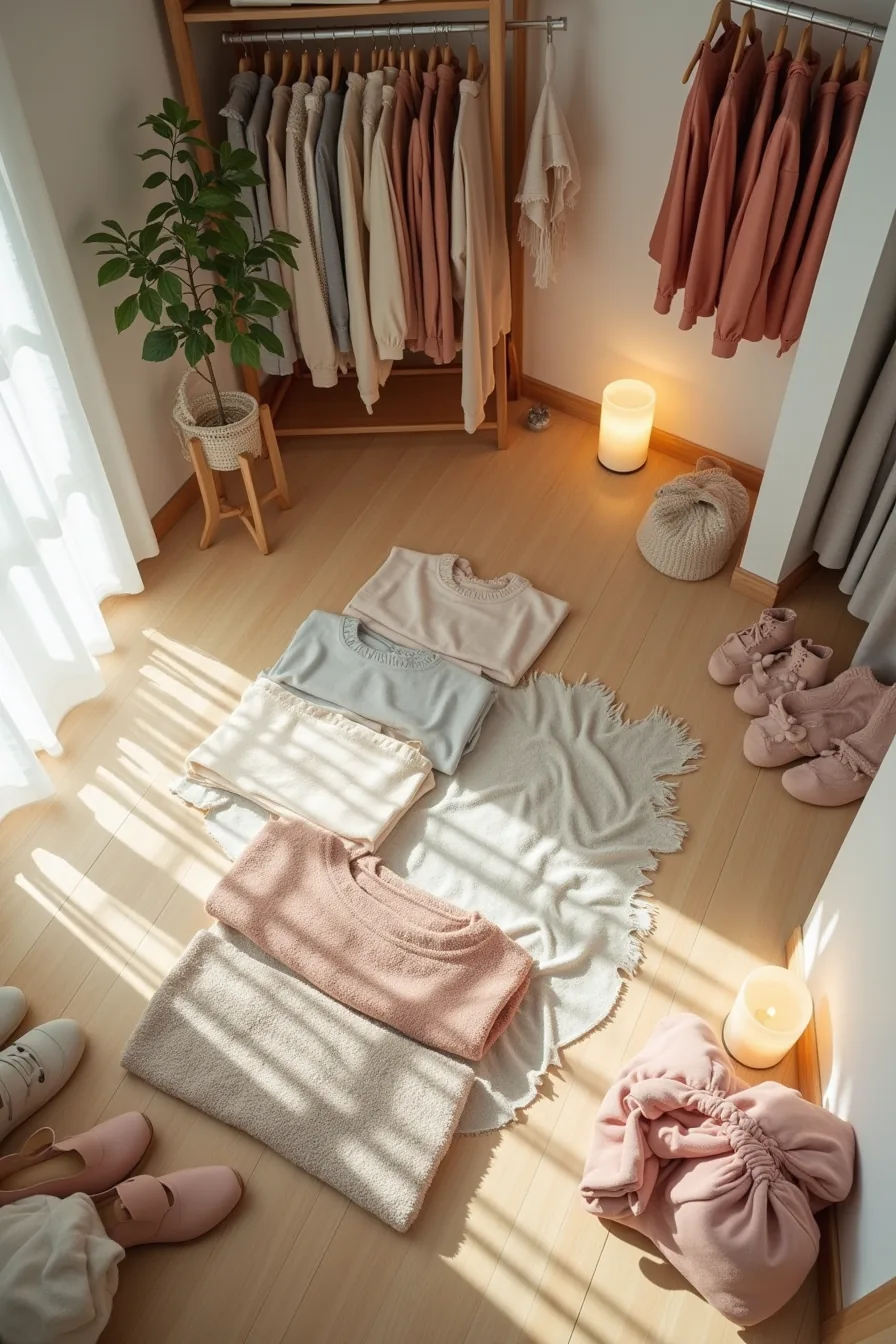
Empty the closet completely before you measure a single shelf. A flat-lay on the floor, folded sweaters stacked left, hanging dresses draped over a rack, shoes lined up by type, and a worn reject pile off to the side, forces you to see volume instead of guessing at it. If you can’t identify what you own, you’ll buy organizers for items that should have been donated thirty minutes ago.
Sort by category (tops, bottoms, outerwear), then by condition: keep, repair, donate, toss. While the floor is clear, stretch a measuring tape across the back wall, from floor to ceiling rod, and from wall to wall at both the top and base, closet widths often taper inward. Write down those numbers.
That 2-minute audit prevents the single biggest DIY closet organization mistake: purchasing 12-inch-deep bins for a 10-inch-deep shelf. A low-cost closet reset starts with subtraction, not products.
Assess Your Space: Small, Medium, or Large Closet
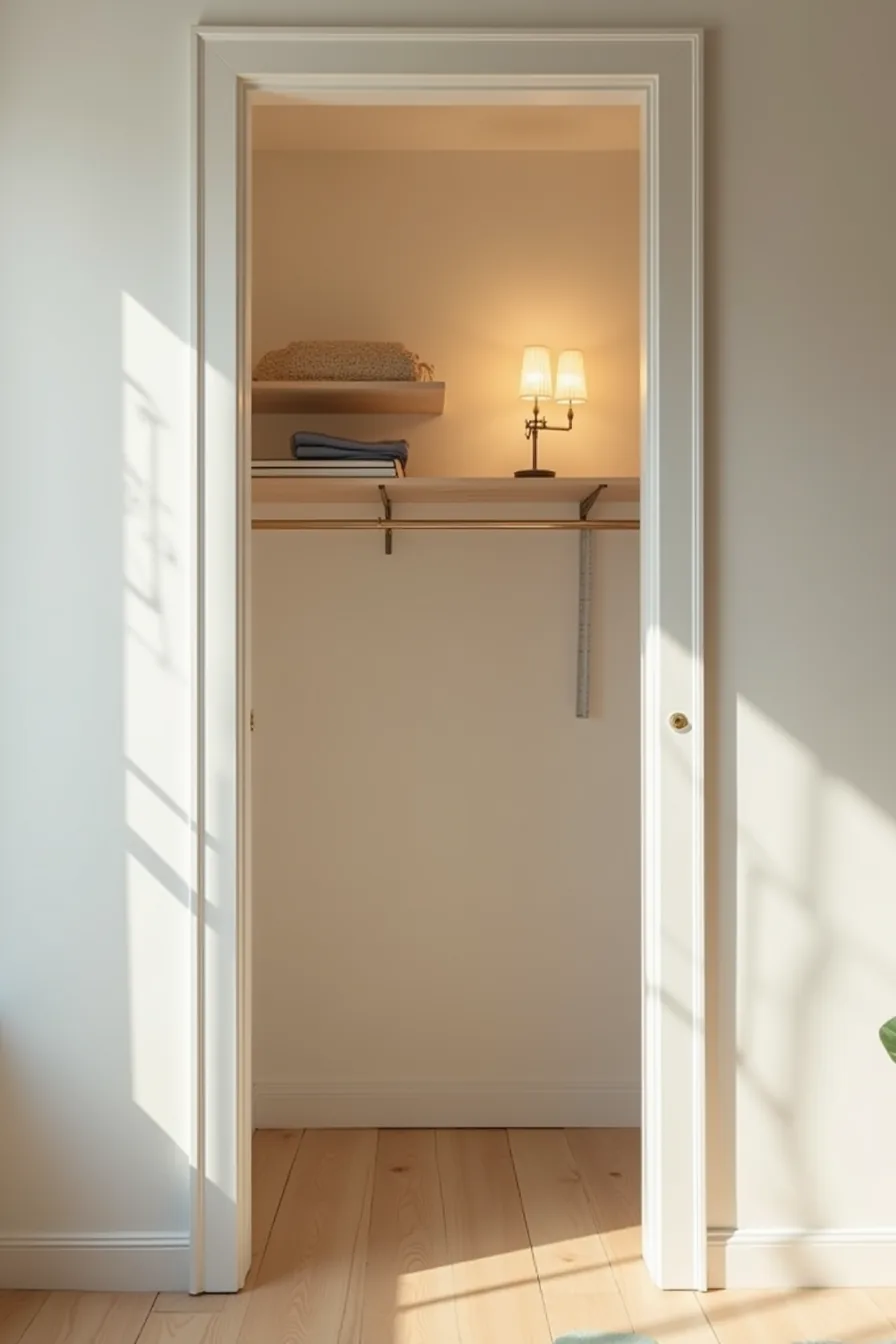
With your inventory counted and measurements recorded, categorize the closet by footprint before choosing a system. Small reach-ins under 6 feet wide with a single rod and shallow shelves, like the narrow setup with the measuring ruler leaning against the wall, demand vertical stacking over floor-based storage. Stackable bins on those upper shelves and a double-hang rod below double capacity without eating into walking space.
Medium closets (6–10 feet wide) tolerate wall-mounted systems with drawer units and shoe racks, provided you leave a 24-inch clear path from the doorway to the back wall. Large walk-ins allow floor-based island storage, but only if you measure the traffic lane around it at least 30 inches wide. Always note ceiling height: 8-foot ceilings suit double-hang rods, while 9-foot-plus spaces warrant a shelf ladder or second-tier storage near the top.
Choose Between Fixed, Adjustable, and Renter-Friendly Systems
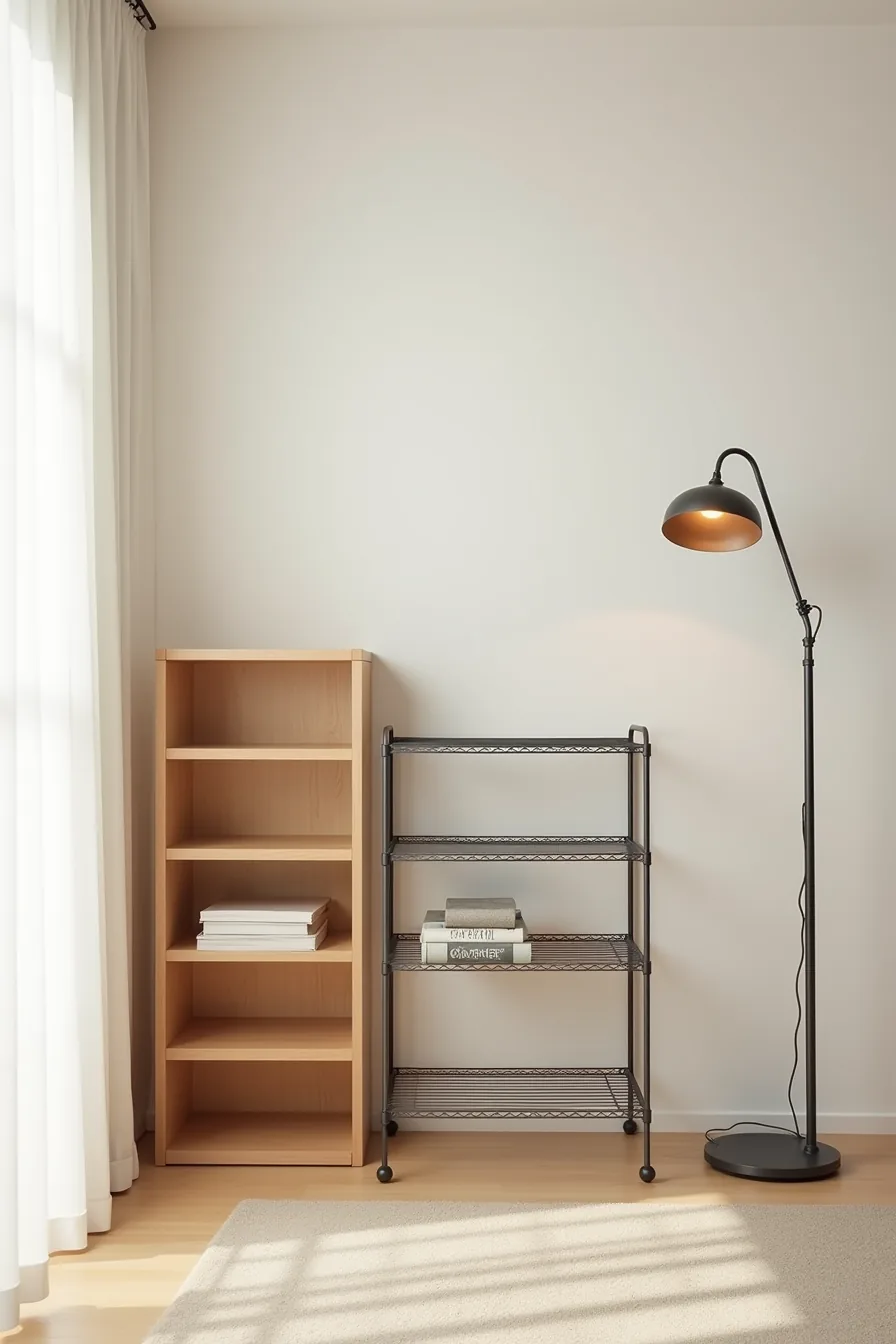
A fixed wooden built-in like the shelving unit on the left delivers the highest capacity and most permanent structure, but it commits you to one layout and requires tools to modify. It suits homeowners who have finalized their storage needs and expect to stay put for five-plus years; the solid shelves will handle heavy folded stacks without sagging, yet you sacrifice the ability to reconfigure around seasonal shifts.
The adjustable wire shelving with its metal frame in the center strikes the practical middle ground: you can reposition shelves in minutes without drilling new holes, and the open wire design improves airflow and visibility. Expect to pay 20–40 percent more than a comparable fixed unit, but you gain the flexibility to lift a shelf from 10 inches to 16 inches tall when you swap bulky sweaters for shoe boxes.
The freestanding plastic storage tower with a tension rod attached on the right solves the renter’s dilemma entirely. No wall anchors, no patching, just floor support and that rod wedged between floor and ceiling, holding up to 25–30 pounds of hanging clothes. It costs the least upfront, but you trade stability and capacity; the tower tips if you overload the top bins, and the tension rod slips if you hang anything heavier than a few shirts.
Choose it when the lease forbids drilling and the closet runs under five feet wide.
Repurpose What You Own to Cut Costs
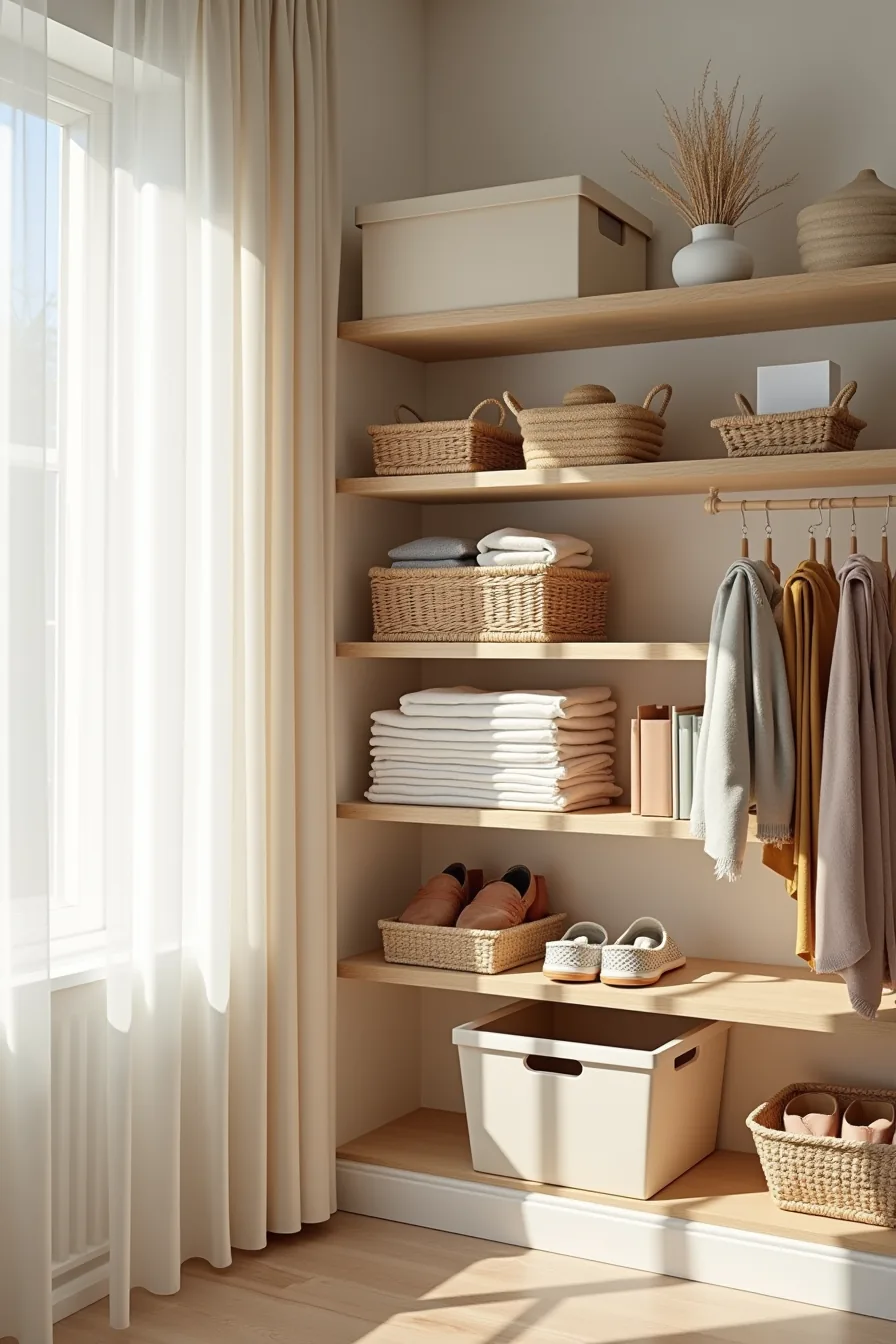
Before you buy a single container, scan your home for items already doing storage work. Cardboard shoe boxes stacked on the shelf handle folded sweaters and t-shirts well, just label the ends with masking tape so you can identify contents without pulling each box down. Woven baskets work best for bulky items like jeans or hoodies, since the open weave lets air circulate and prevents musty smells in closed closets.
Plastic bins with lids suit seasonal items you rarely touch, like winter scarves or swimwear, but you sacrifice visibility for dust protection. Drawer dividers repurposed from your kitchen organize scarves, belts, and ties by separating them into narrow compartments instead of letting them tangle. A hanging shoe organizer with clear pockets keeps accessories visible and accessible, use the top rows for hats and gloves, the bottom for shoes, so you’re not bending over for every item.
This approach costs nothing beyond your existing clutter. The trade-off is durability: cardboard collapses after a season or two, and woven baskets fray with heavy use. Replace them gradually as you find permanent solutions, but starting with what you own gets the system working today, not next payday.
Use Vertical Space and Double-Hang Rods

The fastest cubic-foot gain in any closet comes from doubling your hanging capacity. Install a second rod roughly 40 inches below the existing one, a standard height that clears folded shirts on the upper rail while leaving room for full-length dresses on the lower. You effectively split one vertical column into two zones, which suits anyone with more tops than gowns.
Above the upper rod, add shelving that runs the full closet width. Stack labeled bins there for out-of-season items you access a few times a year, and reserve the highest shelf for rarely used luggage or bulky bedding. On a side wall, mount a pegboard with hooks to hold belts, scarves, and bags, this keeps everyday accessories at eye level instead of buried in drawers.
The trade-off is reach. Double rods force you to bend slightly for the lower rail and stretch for the upper, so reserve the lower rod for items you grab daily and the upper for occasional wear. In a reach-in closet measuring roughly 6 feet wide, this setup typically adds 12 to 15 square feet of usable storage without touching the floor plan.
Label, Maintain, and Adapt for Weekday Mornings
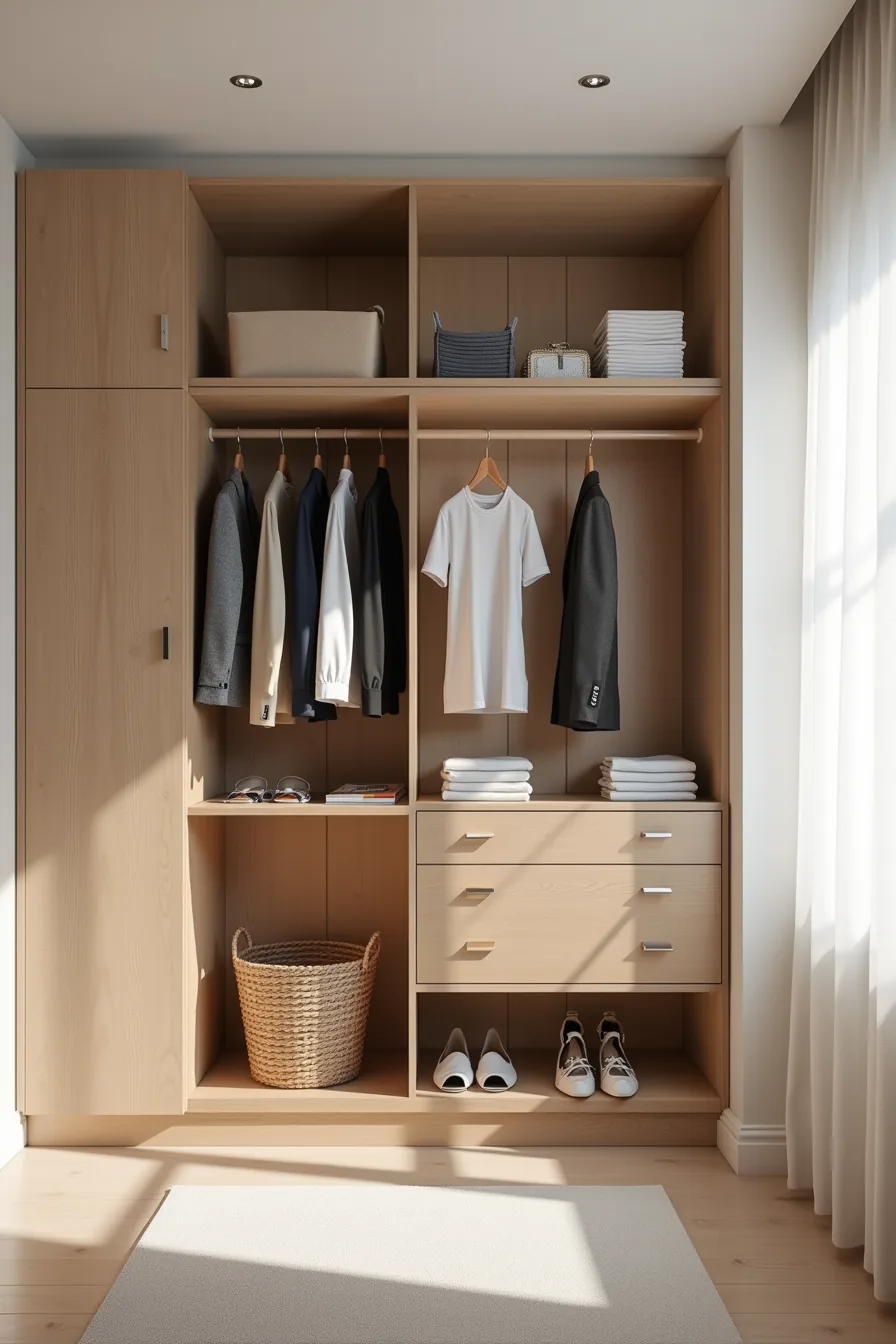
Labels only work if they match how you actually move through your morning. Sort by routine, not category: put blazers and trousers on the rod at eye level for workdays, then drop t-shirts and jeans onto the shelf below for casual days. Use a simple basket for accessories, belts, scarves, watches, placed at the front edge so you can grab it without shifting anything else.
A labeling system fails quietly when you let it drift. Every month, spend ten minutes returning stray items to their zones and checking that seasonal bins on the top shelf still hold what you expect. When the weather shifts, swap the bins’ positions, winter knits closer to the front, summer pieces to the back, so you never dig through off-season gear on a rushed Tuesday.
The real test is whether the system survives a bad week. If you find yourself tossing items onto the floor by Thursday, move the basket closer to the door or swap the rod so your most-worn pieces sit at arm’s reach. DIY closet organization for busy weekday mornings works only when the layout adapts faster than your schedule breaks it.
What to do first
Before you buy a single bin, measure your closet floor-to-ceiling and wall-to-wall. That gives you the dimensions you’ll need to pick fixed shelving, hanging rods, or freestanding units that fit without wasted space. Then set a budget range, most complete DIY overhauls run $100–$400 depending on materials, and commit to one zone at a time.
Your first move: empty the closet completely, sort everything into keep, donate, and relocate piles, and time yourself, most people finish the purge in 90 minutes. Only then shop for containers that match what actually remains.
Frequently Asked Questions
How do I know if my closet is too small for DIY organization?
If you can’t open the door fully or reach the rod without twisting, your closet is too small for standard systems. Focus on vertical stacking and door-mounted storage instead of adding bulky shelving units.
What’s the cheapest way to organize a closet without buying new containers?
Repurpose shoeboxes, takeout containers, and clean jars for small items. Use tension rods and hooks you already own. Cardboard dividers from shipping boxes work well for folded sweaters and bags.
Can I organize a rental closet without damaging the walls?
Yes. Use tension rods, freestanding shelving units, and over-door hooks. Command strips work for lightweight organizers, but avoid adhesive on painted drywall if your lease prohibits wall damage.
Always patch and clean before moving out.
How often should I reorganize my closet after setting it up?
Reassess every three to six months, ideally when seasons change. A full reset is only necessary if you notice items piling on the floor or you can’t find things regularly. Minor tweaks, like swapping bins, can happen monthly.