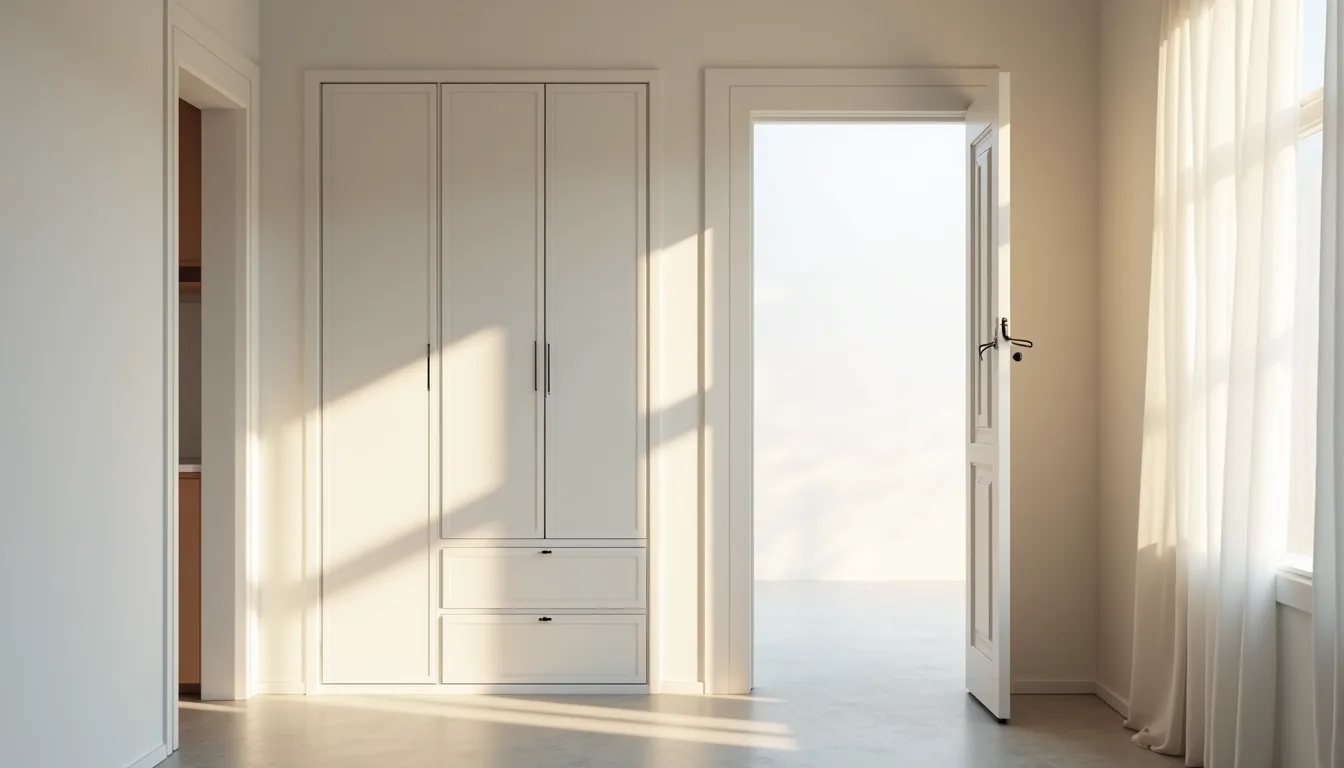
Your hallway shoe clutter has a design solution, provided you match the cabinet’s profile, finish, and opening mechanism to your actual floor plan and daily traffic, not just to a Pinterest mood board. The six configurations that follow range from a $150 floating shelf unit to a built-in bench system costing several thousand, and each one targets a specific failure point: depth, ventilation, or accessibility. You’ll learn which design suits a 3-foot-wide entry versus a 6-foot-long mudroom, and why a tilt-out door fails in a household of four.
Key takeaways
- Slim profile units work best in corridors under 36 inches wide, using 6-8 inch depth to keep clearance while storing 4-6 pairs vertically.
- Handleless designs suit high-traffic entries by eliminating snag risks, but require push-to-open mechanisms that add $30-$80 per door versus standard hardware.
- Renter-friendly modular options like stackable cube shelves or tension-fit racks avoid wall damage, yet cap out around 12 pairs and need anchoring above 48 inches for stability.
- Built-in cabinetry pays off only if you plan to stay 5+ years, as custom millwork runs 2-3 times the cost of freestanding units and isn’t movable.
Slim Profile Storage Against the Wall
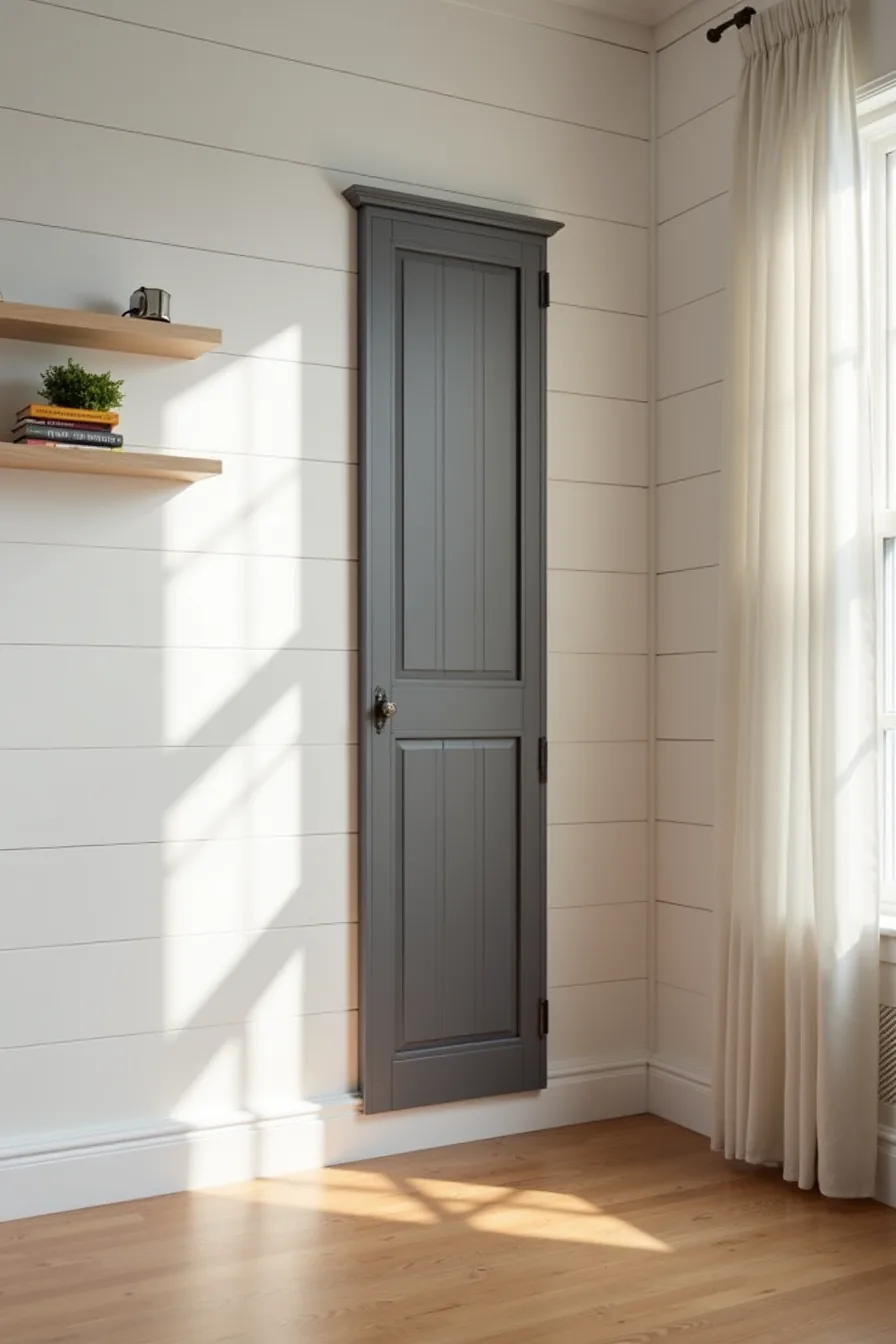
A narrow cabinet in the 6–10 inch depth range is the most effective solution for a tight entryway because it keeps the walking path completely clear. You want the cabinet face to sit roughly flush with any adjacent wall trim or baseboards, so measure the available wall space first and confirm the door swing won’t collide with coat hooks or light switches. The dark gray vertical unit in this setup runs floor-to-chest height, which maximizes internal capacity without eating into the sightline from the threshold.
The tape measure resting on the adjacent shelf is a practical cue: before you commit to any slimmer cabinet, verify the internal depth actually accommodates your largest pair of shoes. Many narrow units claim to fit sneakers but only take flats or sandals once the door closes. For a small hallway design, prioritize a cabinet with adjustable shelves and a wall-mounting bracket, since a tall, shallow piece can tip forward when overloaded.
Choose matte or textured finishes, the dark gray here hides scuffs from daily use far better than a glossy white alternative.
Handleless vs. Hardware: Which Fits Your Space
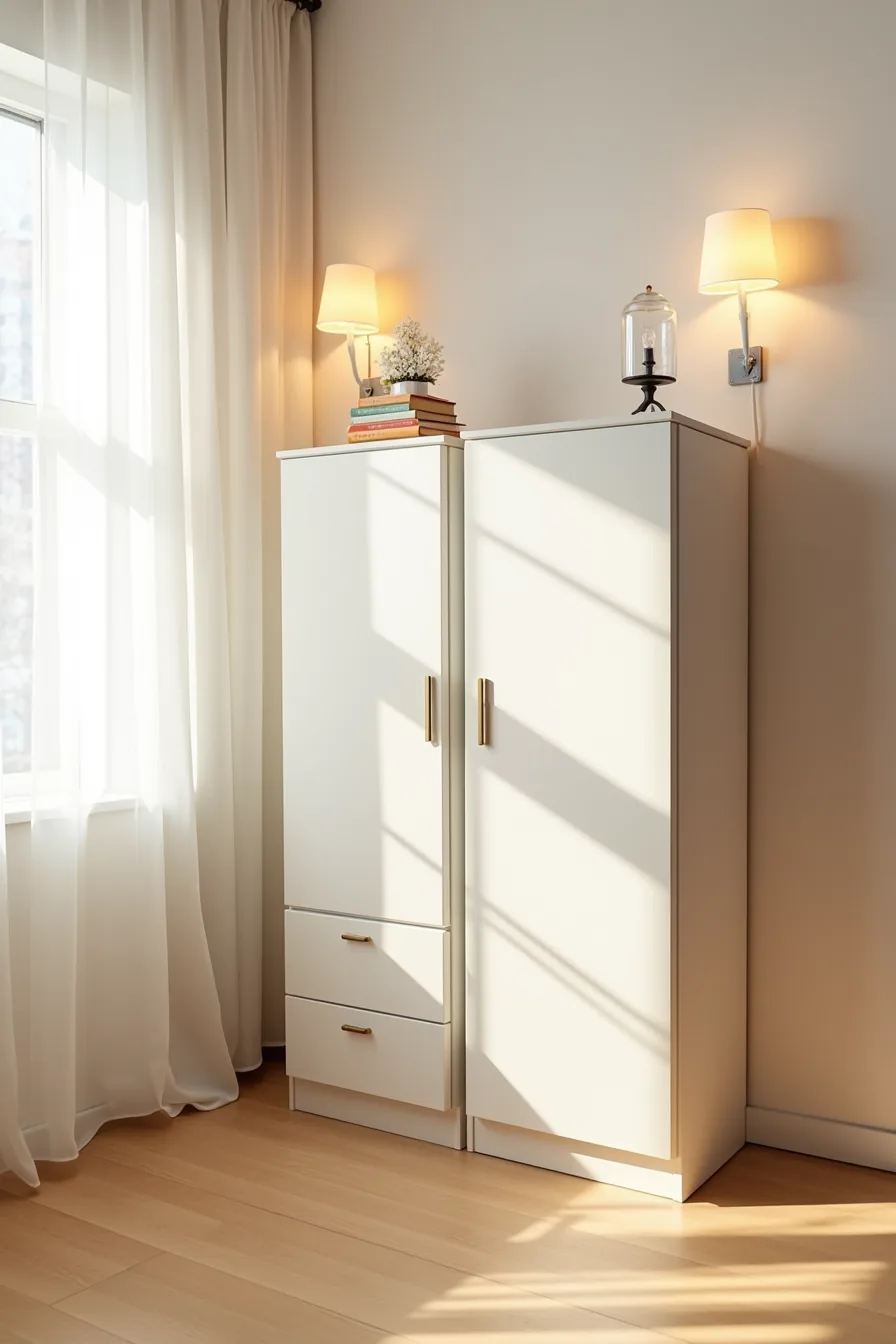
The two 24-inch-wide cabinets side by side illustrate the core decision: recessed finger pulls with brass hardware versus a smooth push-to-open front. The hardware option gives you a tactile grip that works every time, but brass requires periodic polishing and the pulls collect fingerprints near the high-touch zone. The handleless cabinet hides its push-catch mechanism completely, yet that mechanism depends on a spring that can wear out after roughly five to eight years of daily use, so budget for a replacement catch.
Choose handleless fronts if you’ve young children who might snag clothing on protruding pulls or if your hallway is under 36 inches wide, where any projection reduces clearance. Opt for visible hardware if you prefer a more traditional or mixed-material look, since brass or matte black pulls anchor the design visually. Both styles require the same installation depth, but push-to-open systems demand a consistent gap around the door edges, typically 3-5mm, so confirm your cabinet maker leaves that tolerance.
For maintenance, wipe handleless fronts daily to remove smudges, while hardware needs only monthly attention unless you choose unlacquered brass, which develops a patina you either embrace or avoid.
Open Shelving with Concealed Shoe Racks
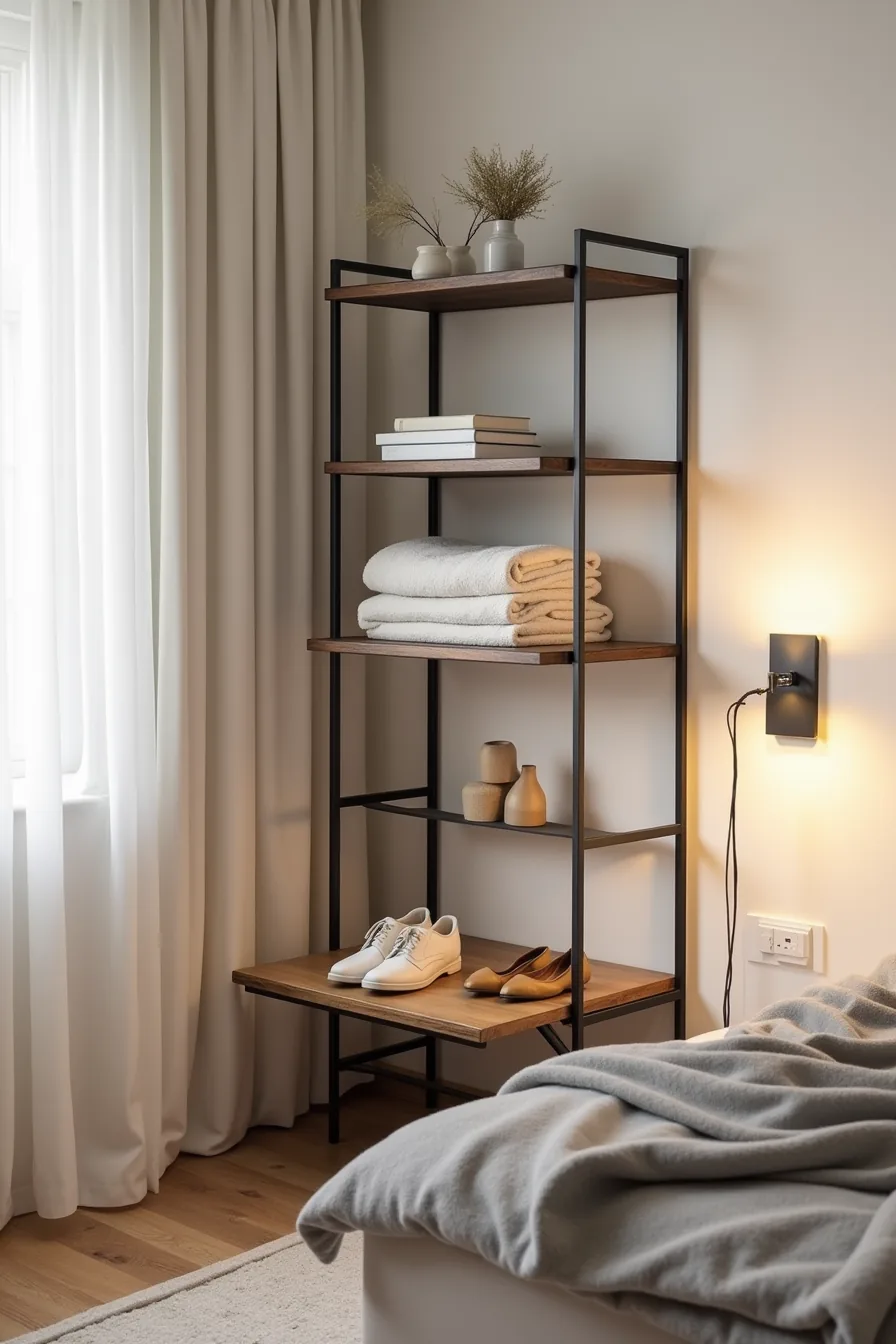
This setup pairs three tiers of open shelving with angled pull-out trays on the lower two levels, letting you display blankets and objects above while keeping footwear mechanically organized below. The matte black metal frame supports roughly 20-30 pounds per shelf when wall-mounted into studs, so reserve the top tier for lightweight décor and distribute shoe weight across the lower trays rather than loading one side. Unlike the handleless cabinets above, this system trades full enclosure for visual openness, which suits narrow entryways under 40 inches wide where a solid mass would feel oppressive.
The pull-out trays operate on full-extension slides rated for 50-75 pounds, and the angled design means you see every shoe at a glance without bending. You lose dust protection and gain a display opportunity, if your collection runs beyond 12-15 pairs, limit this approach to your most-worn shoes and store seasonal pairs elsewhere. Budget roughly 60-80% less than a built-in, but expect to wipe the open shelves weekly since exposed surfaces collect dust and pet hair faster than enclosed cabinets.
Built-In Cabinetry for Long-Term Investment
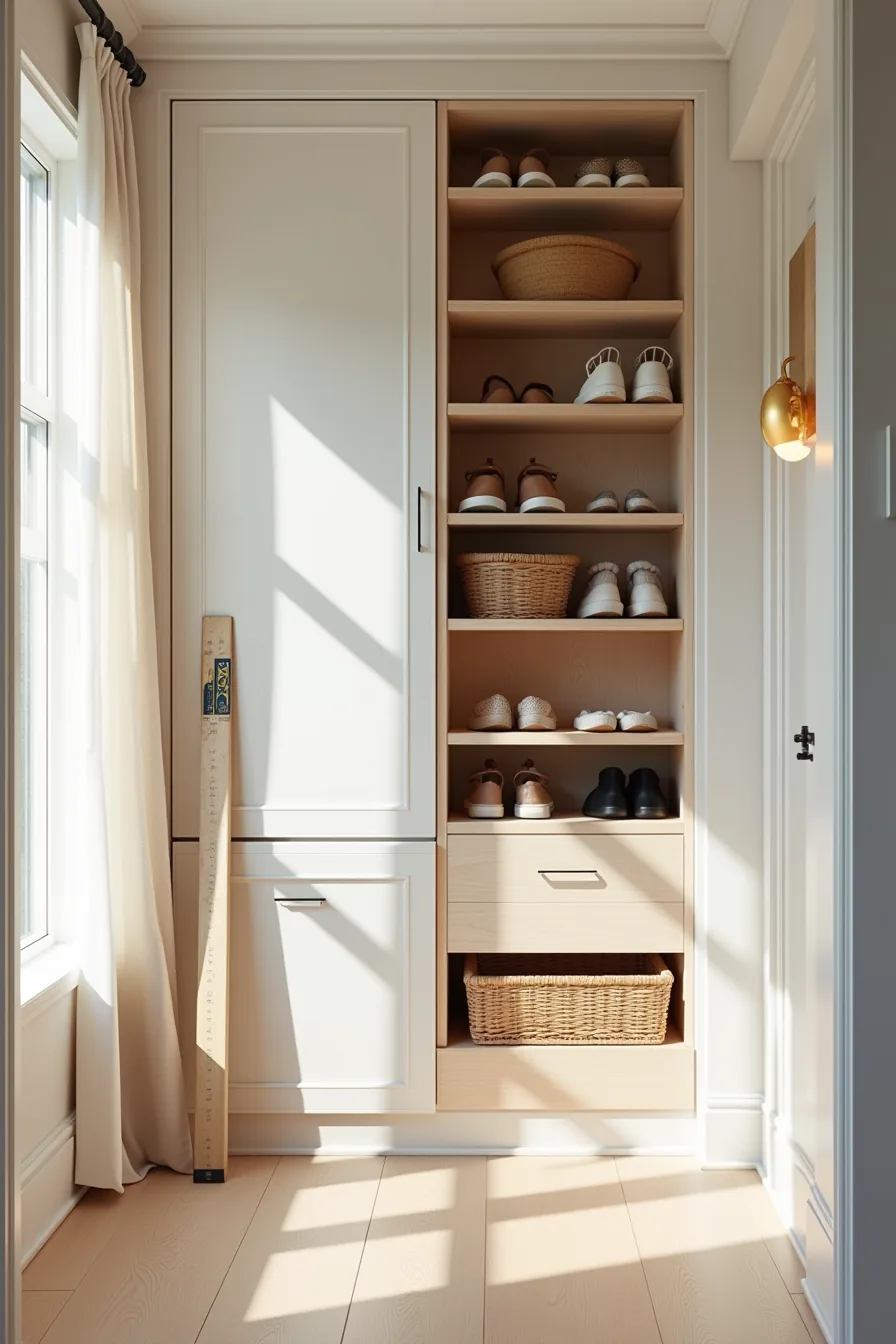
Built-in shoe storage delivers the highest return when you plan around the corner you already waste. The setup here pairs closed cabinets with recessed handles at floor level against open cubbies fitted with woven baskets above, topping out at 48 inches so the wall above remains visually light. That split, enclosed below, open above, protects your daily shoes from dust while letting you stash scarves, bags, or off-season pairs in the baskets without adding visual clutter.
Before you commit, measure the depth you actually need. Most adult shoes sit 10-14 inches deep, so plan your cabinet at 14-16 inches inside to accommodate heels and boots without angled racks. A carpenter’s level and stud finder are non-negotiable here; built-ins need anchoring into studs every 16 inches, and a floor that’s out of level by even a quarter inch will throw your drawers off their slides.
Expect to spend three to five times what a freestanding unit costs, but the payoff is a smooth fit that adds resale value and eliminates the wobble and gap problems cheaper units develop within a year or two.
Renter-Friendly Modular Units and Freestanding Options
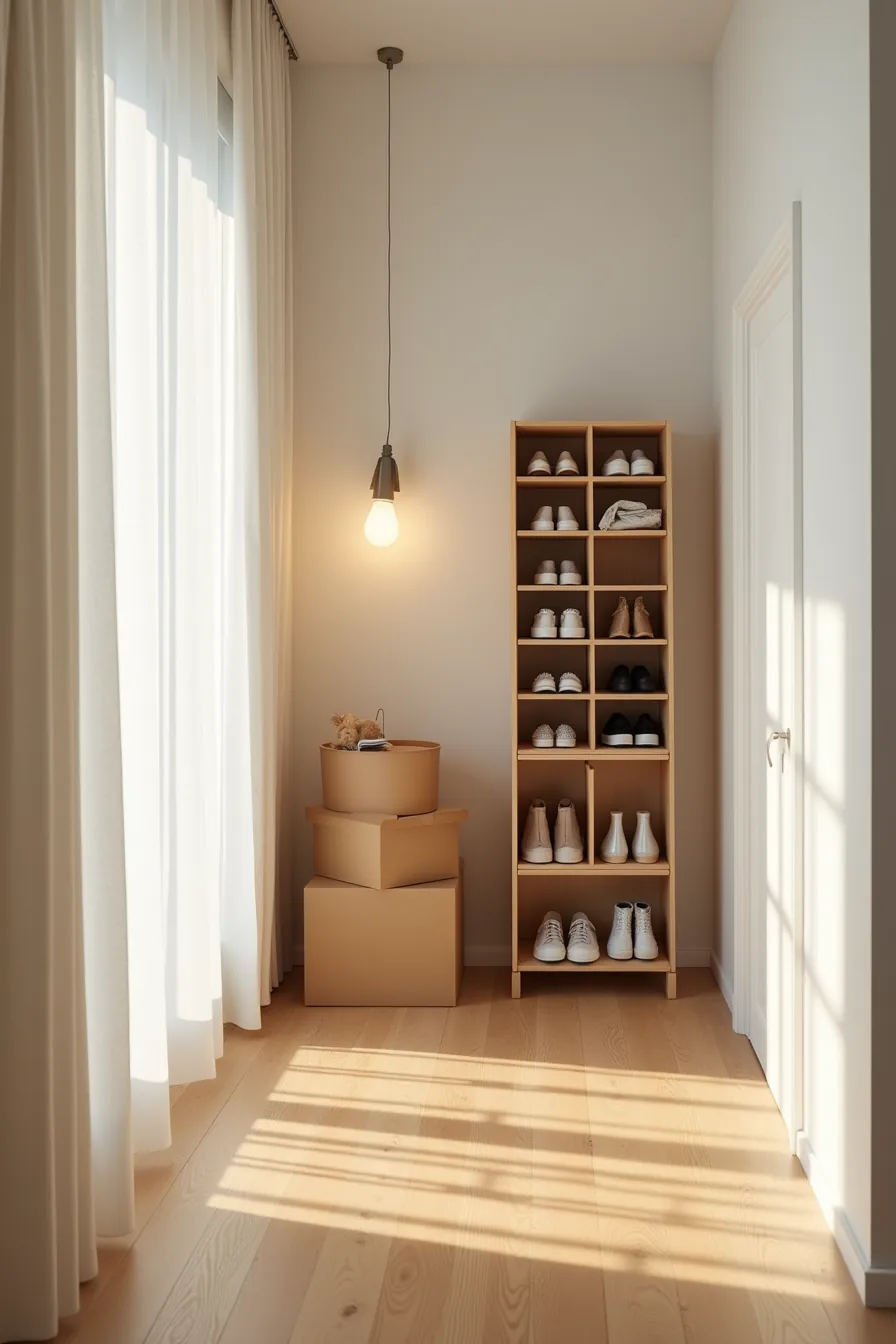
When you can’t drill into walls, favor modular systems with interlocking shelves and removable dividers. The freestanding unit pictured here fits an apartment hallway without a single anchor point, relying on its own weight and a level floor for stability. Pull the dividers out entirely to store boots or stacked boxes; slot them back in to separate flats from sneakers, reconfiguring the layout in under two minutes without tools.
Look for units where each bay holds 2-3 pairs, with total depth between 12-15 inches to clear standard baseboards. A modular cabinet of 30-36 inches wide suits tight entryways while still taking eight to ten pairs. Cardboard moving boxes nearby signal an easy relocation, at 15-25 pounds empty, most units lift and shift without a second person.
Expect to spend 40-60 percent less than built-ins, and verify the interlocking joints use metal brackets, not plastic clips that snap after repeated reassembly.
Scaling Modern Shoe Cabinet Design to Your Room Size
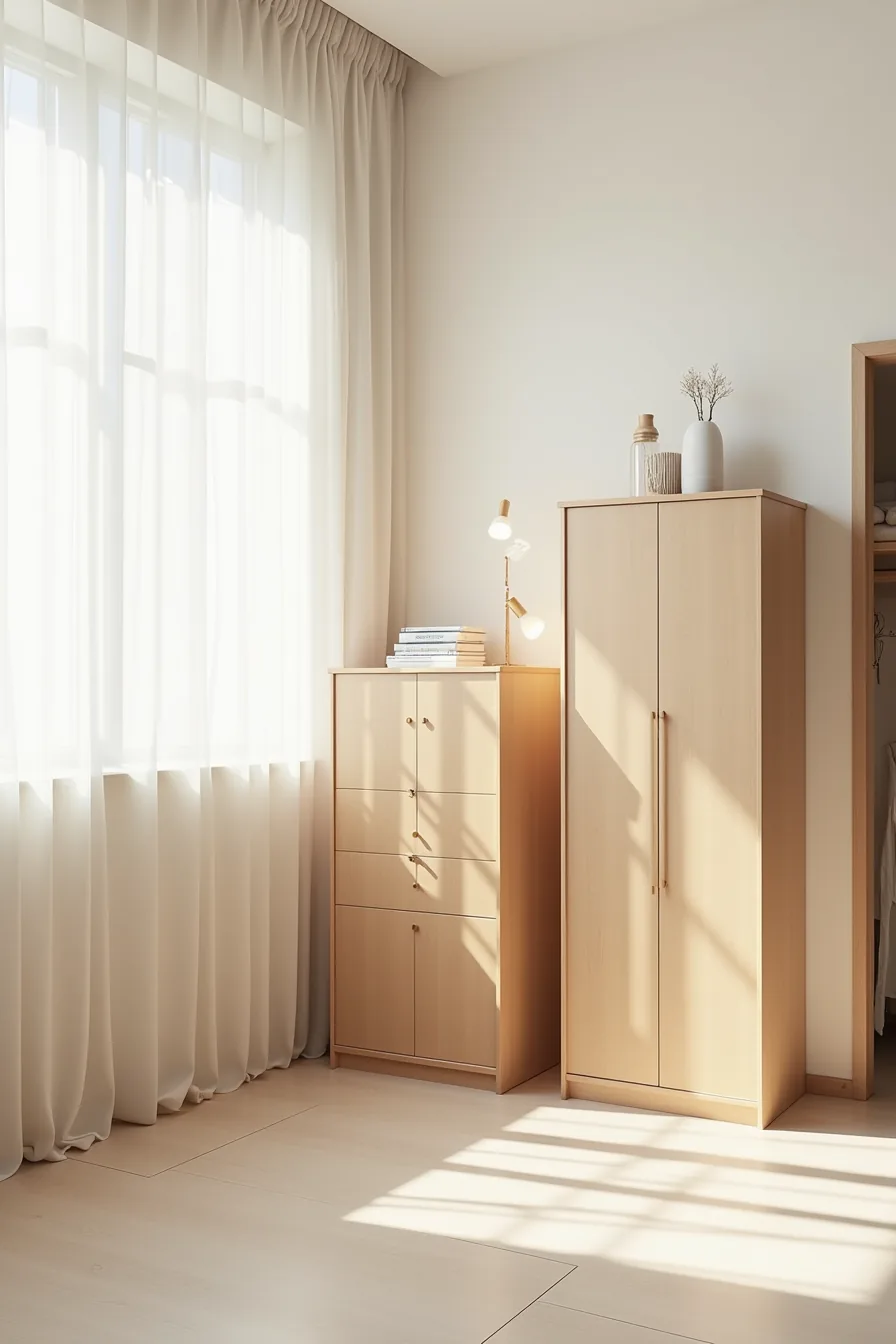
Proportion dictates success more than style. A compact unit 18 inches wide holds four to six pairs and suits a 30-inch-wide entry wall without crowding the door swing. Pair it with a wall-mounted coat hook above to reclaim vertical space, but leave 6-8 inches of clearance between the cabinet top and the hook for bulky jackets.
A medium cabinet at 36 inches wide becomes the workhorse for most apartments, storing ten to twelve pairs while leaving 12-16 inches of walkway on one side. Place it opposite the hinge side of your entry door so it doesn’t interfere with opening. In a large foyer, a 60-inch-wide unit anchors the space, break the visual mass by choosing one with two distinct door panels or a mix of open and closed sections, rather than a single slab that reads as a wardrobe.
The overhead view of the three cabinets together makes the depth consistency clear: keep all units between 12-15 inches deep regardless of width so they never jut past standard door casings.
Where to start
You now have six distinct directions for a modern shoe cabinet, each with a clear trade-off between budget, permanence, and visual impact. Before you buy anything, measure your entry zone’s width, depth, and clearance for door swings. That single measurement eliminates half your options immediately.
For most apartments, the wall-hung or slatted bench route delivers the best ratio of storage to footprint. If you’re renting, the freestanding modular unit requires zero drilling and moves with you. Commit to one option this week, order samples of the finish, and test it against your floor color before purchasing.
Frequently Asked Questions
How deep should a modern shoe cabinet be to fit standard adult shoes?
Aim for 12–14 inches of interior depth for most adult shoes. Deeper cabinets (15–18 inches) accommodate boots or shoeboxes, while slimmer 8–10 inch models require angled or sideways storage.
Can I install a handleless shoe cabinet in a rental apartment?
Yes, if you choose a freestanding unit with push-to-open mechanisms, no drilling needed. Wall-mounted handleless designs require screws into studs, which typically violate rental agreements unless you patch and repaint before moving out.
What’s the difference between a slim profile cabinet and a standard depth cabinet?
Slim profile units are 8–10 inches deep, holding 3–5 pairs per shelf with shoes placed sideways or at an angle. Standard depth cabinets run 12–14 inches, fitting 6–8 pairs per shelf laid heel-to-toe, and better suit larger households.
How do I prevent a modern shoe cabinet from looking cluttered if it has open shelves?
Limit open shelves to 1–2 pairs per tier, use matching shoe trays or baskets for odd items, and rotate seasonal footwear. Choose a cabinet with a solid top and closed lower doors to balance visual noise while keeping everyday pairs accessible.