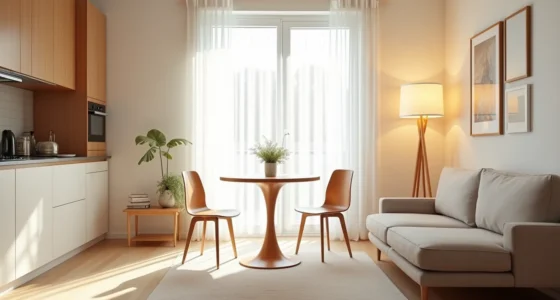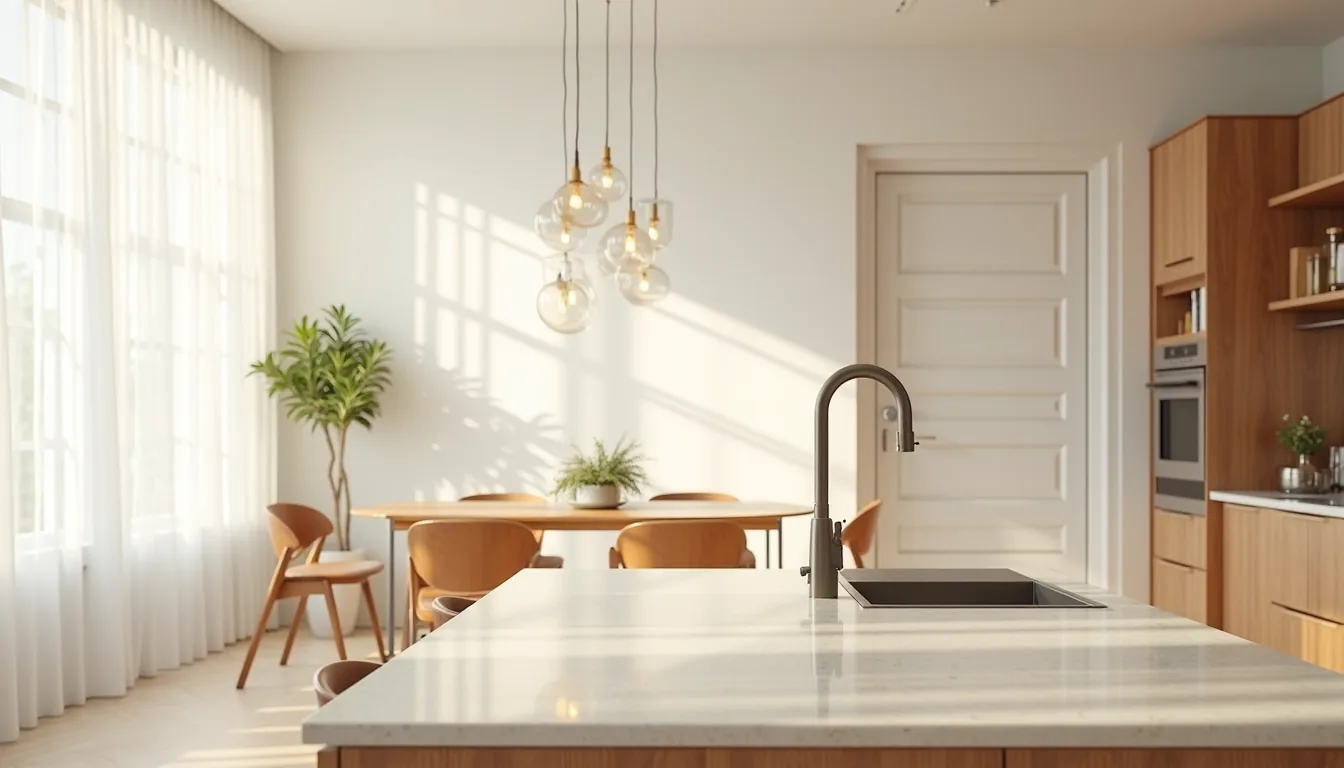

A kitchen dining living room combo is a single open-plan footprint where cooking, eating, and lounging share one visual and functional space, and making that layout work depends less on square footage and more on how you zone each activity with deliberate scale, materials, and traffic patterns. The difference between a cohesive great room and a chaotic one comes down to three decisions you control: where you place the visual anchors, how you separate cooking mess from seating comfort, and what you choose to spend on versus skip. This guide breaks down six distinct approaches, from a renter-friendly studio to a large-family investment, so you can match the right strategy to your room’s actual dimensions and your daily habits.
Key takeaways
- A kitchen dining living room combo works best when zones share visual language, matching floor materials or a consistent accent color, so the room reads as one space, not three competing areas.
- For medium open plans, place the sofa with its back to the dining zone and use a 36–42 inch clearance behind it for walkways, keeping traffic flow uninterrupted.
- Budget setups under $1,500 can rely on a single large rug, a slim console table as a divider, and pendant lighting over the dining spot to define zones without structural changes.
- Long-term investments like built-in banquettes or a kitchen island with overhang seating pay off in durability, but require at least 24 inches of clearance around seating and a floor plan that won’t need rearranging for a decade.
Island to Dining Flow: Creating Natural Zones Without Walls
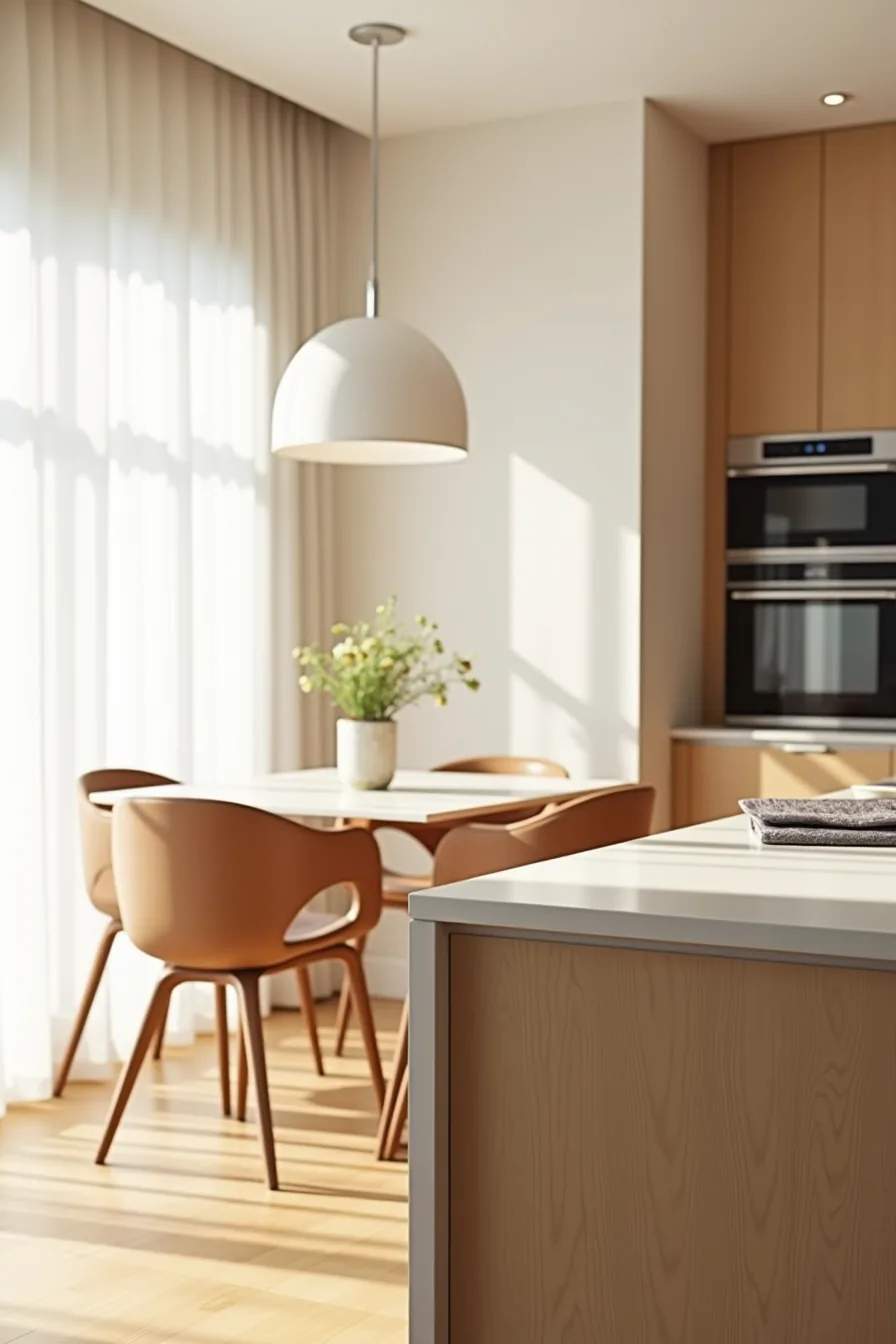
The waterfall-edge island is the pivot point here: its countertop edge visually separates the cooking zone from the dining area, while the place setting on the near side signals that this surface does double duty as a casual eating spot. The range hood behind anchors the kitchen, and the clear sightline from cooking to dining means you can keep an eye on a simmering pot while chatting with guests at the table.
Position the dining table 4–5 feet beyond the island overhang to leave enough clearance for chairs to pull out and for someone to pass behind a seated diner. For this to work, your island counter should sit in the 36–42 inch height range and the dining table at a standard 28–30 inches. The visual height difference is what defines the two zones without a single wall, and it lets you host from either side of the island without shouting across the room.
This layout suits open-plan rooms of roughly 250–400 square feet where you want cooking, eating, and conversation to feel connected but not crowded.
Sofa Zoning: Anchoring the Living Area Within an Open Plan
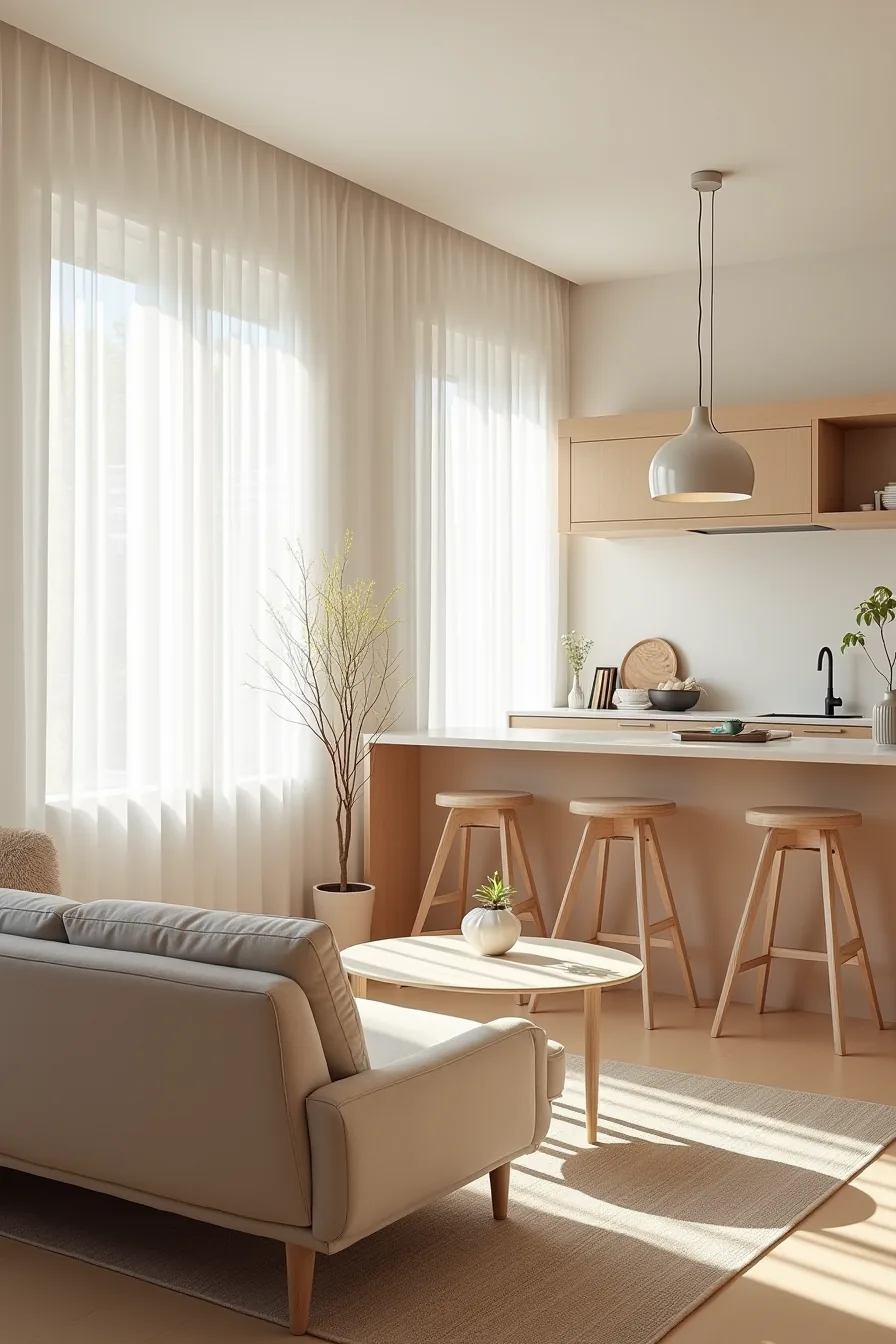
The low sofa back facing the kitchen creates a hard visual stop that separates the cooking zone from the seating area without breaking sightlines. An area rug anchored under the front legs of the sofa and the coffee table defines the living footprint, while the kitchen counter and stools remain visible beyond the backrest, so the room reads as one continuous space with distinct functions.
Place the sofa roughly 6–8 feet from the kitchen counter to leave a natural walkway behind it. A 5×8-foot rug suits a compact seating group, while an 8×10-foot rug works when you add a side chair or chaise. Choose a low-profile sofa with a back height under 32 inches to preserve sightlines over the top; any taller and the kitchen feels walled off.
This setup suits renters because it requires no structural changes, you can reposition the sofa or swap the rug when you move, and the only investment is furniture that travels with you.
Three-Zone Furniture Plan: Layout Strategies for Medium Spaces
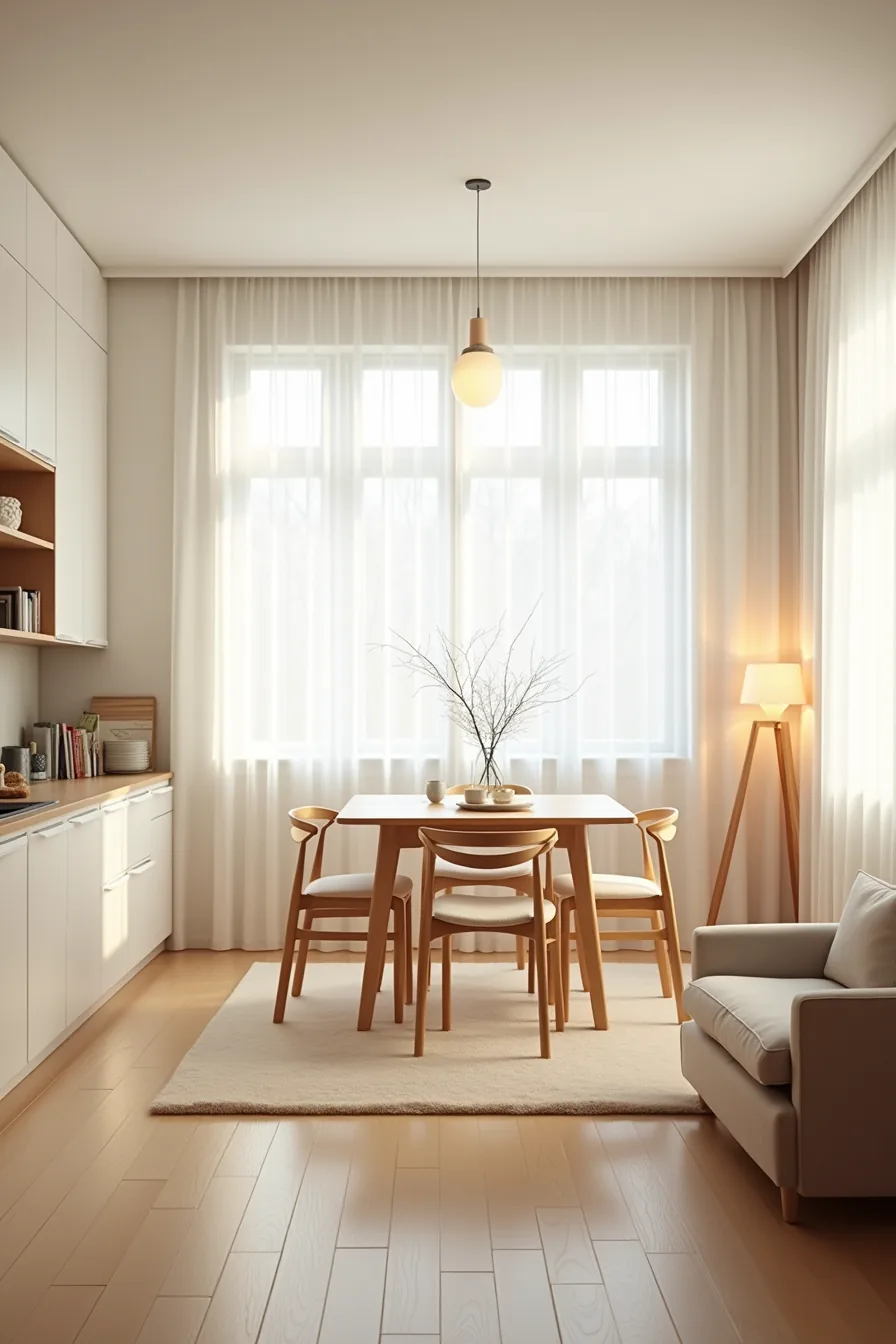
In a 400–600 square foot combined room, the three-zone plan solves the biggest open-plan failure: furniture floating with no purpose. The arrangement places the kitchen perimeter along one wall, a dining table with four chairs in the center, and an accent chair with a side table on the opposite side, with walking paths kept clear between each zone.
The dining table anchors the middle because it’s the circulation hub. Allow 36–42 inches of clearance around its edges so people can pull chairs out and still walk past. Position the accent chair near a window or wall outlet rather than in the middle of a path; it needs roughly 24–30 inches of legroom in front.
The kitchen perimeter dictates the workflow, so keep at least 48 inches between the counter edge and the dining table to let two people pass comfortably while someone cooks.
This plan suits medium rooms where a full sofa feels oversized but a single lounge chair fits without crowding. It works best when you measure your floor space first and mark the zones with painter’s tape before committing to furniture purchases.
Make an Open Plan Combo Feel More Spacious: Visual and Structural Techniques
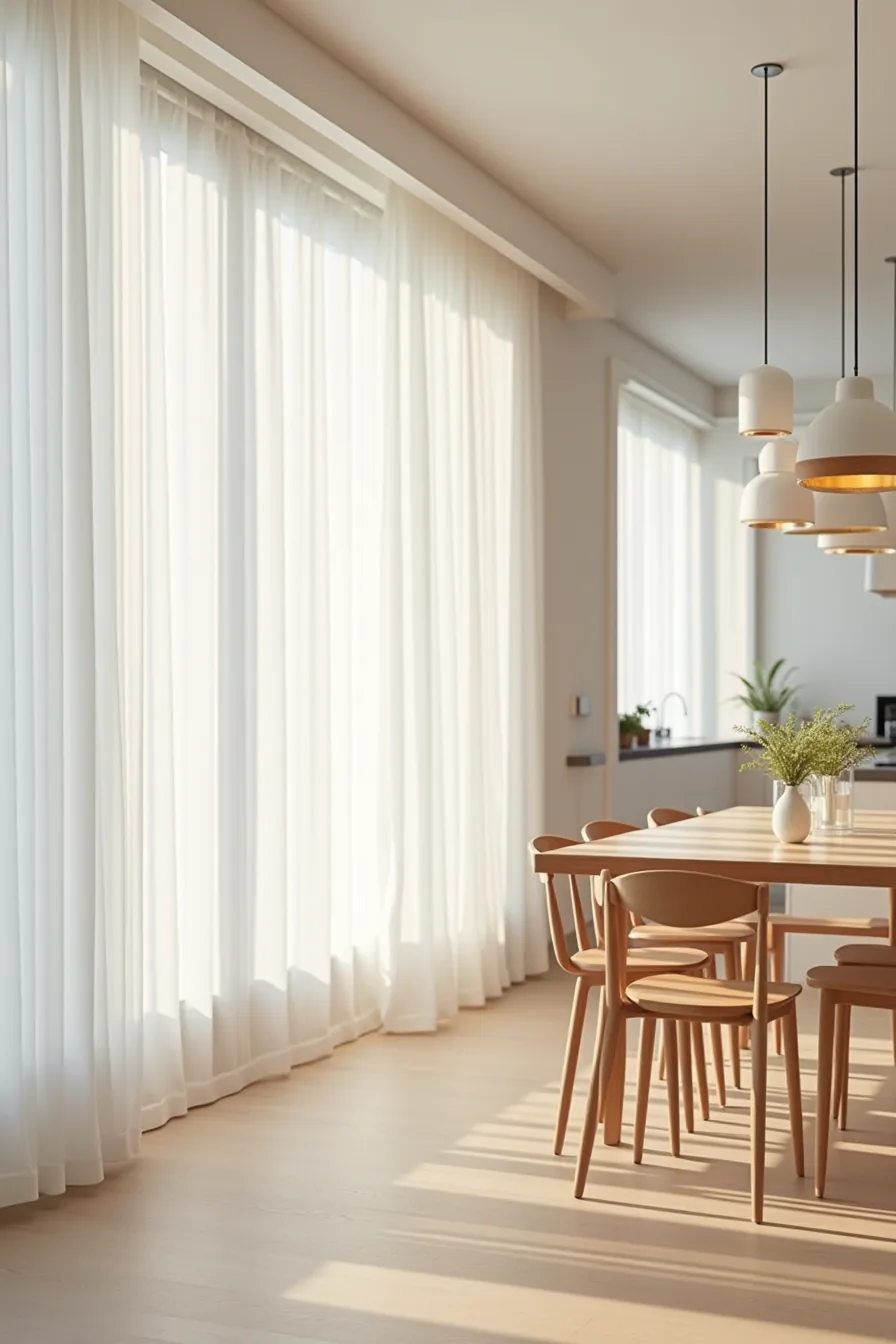
The quickest way to make a kitchen dining living room combo feel larger is to unify the visual field rather than divide it. Paint the ceiling and walls the same light neutral tone, a warm white or greige works across most lighting conditions, so the ceiling appears to lift instead of visually stopping at a contrasting color line. Carry one continuous flooring material, whether wide-plank oak or large-format tile, from the kitchen perimeter through the dining zone into the living area; a material change underfoot creates an invisible boundary that shrinks the perceived square footage.
Lighting placement does the heavy lifting next. Suspend three linear pendant lights above the dining table at a consistent height, typically 30–36 inches above the tabletop, and align them along a single axis that mirrors the room’s length. This repeated line draws the eye toward the far wall, stretching the space; scattered fixtures at varying heights break that sightline and make the ceiling feel lower.
Keep the palette restricted to two or three materials, such as matte black fixtures, light wood, and white cabinetry, so the eye reads the whole room as one composition rather than three competing zones.
Budget-Friendly Kitchen Dining Living Room Combo Setup
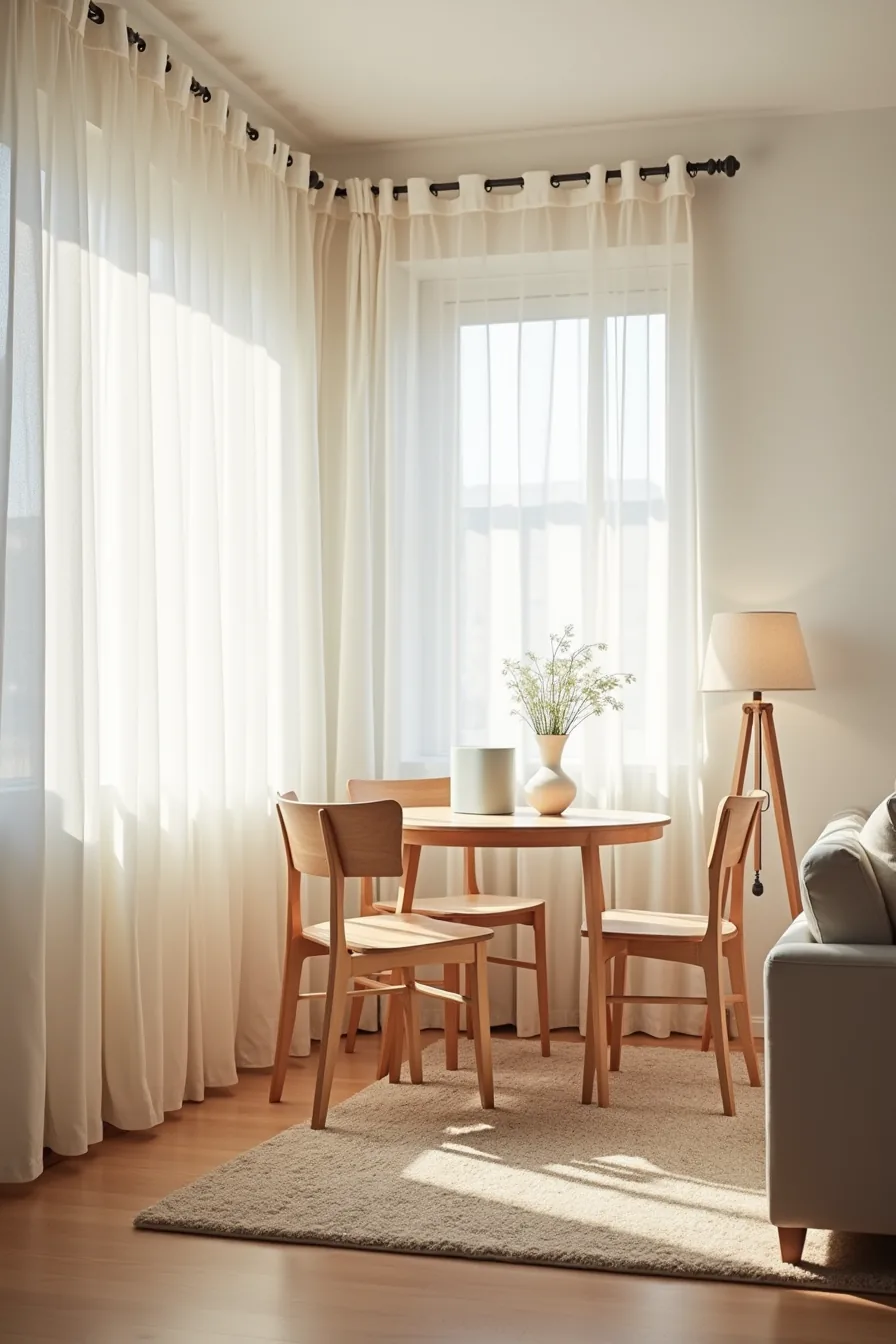
A budget route hinges on zone definition through movable objects, not construction. Anchor the living area with a low-pile area rug sized so the sofa’s front legs sit fully on it, an 8×10-foot rug suits most sofas, while a 5×7-foot rug works for apartment-scale seating. Place a modular dining set with a drop-leaf table against the wall nearest the kitchen; extend it only for meals, keeping the walkway between the table and sofa at a minimum of 36 inches for comfortable traffic flow.
Choose wooden chairs with a natural or stained finish that echoes the tabletop tone, creating a unified dining cluster without matching sets. A budget retail sofa in a medium-gray or beige fabric hides everyday wear better than a light cream and costs less to replace when it eventually sags. Skip custom built-ins entirely, a freestanding shelving unit behind the sofa acts as a visual divider while remaining portable for renters, and a flatweave rug is machine-washable, which matters more than thread count when you’re cleaning up after meals in the same room.
Long-Term Investment Approach: Built-In Solutions and Durable Materials
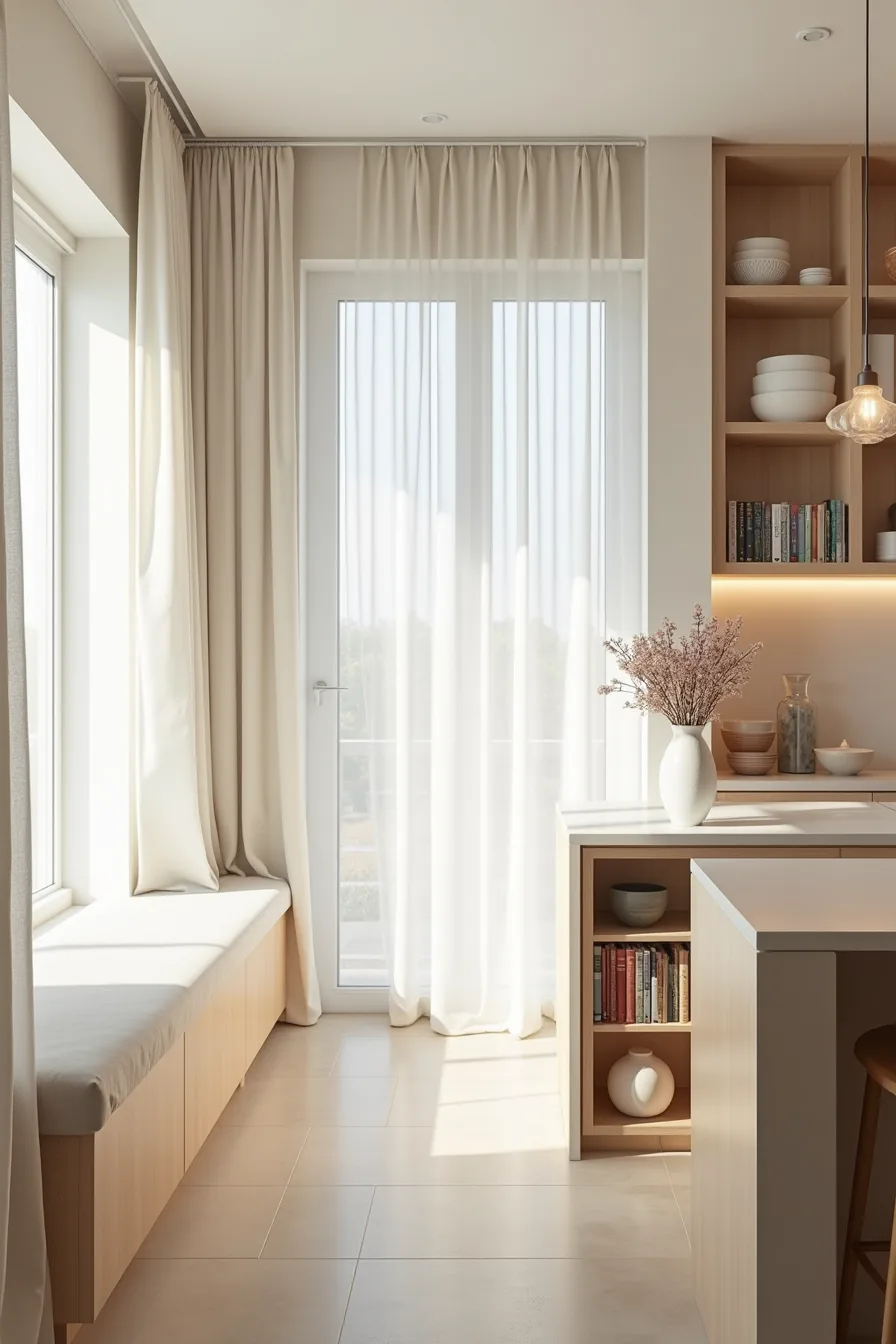
If you plan to stay put for a decade or more, a built-in peninsula counter is the highest-value permanent upgrade for a kitchen dining living room combo. This setup uses a custom cabinet base with integrated bench seating on the living-room side, which anchors the dining zone without consuming floor space the way a freestanding table would. Spec a quartz or solid-surface countertop with a 4–6 cm edge overhang, it resists stains and heat far better than laminate, and it eliminates the seam where the dining surface meets the kitchen prep zone.
Fitted cabinetry, running floor-to-ceiling and flush with the wall, gives you pantry storage and visually separates cooking from seating. Pair this with a matte porcelain or polished concrete floor laid continuously across all three zones; both tolerate heavy foot traffic and are far easier to clean than hardwood when spills cross the threshold. Expect at least 2-3x the upfront cost of a budget freestanding arrangement, but the durability and permanent integration typically add resale value that recovers a meaningful portion of that premium, so you’re paying for longevity you’ll resell, not just use.
Where to start
Walk into your space and map the traffic flow first. Mark where people enter, where they sit, and where they cook. If any single path is narrower than 36 inches, shift furniture before buying anything new.
Measure your longest wall and your ceiling height. Write down both numbers, they determine whether a peninsula, island, or open plan will work for you.
Your one concrete next step: tape out your ideal layout on the floor with painter’s tape. Live with it for 48 hours. You’ll spot the bottlenecks immediately, and you’ll know exactly which of these six combos fits before you spend a dollar.
Frequently Asked Questions
How do you define separate zones in a kitchen dining living room combo without walls?
Use area rugs, pendant lighting, and furniture placement to create visual boundaries. Position the sofa with its back to the dining table, and anchor the kitchen with a peninsula or island. Consistent color palettes help zones feel intentional.
What is the minimum square footage needed for a functional kitchen dining living room combo?
A workable layout starts around 300–350 square feet for all three functions. You need at least 8 feet between the kitchen counter and dining table, plus 3 feet of walkway clearance. Below 250 square feet, prioritize one function and downsize the others.
Can you use a kitchen dining living room combo in a rental apartment?
Yes, with renter-friendly tactics: use peel-and-stick backsplash tiles, freestanding islands on casters, and plug-in pendant lights. Avoid structural changes, opt for tension rods, removable wallpaper, and rugs that define zones. Always check lease rules before drilling or painting.
What flooring works best across a kitchen dining living room combo?
Luxury vinyl plank (LVP) or porcelain tile in large-format planks suits all three areas, waterproof, scratch-resistant, and easy to clean. Avoid solid hardwood near sinks and stoves; if you prefer wood, choose engineered wood with a waterproof core. Use the same flooring throughout to visually unify the space.