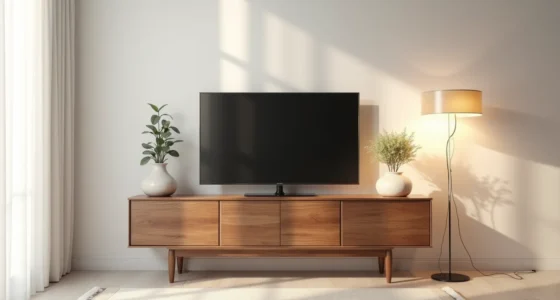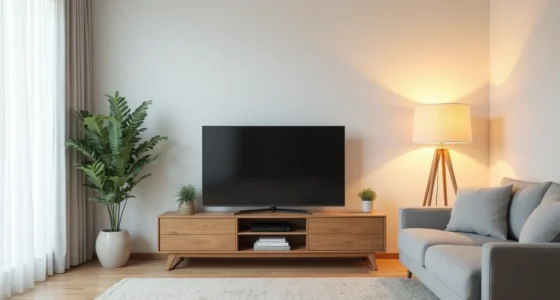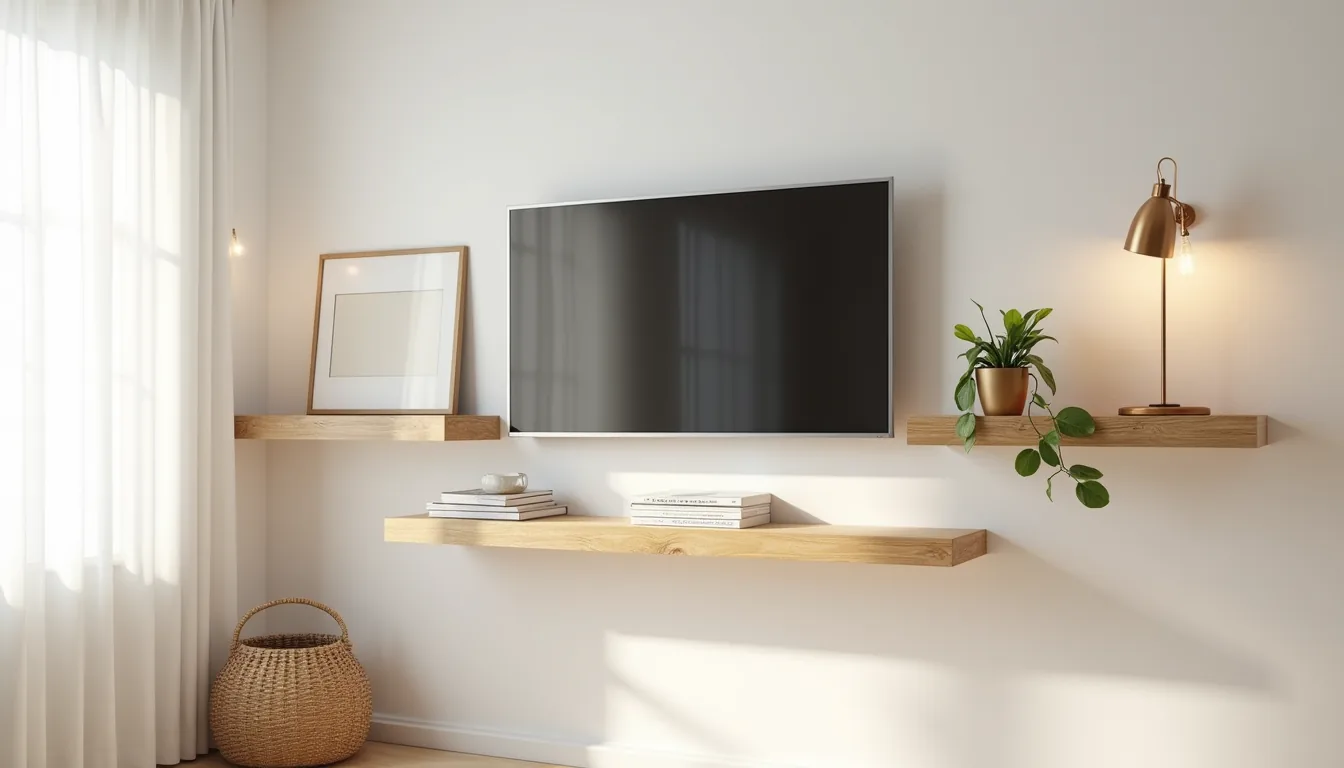

A media wall unit is a single integrated system that consolidates your television, audio equipment, storage, and display surfaces into one deliberate architectural focal point, but the practical range of what that means stretches from a floating shelf arrangement you can install in an afternoon to a floor-to-ceiling built-in that becomes a permanent part of your room’s structure. The right choice depends on your wall size, viewing distance, and whether you rent or own. Below are six distinct approaches, each with the specific dimensions, materials, and trade-offs you need to match one to your space.
Key takeaways
- Renters can build a floating shelf media wall with adhesive strips or tension rods, avoiding wall damage, but verify weight limits for your TV.
- Built-in units need 1-2 inches of clearance behind electronics and open or vented fronts to prevent overheating, especially for receivers and game consoles.
- Trim and lighting transform a basic unit: add 2-3 inch crown molding for a custom look, and use LED strip lights with a diffuser to avoid harsh hotspots.
- Scale your media wall by matching unit depth (16-20 inches for large TVs) to your room size, and reserve 20-30% of shelf space as negative space to reduce visual clutter.
Floating Shelf Media Wall for Renters and Small Spaces
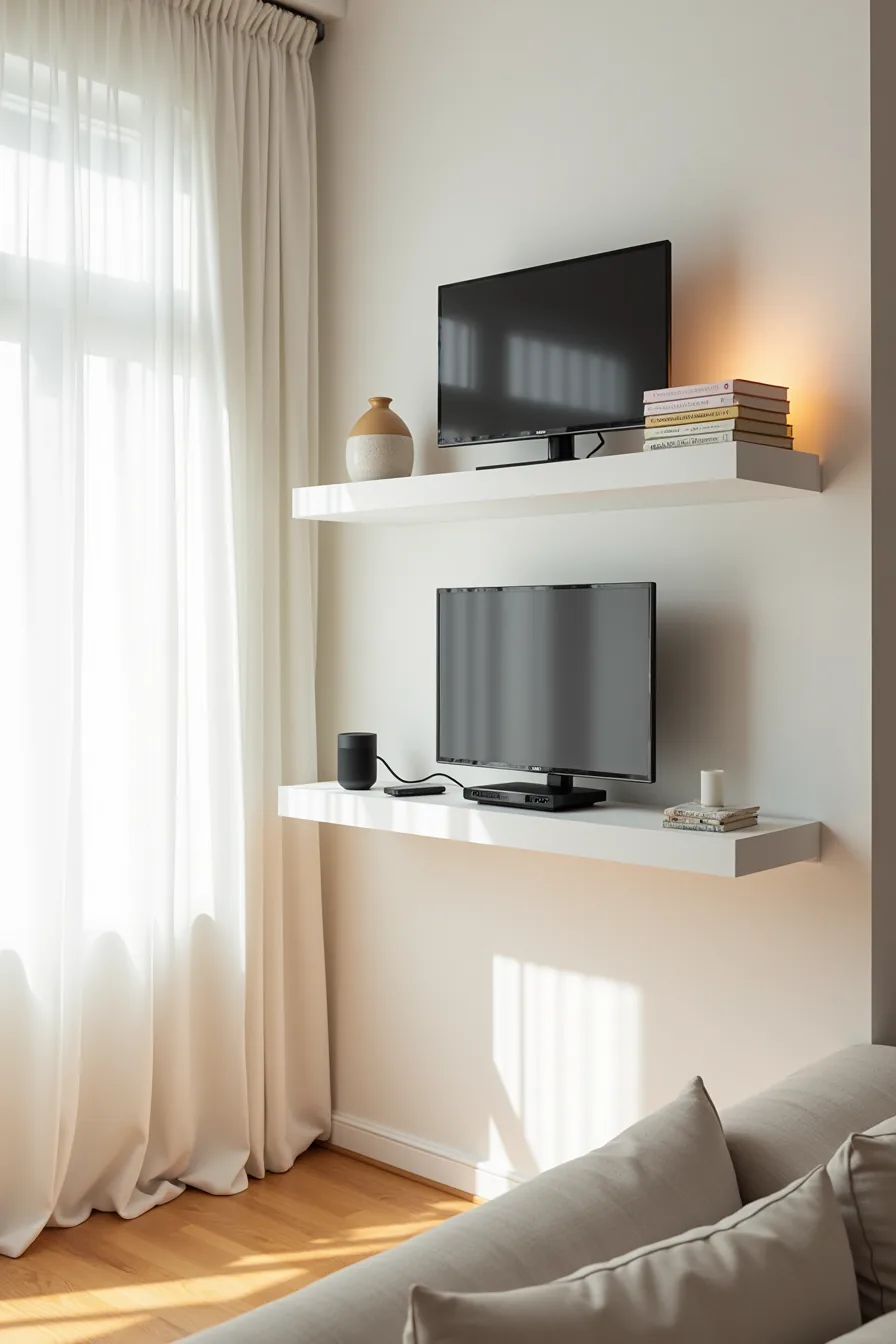
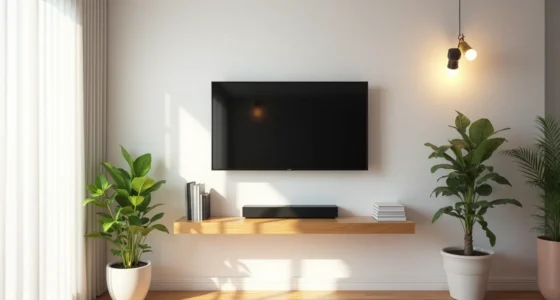
A floating shelf media wall unit is the most forgiving interpretation of the concept, especially when your walls are off-limits to permanent renovation. The setup uses three white shelves, each mounted with a combination of adhesive strips and toggle bolts. The adhesive strips handle the shear weight of the lightweight shelves, while the toggle bolts provide the actual holding power for the monitor and electronics, a dual approach that keeps the assembly secure without requiring you to patch large holes when you move out.
The monitor sits on a non-permanent stand rather than being wall-mounted, which preserves the TV’s warranty and lets you adjust its height freely. A cable box and wireless speaker share the lower shelves, with all cords routed behind the shelves using velcro cable ties to keep the sightline clean. This works best in rooms under 200 square feet where a floor-standing console would consume valuable walkway space.
You’ll need to check your lease for adhesive strip restrictions, some landlords prohibit them on painted surfaces, and removal can peel cheap paint. Budget roughly $80–$150 for the complete setup depending on shelf quality.
Display Hierarchy: Layering Screen, Storage, and Décor
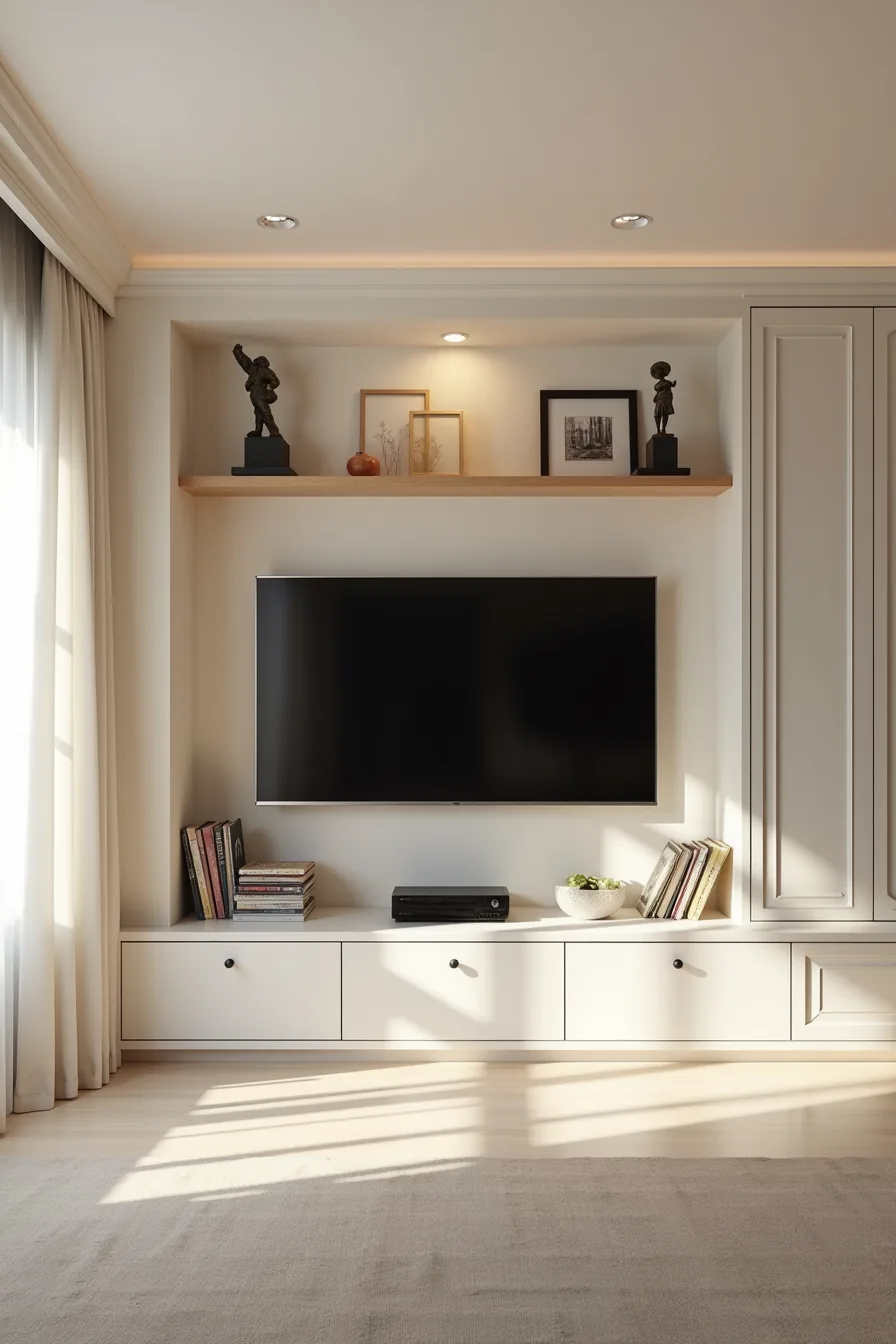
Display hierarchy determines whether your media wall unit reads as intentional design or accidental clutter. The goal is a clear visual order: the screen commands attention first, storage recedes to second, and décor finishes third. In a typical built-in configuration, the TV sits centered at eye level, roughly 42–48 inches from the floor to the screen’s midpoint, with two tall, closed-door cabinets flanking it.
Closed storage is essential here; it prevents game controllers and cables from competing with the screen for visual weight.
Above the cabinets, resist the urge to fill every shelf. Three small sculptures and a single framed artwork create rhythm without noise. The asymmetry matters: odd numbers feel composed, and leaving empty shelf space gives each object room to breathe.
A gaming console and a decorative box on the lower shelf anchor the base of the composition, grounding the vertical lines of the cabinets. This arrangement suits medium-to-large living rooms where you’ve at least 8–10 feet of wall width to work with. If your wall is narrower, skip the flanking cabinets and use a single low console instead, hierarchy survives with fewer elements, but proportion doesn’t.
Equipment Ventilation and Cable Management Inside Built-In Units
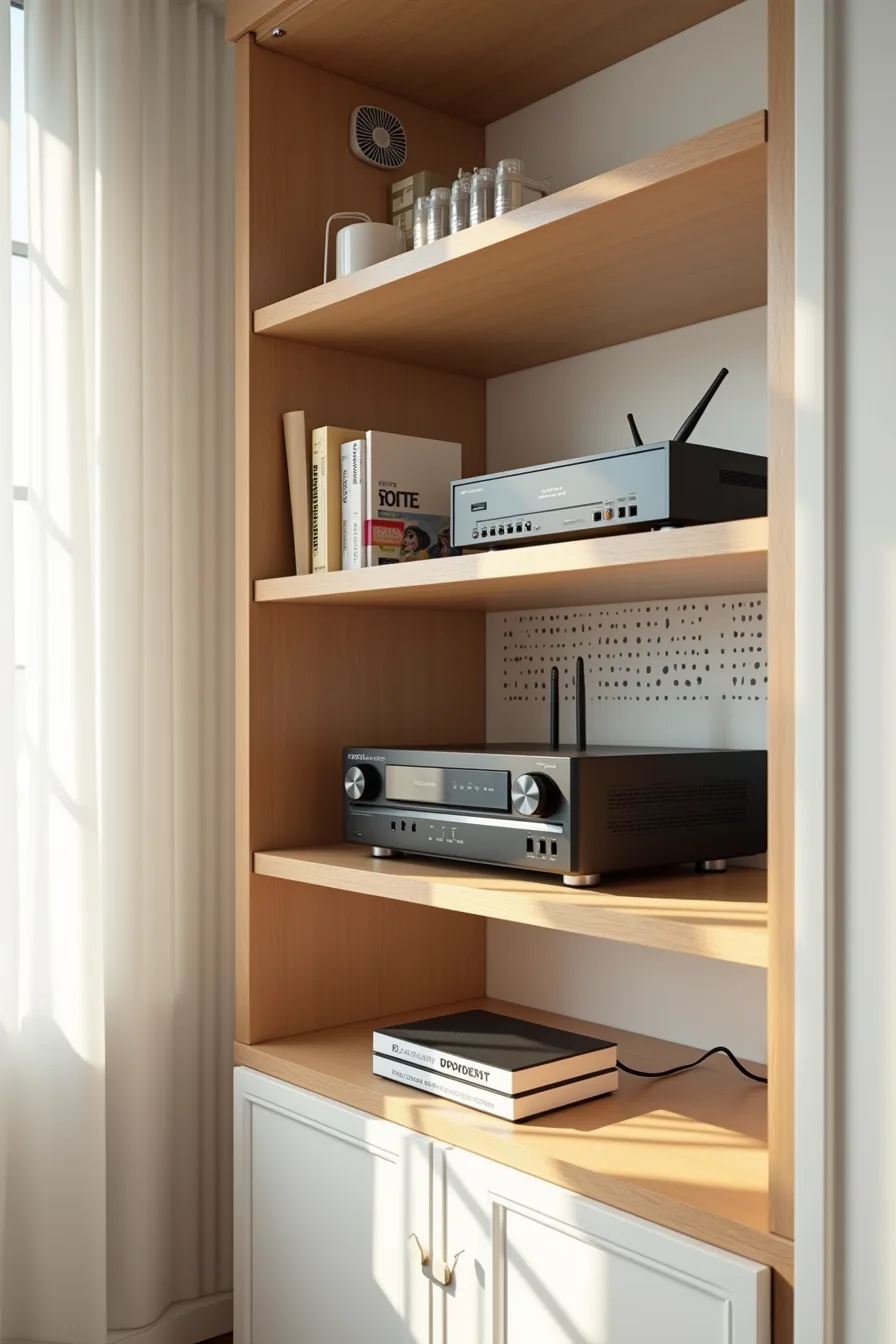
Closed cabinets trap heat, and your AV receiver is the first casualty. Most receivers and game consoles need 4–6 inches of clearance above their vents to dissipate heat safely, so never build shelving flush against their tops. The interior in this configuration uses a perforated metal backing to allow passive airflow behind the equipment, while a small ventilation fan mounted at the top corner actively pulls warm air out of the enclosed space.
If you hear your equipment’s internal fans running constantly, that’s your signal to add more airflow, not ignore it.
The cable management box here consolidates every connection into one labeled hub, with bundled ethernet cables routed through discreet openings in the shelving. Router placement matters: closed cabinets can block Wi-Fi signals, so position the router on an open shelf or outside the unit entirely if your connection drops. Before finalizing any built-in design, verify that your equipment’s vents are accessible and that you can reach every rear port without unplugging everything, this saves hours of frustration during the inevitable reconfiguration.
Built-In Edge Details: Trim, Lighting, and Finishing Touches
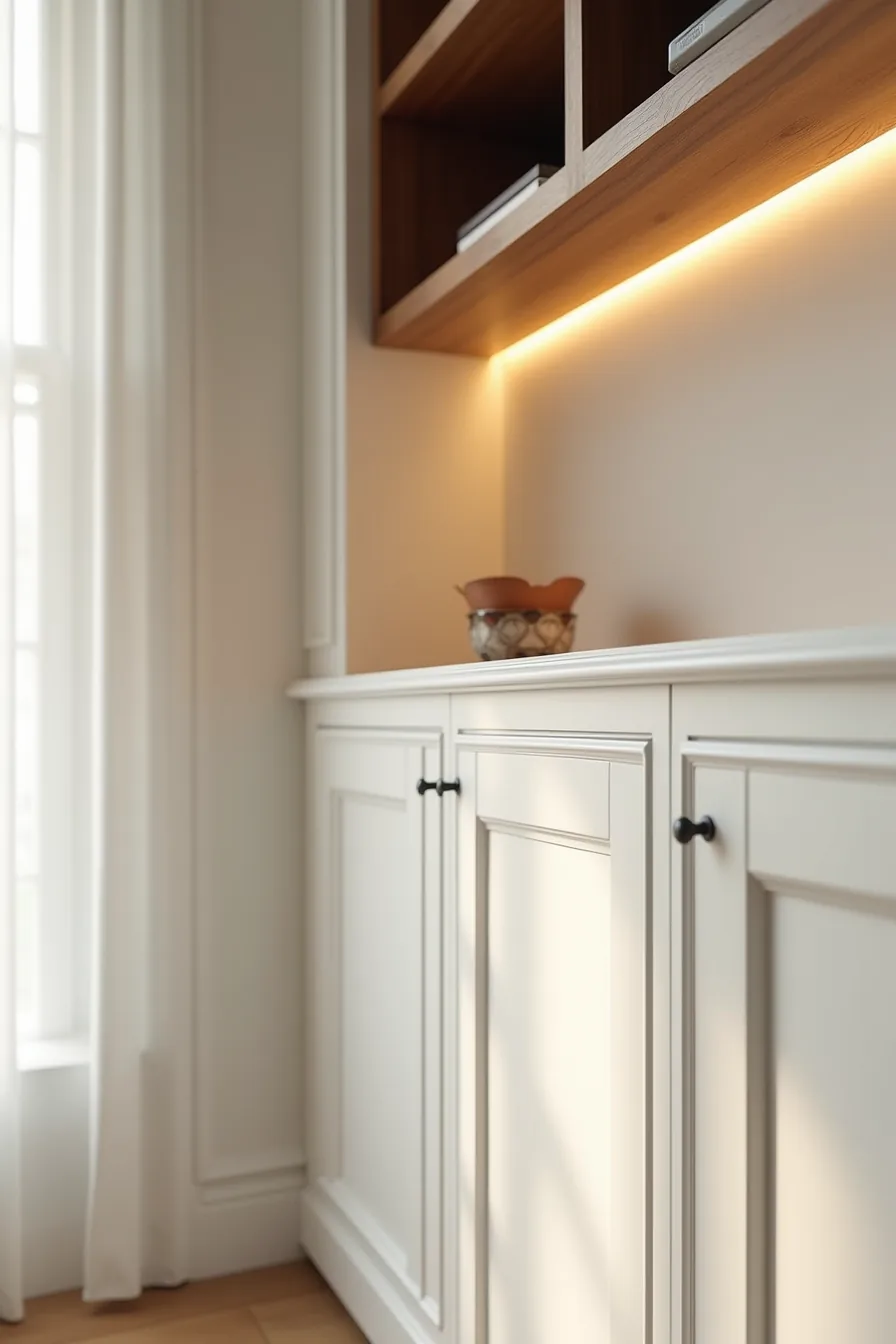
The difference between a media wall unit that looks assembled and one that looks custom lives almost entirely in the edges. In this configuration, a white trim molding meets walnut veneer shelving at a beveled edge, a 45-degree cut on both materials that creates a crisp shadow line where they join. Skip the bevel and you’ll see a visible seam that collects dust and reads as a mistake; the angled transition hides minor imperfections and gives the eye a deliberate place to rest.
The integrated LED strip along the shelf underside serves two purposes: it casts a warm glow on the wall below to add depth, and it disguises the transition point between materials. For a similar effect, choose a strip with a color temperature around 2700–3000K to match typical warm white bulbs, and install it in an aluminum channel recessed flush with the shelf’s bottom edge. Caulking is your final detail, use paintable latex caulk at every trim-to-wall junction, not silicone, which rejects paint and leaves a shiny bead that ruins the smooth look.
Expect to spend an extra 4–6 hours on these finishing touches; they’re what make the unit feel like furniture rather than a shelving kit.
Make a Media Wall Unit Feel Less Cluttered: Styling and Negative Space
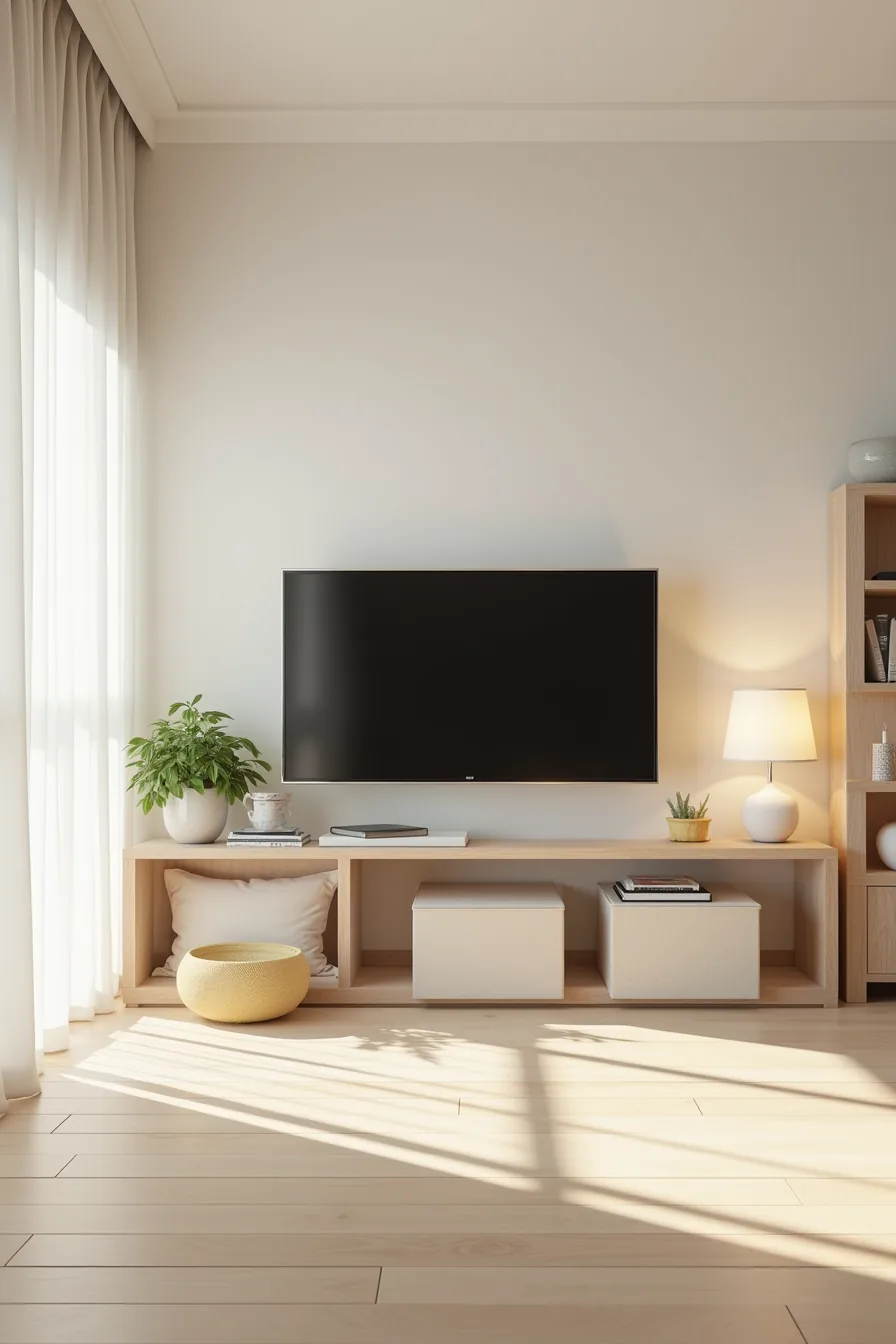
The fastest way to make a media wall unit feel less cluttered is to treat empty shelf space as a deliberate design element, not wasted room. In this configuration, the TV sits centered on the upper shelf, with two matching closed storage boxes directly beneath it, these anchor the eye and hide remotes, cables, and game controllers that would otherwise create visual noise. A single potted plant on the lower shelf adds organic contrast, while the flanking shelves remain entirely empty, letting the wall color breathe between objects.
The rule of thumb for shelf styling is to leave 40–60 percent of each shelf surface empty. If every surface holds an object, the unit reads as a storage rack rather than a curated display; the negative space is what signals intention. When you do add décor, cluster items in odd-numbered groups or place a single piece off-center to avoid symmetry fatigue.
For the closed storage, choose boxes or baskets that match the unit’s finish or go one shade darker, mismatched containers are the primary reason media walls descend into clutter. Expect to revisit this arrangement seasonally; the plant will grow, and the boxes will accumulate. Editing down to fewer, larger objects always reads as more polished than many small ones.
Scaling a Media Wall Unit from Apartment to Large Living Room
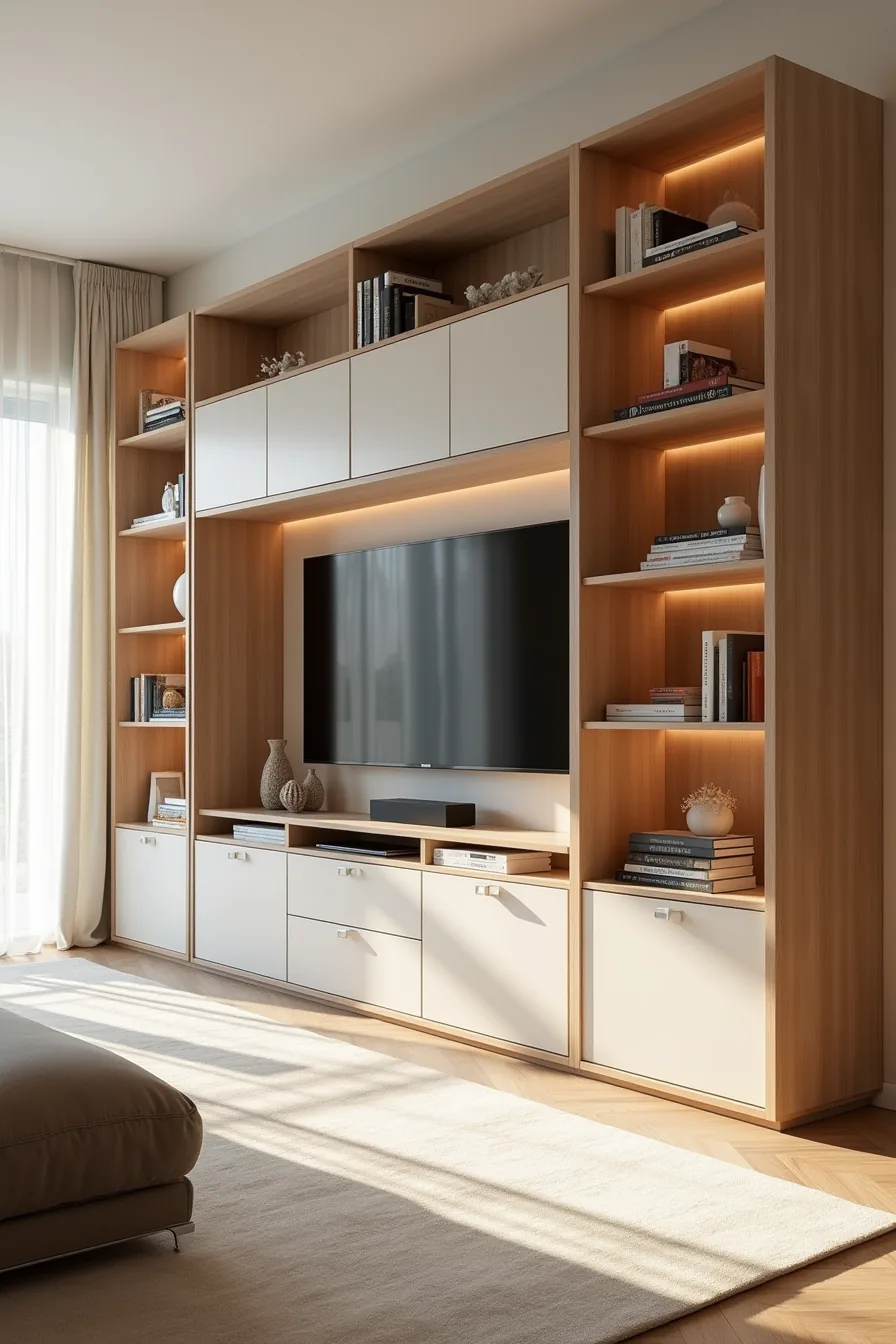
The wall length dictates your starting point, not the TV size. In a compact apartment with a 6–8 foot wall, a single-column unit with closed lower cabinetry and two open shelves above will hold everything without swallowing the room; keep the total depth under 16 inches to preserve walkway clearance. For a large living room, a floor-to-ceiling unit spanning 12 or more feet works because the proportions match the space, the TV sits on the upper third, tiered shelving below carries books and objects at eye level, and lower cabinetry with doors absorbs the bulk of visual clutter.
Ceiling height changes the build. Standard 8-foot ceilings suit a unit that stops 12–18 inches short of the crown molding; 10-foot ceilings allow a true floor-to-ceiling run, but you’ll need a ladder for the top shelves, so reserve those for rarely accessed items. Material costs scale with footprint: a custom 12-foot unit in medium-grade plywood with painted MDF doors typically runs $2,500–$6,000 installed, while an apartment-sized 6-foot version lands around $1,200–$2,800.
Installation complexity also rises, tall units require anchoring to studs at multiple points, and if you’ve plaster walls, budget for a professional to avoid cracking. For the large-room setup, distribute decorative objects across multiple levels rather than clustering them on one tier; this draws the eye vertically and makes the tall unit feel intentional, not cavernous.
Where to start
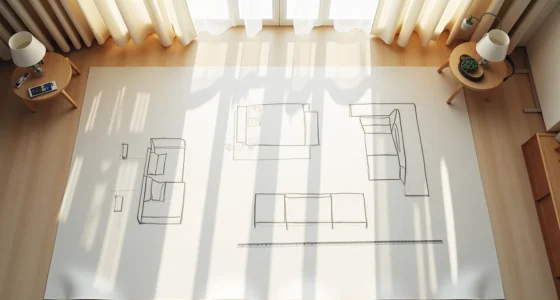
Start by measuring your wall and sketching the viewing distance from your seating. That single number determines whether you need a shallow floating unit, a full built-in, or a modular system. Choose materials based on your timeline: pre-finished MDF for a weekend install, hardwood veneer for a decade-long commitment.
Buy a laser measure and mark the outline of your chosen design on the wall with painter’s tape. Live with the footprint for two days before buying anything.
Your next step: measure the distance from your sofa to the TV, write it down, and compare it against the sizing guide for your screen. That figure decides everything else.
Frequently Asked Questions
What is the typical depth of a media wall unit, and does it affect furniture placement?
Most media wall units run 14–18 inches deep, though floating shelves can be shallower. Depth directly dictates how far your sofa must sit from the screen, so measure your room’s width before choosing.
Can you install a media wall unit in a rental apartment without losing your security deposit?
Yes, if you use freestanding or tension-mounted units, or damage-free adhesive strips for lightweight shelves. Avoid drilling into plaster or lath walls. Always patch and repaint any holes you do make before moving out.
How much weight can floating shelves in a media wall unit safely hold?
With proper wall anchors into studs, expect 30–50 pounds per shelf. Drywall alone supports far less, around 15–20 pounds max. For heavier AV gear, use a floor-standing unit or reinforce with hidden brackets rated for 75+ pounds.
What’s the difference between a media wall unit and a TV stand in terms of design and function?
A TV stand is a low, standalone piece for a single room. A media wall unit is a full-height, often built-in system that integrates storage, shelving, and sometimes cabinetry, designed to anchor an entire wall and manage multiple devices, décor, and cables.