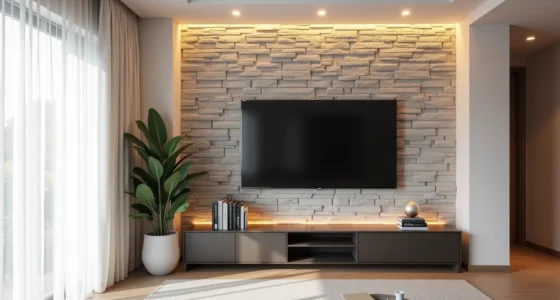
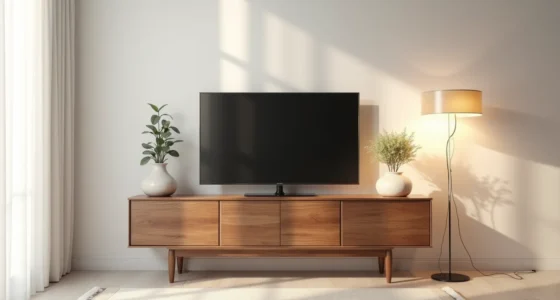
The Kallax TV Unit is a single piece of furniture with six legitimate design personalities, and the version you choose comes down to how much you value open display versus hidden storage, not just how you feel about flat-pack assembly. Each configuration changes the room’s feel, traffic flow, and even your cable management strategy. Before you pick a layout, you need to settle three practical questions: how much gear you must hide, what your floor space allows, and whether you plan to move in the next three years.
The answers will point you to one of the six setups below, each with its own cost, assembly time, and maintenance trade-offs.
Key takeaways
- Choose horizontal orientation for wide living rooms, as a 4×2 Kallax spans roughly 57–61 inches and pairs best with TVs up to 55 inches for balanced proportions.
- Mix open and closed cubes to cut visual clutter by 30–40%: closed doors hide cables and game consoles, while open shelves display decor and reduce dusting effort.
- Use fabric baskets in lower cubes for family flexibility, allowing quick toy or media swaps without drawer slides, expect each 13-inch cube to hold about 15–20 pounds of items.
- Stack two 2×2 units vertically only in rooms with at least 8-foot ceilings, and secure them to the wall with anti-tip brackets to keep the center of gravity stable for small spaces.
Horizontal Kallax Setup for Wide Living Rooms

For a wall that runs longer than 12 feet, a horizontal Kallax setup creates a grounding anchor without overwhelming the space. Three units placed side by side, each typically 57 to 61 inches wide, span roughly 15 feet of usable wall, leaving you breathing room at both ends. The key is leaving 4 to 6 inches between each unit so doors and drawers on adjacent cubes open without colliding.
This arrangement works best when your TV mounts directly on the wall above the center unit, keeping the visual weight balanced. A wall-mounted screen at 42 to 60 inches from the floor clears the Kallax’s 15-inch depth so you maintain proper viewing distance and circulation. The outer cubes become display zones: potted plants and framed artwork on open shelves, storage boxes tucked into the lower rows for clutter control.
You get the floating-TV aesthetic without the cost of built-in cabinetry.
A horizontal run suits wide living rooms where vertical stacking would leave awkward empty wall space above, and it gives families room to assign each cube a purpose. Keep the units off the floor with the included legs or low-profile furniture risers to simplify vacuuming underneath.
Open vs Closed Cubes: Storage Trade-offs
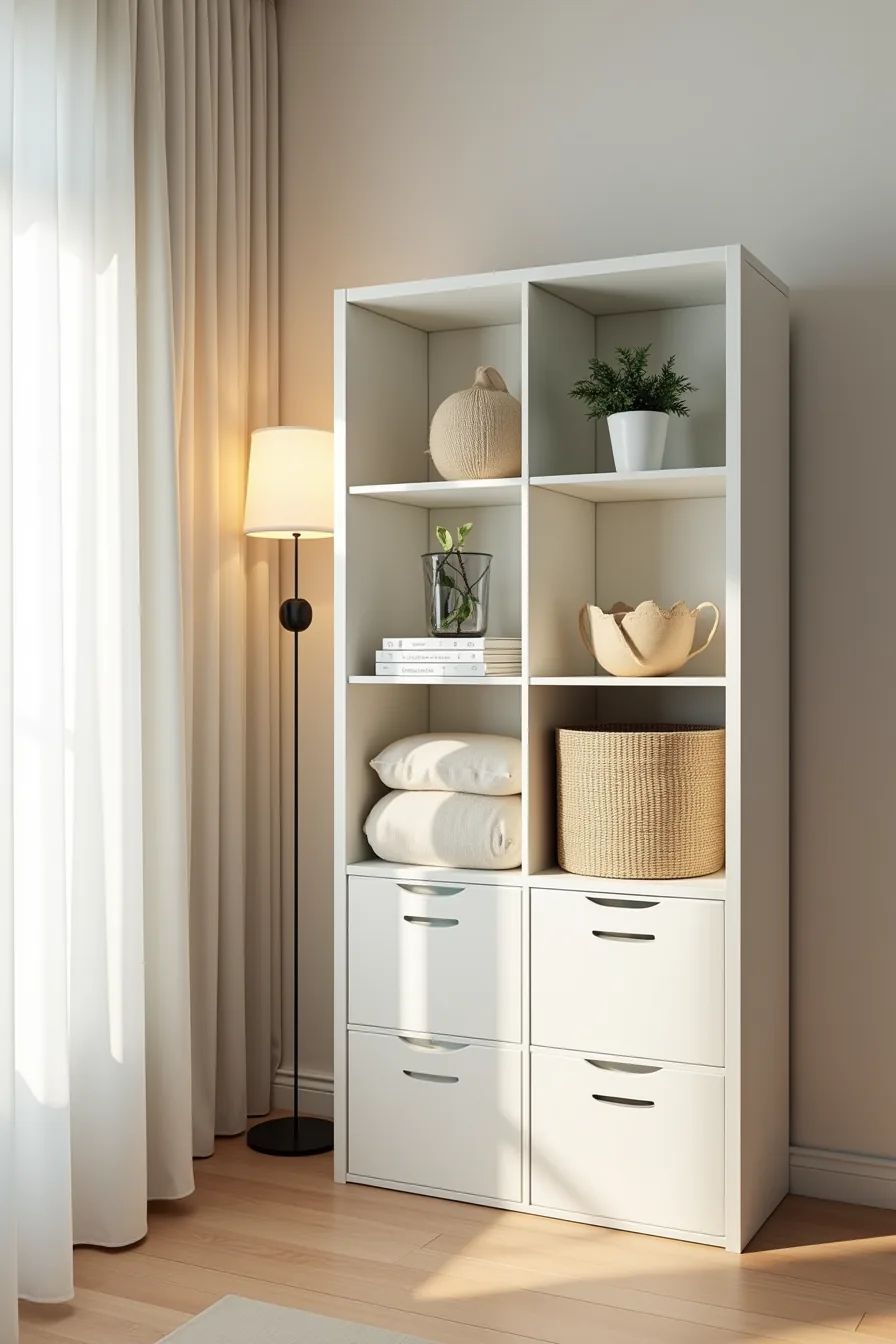
The open vs closed cubes decision comes down to one question: how much visual noise can you tolerate? An exposed shelf displays your media player, game controllers, and decorative objects at eye level, which reads as intentional styling when edited ruthlessly but devolves into clutter within a week of daily use. Closed fabric drawers and woven baskets, like those filling the right half of a single Kallax unit, absorb the visual weight of cables, remote controls, and streaming accessories completely.
The dust factor is the real differentiator. Open cubes collect dust on every surface and every item you place inside, requiring a wipe-down every one to two weeks depending on your household. Closed containers hide that dust but still need periodic emptying and cleaning themselves, roughly every two months, fabric drawers trap odors and pet hair that you’ll notice once opened.
Renters should lean toward closed storage: baskets and fabric drawers travel with you and adapt to any shelving system in your next apartment. Owners with permanent styling ambitions can commit to open cubes and curate them seasonally. A hybrid approach, three open cubes for display, two closed for chaos, delivers the best of both without committing your entire wall to either strategy.
Basket Storage Mix for Family Flexibility

The most forgiving Kallax TV unit configuration for households with children mixes basket types by height, not by color scheme. Place woven baskets and fabric bins in the lower cubes where small hands can reach them, and reserve the upper cubes for open display, a table lamp and a few folded textiles read as intentional decor at that height, while toys and remotes disappear into the baskets below. Leave one cube completely empty; it gives kids a designated drop zone that spares the rest of the unit from chaos.
This basket storage mix works because it assigns a job to every level of the frame. Lower woven baskets withstand daily grabbing and return, while upper fabric bins hold seasonal items like winter blankets or holiday decorations that you access a few times a year. Match basket tones to your floor rather than your wall, a warm oak floor calls for seagrass and rattan, while gray-toned floors suit charcoal or slate fabric bins.
Budget shoppers can source a set of four matching baskets for 30-60 USD, then add one or two thrifted woven pieces for texture without breaking the room’s cohesion.
Vertical Stacking for Compact Rooms

Stack a 2×4 unit on top of a 2×2 unit in bedroom corners or studio apartments where floor space is scarcer than wall space. The full column reaches roughly 62-77 inches tall depending on which units you pair, which puts your TV screen at eye level when you’re sitting upright in bed, a position that reduces neck strain during evening viewing. Tilt the television 5-10 degrees downward using a low-profile tilt mount if you intend to watch from a reclined position.
Anchor the top unit to the wall studs with furniture straps rated for at least 50 pounds of pull force before placing anything on it; the added height increases tip risk substantially, especially in homes with children or pets. Store heavy items like rolled blankets and storage boxes in the lower cubes only, keeping the top unit for lightweight display pieces and the TV itself. For a 1×1 room footprint, this configuration delivers roughly 16 cubic feet of enclosed storage, three to four times what a low media console offers, while drawing the eye upward to make the ceiling feel taller.
This vertical Kallax TV unit suits single-room living and narrow bedrooms where a conventional sideboard would block circulation paths.
Two-Tone and Material Layering Techniques
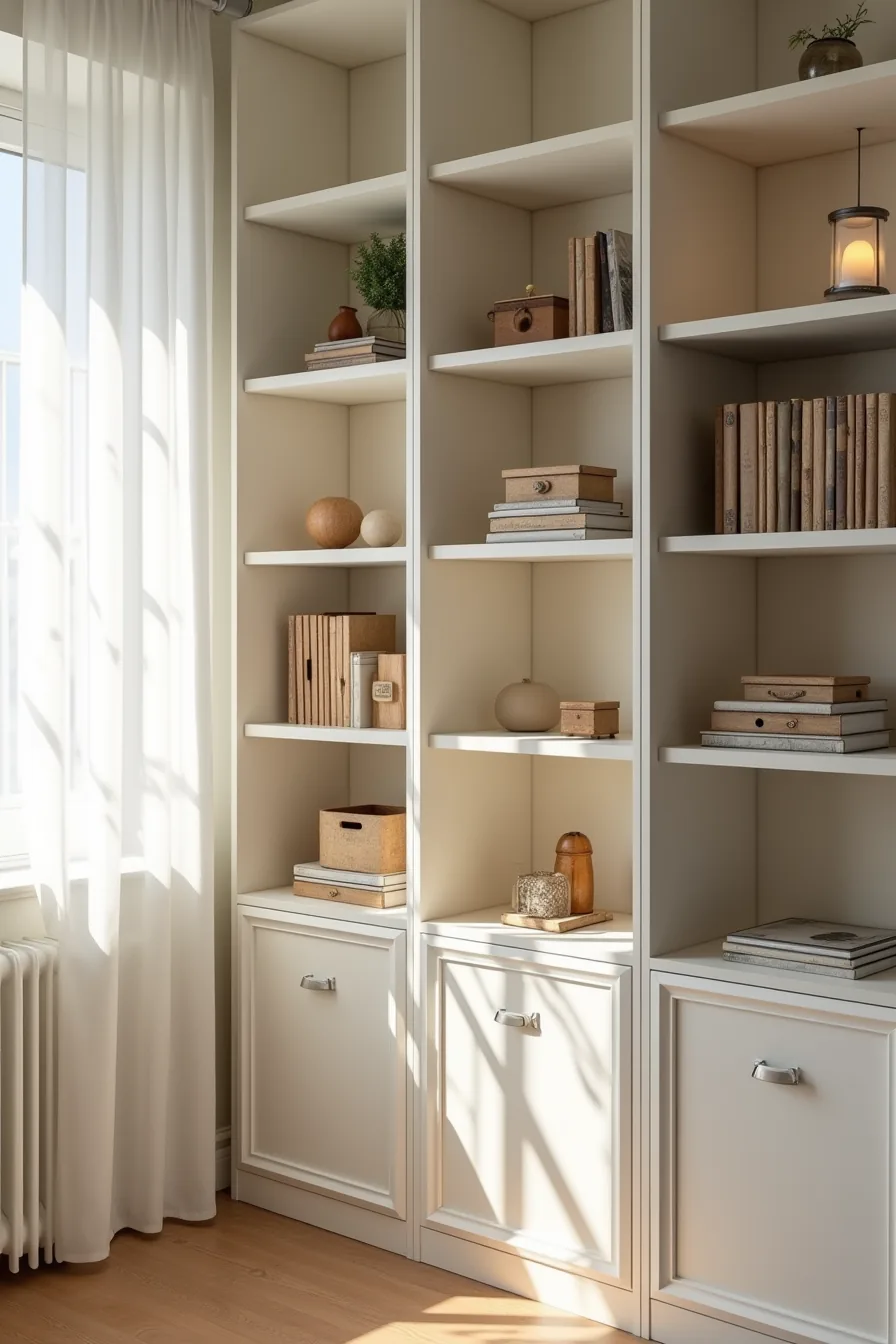
A single Kallax frame becomes a custom focal point when you introduce two-tone color blocking and layered materials. Paint the exterior frame and front-facing cube edges in a light tone like warm off-white, then paint the interior back panel surface in a contrasting deep charcoal or forest green. The dark recessed backdrop makes every object placed in the cube, electronics, books, ceramics, appear to float forward, adding depth that a uniform finish never achieves.
Wood-stained insert boxes in the lower cubes introduce grain texture and anchor the unit visually, while metallic cube dividers in the upper row break the grid into smaller display compartments for media players or small plants. You need about 2-3 hours of prep time and one quart of primer plus two quarts of paint per material for a standard 2×4 unit; use a foam roller on the frame and a small brush for the recessed back panels, sanding lightly between coats. This technique suits living rooms where the TV unit must double as a design statement, and it costs roughly $60-120 in materials, far less than replacing the unit with a solid-wood console of similar storage capacity.
The paint will chip at corners over time, so budget for a touch-up pot and reapply every 12-18 months if the unit sees daily use.
Renter-Friendly Kallax TV Unit Without Permanent Damage

Renters face a unique constraint: the Kallax delivers storage and style, but wall-mounting or drilling into plaster can cost you your deposit. The solution is a freestanding configuration that leans on the unit’s own weight and stability, not on fasteners. Anchor the base corners with heavy-duty removable adhesive strips, rated for 20-30 pounds of pull force each, which grip the floor without leaving residue.
Place the TV on a separate, low-profile stand beside the unit rather than on top, so the Kallax never bears the load or needs anti-tip hardware. This setup suits small apartments or leased spaces where the landlord inspects walls at move-out.
Fabric baskets in the cubes hold cables, remotes, and media without scratching the frame, and a removable backing panel, a thin plywood sheet cut to fit behind the unit, hides wiring and adds stability without a single screw. Avoid peel-and-stick wallpaper on the frame itself; it often tears the laminate when removed. Instead, use adhesive-free styling: lean art against the back panel or stack books horizontally in open cubes.
This approach costs $25-60 for adhesive strips, baskets, and a backing panel, and takes under an hour to set up. It suits renters who want flexibility over permanence and are willing to reposition the unit when they move.
Your decision checklist
Before you commit to a Kallax TV unit, match the setup to your space and habits. For small rooms, choose a single 2×2 cube with a wall-mounted TV above, it keeps the footprint under 30 inches wide. Medium spaces suit a 2×4 horizontal unit with two cube inserts for media storage and open shelving for decor.
Large open-plan rooms can handle a 4×4 grid used as a room divider, but you’ll need at least 24 inches of clearance on both sides for comfortable circulation.
Confirm the depth works for your TV stand: Kallax units run 15-16 inches deep, so measure your TV’s base before committing. Renter-friendly options rely on caster wheels or felt pads instead of wall anchors, no holes in the plaster. For a long-term build, use the wall-mounting kit and reinforce the top with a plywood sheet if you plan to place a heavy TV directly on top.
Your next step: measure your TV’s width and the wall space where the unit will sit, then choose one of the six configurations above that fits within those numbers. That single measurement eliminates half the options immediately.
Frequently Asked Questions
Can you mount a TV directly on a Kallax unit, or do you need a separate stand?
You can place a TV on top, but mounting it directly into the particleboard requires a wall bracket or a third-party metal frame. For TVs over 40 inches, a separate stand is safer and more stable.
How much weight can Kallax shelves hold, and what’s the maximum TV size for each setup?
Each shelf supports roughly 25–30 pounds, so a 32–43-inch TV works on top. Larger TVs need a reinforced base or a separate console. Always distribute weight evenly across two or more shelves.
What’s the best way to hide cables and cords in a Kallax TV Unit?
Run cables through the back panel gaps, then use adhesive cord clips along the unit’s rear. For a cleaner look, drill a 1–2 inch hole in the bottom shelf and route cords to a power strip hidden inside a drawer.
Do you need to anchor Kallax units to the wall, and is it required for safety?
Yes, anchor any Kallax over 30 inches tall, especially with a TV on top. Wall anchors are mandatory if you’ve children or pets. The included tip-restraint kit takes under five minutes to install and prevents tipping.