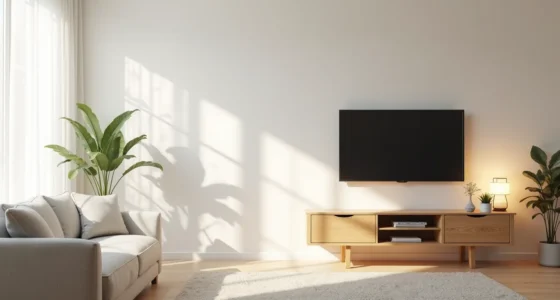
Luxury TV wall design isn’t about spending more, it’s about engineering a focal point that balances scale, material weight, and lighting so the screen feels intentional rather than dominant. That balance comes down to six distinct approaches, each with its own cost, maintenance, and spatial demands. Whether you rent, own, or are planning a full remodel, one of these configurations will suit your room’s proportions and your tolerance for installation work.
The difference between a premium result and a flat, forgettable wall lies in the choices you make before you mount anything.
Key takeaways
Luxury TV walls hinge on material contrast, stone, wood, or fluted panels, so pick one dominant texture and keep the rest matte. Hidden storage works best when the TV sits flush with cabinet fronts, leaving at least 2 inches of clearance for ventilation behind electronics. Layered lighting matters more than the backdrop itself: pair a 3000K warm LED strip behind the screen with dimmable ceiling spots to avoid glare. Scale dictates success, on a 10-foot wall, cap the TV unit at 7 feet wide; in a compact room, recessed trim and slim floating shelves beat bulky cabinetry.
Stone-Look Backdrop: Material Choice and Installation
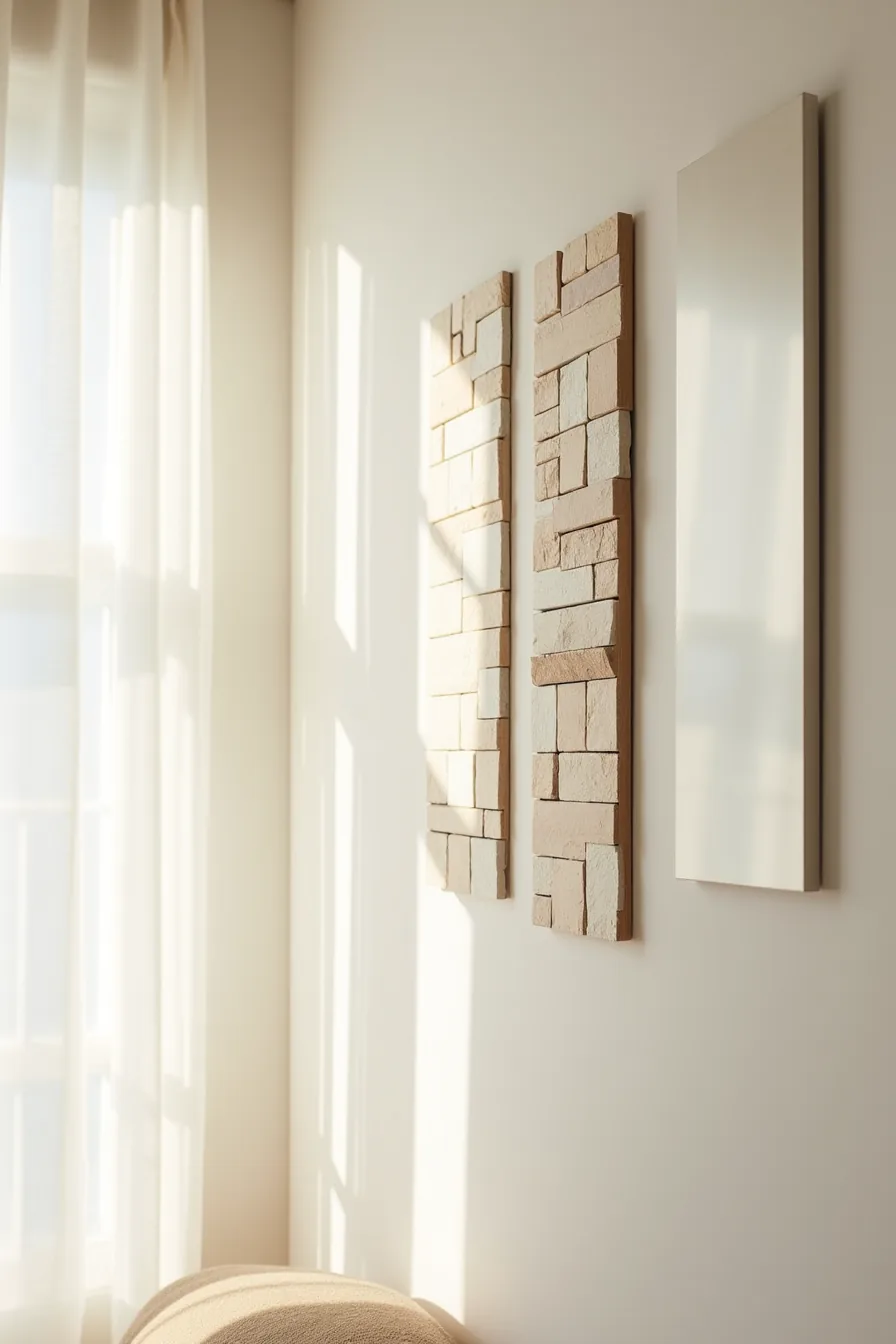
A stone-look backdrop delivers the textural weight of a luxury TV wall without requiring structural engineering. The three dominant routes are real stone veneer, large-format porcelain tile, and composite panels. Each has distinct trade-offs you should weigh before committing.
Real stone veneer offers the most authentic depth and natural color variation. It runs roughly 15–25 pounds per square foot installed and requires a solid backing plus professional masonry experience, expect $30–$60 per square foot depending on stone type. It suits large living rooms where the wall becomes a permanent focal point; you’re committing to a surface that’s difficult to remove.
Porcelain tile that mimics stone balances realism with practicality. At 1–2 centimeters thick, it installs over existing drywall with thinset, and grout lines read as intentional seams rather than flaws. It costs $15–$40 per square foot installed, resists scratches and heat, and wipes down with a damp cloth, a strong choice for medium rooms with kids or pets.
Composite panels offer the fastest path: lightweight sheets cut to size and adhered with construction adhesive, usually $8–$20 per square foot. They can’t match the tactile variation of the other two options, but they install in a weekend and can be removed with less damage, ideal for renters or anyone testing the look before a permanent commitment. Whichever you choose, keep the backdrop 4–6 inches wider than the TV on each side to preserve visual balance.
Hidden Storage Luxury: Concealing Clutter Behind Design

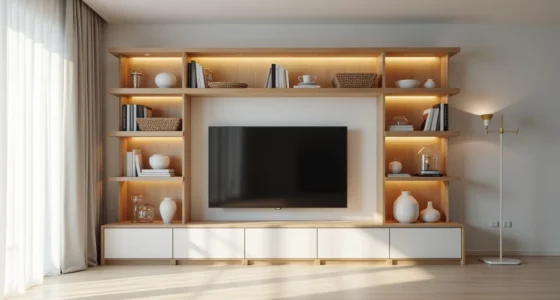
The cleanest luxury TV wall is the one that hides everything you own behind a smooth front. Floor-to-ceiling built-in cabinetry flanking the screen achieves this by giving every device a designated home while leaving the central viewing zone visually unobstructed. The closed cabinet doors in matte black on one side conceal the gaming consoles, router, and streaming boxes that would otherwise break the sightline; the open floating shelves with a closed backing panel on the other display curated objects without exposing the wall studs or stray wires behind them.
A low media console below with cable management channels completes the system, routing power and HDMI lines horizontally out of sight. For this layout to work, the cabinetry should be at least 12-16 inches deep internally to accommodate equipment with proper ventilation clearance, and the floating shelves need a 1-2 inch gap between the backing panel and the wall for airflow. Hidden storage luxury suits anyone who wants a gallery-like presentation but can’t commit to full minimalism.
The compromise is cost and permanence: custom built-ins run $200–$600 per linear foot installed and require a carpenter, so renters should instead adapt this principle with freestanding shelving units and adhesive cable raceways that achieve the same concealment without the structural commitment.
Lighting as Detail: Layering Ambient and Accent Light

Lighting does the heavy lifting when the screen is off. In this setup, a warm LED strip runs horizontally behind a floating frame around the TV perimeter, casting a soft halo that visually lifts the screen off the wall and adds roughly 2–3 inches of perceived depth. The strip should sit 3–4 inches behind the frame edge, not directly against it, to avoid a harsh hotspot and create that diffused glow.
Two brass wall sconces flank the TV at shoulder height, about 55–60 inches from the floor, providing accent light that balances the screen’s cool glow during viewing. Recessed ceiling fixtures above deliver ambient light without reflecting off the screen, which is the primary glare risk you must engineer around. The rule: dim the recessed lights to 20–30 percent for movie nights, keep sconces on full, and let the LED strip run at low warmth.
This layering suits medium to large living rooms where you want the wall to read as architecture rather than a television. Installation is moderate, LED strips need a nearby outlet, and sconces require hardwiring or battery-operated versions if you rent.
Scaling TV Wall Design Luxury to Your Room Dimensions

Proportion decides whether a luxury TV wall reads as intentional or overwhelming. In a compact living room around 12 feet wide, a 55-inch wall-mounted TV centered on a stone-look accent panel that extends 4 feet left and right fills the wall without swallowing it. The rule of thumb: your accent surface should be roughly 1.5 to 2 times the width of the TV itself, never more.
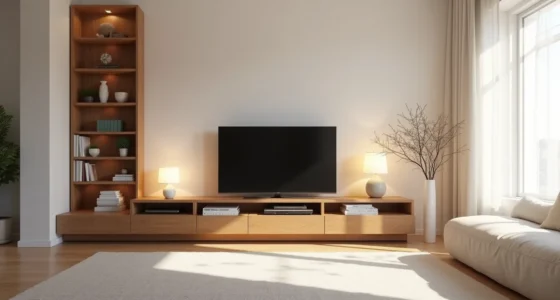
Narrow flanking shelves, 10–12 inches deep, keep the composition grounded without stealing floor space. For small rooms under 150 square feet, skip the full-wall treatment and keep your accent panel within 6–8 inches of the TV’s edges. Medium rooms, 150–300 square feet, can stretch the panel to 12–18 inches beyond each side.
Large spaces over 300 square feet demand a continuous feature wall, anything smaller reads as a floating fragment rather than a designed moment. Match the panel’s visual weight to your seating distance: if your sofa sits closer than 8 feet from the screen, reduce texture contrast on the panel to prevent visual fatigue during long viewing sessions.
Give Your Luxury TV Wall a Cleaner Finish: Cable Management and Trim

The fastest way to undermine a premium material investment is a visible cable dangling from the console. Route your wires through a painted cable raceway that runs vertically behind the TV and exits discreetly behind the media console. Position the raceway so it lands exactly behind the console’s center line, you’ll never see it once the furniture is in place.
For a wall-mounted TV, add an in-wall power kit that meets local code, but stick with the raceway route if you’re renting or can’t modify the wall cavity.
Finish the installation with a closed-back console, which hides the power strips, HDMI splitters, and excess cable loops that otherwise collect dust and visual noise. Frame your accent panel with matte trim molding rather than glossy profiles. Matte finishes absorb light and read as architectural, while gloss reflects glare and draws attention to every imperfect corner where the panel meets the drywall.
Use 1.5–2.5-inch trim for a crisp border; anything slimmer looks accidental, anything wider competes with the TV itself. Seal the top edge of the trim with paintable caulk before your final coat so no shadow line breaks the clean silhouette.
Budget, Rental, and Investment Routes: Choosing Your Path
Your starting point should be a question of permanence, not aesthetics. A peel-and-stick stone wallpaper paired with a freestanding media stand delivers visual texture for roughly $200–$600 total, installs in an afternoon, and removes without damaging paint. It suits renters or anyone who expects to move within three years.
The trade-off: seams can show on imperfect walls, and the paper won’t hide an uneven surface, prep with light sanding first.
For a mid-range commitment, a porcelain tile accent wall with a built-in shelving unit runs $1,500–$4,000 installed and reads as permanent but replaceable. Tiles stand up to heat and humidity better than wood, though grout lines need annual sealing to stay crisp. This route fits homeowners who want a durable focal point without full custom construction.
The stone veneer installation with integrated lighting system and custom cabinetry starts near $8,000 and requires structural assessment for the added weight. It suits long-term owners who want the wall itself to be the centerpiece, not the TV. Budget for professional mounting and a licensed electrician for the lighting, rework costs eclipse any savings from DIY.
Choose Your Starting Point
Your first move depends on your timeline and budget. If you rent, start with a freestanding credenza and peel-and-stick wallpaper, under $300 and fully reversible. If you own and plan to stay five-plus years, prioritize built-in cabinetry and recessed outlets before you paint.
For medium spaces, the safest entry point is a floating console paired with LED strip lighting behind the TV. It delivers the layered-luxury effect without structural work.
Start this week: measure your TV’s width, then mark the wall at two-thirds of that distance for your console. That single measurement anchors every other decision, scale, lighting, and material, so you never guess again.
Frequently Asked Questions
What is the difference between a TV wall and a TV wall design luxury?
A standard TV wall is just a mount and screen. Luxury TV wall design integrates cabinetry, lighting, texture, and proportion so the entire composition reads as architectural design, not just a place to hang a television.
Can I achieve TV wall design luxury in a rental apartment?
Yes, with peel-and-stick wood veneer panels, a floating console, and battery-operated sconces. Avoid drilling into load-bearing walls; use removable adhesive strips rated for your TV’s weight. Focus on styling layers, art, plants, and cable covers, to improve without permanent changes.
How much does a stone-look TV wall backdrop cost to install?
Real stone veneer panels run $15–$30 per square foot for materials, plus $10–$20 per square foot for installation. Large-format porcelain slabs cost $20–$50 per square foot installed. A 10-foot wall typically lands between $300 and $1,200 total, depending on finish and labor rates.
What lighting setup prevents glare on a TV wall?
Use bias lighting, an LED strip mounted behind the TV, casting soft light onto the wall, at 6500K for contrast. Avoid direct ceiling spots aimed at the screen. Position wall sconces 6–8 feet apart and 5–6 feet above the floor, angled away from the glass.