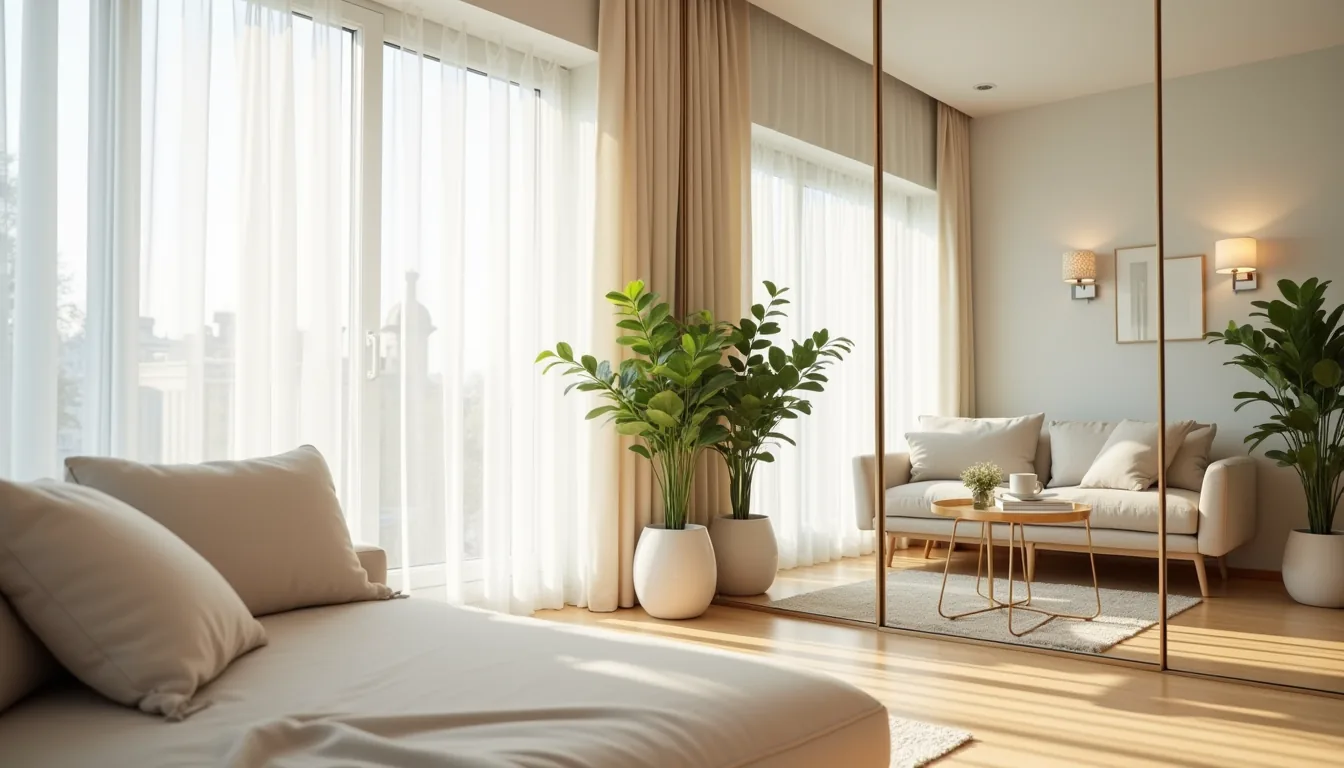
A mirror wall panel is any large-format reflective surface, usually 24 to 48 inches wide and 36 to 96 inches tall, mounted directly to a wall, and it can transform a room’s light, depth, and perceived size far more effectively than a single framed mirror, provided you choose the right configuration for your space, budget, and structural constraints. The six setups that follow cover the full spectrum, from a renter-friendly peel-and-stick route to a permanent, built-in statement piece. You’ll also learn the exact mounting hardware, spacing rules, and cleaning routines that separate a polished installation from a frustrating one.
Key takeaways
- Full-coverage mirror walls work best in rooms under 120 square feet, where a single continuous sheet (or 3-4 large panels) can visually double the perceived depth and cut the need for accent lighting.
- Grid layouts with 6-9 individual panels suit medium rooms (120-250 sq ft) by adding architectural rhythm and breaking up reflections, but require 2-4 inches of spacing between panels to avoid a cluttered look.
- Dining room mirror walls should be placed behind a sideboard or credenza, not directly opposite a window, to avoid harsh glare during meals and to reflect candlelight for a formal ambiance.
- Renter-friendly adhesive film panels cost 10-20% of installed glass, peel off cleanly with a hairdryer, and are safe for walls under 200 square feet, while permanent framed panels demand demolition-free but screw-based mounting.
Full-Coverage Mirror Walls for Compact Spaces
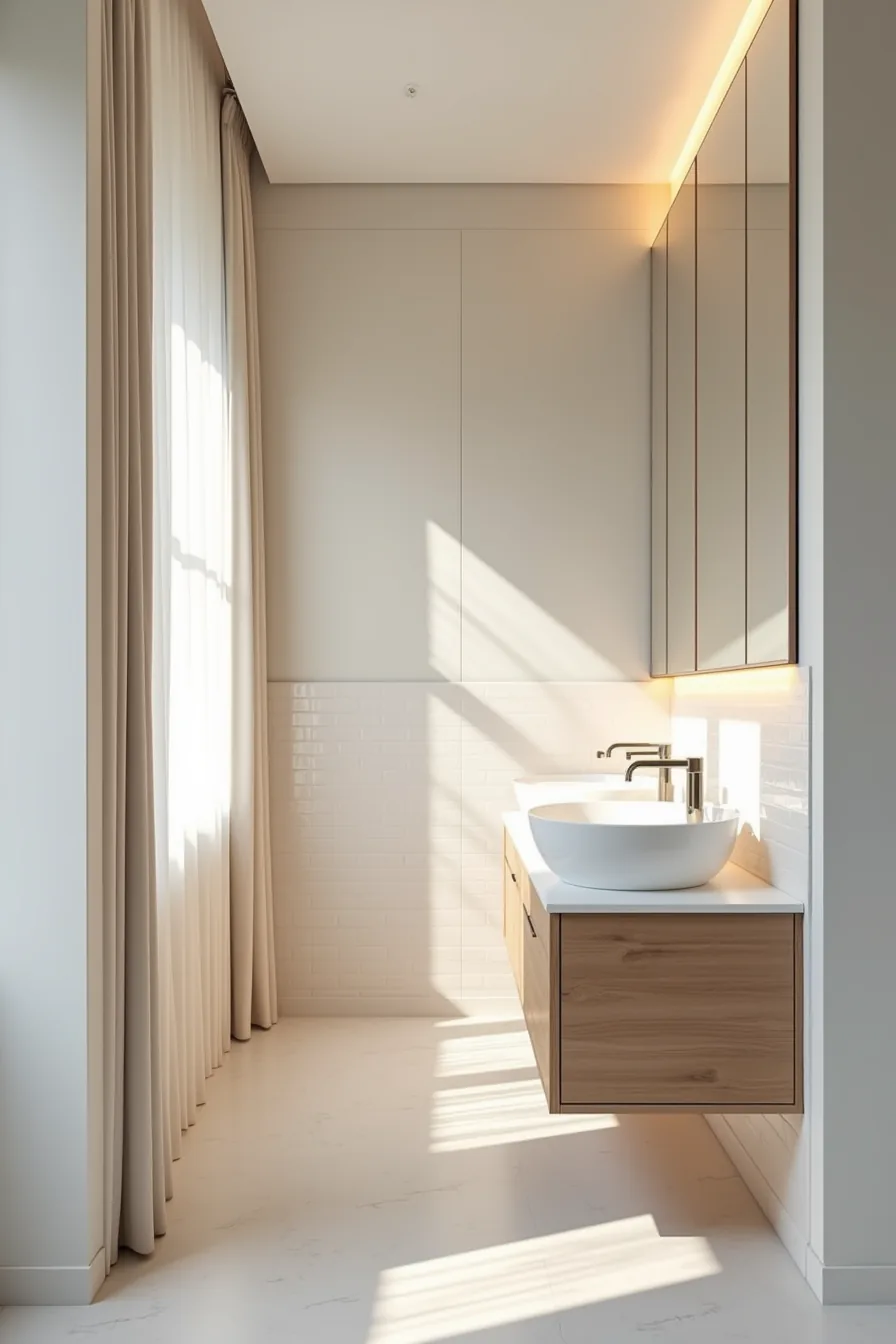
A smooth mirror wall panel covering an entire wall is the highest-impact move you can make in a tight bathroom or powder room. In the setup pictured, the continuous mirror sits above a floating vanity and runs wall-to-wall, reflecting the opposite subway tile surface. That reflection doubles your perceived depth, a 5-by-7-foot bathroom reads closer to 10 feet deep, and bounces ambient light across the room, reducing the need for extra fixtures.
This approach works best when the room is under 50 square feet and has at least one other textured or tiled surface to reflect. You’ll need a professional to cut and install tempered glass panels, typically 1/4 to 3/8 inch thick, with polished edges and silicone mounting. Expect higher cost than framed mirrors, and plan for daily cleaning: every smudge, water spot, and toothpaste fleck is visible.
Skip this route if you want to hang shelving or artwork later, drilling through mirror glass is risky and rarely worth it.
Grid vs Full Panel: Choosing Your Layout
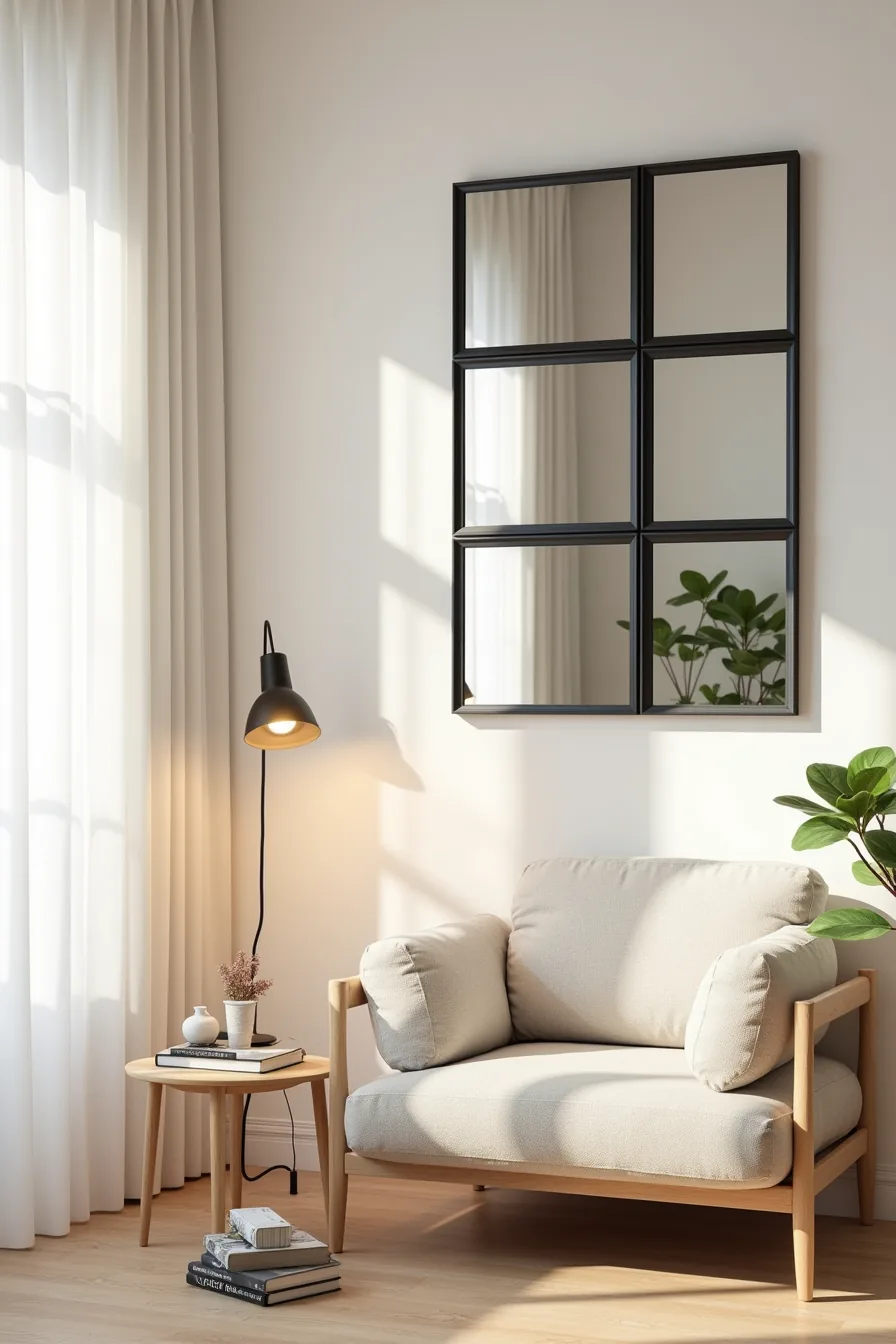
A segmented grid breaks a mirror wall into discrete rectangles, each with its own frame or visible seam. The 3×3 arrangement of nine panels with black metal framing creates a deliberate architectural feature rather than a disappearing surface, the framing acts as a design element, giving the living room a structured, gallery-like focal point that anchors the seating area.
Grids suit rooms where you want a mirror and a pattern, not just more light. The metal frames add visual weight and an industrial or modern-traditional character that a smooth panel lacks. Installation is simpler and less expensive than full coverage: individual panels are easier to handle, cut, and replace if one cracks, and you can mount them yourself if you keep each panel under roughly 25 pounds.
The trade-off is a busier reflective surface, the frames interrupt the reflection, so you gain texture but lose some of the depth-doubling effect. Choose a grid when the mirror is a decorative centerpiece; choose full panel when the goal is pure optical expansion.
Dining Room Mirror Wall: Reflection and Formality
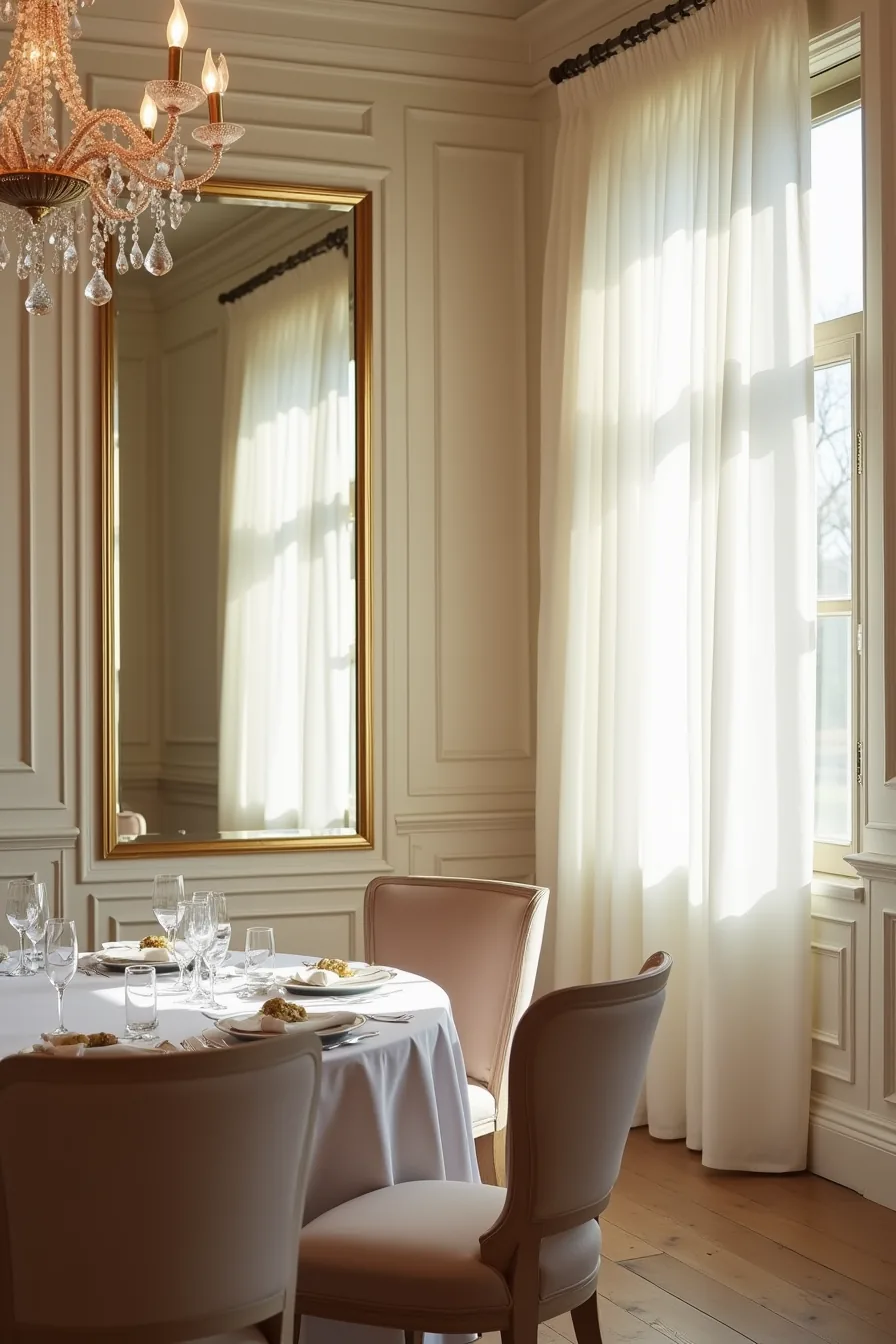
A dining room mirror wall does more than double the candlelight, it extends the table visually, making the room feel larger and more ceremonial. The single large beveled mirror panel mounted behind an upholstered dining chair reflects the chandelier and place settings, which layers the room’s focal points: diners see both the actual table arrangement and its mirrored counterpart, creating a sense of abundance without adding a single piece of furniture.
Position the panel directly opposite the primary light source, typically the central pendant or chandelier, and keep the table’s centerpiece low enough (under 12 inches) that the reflection captures the crystal and glassware rather than tall florals. For a standard dining area of 10×12 feet, a single panel spanning 60-72 inches in width works well; anything larger dominates the space, and anything smaller reads as a decorative accent rather than an architectural statement.
Between meals, the panel will collect fingerprints and airborne grease. Wipe it weekly with a microfiber cloth and a diluted glass cleaner, and address splatters immediately, beveled edges trap residue longer than flat surfaces. If the table sits closer than 18 inches to the mirror, expect more frequent cleaning and consider a beveled panel with a sealed edge, which resists moisture from hot dishes and condensation better than raw cuts.
Modern vs Decorative Finish: Material and Frame Options
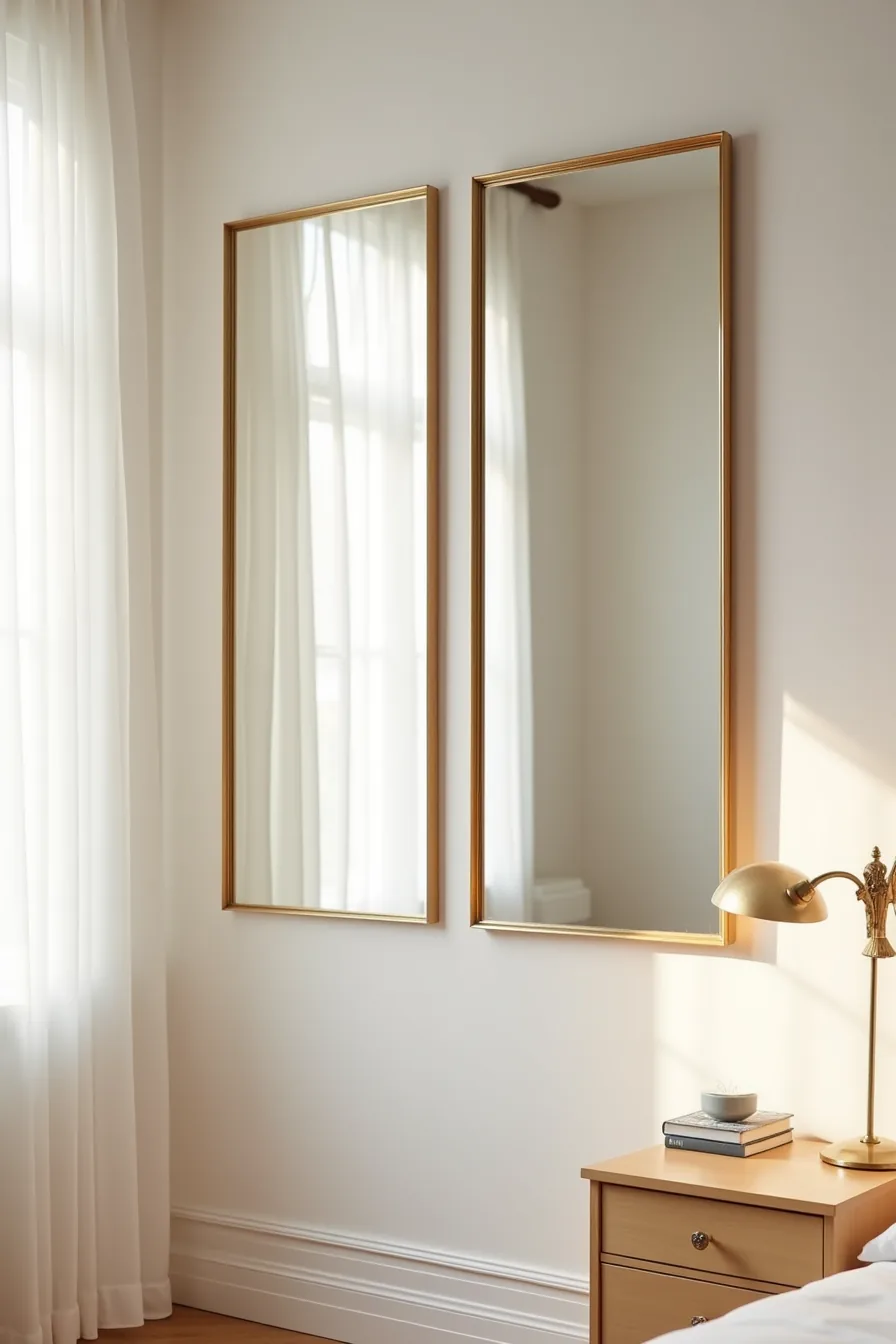
Your first decision is the finish, and the contrast between a frameless panel and an ornamental frame defines the room’s entire character. The frameless mirror, typically ¼ to ⅜ inch thick with a polished edge, suits contemporary and industrial spaces because it reads as a surface rather than an object, ideal when you want light amplification without visual clutter. The ornate gold-framed mirror, with its carved molding extending 2-4 inches from the wall, anchors traditional and eclectic rooms by acting as wall art before it ever reflects anything.
Material durability separates the two options significantly. Frameless panels often use copper-free backing, which prevents black edge corrosion in humid bathrooms, while decorative frames range from lightweight polyurethane (affordable, $50-150 per linear foot) to solid hardwood or cast metal (substantial, $300-600 per linear foot). A frameless panel is easier to clean, one continuous surface with no crevices, whereas an ornamental frame demands dusting its contours weekly, and gilded finishes can tarnish if you use ammonia-based cleaners.
Match the finish to your existing hardware. Brushed nickel or matte black fixtures call for a frameless panel; brass, bronze, or antique gold details justify the decorative route. If you’re uncertain, choose the frameless panel, it adapts to a style change with new decor, while a heavily ornamented frame commits you to a specific era.
Use Mirror Wall Panels to Expand Narrow Rooms
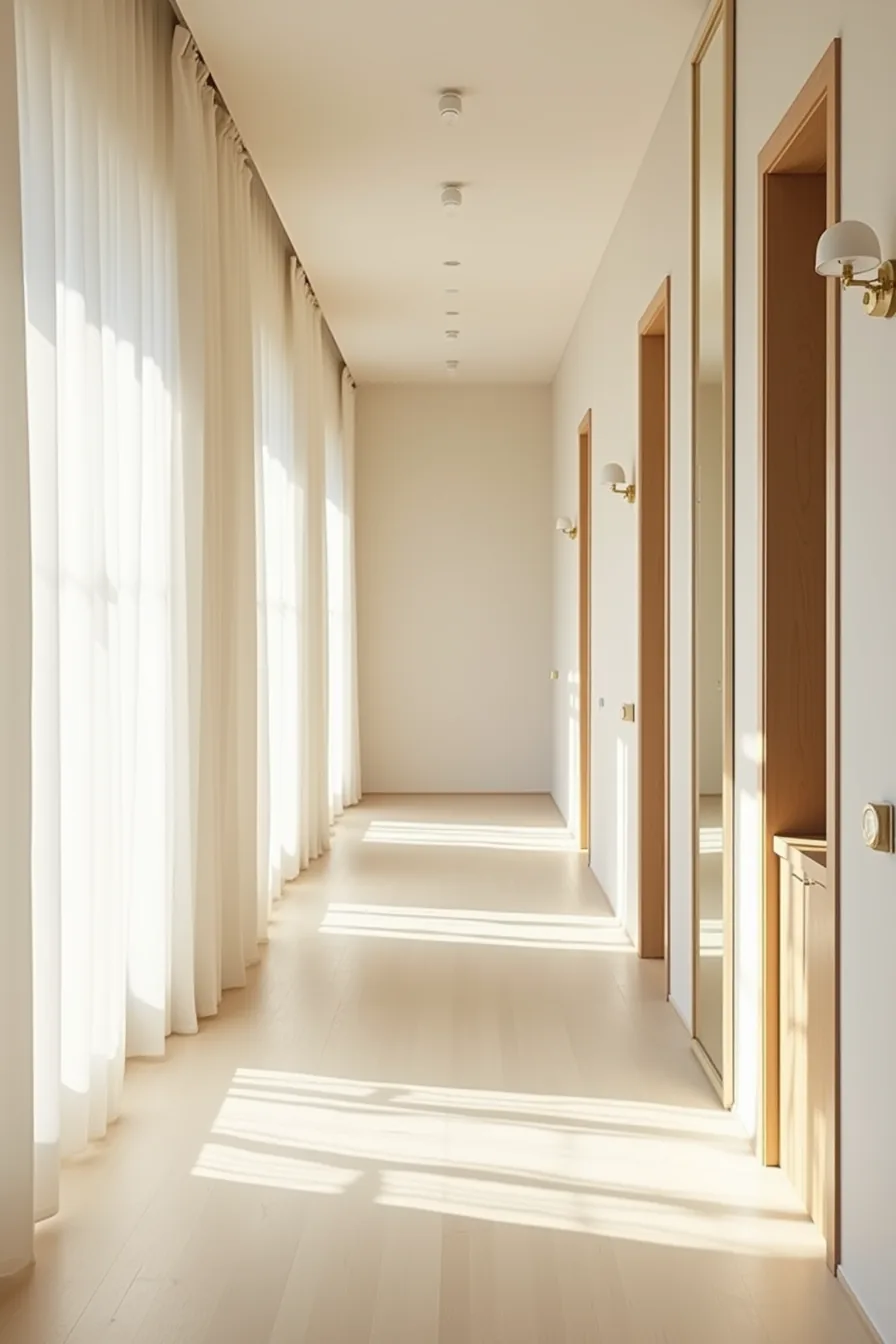
A narrow hallway feels like a corridor only when both walls read as solid boundaries. Mount vertical mirror panels along one wall at varied heights, say, one panel starting at 36 inches off the floor, another at 48 inches, and the reflections of the opposite wall and floor create the illusion of doubled width. The eye reads the reflected corridor depth as actual space, so the hallway feels wider without you sacrificing a single inch of floor area.
For ceilings under 8 feet, keep panels between 60 and 72 inches tall and position them so the top edge lands at least 6 inches below the ceiling line. Higher ceilings allow panels up to 84 inches, but avoid running them floor-to-ceiling in tight spaces, the uninterrupted vertical line draws the eye upward and can make the room feel like an elevator shaft. In narrow bedrooms, place a single wide panel (roughly 30-36 inches) on the wall perpendicular to the bed instead of covering the entire wall; this reflects daylight across the room while preserving a sense of enclosure.
Safety matters most in circulation paths. Use ¼-inch minimum thickness panels with safety backing, and secure them with mirror clips plus adhesive rated for the panel’s weight, never rely on adhesive alone for panels exceeding 20 pounds. In high-traffic hallways, consider tempered glass panels (about 2-3 times the cost of standard mirrors) that shatter into granules rather than shards if struck.
Budget, Rental, and Investment Routes
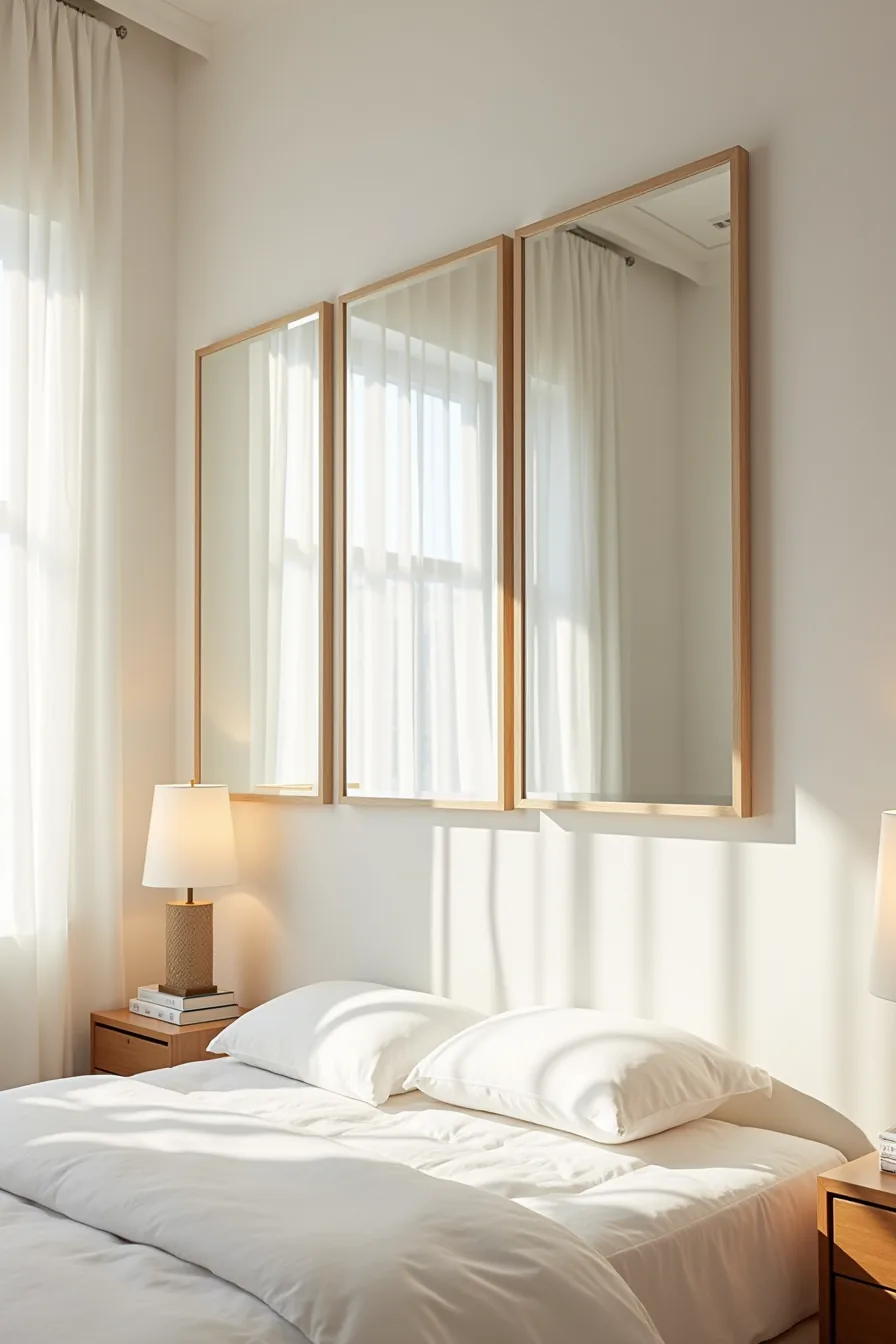
Your budget and tenure dictate which of three routes makes sense. Peel-and-stick adhesive panels run the lowest cost per square foot and remove cleanly from smooth drywall within minutes using a hairdryer to soften the adhesive, ideal for renters who want the effect without drilling holes, though you’ll sacrifice durability and risk surface damage on textured walls. Mid-range framed mirrors on a bracket system cost moderately more, but the frames protect edges from chipping and the brackets allow repositioning when you rearrange furniture, making them your best flexibility play.
For permanent installation, beveled mirrors offer superior optical clarity and edge refinement over adhesive options, and they last decades with proper sealing, but expect to pay several times more per panel plus professional mounting labor. Adhesive panels suit a 12-month lease; brackets suit a 3-5 year plan; permanent mounting suits a home you own outright. Match your route to your timeline, not your aesthetic preference.
What to do first
Start by measuring your wall and taping off the exact footprint with painter’s tape. This 10-minute step reveals whether your planned panel proportions will feel balanced or overpowering before you commit to cutting or purchasing anything.
Then match your route to your situation: peel-and-stick panels for renters, large-format acrylic mirrors for budget builders, and custom-cut glass for permanent installations. Walk past the taped outline at different times of day to check reflections and light angles.
Order one sample panel and live with it for 48 hours. That single test piece will tell you more about finish, glare, and visual weight than any product photo ever could.
Frequently Asked Questions
How do you install mirror wall panels without damaging walls?
Use adhesive mounting strips or mirror tape rated for your panel weight, typically 10–20 pounds per strip. Clean the wall with rubbing alcohol, press firmly for 30 seconds, and hold for 24 hours before loading. No drilling needed.
What size mirror panels work best in small bathrooms?
Choose panels between 24–36 inches wide and 36–48 inches tall for a standard vanity. Oversized panels above 48 inches can overwhelm a 5×7-foot bathroom. Stick to one large panel rather than multiple small ones to avoid visual fragmentation.
Do mirror wall panels make rooms look cluttered or messy?
No, if you limit them to one focal wall and keep the rest of the room visually calm. Clutter appears when you use multiple mirror styles, add heavy frames, or place panels behind busy shelving. Smooth, frameless panels read as clean and minimal.
Can you use mirror panels in kitchens, and how do you keep them clean?
Yes, use them as a backsplash behind a stove or sink, just avoid direct heat above 140°F. Clean weekly with a microfiber cloth and a 1:1 vinegar-water spray; wipe immediately after cooking to prevent grease film. Never use ammonia-based glass cleaners on mirrored backsplashes.