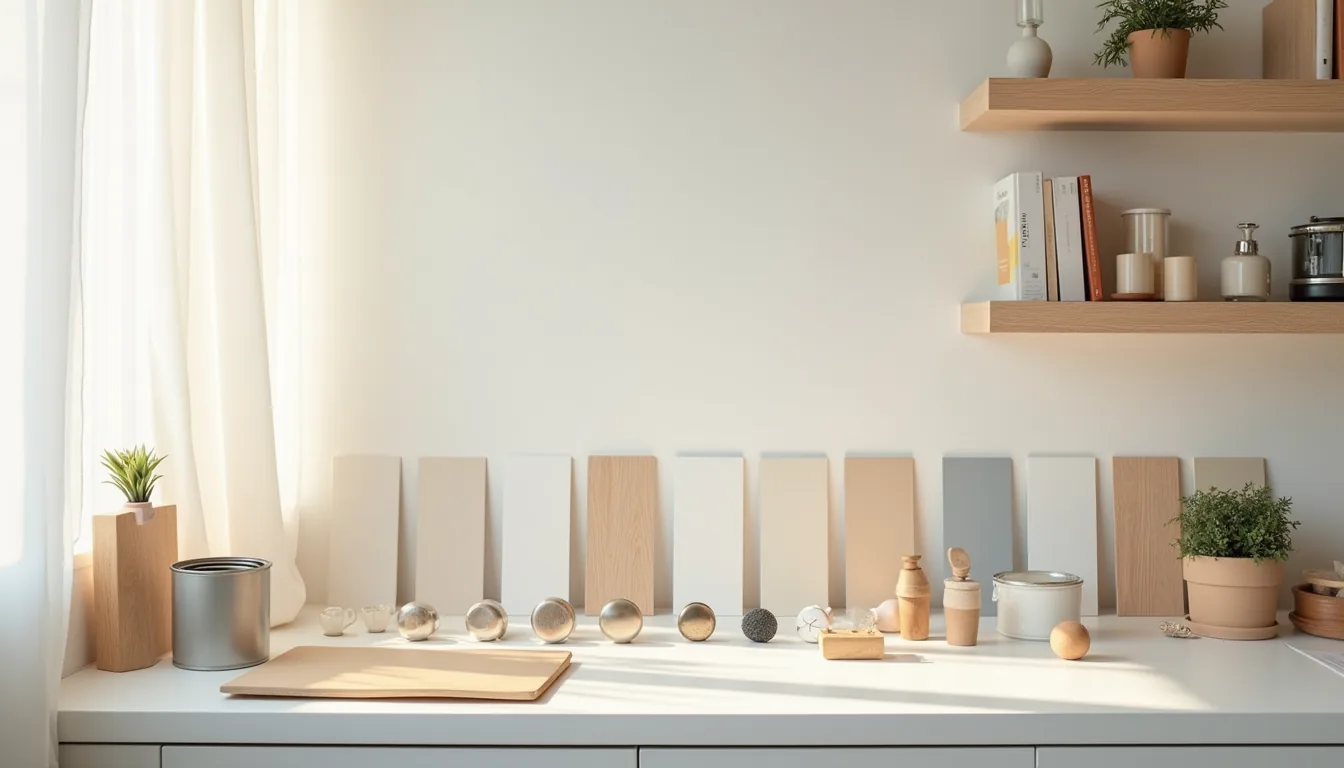

Your old kitchen cabinets don’t need a full replacement to transform the room, a targeted makeover can deliver a fresh look for a fraction of the cost, but only if you choose the right method for your skill level, budget, and cabinet condition. Paint, resurfacing, hardware swaps, and refacing each carry distinct labor demands, drying times, and durability trade-offs that can make or break your weekend project. The six approaches below break down exactly what each requires, where it fails, and how to match one to your space without wasting a single dollar.
Key takeaways
- Refinishing beats replacing when your cabinet boxes are structurally sound, saving you 50-70% of the cost of new fronts.
- A hardware swap alone takes under two hours per cabinet and delivers a visible transformation for $20-$60 per door.
- Sanding to a matte sheen and applying a bonding primer is non-negotiable if you want paint to survive steam, grease, and daily use.
- Drying times of 24-48 hours between coats are the difference between a factory-like finish and a sticky, chip-prone surface.
Paint vs. New Fronts: Which Makeover Fits Your Budget
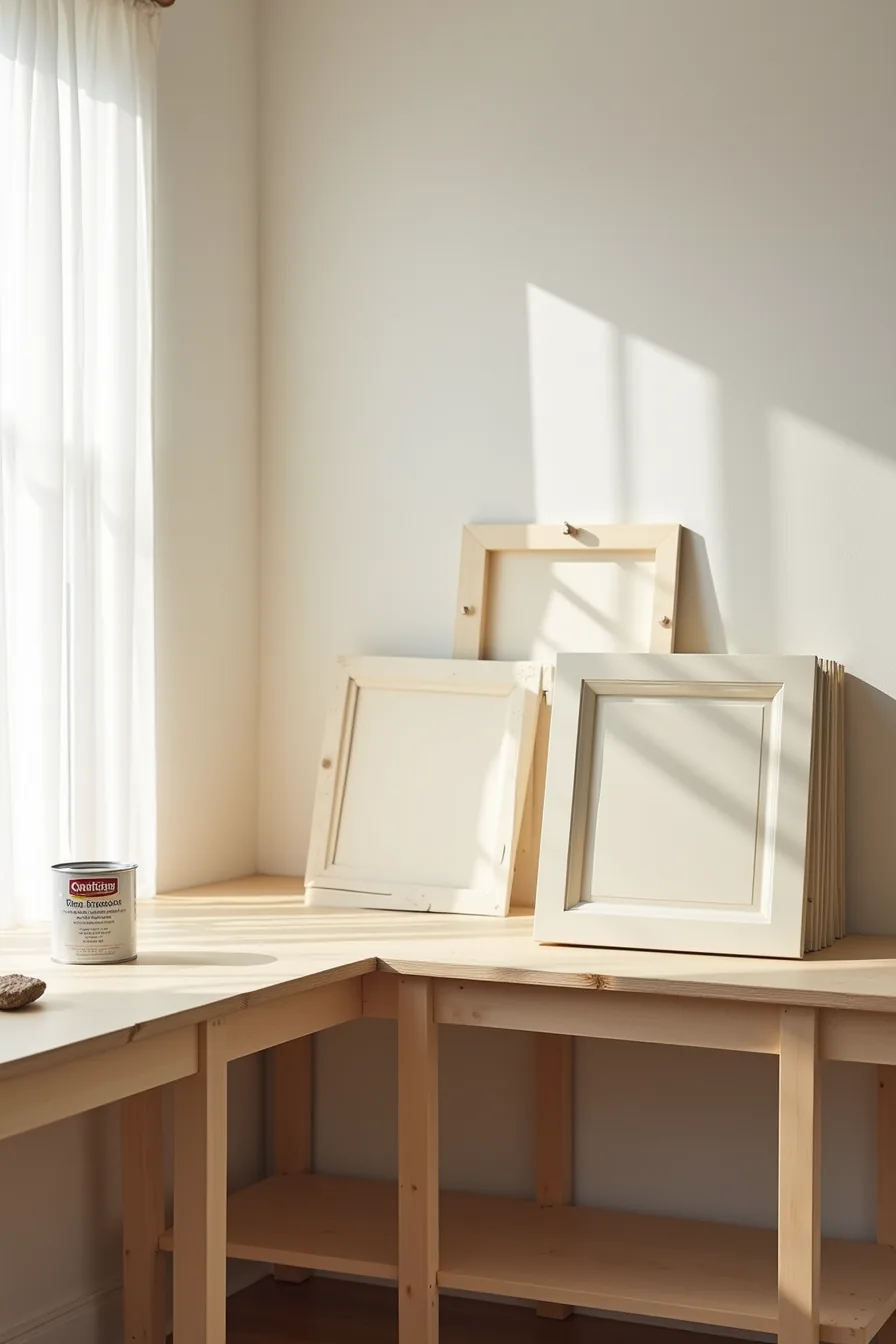
Your first fork in the road for an old kitchen cabinet makeover is deciding between paint and replacement fronts. Painting your existing frames and doors costs roughly $200–$600 in materials for a typical 10-door kitchen, while new fronts run $1,500–$4,000 depending on wood type and hardware. That price gap narrows when you account for labor: a full paint job demands 3–5 days of prep, priming, and curing, whereas new fronts install in a weekend if your existing boxes are square and structurally sound.
The split workbench setup you might replicate shows the decision visually, a partially painted frame with brush and primer can beside stacked new cabinet doors with hardware still attached. Paint wins when your boxes are solid but dated, and you can tolerate 2–3 weeks of careful drying before heavy use. New fronts deliver better ROI if your drawers stick, hinges misalign, or you want a material upgrade like thermofoil or solid oak.
Skip painting if you’ve thermofoil or laminate doors, primer won’t adhere reliably, and replacement becomes the safer, longer-lasting route.
Hardware Refresh: The Fastest Cabinet Transformation
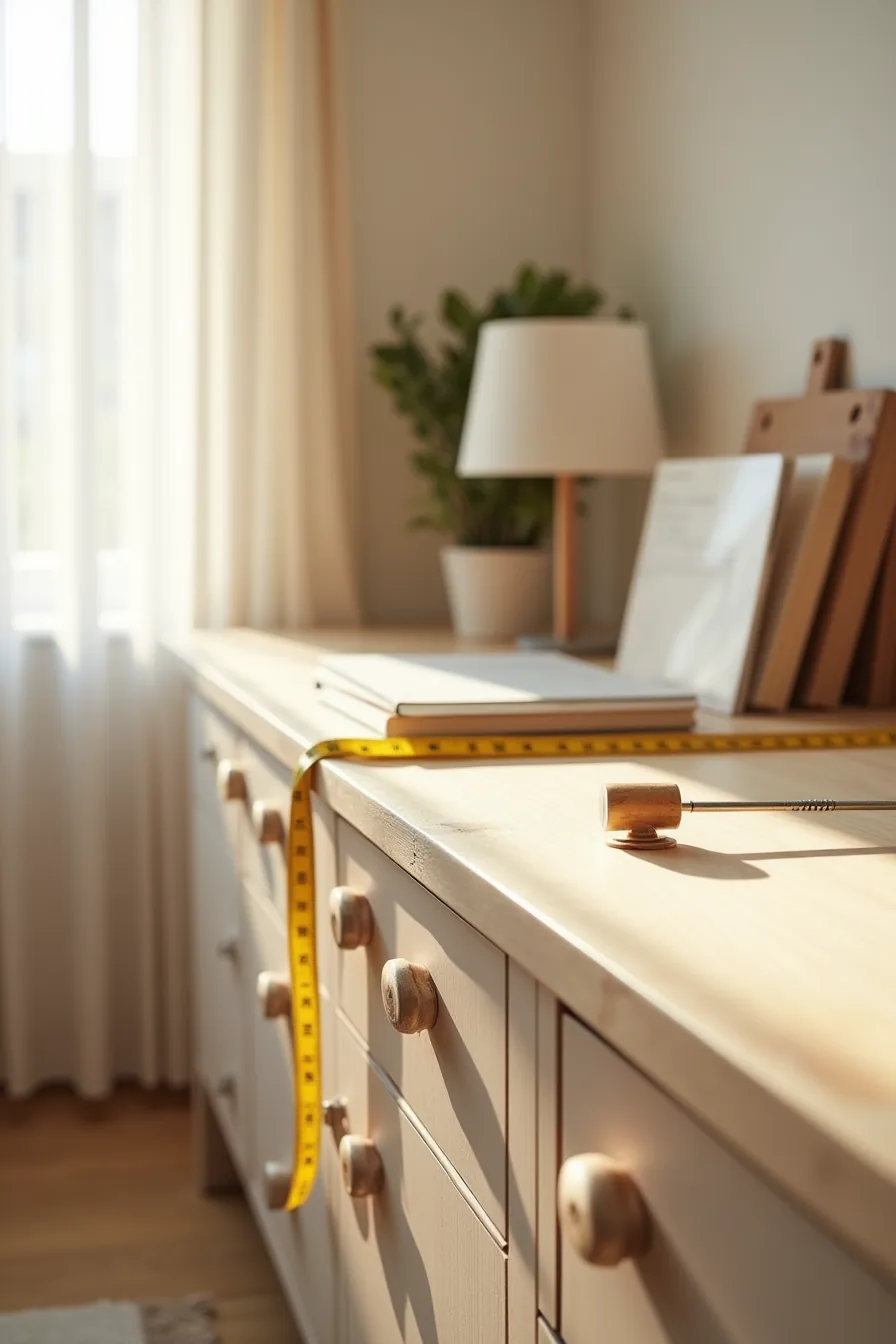
A hardware refresh delivers the highest visual return per hour of any old kitchen cabinet makeover tactic. You’ll replace every knob and pull in a typical 10-door kitchen in 2–3 hours using only a screwdriver, a drill with a pilot bit, and painter’s tape. Standard knob spacing runs 1 ¼–1 ½ inches between screw centers, while pulls on drawer fronts usually sit 3–4 inches apart, measure twice before drilling to avoid wood filler repairs.
Start by removing the old knob with your screwdriver mid-turn, as the measurement tape laid across the cabinet front confirms your new spacing. Match new polished handles to your existing screw holes when possible; if you’re switching from knobs to pulls, drill fresh pilot holes and fill the old ones with wood putty. Choose brushed nickel or matte black for durability, these finishes resist fingerprints better than polished chrome and cost $2–$8 per piece.
This upgrade suits any cabinet style, from shaker to slab, and works equally well in small galley kitchens and large islands because hardware scales with proportion, not footprint.
Preparation and Surface Priming for a Lasting Finish
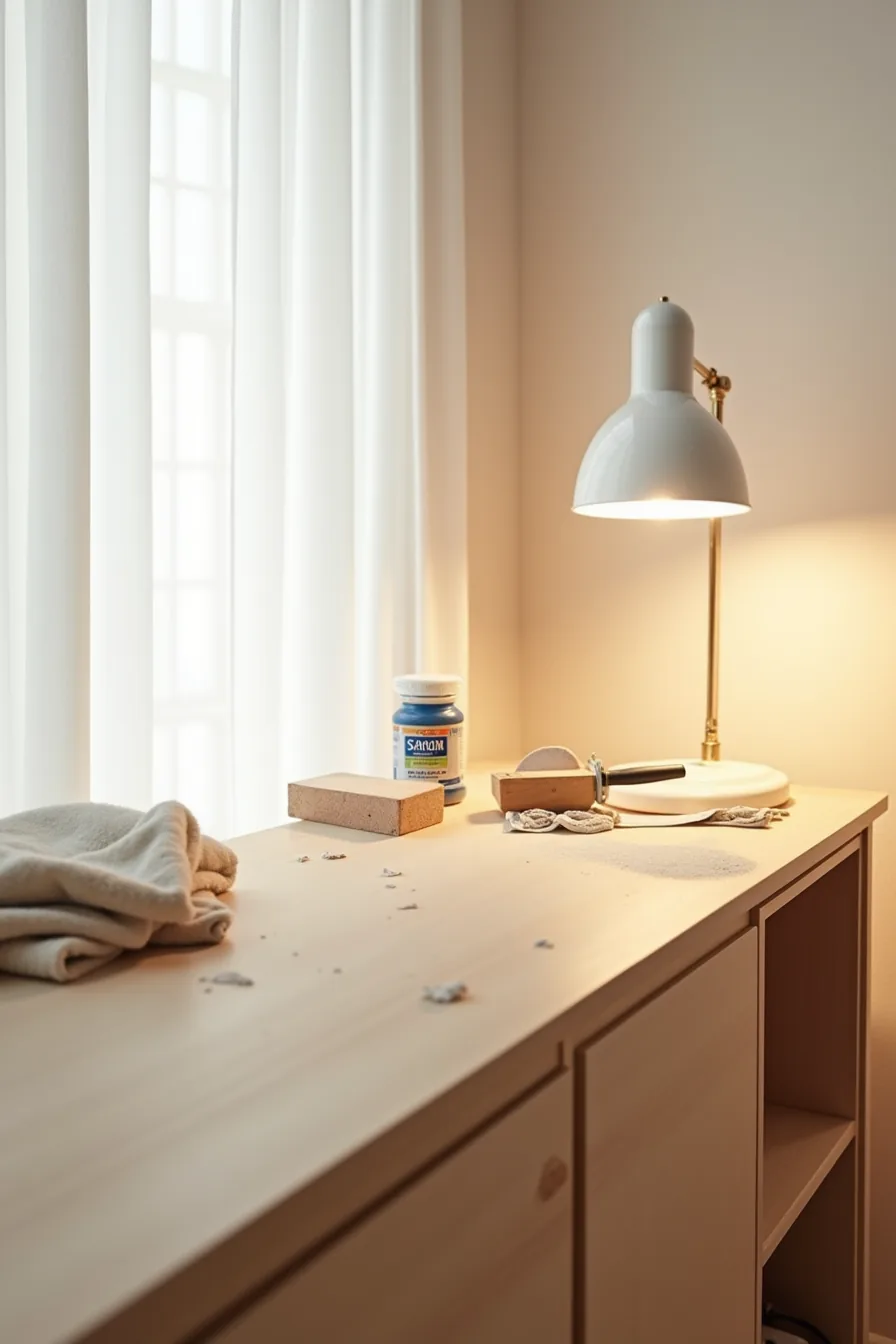
The difference between a cabinet makeover that lasts five years and one that peels within six months comes down to prep work. Plan for 4–6 hours of labor here for a standard 10-door kitchen, and resist the urge to skip steps when you’re tired. You’ll need a sanding block, medium-grit sandpaper (120–150 grit), wood filler, a dust cloth, tack cloth, and a high-bonding primer.
Start by wiping every surface with a degreaser, kitchen cabinets accumulate cooking oils that repel paint and cause fisheye bubbles. Sand all flat faces and edges until they feel dull to the touch, then fill any screw holes or dings with wood filler and let it cure for the full time listed on the package, typically 1–2 hours. Wipe away all dust with your dust cloth, then follow with a tack cloth to catch fine particles your rag missed.
Apply primer in thin, even coats using a 4-inch foam roller for flats and a 2-inch brush for corners and recessed panels. Let the primer dry completely, most water-based primers need 2–4 hours before sanding lightly with 220-grit to knock down raised grain. The most common failure point is rushing this stage: if you paint over under-cured primer, the topcoat will wrinkle or peel within months.
Paint Application Techniques and Drying Schedules
For the cabinet door propped upright, a foam roller on the large flat faces and a 2-inch brush for the recessed trim is the most reliable combination for DIYers. Rollers lay down a smoother film than brushes on broad surfaces, while the brush lets you cut into corners without flooding them with paint. If you switch to a sprayer, you’ll cut application time by roughly half but add setup and masking work, spraying requires covering every adjacent surface and thinning the paint, which increases the risk of runs for beginners.
Choose a water-based acrylic-alkyd enamel or a high-quality latex paint for durability; standard wall latex dries too soft for cabinet doors that get handled daily. Apply each coat at a uniform thickness, about 3–4 mils wet, and resist the urge to overwork an area once the paint starts to set, or you’ll drag the film and leave permanent ridges. Most water-based enamels allow recoat after 4–6 hours at 70°F, but full cure takes 2–3 weeks, so handle doors gently during that window.
Drips and brush marks happen when the coat is too thick or the room is too warm. Fix a drip while wet by smoothing it with a dry brush; if it’s dried, sand it flat with 220-grit and recoat. Tackiness after several days means you applied heavy coats in humid conditions, improve airflow and wait, as sealing the cabinet prematurely locks in softness.
Ventilation matters throughout: open windows and run a fan to exhaust fumes, especially with oil-based products.
Budget Cabinet Update: Combining Multiple Tactics
A budget cabinet update rarely means one tactic, it means staging upgrades across a run so the eye lands on the changes that matter. In a typical 10-foot cabinet run, you might paint every frame, replace only the four most-visible door fronts with solid-wood replacements, and fit new hardware on every remaining door. That sequence, painted cabinet bodies, a replaced door front on the corner unit, and new hardware throughout, reads as a full renovation at roughly 40–60% of the cost of replacing everything.
Prioritize by sightline: spend on door fronts at eye level and along the primary prep zone, paint the rest, and reserve hardware upgrades for drawers and upper cabinets where brushed nickel or matte black pulls cost $2–5 each. In a small kitchen, skip door replacement entirely and put the entire budget into paint plus hardware, the effect dominates the room. For a large kitchen, replace doors only on the island or the range wall, leaving perimeter cabinets painted.
Expect a realistic total of $300–$800 for materials on a 20-door kitchen, with a 3–5 day timeline if you paint in batches rather than all at once.
Old Kitchen Cabinet Makeover for a Weekend Refresh
A weekend refresh works when you accept its hard limit: you’re changing surfaces and hardware, not structure. The fast-track setup relies on three tools you can stage on a drop cloth within minutes, a spray paint can for small metal parts, fast-bonding adhesive for repairs, and a drying rack that lets you rotate cabinet doors in batches rather than waiting for one to cure before starting the next. Spray paint is the workhorse here: it covers hinges, handles, and even small trim pieces in 20–30 minutes of drying time per coat, which means you can finish an entire door’s worth of hardware in under two hours.
This approach suits a medium kitchen best, roughly 10–15 doors, because you can realistically remove, refinish, and rehang them across a Saturday and Sunday. In a small kitchen, you can stretch the same timeline to include a single coat of quick-dry cabinet paint on the frames. For a large kitchen, limit the weekend scope to hardware replacement and hinge refresh only; anything beyond that risks half-finished doors blocking your workspace come Monday.
Skill level is beginner-friendly, requiring just a screwdriver, painter’s tape, and a clean rag. Defer deeper work, sanding, staining, or door replacement, to a longer window, because rushing those steps produces visible brush marks and uneven color that a quick-dry product can’t conceal.
What to Do First
Your first move isn’t buying paint, it’s assessing the cabinet boxes. Open every door and drawer, check hinge alignment, and probe for water damage near the sink. Solid wood and plywood boxes are worth refinishing; particleboard with swollen edges isn’t, and replacing those doors may cost less than repair.
Walk the room with painter’s tape and mark every surface that needs filling, sanding, or replacing before you mix a single batch of primer. That 15-minute audit tells you whether your makeover takes a weekend or two full weeks.
Then strip one door completely, hinge, hardware, finish, and restore it. If the result meets your standard, replicate the process across the kitchen. If not, you’ve lost an hour, not an entire cabinet run.
Frequently Asked Questions
Can you paint kitchen cabinets without sanding, and will the finish hold up?
Yes, using a liquid deglosser and a bonding primer eliminates sanding. The finish holds up well if you clean thoroughly, apply thin coats, and let each layer cure fully, typically 7 days before heavy use.
How long does a full cabinet paint job take from start to finish, including drying?
Realistically, plan for 3 to 5 days. That includes prep, two primer coats, two paint coats, and overnight drying between each. Full cure takes another week, so avoid slamming doors during that time.
What is the typical cost difference between painting cabinets and replacing cabinet doors?
Painting costs roughly $200–$600 in materials for a standard kitchen, while replacing doors runs $2,000–$5,000 for mid-grade wood. Painting is cheaper but won’t fix warped boxes or poor hinges, those still need replacement.
Do old kitchen cabinet makeovers work on laminate or veneer, or only solid wood?
They work on laminate and veneer, but only with a high-adhesion primer designed for non-porous surfaces. Solid wood is easiest because it sands and accepts paint uniformly. Skip painting over peeling laminate, replace the doors instead.