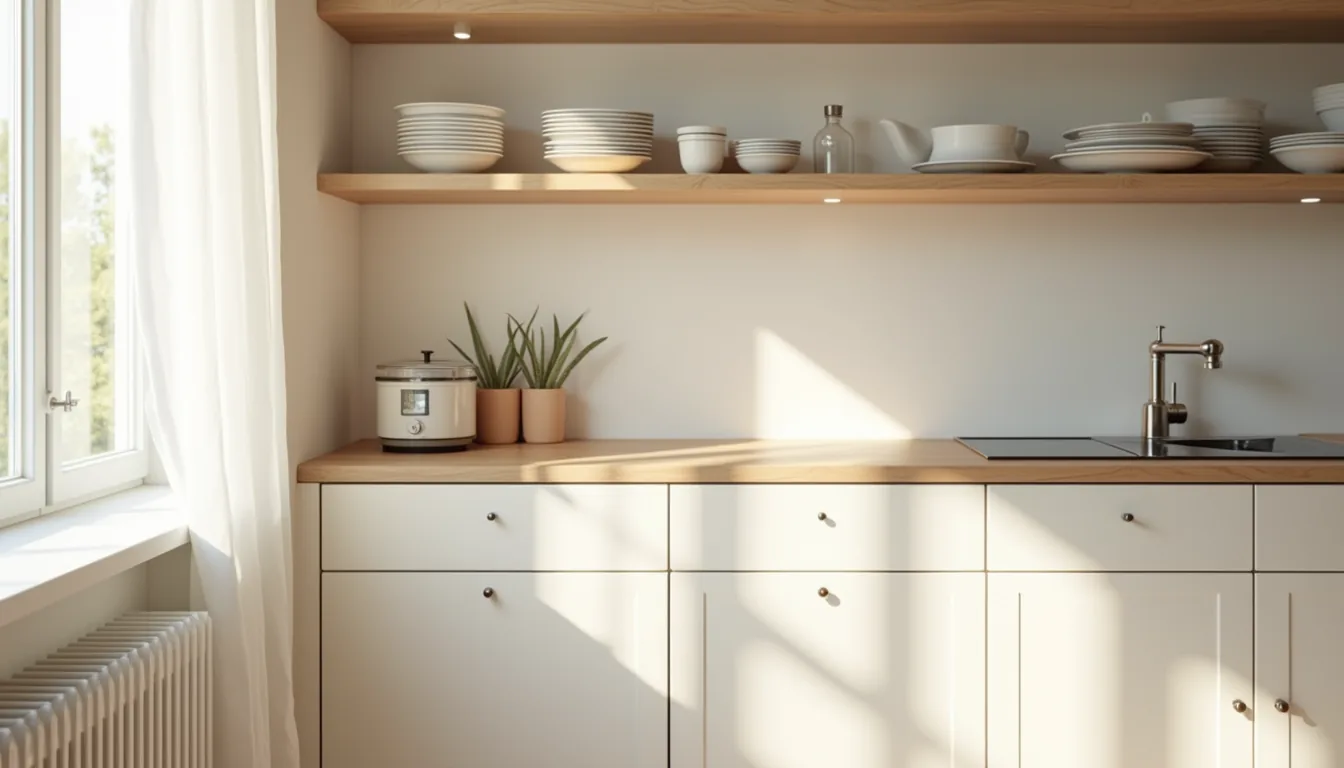
Your kitchen cabinet is the single highest-impact decision in the room, yet most homeowners default to the same stock overlay boxes without considering that the term covers everything from floor-to-ceiling pantries to freestanding furniture. The choice you make dictates not just storage capacity, but your entire workflow, your visual anchor, and your resale value. This guide breaks down six distinct approaches, from budget-friendly refaces to long-term custom builds, so you can match the style to your actual space, habits, and budget.
Key takeaways
Open shelving suits display-driven kitchens but demands weekly dusting, while closed cabinets hide clutter and cut cleaning time by roughly half. A statement cabinet works best as a single 36–48-inch-wide unit on a blank wall, anchoring a room without overwhelming small footprints. Budget refreshes like painting doors or swapping hinges cost 10–20% of full replacement, but only if your existing boxes are structurally sound. Material choice dictates upkeep: matte laminate resists fingerprints, while raw wood needs annual oiling and sits best in low-humidity zones.
Open Shelving vs. Closed Cabinetry: Which Works for Your Layout
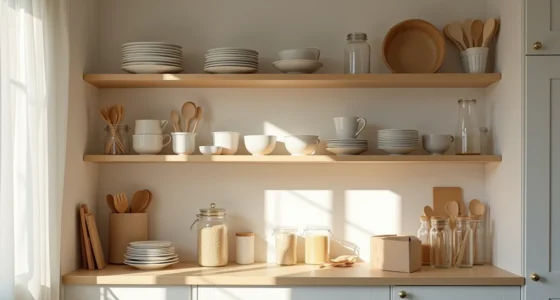
That split-screen comparison, open shelves stacked with ceramic bowls, glassware, and cooking vessels on one side, closed cabinet doors on the other, distills the core decision. Open shelving suits kitchens where you cook daily and accept weekly dusting, because every fingerprint and crumb is on display. Expect to wipe shelves and contents every 5–7 days if you use them actively, and keep shelf depth under 12 inches to avoid items disappearing into shadow.
Closed cabinetry wins for low-maintenance households, families with young children, or anyone who prefers a calm, uncluttered visual field. You trade display for concealment, which hides mismatched cookware and irregular stacks. The trade-off is cost: quality doors, hinges, and boxes run roughly 30–50% more than raw shelving materials, and you lose the visual depth that open shelving brings to narrow galley layouts.
A practical hybrid, open shelves only for daily-use items, closed cabinets for everything else, gives you the best of both inside vs outside design without committing fully to either.
The Single Statement Cabinet as a Focal Point
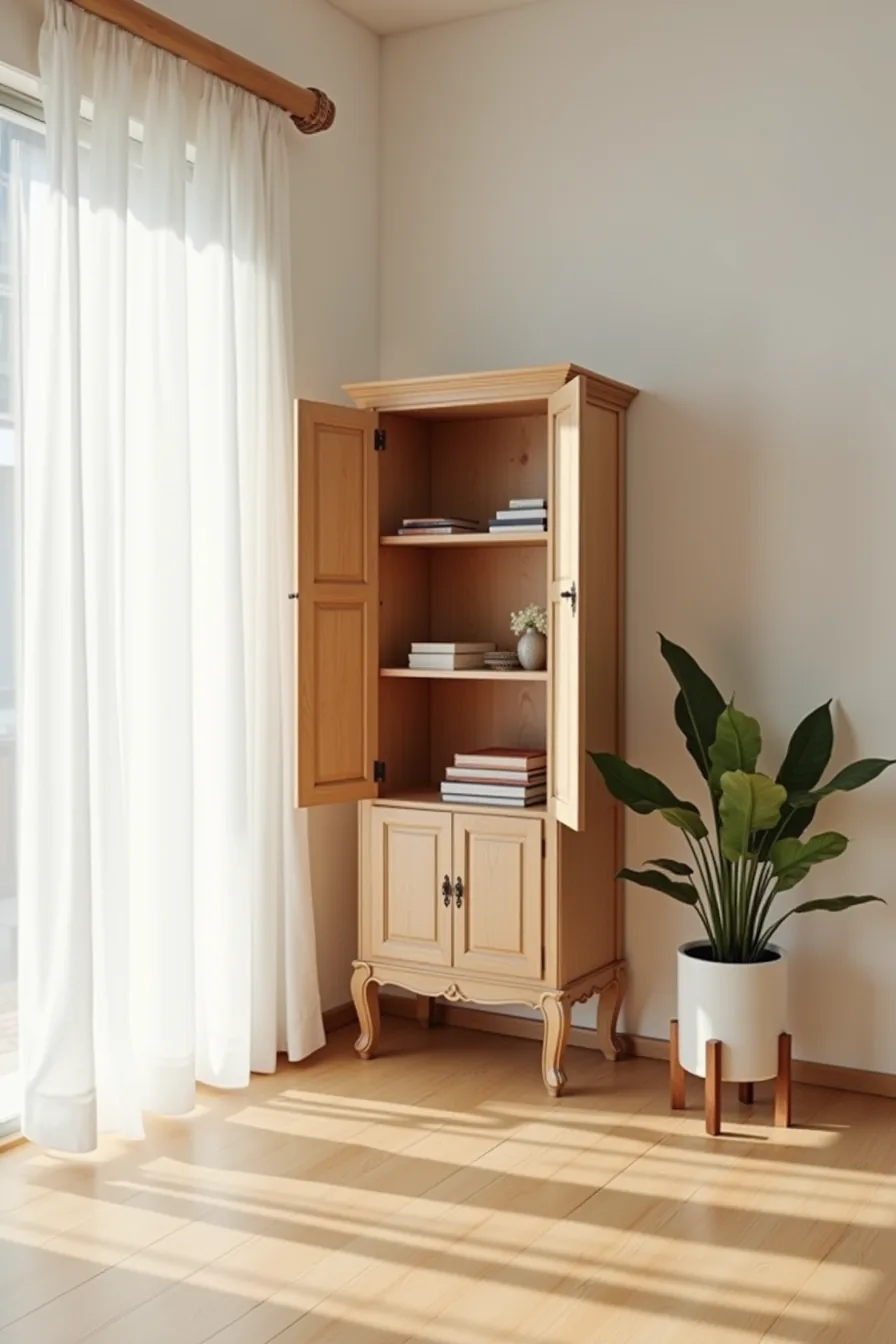
One freestanding cabinet can anchor an entire kitchen when it’s the only major storage piece. Position a tall wooden unit with carved legs against a bare wall, and let the cabinet doors sit slightly ajar to reveal interior shelves, this invites interaction and softens the room’s formality. The carved legs lift the piece visually, making it feel furniture-like rather than built-in, which suits renters who can’t mount permanent units.
For small to medium kitchens, choose a cabinet that’s 18–24 inches deep and between 60–72 inches tall, leaving at least 36 inches of clearance in front for comfortable access. A medium wood tone works best against white or neutral walls because it reads as intentional without dominating the space. Expect to dust the exposed shelves weekly and condition the wood every 6–12 months; this route costs $400–$1,200 depending on whether you buy new or refinish a vintage find.
Multipurpose Cabinetry: Storage, Display, and Workspace Combined
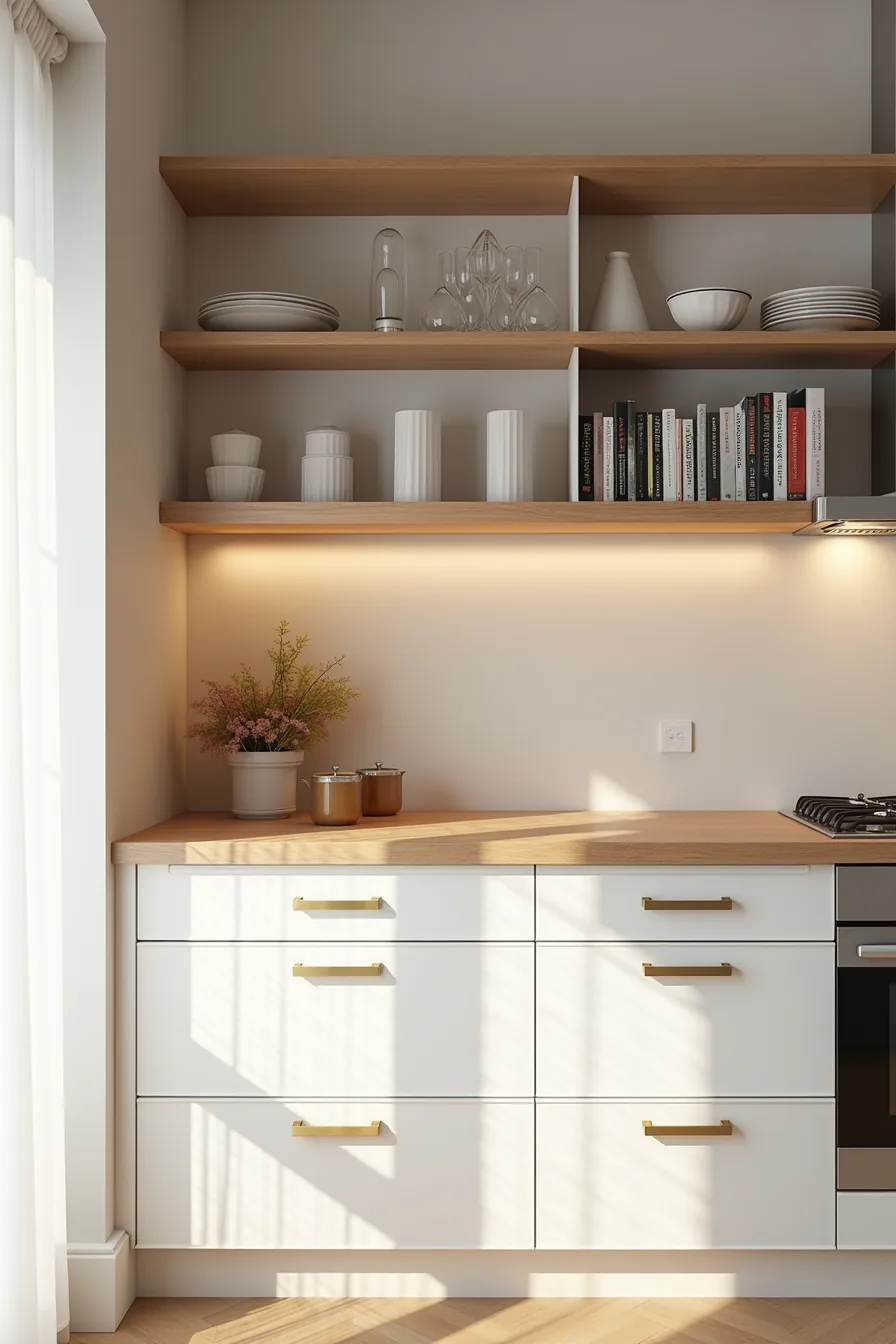
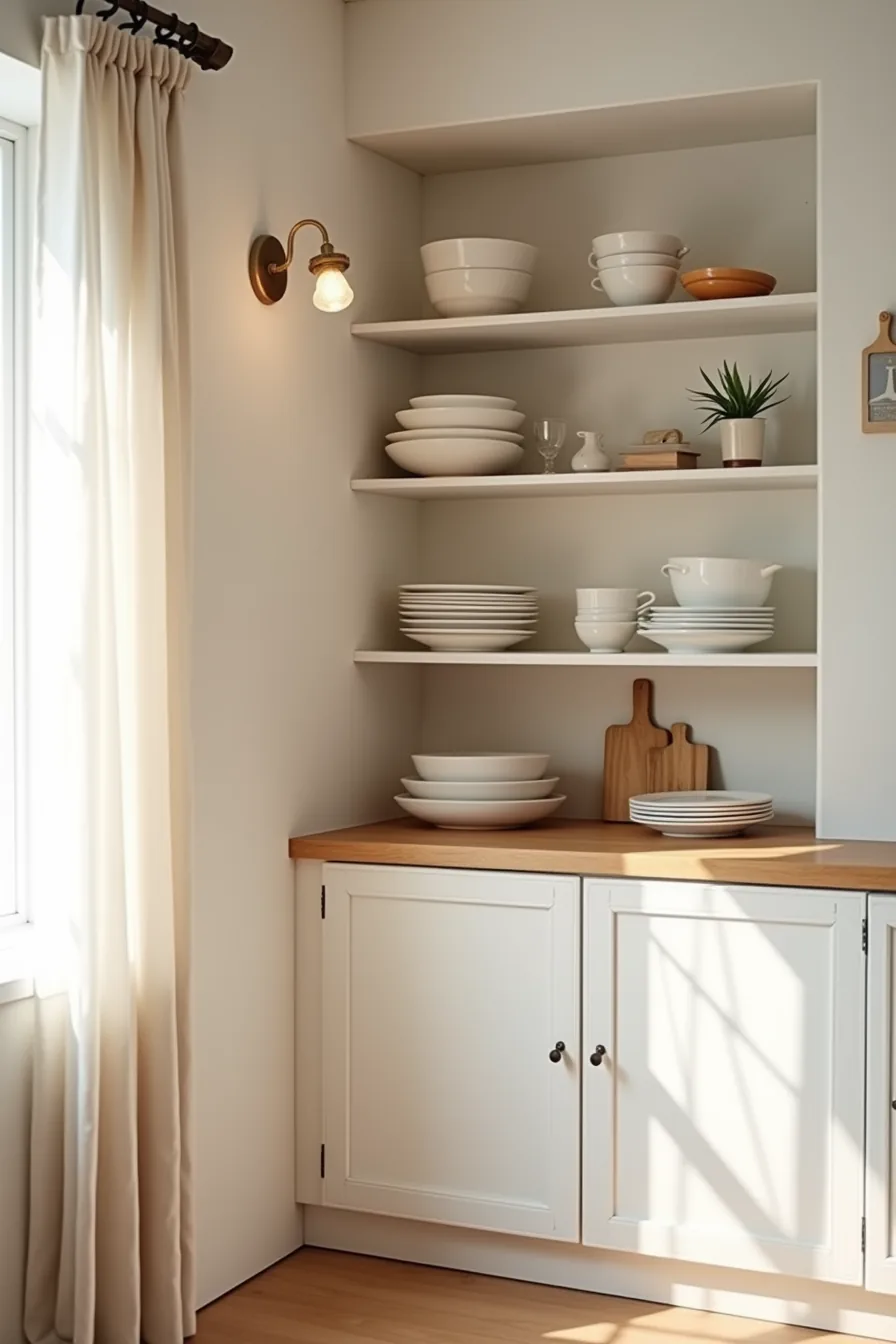
A single built-in unit can consolidate three kitchen functions if you allocate distinct zones by height. Lower closed drawers handle bulky appliances and pantry overflow, while the middle section integrates a wooden countertop workspace, pull up a stool and you’ve a prep station or a casual breakfast bar without sacrificing floor space. The upper open shelves, stocked with cookbooks and everyday vessels, keep frequently used items within arm’s reach and double as visual texture.
This configuration suits medium to large kitchens where wall space is plentiful but square footage for separate furniture isn’t. Allocate roughly 12–15 inches of depth for the shelving zones and extend the countertop to 24 inches deep so it functions comfortably for chopping or plating. You’ll need to wipe the open shelves weekly to prevent grease film buildup, and the countertop benefits from monthly oiling if it’s butcher block.
Expect this route to run $1,500–$4,000 depending on cabinetry grade and installation complexity.
Budget-Friendly Cabinet Refresh Without Full Replacement
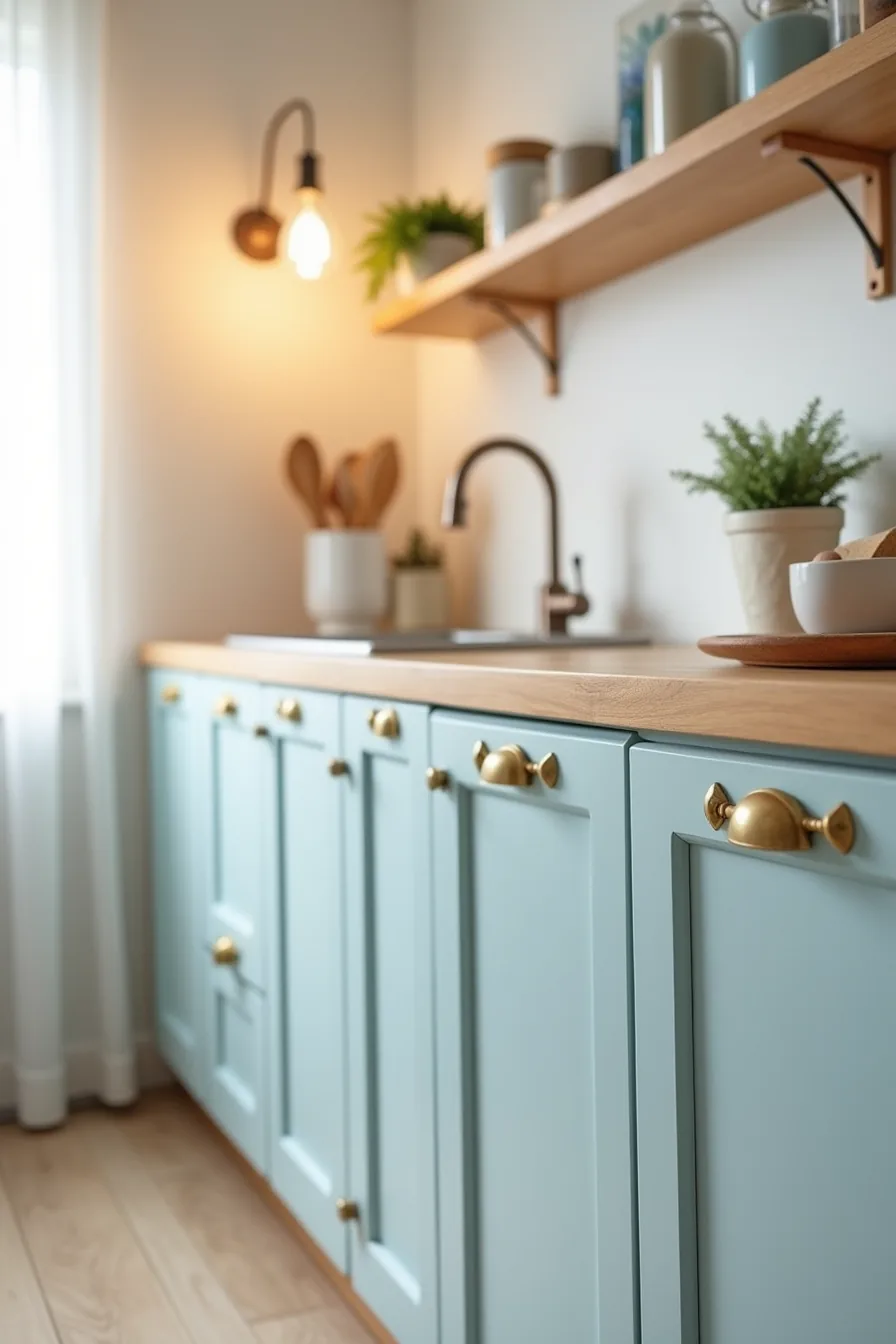
Painting existing cabinet doors is the fastest way to change a kitchen’s character for under $300. The setup here, soft blue paint over visible wood grain with new brass hardware, costs roughly $50–$150 in materials and takes a weekend to complete. Sand lightly, apply a bonding primer, then two coats of cabinet-grade enamel; skip the brush marks by using a small foam roller on the flat panels.
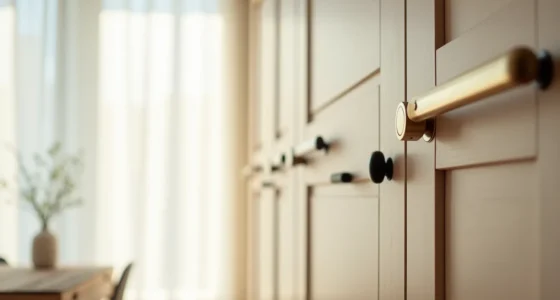
Renters can achieve a similar effect without permanent commitment using removable peel-and-stick film or contact paper on door fronts. Brass hardware swaps are fully reversible, making them the smartest first upgrade for apartments, each knob or pull runs $3–$8, and you can replace them in under ten minutes per door.
This refresh suits anyone with structurally sound cabinets who wants a style change without demolition. Expect to repaint every 3–5 years if you cook heavily, since grease and moisture degrade even quality enamel faster than factory finishes.
Cabinet Styling for Small, Medium, and Large Kitchens
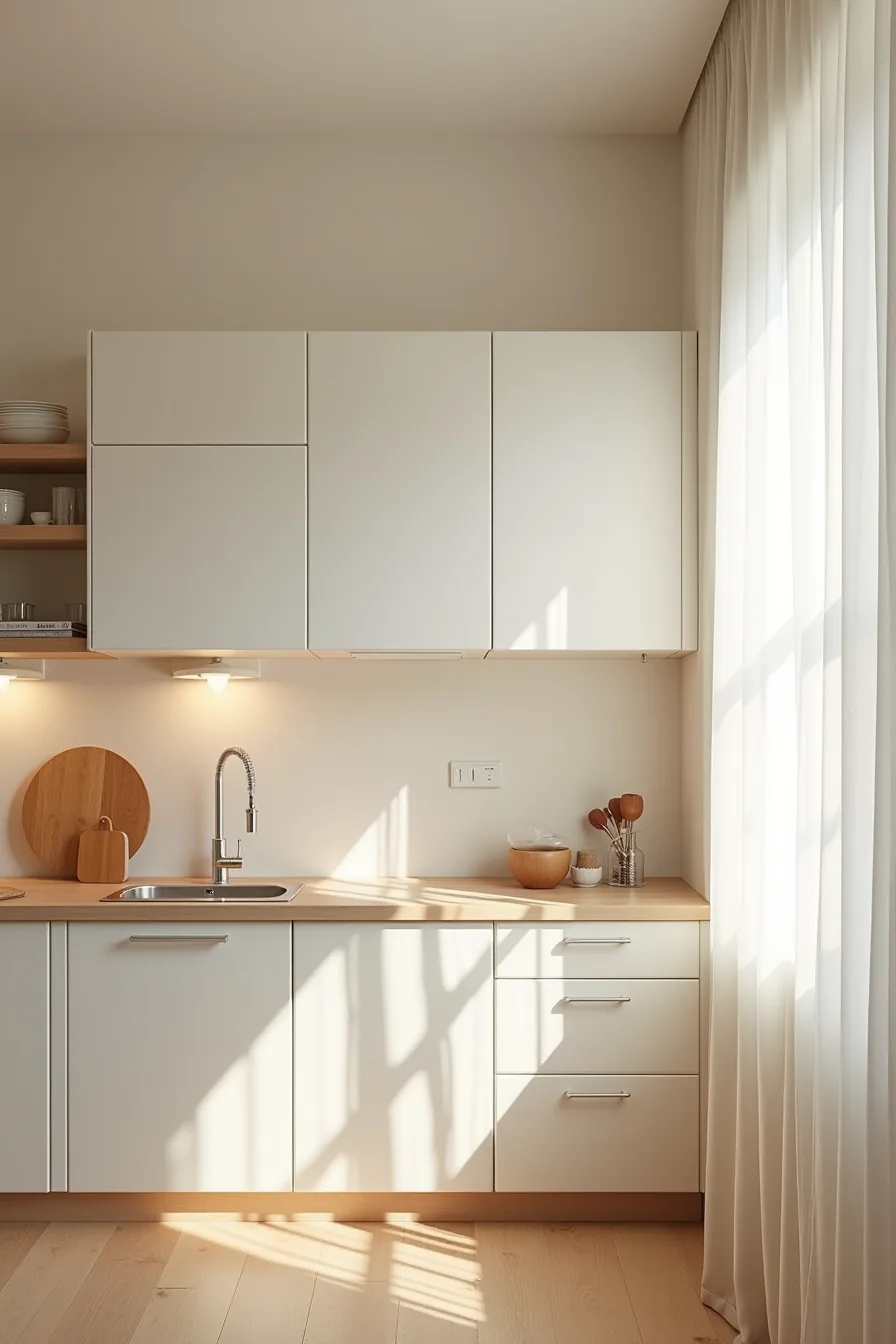
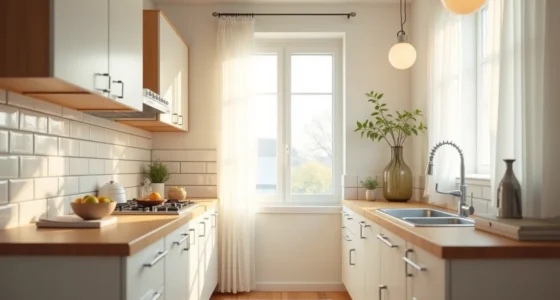
Your kitchen cabinet depth should track your room’s footprint before you consider style. In a galley under 8 feet wide, a wall-mounted cabinet system set 12–16 inches deep keeps the opposite counter reachable, whereas standard 24-inch base units would compress the aisle to a cramped squeeze. Reserve open shelving for the upper zone; it borrows visual space from the wall rather than the floor.
A medium kitchen, roughly 150–250 square feet, handles standard-depth cabinetry comfortably, but you can prevent a boxed-in feel by capping upper runs 18 inches below the ceiling. That gap draws the eye upward and leaves room for task lighting, which a full-height stack would block. Keep 36–42 inches of clearance between the island face and cabinet fronts so two people can pass without sidestepping.
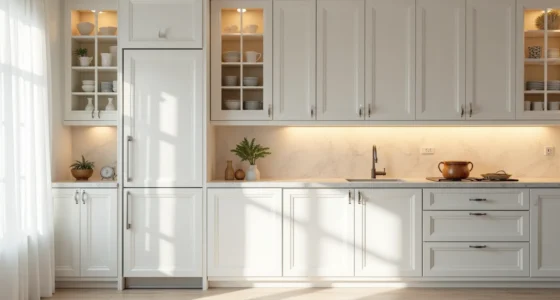
For a large, open-plan space, a floor-to-ceiling cabinet system anchors the room and eliminates dust-collecting gaps. Use varying depths strategically: 24-inch lowers for appliances, 12-inch uppers for everyday dishware, and a 6-inch-deep pantry column beside the refrigerator for oils and spices. This tiered approach reads as intentional architecture rather than a wall of identical doors.
Materials, Finishes, and Maintenance Trade-Offs
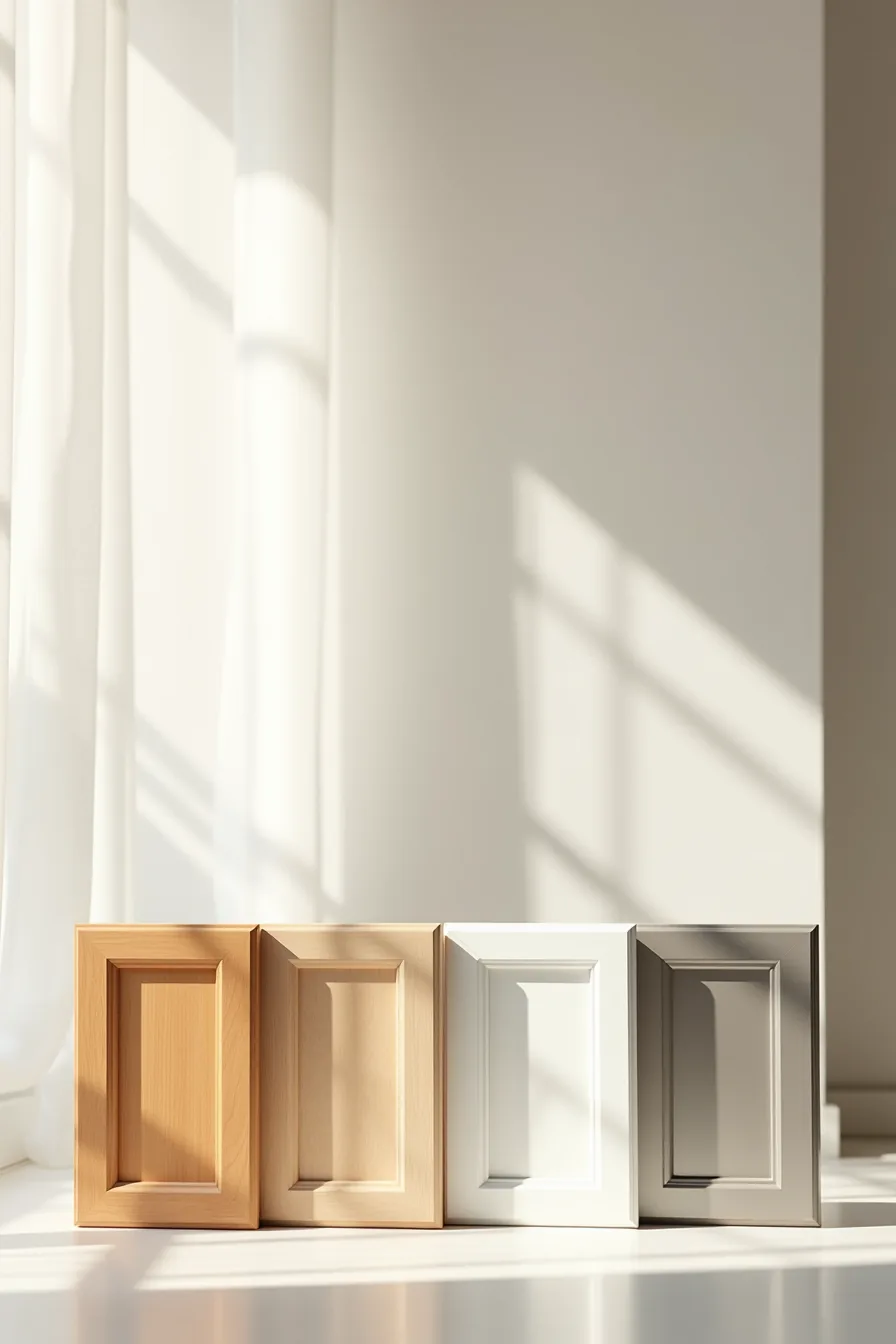
Four cabinet door samples tell the real story of what your kitchen will demand of you: natural wood, white laminate, brushed metal, and matte paint. Solid wood, oak, maple, or hickory, costs the most upfront but accepts refinishing every 10–15 years, making it the long-term investment route. It requires annual conditioning with a dedicated wood cleaner to prevent drying and cracking, especially near a dishwasher’s steam output.
White laminate offers the budget route at roughly one-third the cost of wood, but its printed grain pattern won’t hide scratches as well as the real thing. Wipe spills within a few hours and expect the edge banding to be the first failure point, typically after 8–12 years of daily use. Brushed metal resists heat and moisture completely, suits industrial or modern rooms, and needs only a microfiber cloth and mild detergent, but it fingerprints visibly and dents permanently if struck hard.
Matte paint delivers the renter-friendly route: a $200–400 refinishing job can transform dated doors without replacing boxes. It hides smudges better than gloss but chips at corners within 2–3 years in high-traffic households. Touching up with a small brush is straightforward if you store leftover paint, which most homeowners don’t.
Your choice ultimately balances your budget horizon against how much maintenance you’ll actually perform.
Your decision checklist
Before you commit, weigh these four factors: cabinet style against your room’s proportions, material against your cooking habits, hardware against your maintenance tolerance, and budget against your timeline. A painted shaker door suits a family kitchen; a lacquered handleless slab works better for a rental. If you’re renovating, order custom boxes first, lead times run 6–10 weeks.
If you’re refreshing, swap hinges and pulls in an afternoon.
Start here: measure your longest wall, then sketch three cabinet layouts, one with upper units, one open-shelf, one full-height. Pick the layout that keeps your major appliance doors from colliding. Then buy one sample door and live with it for a week before ordering the rest.
Frequently Asked Questions
Can I install a kitchen cabinet as a renter without damaging walls?
Yes. Choose freestanding units with adjustable feet, or use tension rods and removable adhesive strips rated for 15–20 lbs. Avoid drilling; anchor heavier pieces with furniture straps that screw into the cabinet frame, not the wall.
What is the ideal depth and height for a standalone kitchen cabinet?
Depth runs 15–18 inches for upper storage, 24 inches for base units. Height ranges 30–36 inches for counter-height, 36–42 inches for tall pantries. Match your countertop overhang and ceiling clearance to avoid blocking light or traffic.
How do I prevent open kitchen shelving from looking cluttered?
Limit each shelf to 30% visual fill. Group by color or material, and use baskets or canisters for small items. Keep frequently used pieces at eye level; reserve top and bottom shelves for matching sets or bulk storage.
What paint finish works best for kitchen cabinets in a high-moisture environment?
Semi-gloss or satin. Semi-gloss resists steam and wipes clean easily; satin hides fingerprints better but needs a quality primer. Avoid flat or matte finishes, they absorb moisture and show water spots within months.