A TV cabinet design only works when it answers three questions first: what you store, how you watch, and how much floor space you can give up. Get those answers right, and the unit becomes the quiet anchor of your room, not just a box for electronics. Get them wrong, and you end up with blocked sightlines, overheating gear, or a piece that dominates a small living area.
The six approaches below break that decision into concrete, buildable choices, from floating shelves to closed credenzas.
Key takeaways
Prioritize doors over drawers when storing gaming consoles and AV receivers, since drawers require you to kneel and reach downward every time you swap a device. Plan cables first by measuring the distance between your TV’s HDMI ports and the cabinet’s back panel, then add 12-18 inches of slack before routing through grommets. Match cabinet depth to room scale: a 16-20 inch deep unit suits a 55-inch TV in a compact living room, while wider media walls benefit from 22-24 inches for soundbar clearance. Refinish with matte polyurethane on a solid-wood unit every 3-5 years to restore worn spots, but opt for a high-gloss laminate if you’ve kids, since it wipes clean without ghosting.
Doors vs Drawers: Storage Trade-Offs That Matter
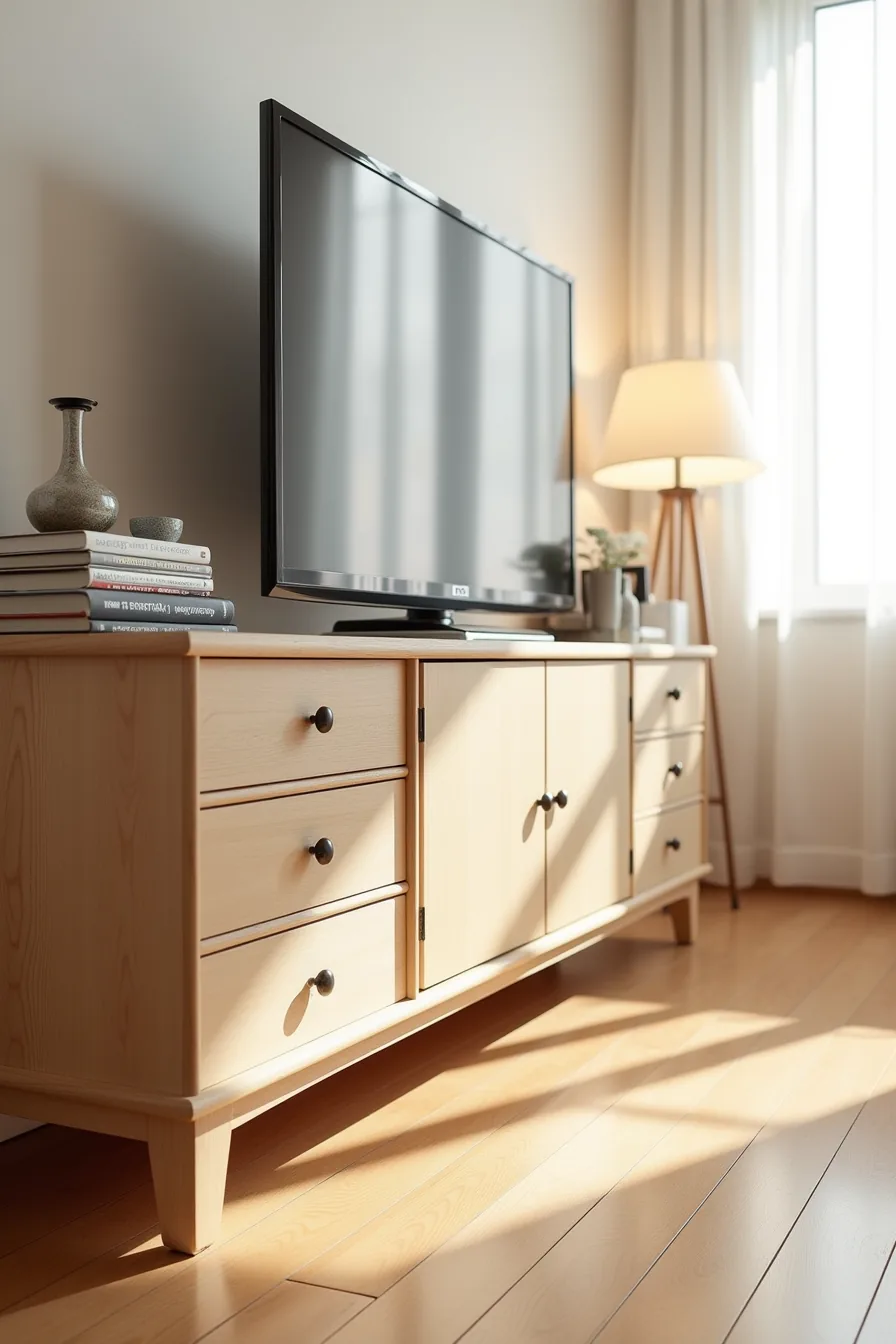
A base with three vertically stacked drawer fronts on the left and two hinged doors on the right gives you a practical split: drawers for daily access, doors for concealment. Drawers win on speed, pull one open and grab a remote or game controller without crouching or shifting items stacked in front. They also hide small clutter better because you can organize interiors with dividers, whereas a shelved cabinet behind doors tends to collect loose cables and boxes you must shuffle to reach.
Hinged doors excel at dust protection and housing larger equipment like a soundbar, gaming console, or media player you adjust rarely. The trade-off is access: you need roughly 18–24 inches of clear floor space in front for the doors to swing fully open, so measure your room’s walkway before committing. If you sit closer than that, consider sliding doors or an all-drawer configuration instead.
Metal knobs on both the drawer fronts and doors keep the hardware consistent, which visually unifies the mixed storage layout. For daily-use items, prioritize drawers; for occasional-use gear, assign the hinged section. This split keeps your TV cabinet design functional without forcing you to choose one storage logic for everything.
Open Media Niche: When to Display Instead of Hide
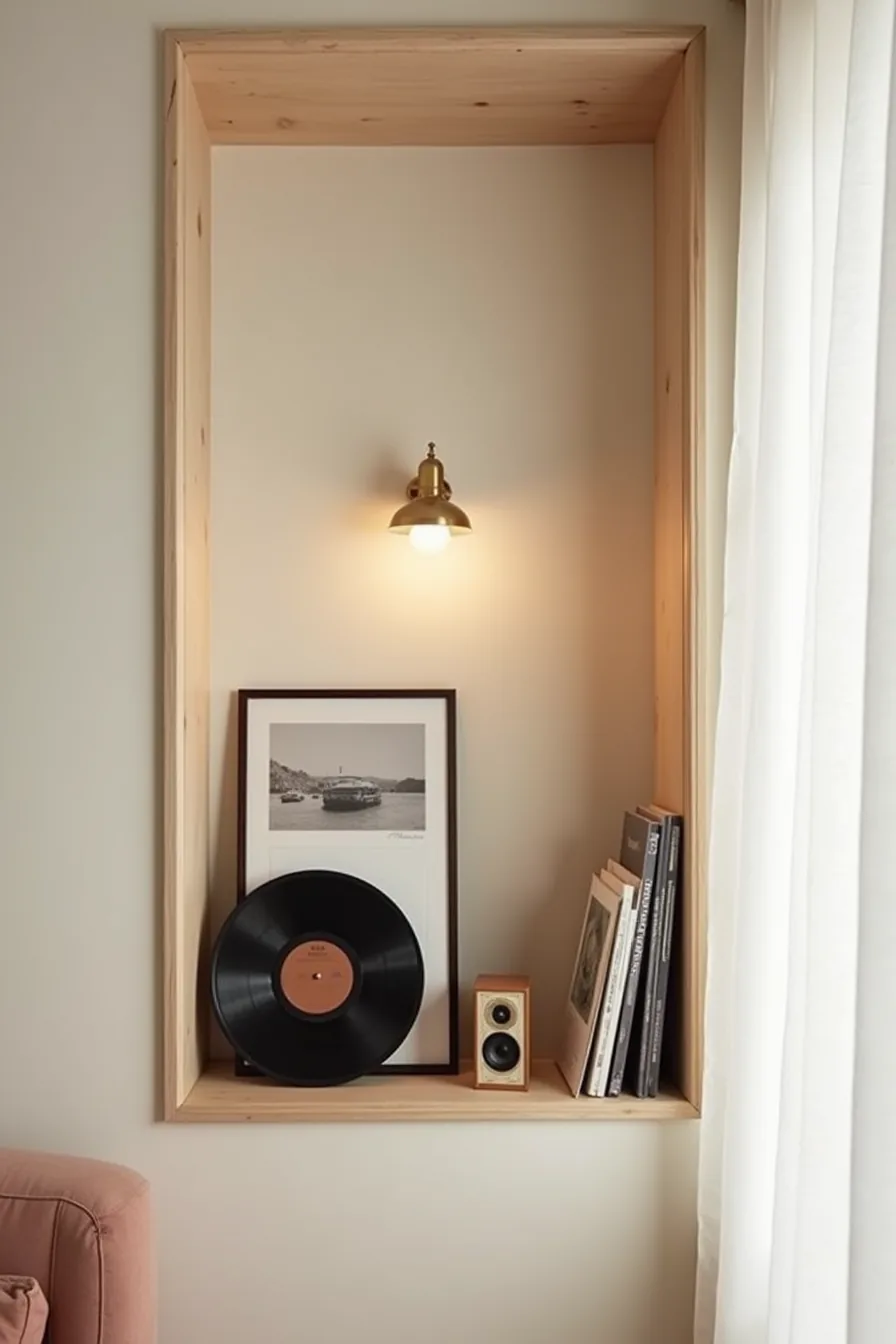
An open media niche, a recessed shelf cut directly into drywall, eliminates the cabinet footprint entirely, freeing up floor space in a compact room. The setup with three upright vinyl records, a small speaker, and a framed photograph works because every object earns its place; nothing sits there for filler. This interpretation of TV cabinet design suits you if you own a curated collection you actually use, not a backlog of dusty accessories.
The maintenance burden is real: exposed surfaces collect dust visibly, and you’ll be wiping the niche interior weekly if you live in a dry climate. Cable concealment becomes the primary engineering task, so route power and HDMI wiring through a conduit behind the wall before finishing the drywall, retrofitting after the fact requires cutting access panels. Budget-wise, this is the most affordable route if you’re already renovating, since you skip cabinetry costs, but it’s renter-hostile and a poor choice if you rearrange furniture often.
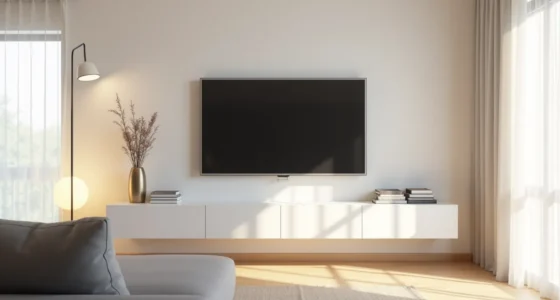
For a renter-friendly alternative, mount a floating shelf or a shallow wall-hung unit to mimic the airy look without cutting into the structure.
Cable-Management Plan: The Hidden Layer of TV Cabinet Design

A rear-view inspection reveals the real work: a fabric sleeve bundles every cable from the TV down the cabinet’s back panel, with velcro straps cinching the bundle at intervals to prevent sagging. That power strip mounted on the back panel is the linchpin, it keeps all plugs off the floor, where they collect dust and create tripping hazards. You should anchor your strip at least 6-8 inches above the cabinet’s bottom edge to accommodate plug heads without forcing cables into sharp bends.
Label both ends of every cable with a basic masking-tape flag before you route anything; tracing an unlabeled HDMI through a sleeve later means pulling the entire unit away from the wall. Use a fabric sleeve with a full-length zipper rather than a spiral wrap, because you can add or remove a cable in under a minute without unthreading the whole bundle. Your cable-management plan should also account for slack, leave 12-18 inches of extra length coiled near the TV end so you can pull the unit forward for cleaning or component swaps without disconnecting anything.
Scaling TV Cabinet Design Across Room Sizes
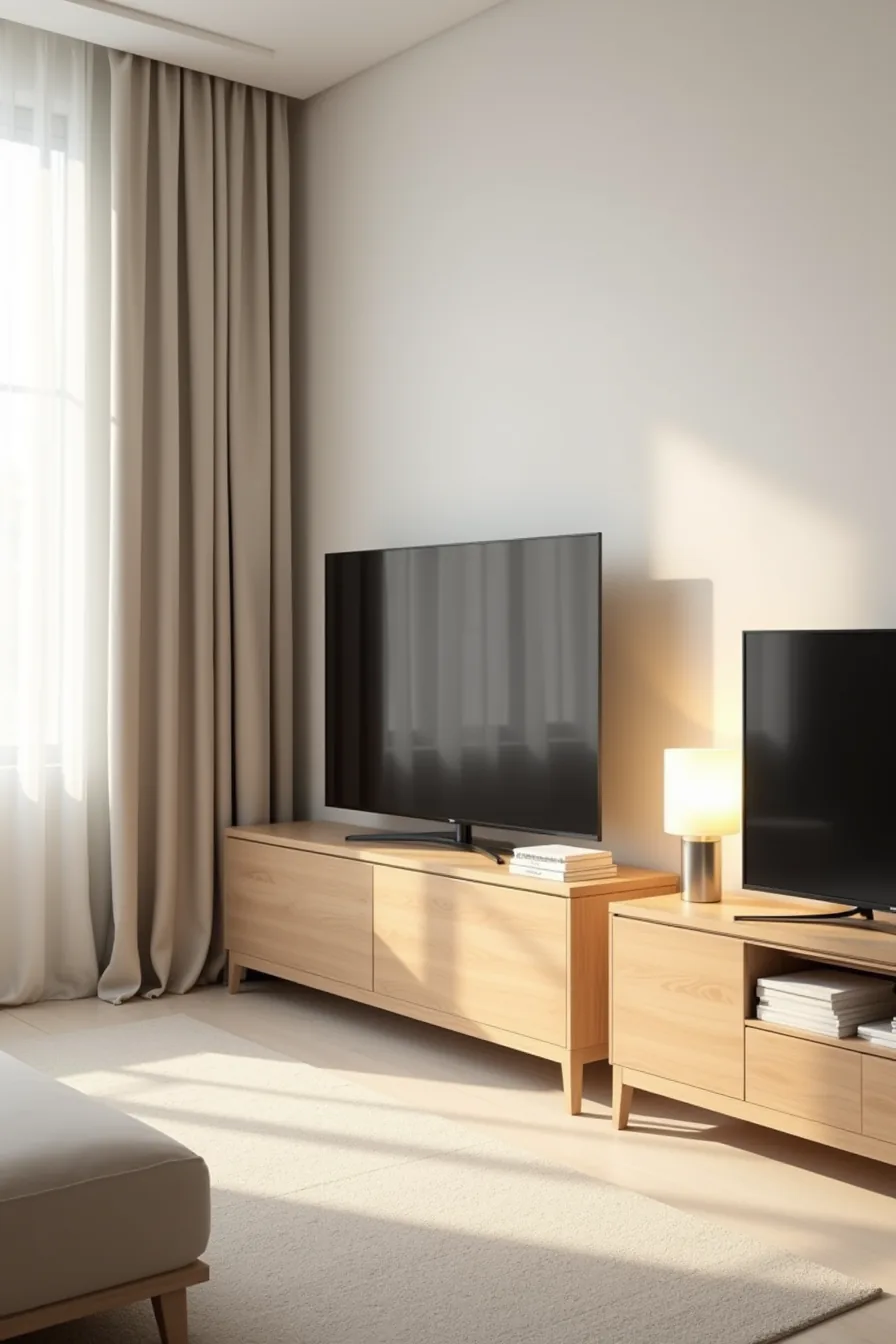
Scaling Tv Cabinet Design begins with a simple rule: the cabinet’s width should span roughly half to two-thirds of the wall it sits on. In a studio apartment, a compact 36-inch cabinet against a narrow wall leaves enough floor exposed to keep the room from feeling crowded, and it suits a 43-inch TV without overhanging sightlines. For a standard living room, a 60-inch mid-sized unit pairs with a 55-inch screen and leaves 12-18 inches of breathing room on each side for lamps or plants, maintaining visual balance without dominating the wall.
In a large open-plan space, an 84-inch console spanning the wall anchors the seating zone and prevents the TV from floating in the architecture. Match the unit’s height to your viewing distance, typically 24-27 inches tall for seated viewing, and keep 6-8 inches of clearance above components for ventilation. Proportion is the real test: an undersized cabinet looks lost, an oversized one blocks circulation, so measure your wall and viewing distance before you buy.
Material and Finish Choices for Durability
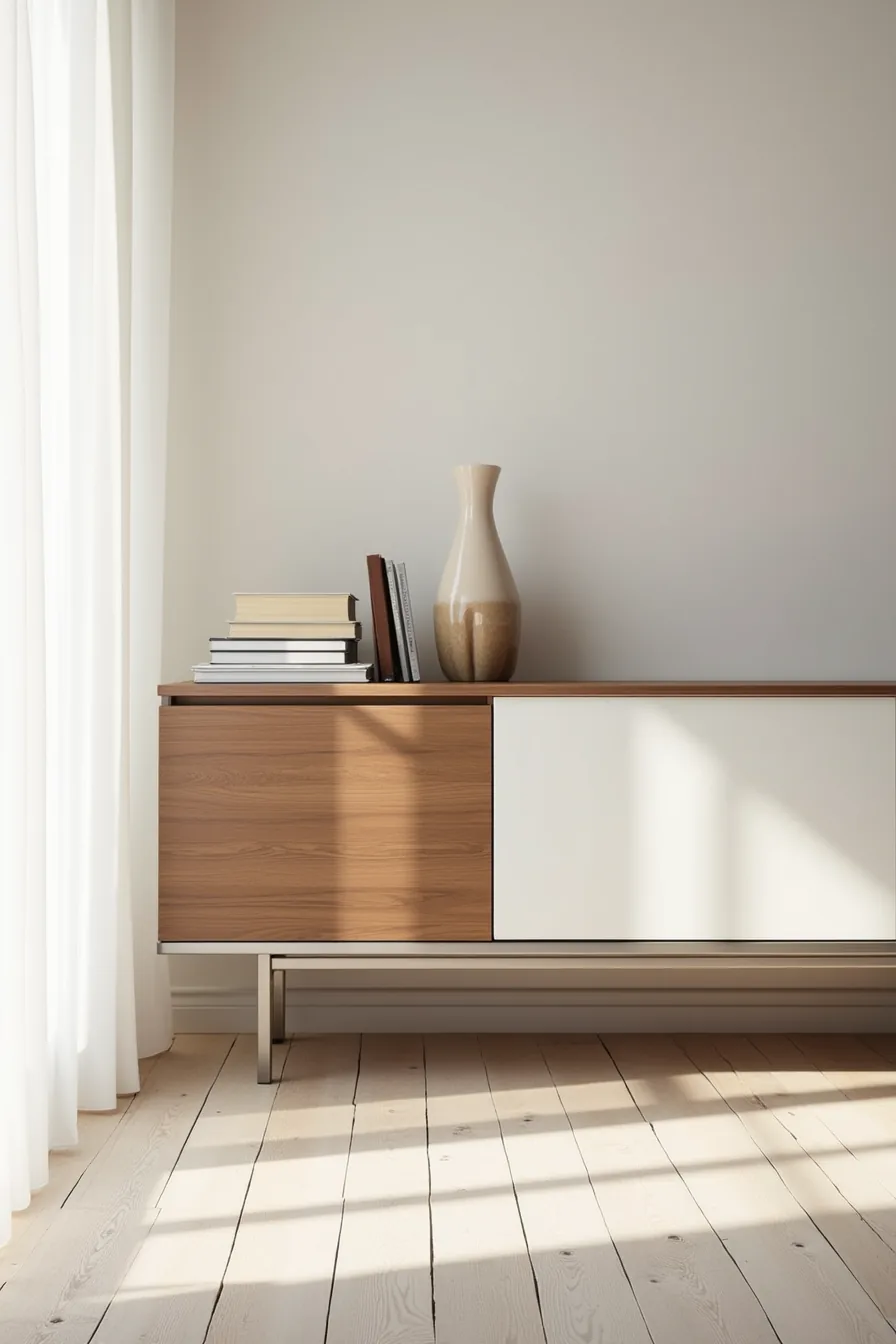
Solid walnut veneer is the long-term investment: it resists moisture and scratches, and it can be sanded and re-oiled every few years to erase surface wear. Expect to pay roughly 2-3 times more for veneer over laminate, but a well-made veneer cabinet lasts 15+ years compared to a laminate’s 5-10 before the edges peel or chip. The white laminate on the right door forgives fingerprints and cleans with a damp cloth, making it the budget-conscious pick for busy households, just avoid abrasive cleaners, which dull the finish permanently.
Brushed steel frames add structural rigidity without the bulk of solid wood, and they won’t warp in humid climates, but they show smudges within days and need a microfiber wipe weekly. The glass top shelf looks light and helps the unit recede visually, yet glass scratches easily; use felt pads under decor and keep heavy components on lower solid shelving instead. Match your finish to your lifestyle first and your palette second: high-gloss surfaces in sunny rooms produce glare, while matte textures hide dust better but show grease from hands.
Refresh a TV Cabinet Without Replacing the Unit
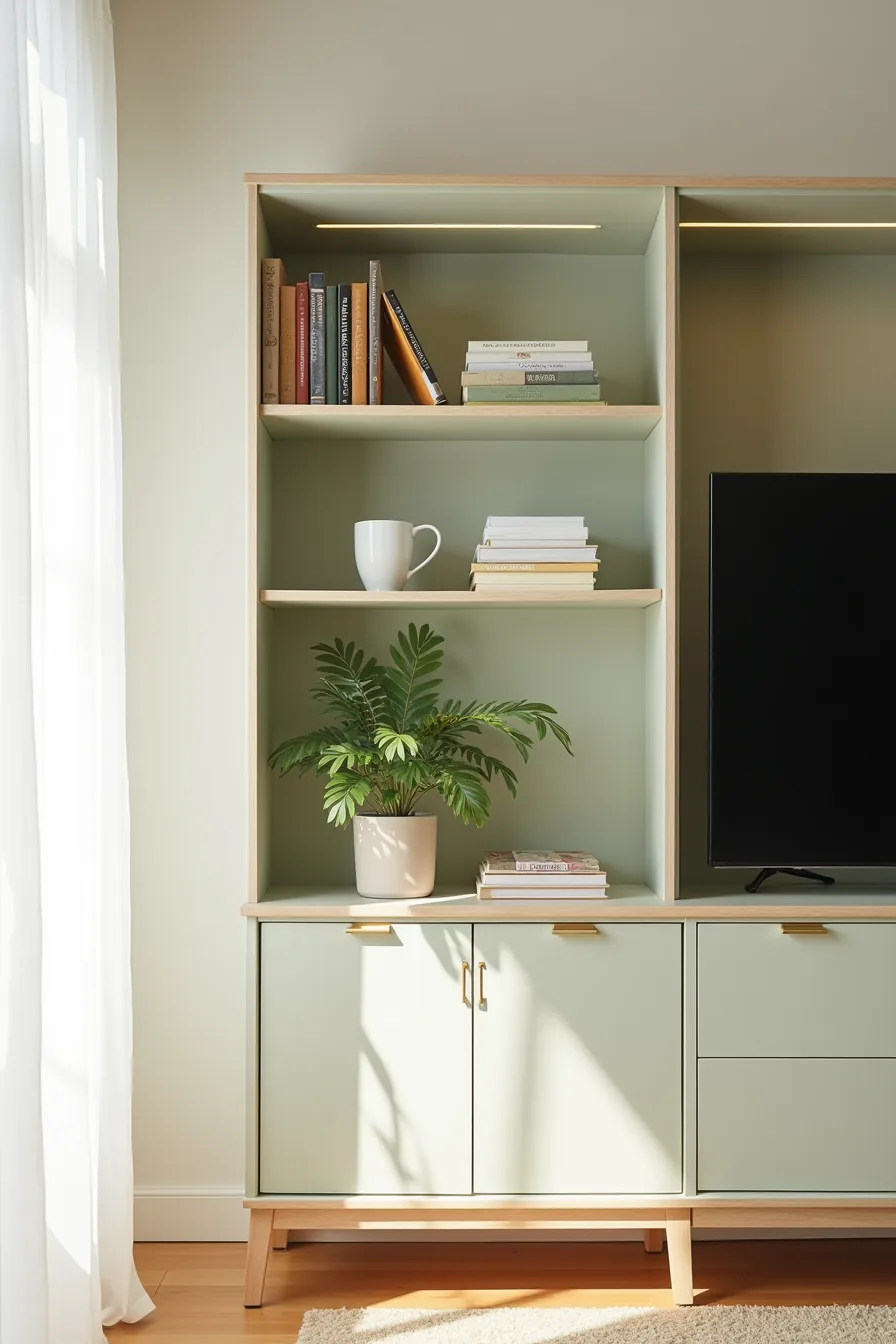
A full replacement isn’t the only route when your TV cabinet design feels dated. Start with the hardware: swapping standard knobs for brass pulls, typically 3-4 inches long, costs under $30 for a set of six and takes 20 minutes with a screwdriver. Match the pull’s finish to your other room metals, not to the cabinet itself, to create cohesion without matching everything.
Then address the paint. Sage green works because it’s muted enough to hide dust but has enough pigment to read as intentional, not accidental. Use a bonding primer first, then two coats of a satin or eggshell finish; expect 4-6 hours of total labor plus drying time.
The textured backing panel inside the open shelving adds depth without taking shelf space, cut a sheet of ¼-inch plywood to fit, then staple or nail fabric or wallpaper over it before inserting.
Finish with LED strip lighting along the top edge, pointing down. A 16-foot strip with adhesive backing costs $20-40, installs in 10 minutes, and can be tucked behind a lip so it’s invisible. Wire it to a smart plug so you can dim it without hunting for a remote.
This route suits renters or anyone hesitant to commit: remove the hardware, paint, and lighting in a weekend, and the original unit is untouched underneath.
Start with your wall, not the cabinet
Before you browse a single showroom image, measure your wall and note the viewing distance from your seating. A 65-inch TV needs roughly 8-10 feet of viewing space; smaller rooms should pair 43-55-inch screens with cabinets under 60 inches wide. That single measurement eliminates half your options instantly.
Your next step: tape the cabinet’s footprint on the floor with painter’s tape and live with it for 24 hours. Walk past it, sit down, open drawers in your mind. If the tape feels intrusive, the real cabinet will too.
Frequently Asked Questions
Should my TV cabinet have doors or open shelves?
Doors hide clutter but cost more and require clearance for opening. Open shelves suit minimalists who style carefully. Choose doors if you’ve game consoles, cables, or kids.
Choose open shelving for display pieces and frequent access.
How do I hide cables in a TV cabinet design?
Drill a 2-inch hole in the back panel near each shelf, then run cables through a cord-management sleeve. Use a power strip with a surge protector inside the cabinet. Attach a cable raceway to the wall behind the TV for vertical runs.
What size should a TV cabinet be for a 55-inch TV?
The cabinet should be 48–60 inches wide and at least 18 inches deep. The TV width (about 48 inches) shouldn’t exceed the cabinet width. Height matters less, but 20–24 inches keeps the screen at comfortable eye level from a seated position.
Can I update my old TV cabinet without buying a new one?
Yes. Replace the hardware with modern pulls, paint the frame in a matte finish, and swap solid doors for wire-mesh or glass inserts. Add adhesive-backed LED strips under the top edge for a floating effect.
Total cost typically runs $50–$150.