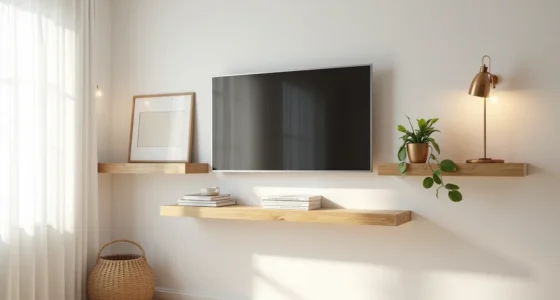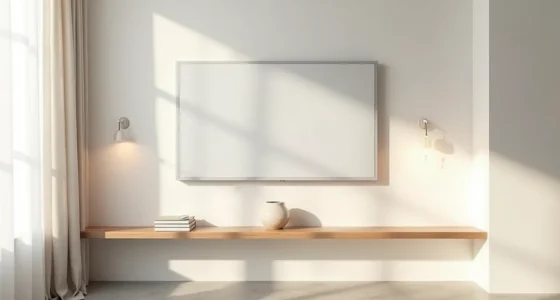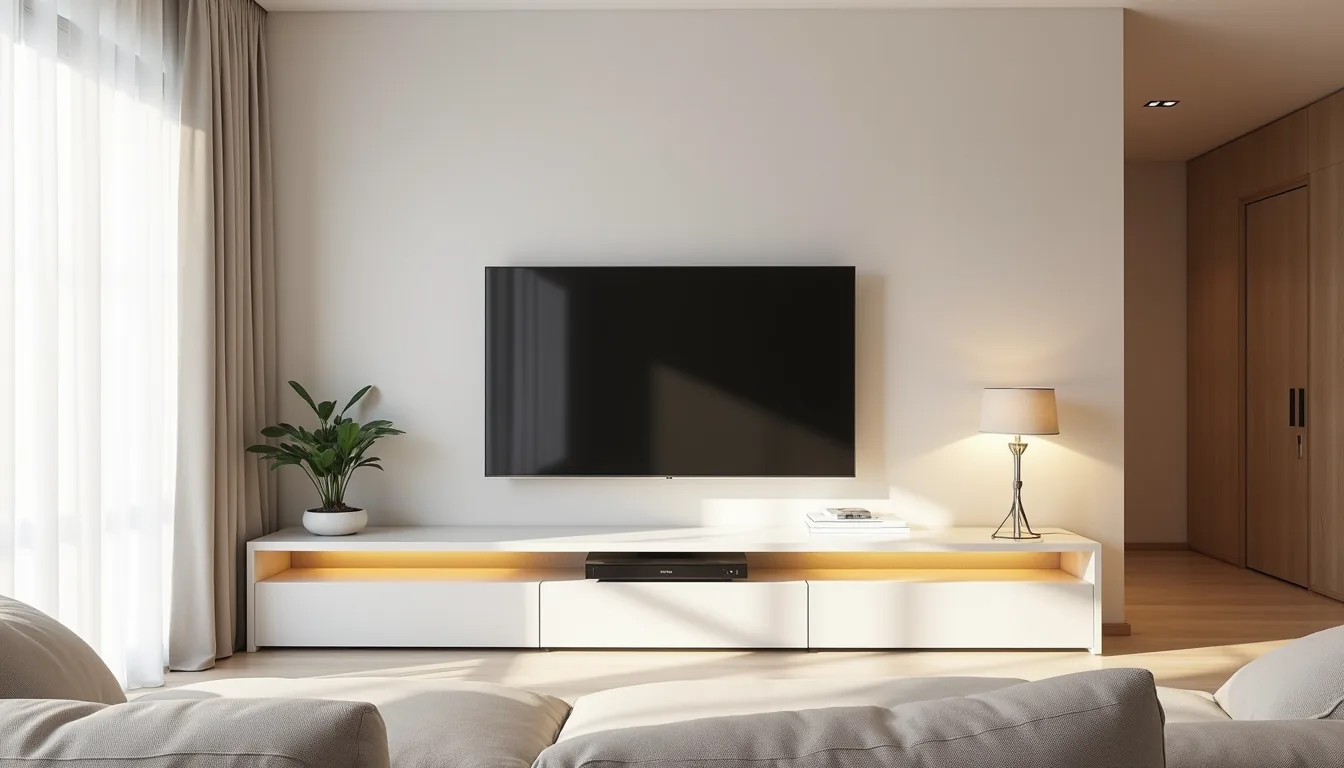
Your TV unit wall design living room decisions come down to three variables: the size of the wall, the depth of your budget, and how much visual weight you want the television to carry. Get those aligned, and the unit does the heavy lifting for the entire space. Get them wrong, and you’re looking at a cramped, cluttered, or visually top-heavy wall.
The six approaches below give you the specific trade-offs for each scenario, from a floating shelf on a rental wall to a full built-in that becomes the room’s architecture.
Key takeaways
Horizontal layouts suit rooms where seating spans wide and ceiling height is standard, while vertical towers work better in narrow spaces with tall walls. Built-in units cost 30–50% more than freestanding but hide cables fully, whereas freestanding options allow you to rearrange without patching drywall. A 12–18 inch gap between the TV and floating shelf below keeps sightlines comfortable, and closed lower cabinets hide the inevitable tangle of power strips and media boxes. Dark matte finishes hide dust and glare better than gloss, but require touch-up paint for scuffs; for renter-friendly setups, use adhesive cable channels and peel-and-stick panels that leave no residue.
Horizontal vs Vertical Lines: Which Layout Suits Your Space
A low, wide unit with horizontal shelving visually stretches the wall, making a narrow living room feel broader. This orientation suits rooms where you want to encourage side-to-side traffic flow, as the unit’s low profile (typically 18–24 inches tall) keeps sightlines open and prevents the space from feeling boxed in.
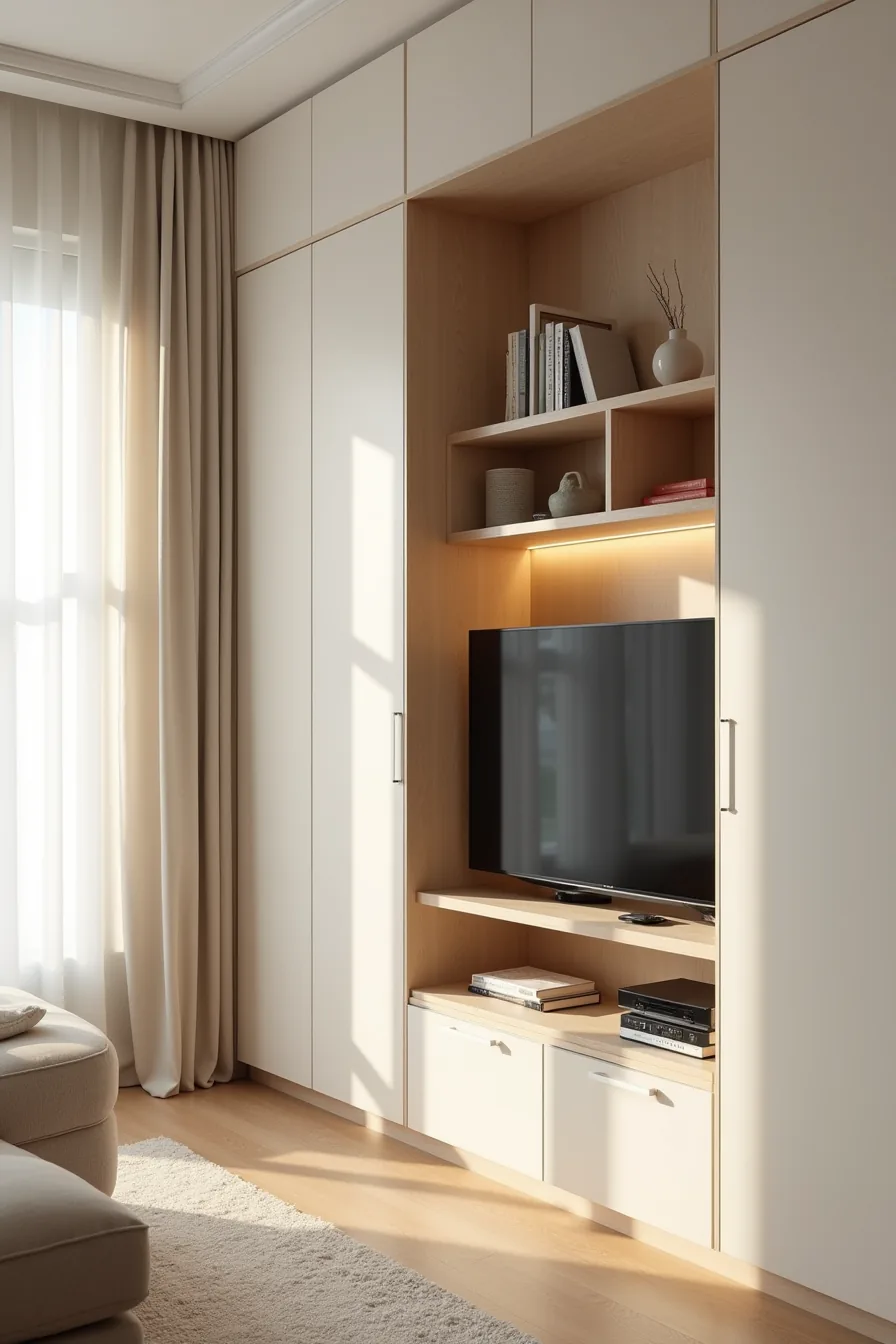
A tall, narrow vertical cubby stack draws the eye upward, adding perceived height to a room with low ceilings or a compact footprint. While it consumes less floor area, it demands clear wall space above the TV monitor, so avoid placing it where it blocks a window or intersects a doorway’s swing path. The side-by-side comparison makes the trade-off concrete: horizontal shelving prioritizes spread and accessibility, while a vertical stack maximizes storage density in a tight corner.
Choose horizontal if you frequently access decorative objects or media at arm’s reach. Choose vertical if your square footage is limited and you need closed or open storage without sacrificing floor area.
Whole-Wall Planning: From Floor to Ceiling Integration
Whole-wall planning treats your TV wall as one continuous vertical plane rather than a piece of furniture floating in space. The setup in natural wood tones demonstrates the rule of thirds: the TV monitor sits centered mid-wall, with the upper shelves carrying lighter visual weight (books and decor) and the lower shelves grounding the composition with woven baskets. This top-light, bottom-heavy balance prevents the wall from feeling like it might tip forward.
The key proportion rule is to keep the TV’s vertical center at eye level when seated, typically 42–48 inches from the floor. From there, upper shelf depth should step back 2–4 inches from the lower run to create shadow lines that add depth without bulk. Avoid extending shelving to the ceiling unless you’ve a step stool or ladder for access, anything above 72 inches becomes decorative-only storage.
For renters, a floor-to-ceiling look can be faked with a freestanding bookcase flanking a low media console, as long as the upper units are anchored to the wall studs for safety.
Built-In vs Freestanding: Installation, Cost, and Flexibility Trade-Offs
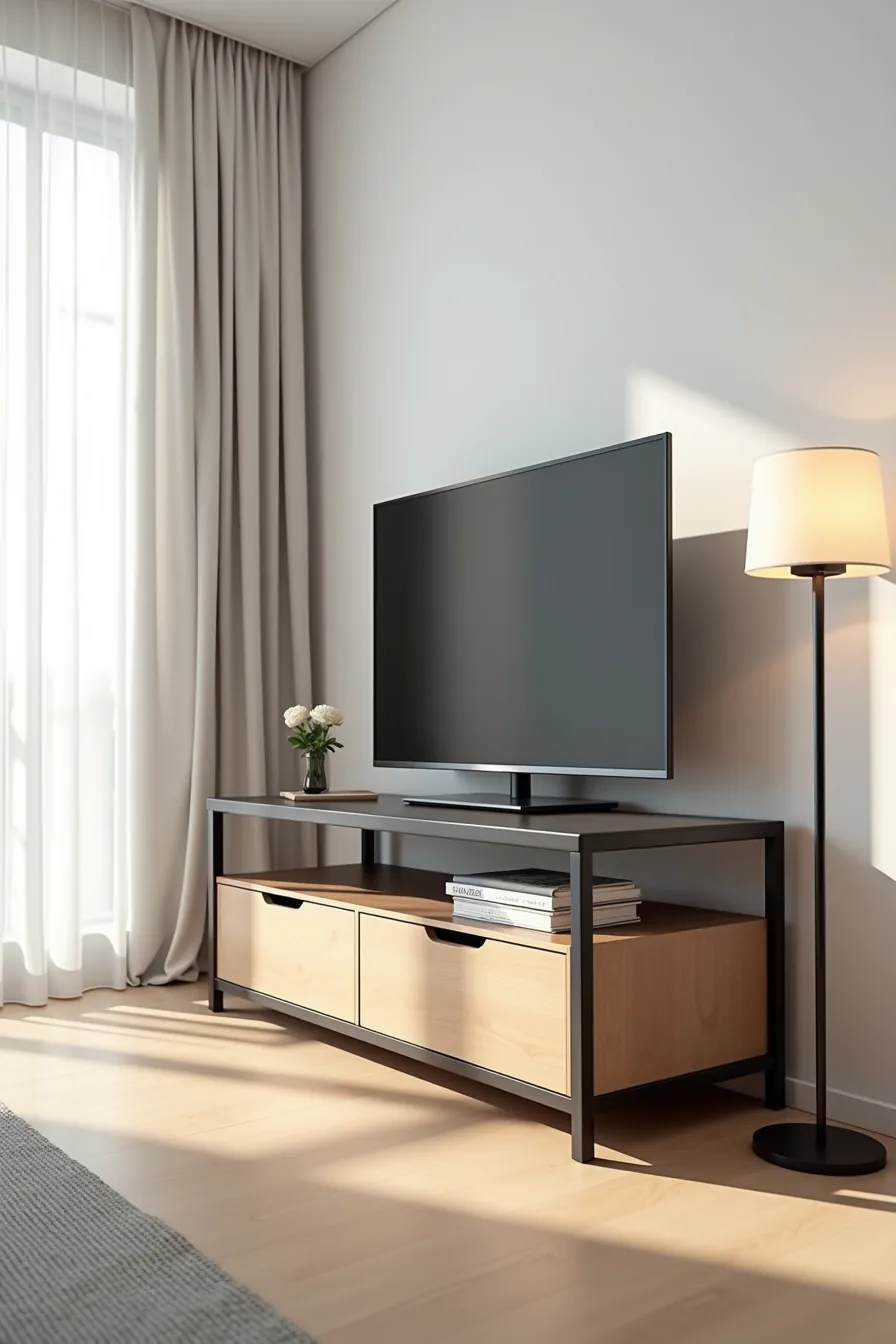
A built-in TV unit wall becomes permanent architecture, you’re committing to drywall repair, carpentry labor, and a fixed layout that can’t move with you. Custom built-ins typically run $3,000–$8,000 for materials and installation on a standard 12-foot wall, and they take 3–5 days to complete. The payoff is smooth integration: no gaps, no visible cables, and a finished look that raises resale value if done well.
Choose this route only if you expect to stay put for 7+ years and have a contractor who can match your existing trim.
Freestanding systems flip the equation. The modular unit in matte black metal frame with light oak drawers works without a single wall anchor, leaving a deliberate gap between the unit back and the wall surface for airflow and cable routing. You can reconfigure the shelves, swap drawer colors, or relocate the entire piece when you move, the frame simply unbolts into manageable panels.
A quality modular system runs $800–$2,500, which is 30–50% less than a comparable built-in, and installs in under an hour with a level and a drill. The trade-off is visual: the space behind the TV monitor remains visible, and the unit may project 16–20 inches into the room, so measure your walkway clearance before committing. For renters, this is the only safe route, you gain design flexibility without forfeiting a security deposit.
Material and Finish Choices for Durability and Maintenance
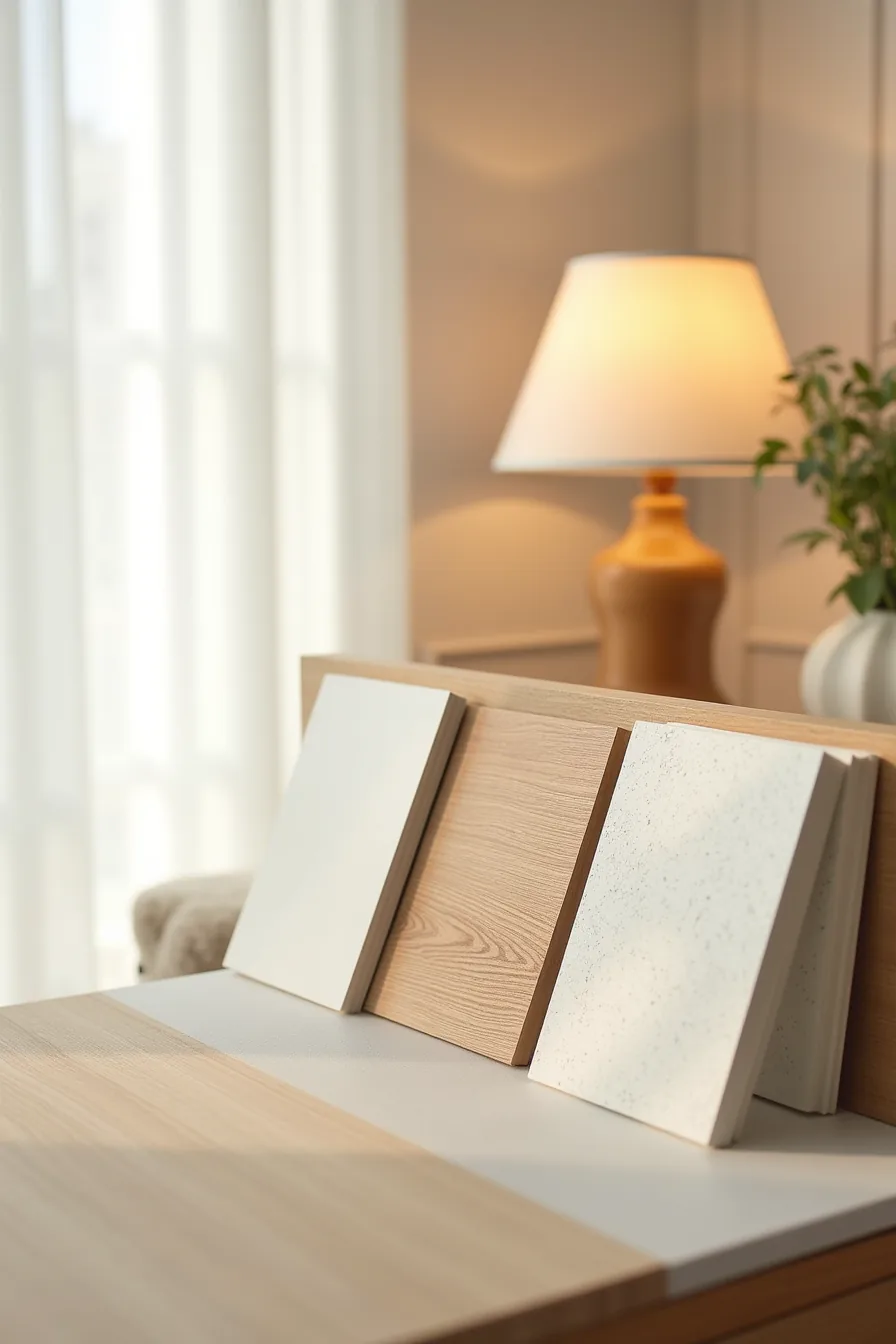
Your material choice dictates both the lifespan of the TV unit wall and the effort required to keep it presentable. Consider a side-by-side comparison of four common surfaces: matte lacquer, natural wood, composite board, and stone veneer. Matte lacquered panels resist fingerprints and wipe clean with a damp microfiber cloth, making them ideal for households with children, but they’ll show scratches easily and can’t be repaired, only repainted.
Natural wood grain adds warmth and hides minor dings, yet it demands periodic oiling every 6–12 months and is susceptible to heat marks if a gaming console sits directly on it.
Composite board is the budget workhorse, typically $30–$50 per square foot installed, but it swells permanently if moisture seeps past the edge banding, so keep drinks off it and use coasters religiously. Stone veneer panels offer the most heat resistance, safe for direct contact with an AV receiver, but they’re porous and require annual sealing to prevent staining. For the average living room, a hybrid approach works best: use stone veneer on the immediate surface behind the TV, where heat concentrates, and matte lacquer across the shelving runs where daily contact happens.
Storage-Access Check: Cable Control and Functional Layout
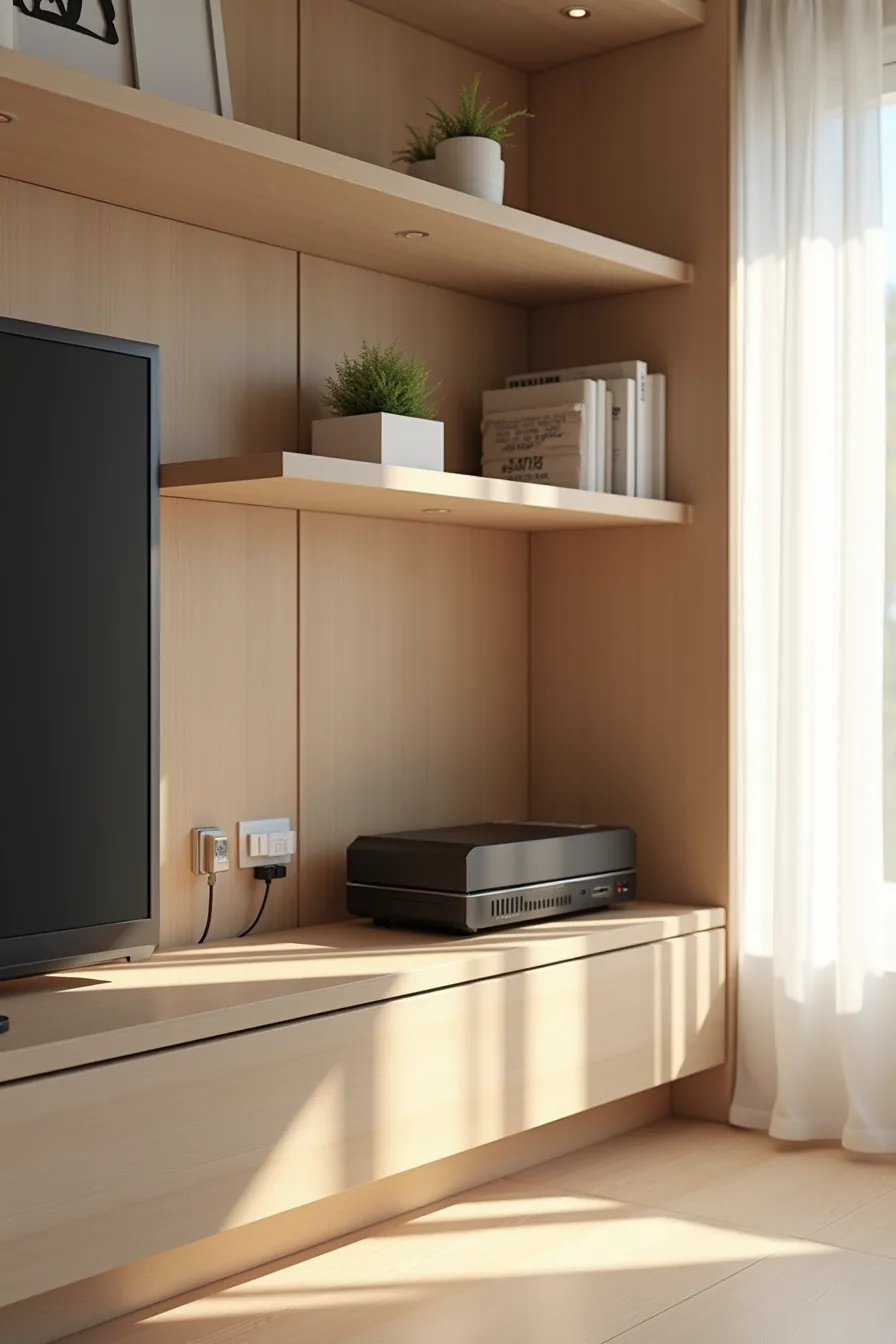
A TV unit wall fails the moment you need to reach behind it and can’t. Plan the layout around the equipment before you finalize the cabinetry. In a typical setup, the media player, router, and game console generate heat and need airflow on all sides, allow at least 3–5 inches of clearance above each device, never stack them vertically inside a closed compartment.
The open back panel approach solves the two biggest problems at once. Bundled cables run through adhesive clips fixed to the rear panel, keeping every wire off the floor and out of sight from the front. A power outlet strip mounts directly on that same panel, so you unplug or swap devices without crawling underneath.
For ventilation gaps, leave a 2–3 inch open slot between shelves, this creates a natural convection path that pulls hot air away from the equipment. Position the router on an open shelf, not inside a cabinet, because Wi-Fi signals degrade by roughly 30–50 percent when boxed in behind solid wood or composite panels.
The trade-off is dust accumulation. An open back means dust settles on equipment faster, so you’ll need to wipe surfaces every 2–4 weeks or install fine mesh panels that block debris while still allowing airflow. Choose this layout if you swap devices often, game regularly, or simply hate fighting with tangled wires behind furniture.
Scaling TV Unit Wall Ideas for Small, Medium, and Large Rooms
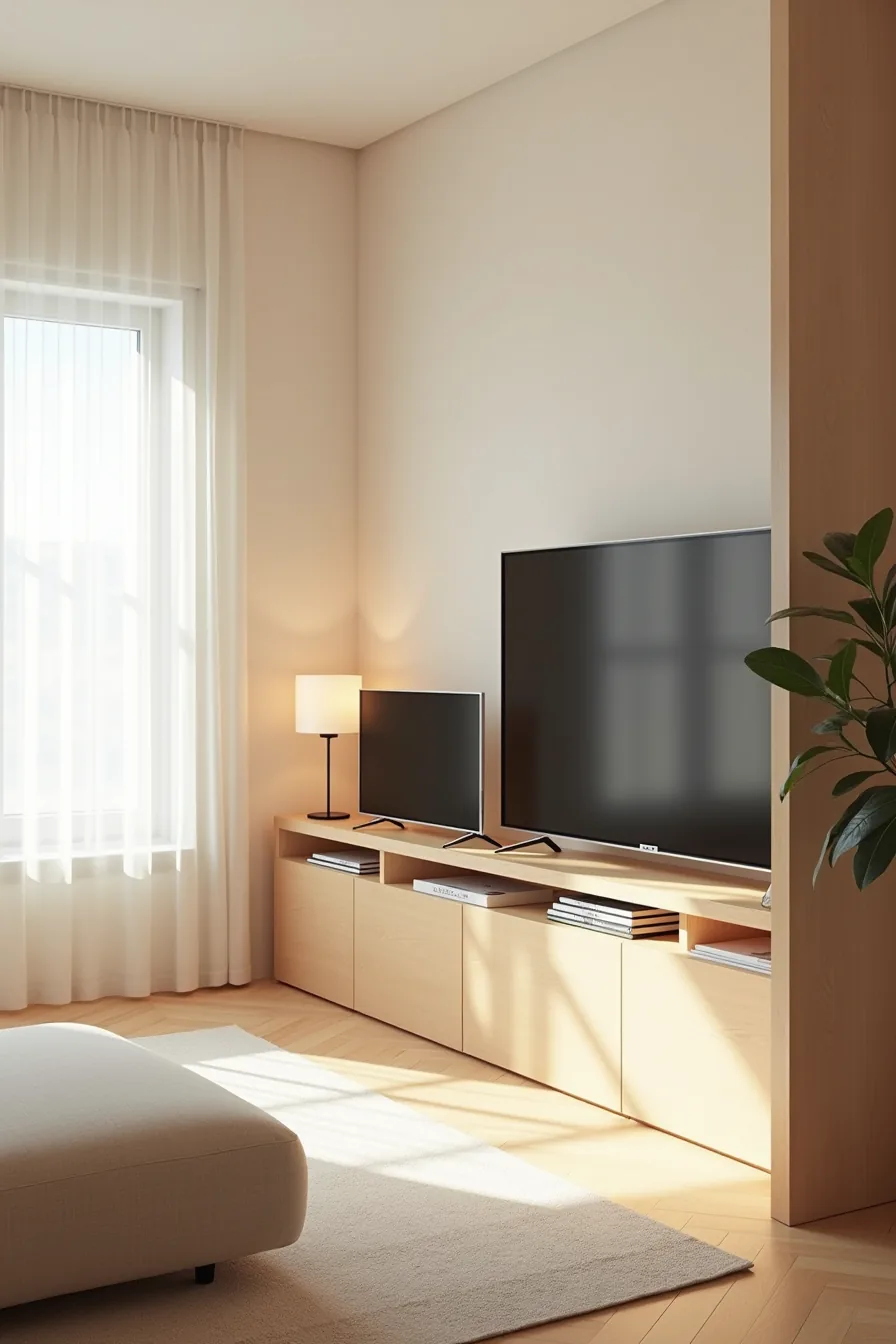
Matching unit depth to room size prevents the two most common failures: a bulky cabinet that swallows a compact space, or a shallow shelf that looks lost against a long wall. For rooms under 150 square feet, keep the unit at 8–10 inches deep and run it across no more than half the wall width, this leaves walking clearance and lets the TV float visually rather than anchoring the room. A compact unit tucked into a corner frees the opposite wall for seating, and the thinner profile means you can mount the TV flush without pushing it into the walkway.
Mid-sized rooms, roughly 150–250 square feet, suit a standard unit at 14–16 inches deep spanning two-thirds of the wall. That extra depth accommodates larger media components and closed storage without crowding a sofa placed 8–10 feet away. The center-mounted unit with open shelving on both sides balances the wall, making the TV feel intentional rather than dominant.
For rooms exceeding 250 square feet, an 18-inch-deep floor-to-ceiling built-in anchors the space and fills vertical emptiness. The extra depth supports substantial cabinetry, but you must keep the lowest shelves 18–24 inches off the floor to preserve the sightline from seated positions. When the wall runs longer than 12 feet, break the built-in into three vertical sections, center media bay, side display columns, and closed storage, so the scale reads as architecture, not a single massive block.
Undersizing a large room with a shallow unit leaves the wall feeling unfinished; oversizing a small one blocks circulation and makes the space feel tighter than it’s.
What to do first
Before you save another inspiration photo, measure your wall and seating distance. Mark the TV’s center at eye level when seated, that fixes your unit’s height, depth, and proportions before any style choice matters.
Then pick your single priority: hide cables, store media, or make a visual anchor. That decision narrows your options from overwhelming to manageable.
Order a 3-inch-thick foam board mockup of your chosen footprint. Tape it to the wall and live with it for two days, it costs under $25 and prevents a $2,000 mistake.
Frequently Asked Questions
How deep should a TV unit wall be to accommodate a soundbar and cable box?
Most TV unit walls run 12–18 inches deep. That range fits a standard soundbar (typically 2–3 inches tall) plus a cable box without protruding into walkways. For wall-mounted components, 8–10 inches suffices.
Can you install a TV unit wall in a rental apartment without damaging walls?
Yes, use freestanding furniture or floating shelves secured with heavy-duty removable adhesive strips rated for 20–50 pounds. Avoid drilling into plaster or drywall without landlord approval. Alternatively, a tension rod-based unit works for lightweight TVs under 40 inches.
What’s the ideal viewing distance from a TV mounted on a unit wall?
For 4K TVs, sit 1.5–2.5 times the screen’s diagonal length away. A 55-inch screen means 82–137 inches (roughly 7–11 feet). For 1080p, double that range.
Adjust for your room’s seating layout before fixing the mount height.
How do you hide cables and wires in a TV unit wall design?
Run cables through an in-wall conduit kit (rated for low-voltage) or a surface-mounted raceway that matches your wall color. If the unit has a back panel, cut a 2-inch grommet hole behind the TV and another near the outlet. Use Velcro ties to bundle slack.