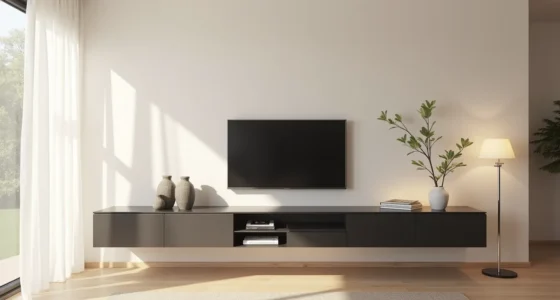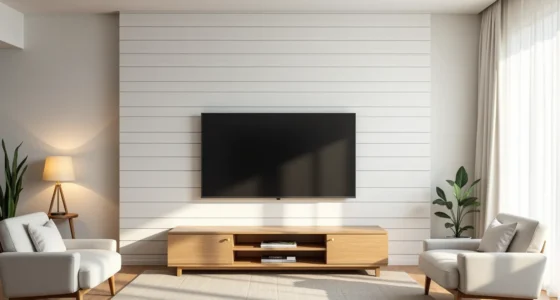
A TV wall unit isn’t one fixed piece of furniture but a design strategy that frames your television, stores your media, and defines the entire wall it sits on. The term covers floating shelves, closed cabinets, full-height joinery, and even modular track systems, each with distinct trade-offs in cost, installation, and storage capacity. What separates a successful unit from a cluttered one is how you handle scale, ventilation, and wiring before you commit to a single bracket or finish.
Key takeaways
Measure your TV wall before choosing a layout, since floating shelves suit small rooms up to 8 feet wide, while built-ins need at least 10-12 feet for balanced proportions. Prioritize cable management first, as concealed wiring requires planning the outlet height (around 48-54 inches from the floor) before mounting any unit. Pair open storage sparingly with closed cabinetry, limit open shelves to 30% of the total unit to reduce dusting and visual clutter. Budget for integrated lighting separately, because LED strip kits cost $30-$80, while recessed, dimmable options add $150-$300 and need a licensed electrician for hardwiring.
Floating Shelves with Open Storage
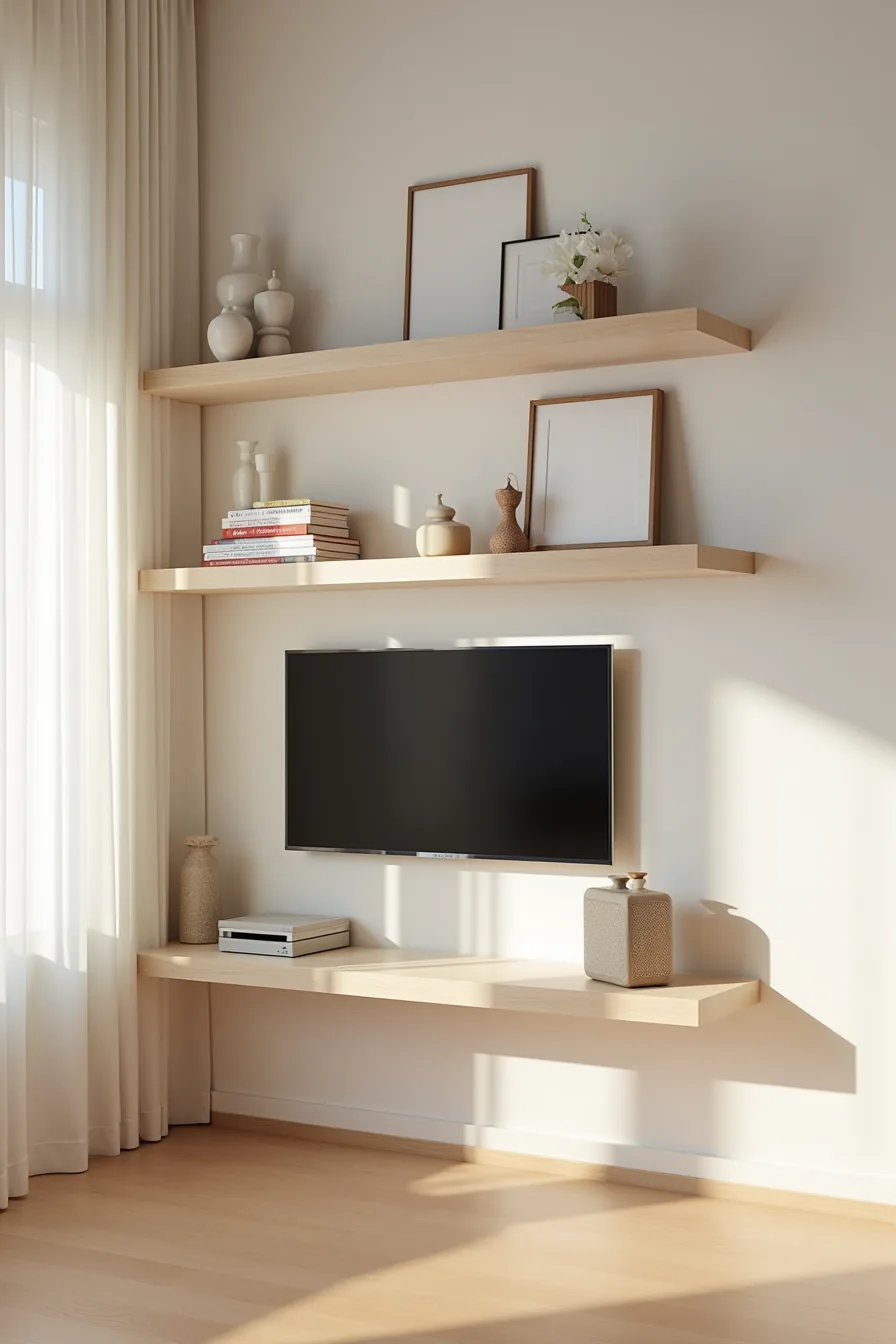
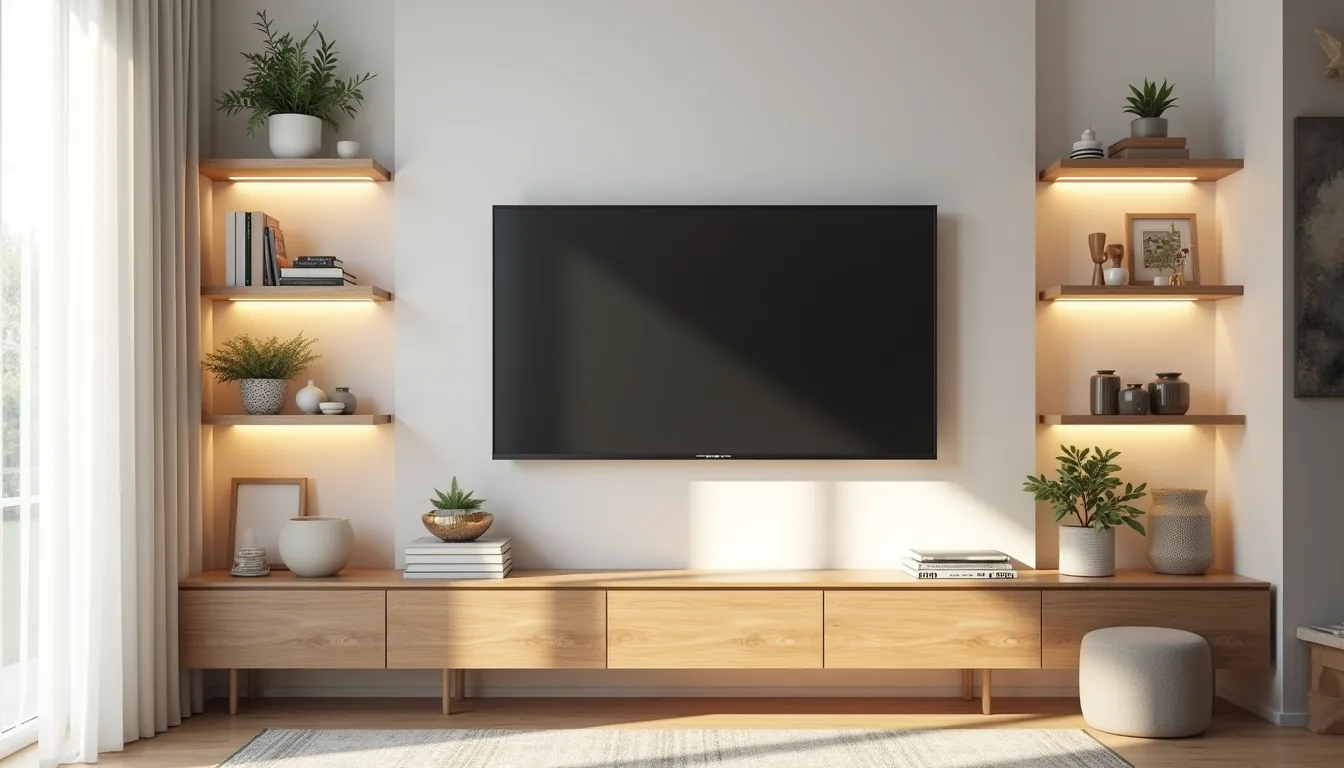
For small to medium rooms, floating shelves around the TV create a tv wall unit that costs a fraction of built-ins and takes up zero floor space. The practical arrangement places three shelves 12–18 inches apart vertically, with the TV centered between them rather than directly beneath any shelf, this keeps sightlines clear and prevents the screen from feeling crowded. On each shelf, mix weight and height: framed art leans against the wall, ceramic vessels anchor a corner, and stacked books add visual mass without looking cluttered.
A small speaker and decorative box on the lowest shelf keep frequently used items within arm’s reach.
Why it works: open shelves read as intentional display, not storage overflow. The catch is weight, drywall anchors hold roughly 15–30 pounds per shelf stud, so reserve shelves for lightweight decor and route cables through a concealment kit. For renters, use damage-free adhesive brackets rated for 20 pounds or less; for owners, secure shelves directly into studs.
This layout needs a wall at least 60 inches wide to balance the TV and shelves, and it suits anyone prioritizing budget and adaptability over concealed storage.
Built-In Cabinetry with Concealed Wiring
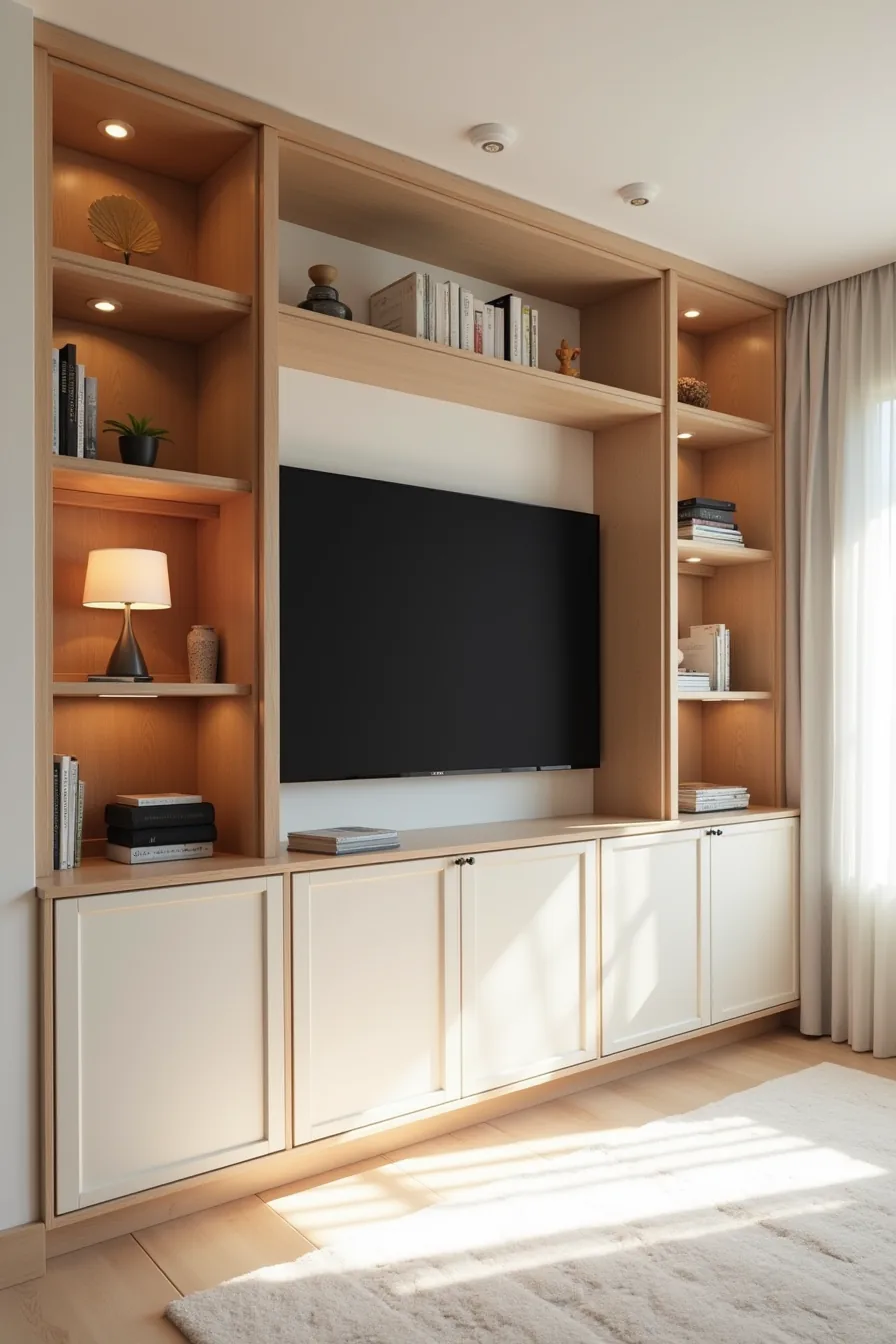
The floor-to-ceiling built-in approach is the long-term investment route for a tv wall unit, typically running $3,000–$8,000 for semi-custom systems and $8,000–$15,000+ for fully custom millwork. This system recesses the TV flush into the center panel, so the screen sits at the same depth as the surrounding wood, no protruding box, no visible cables. Vertical cable channels run along the interior frame behind the shelving, pulling power and HDMI lines from the TV down to a hidden outlet box near the base, which eliminates wall warts and dangling wires entirely.
Lower cabinets with soft-close hinges conceal gaming consoles, routers, and media players behind closed doors, while upper shelves behind glass-front doors display curated objects without collecting dust. The finished wood with integrated trim reads as architectural, not furniture. You need 12–18 inches of depth for the TV recess plus equipment clearance, and installation requires a contractor for electrical work and leveling.
This suits homeowners staying put for 10+ years who prioritize smooth aesthetics over reconfigurability, it’s costly to modify later and does nothing for renters.
Modular Wall-Mounted Systems
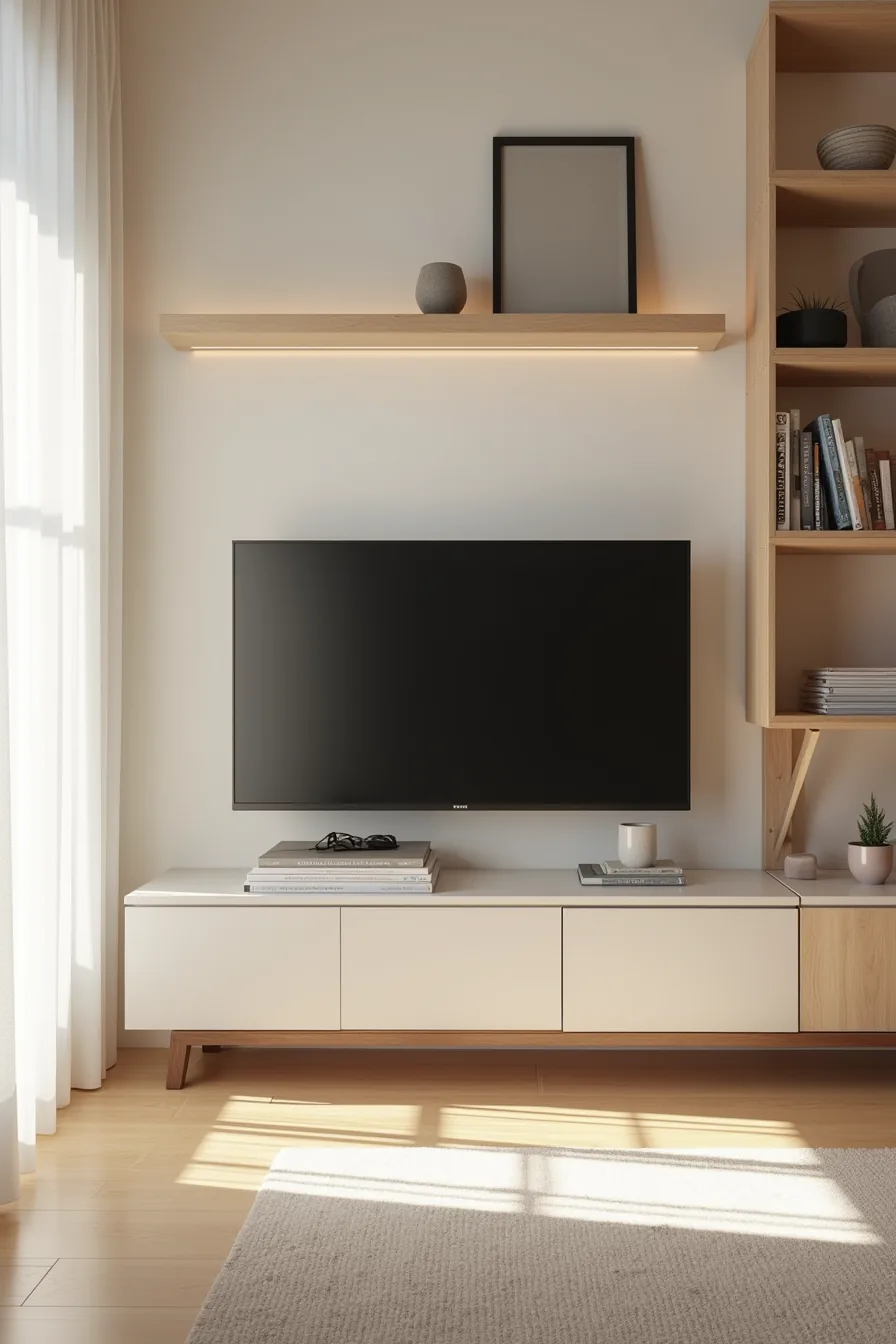
Modular bracket systems offer the renter-friendly route to a stylish TV wall unit idea without committing to permanent millwork. Interlocking rectangular panels in matte black mount directly to the wall via a central TV bracket, and each panel locks into the others using hidden clips, no stud-finding gymnastics required beyond the main television mount. Assembly typically takes 2–4 hours with a drill and level, and most systems support 30–60 pounds of equipment per panel, sufficient for a mid-size console or decorative objects.
The staggered heights and depths in this example create an asymmetrical grid, with the TV centered on one panel while adjacent panels hold plants or books at different visual planes. You can adjust panel positions seasonally or when you move, since the brackets unclip without damaging drywall, only the main mount leaves screw holes. This suits renters and those who redecorate frequently, though the exposed mounting hardware reads industrial, so it pairs best with loft-style interiors rather than traditional decor.
Accent Wall with Mounted TV and Minimal Frame
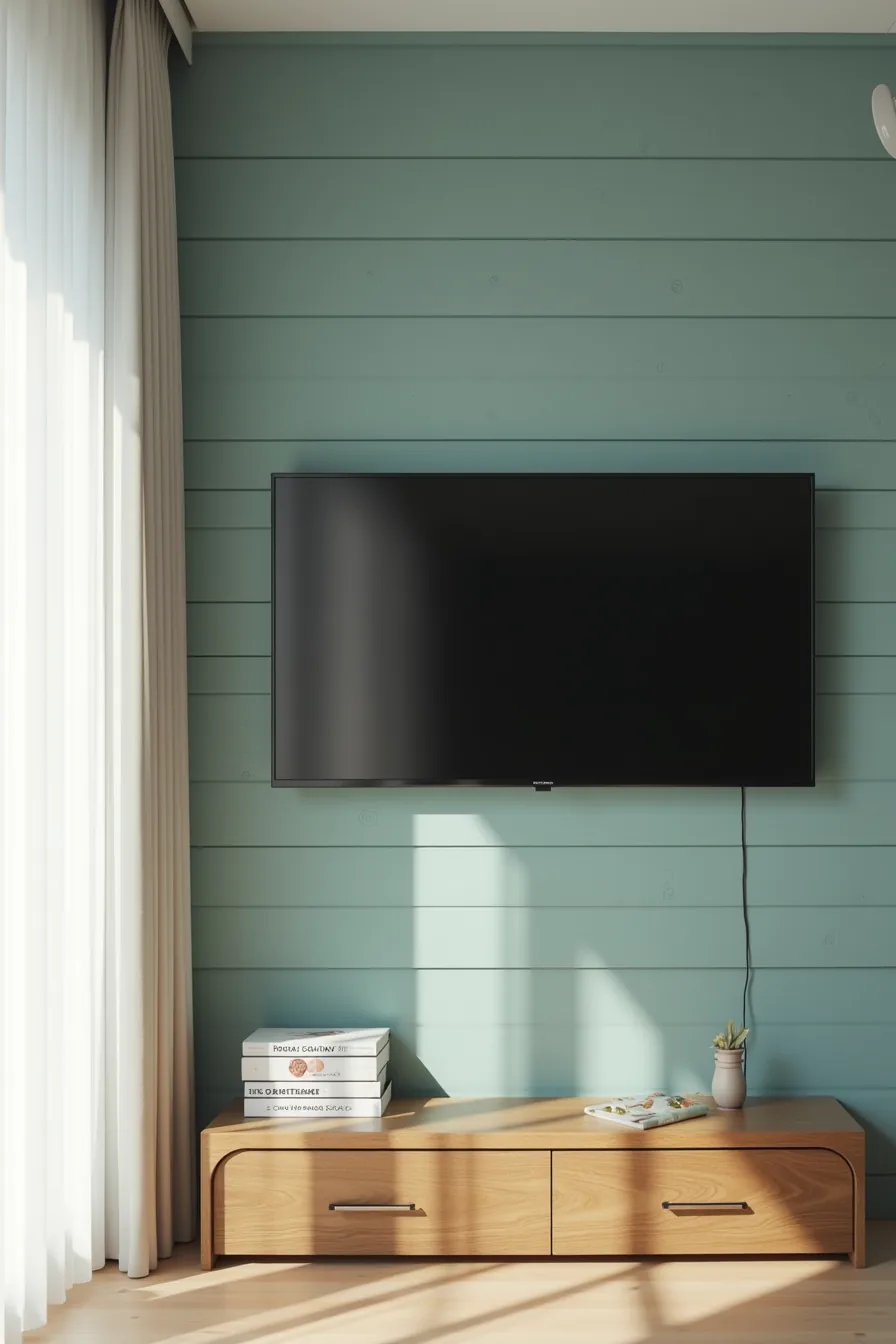
This interpretation shifts the focal point from furniture to surface. A deep blue-green shiplap accent wall carries all the visual weight, while the TV hangs on a slim metal bracket with no shelving, cabinetry, or visible frame competing for attention. The plain floor below keeps the composition clean, making the wall texture and color the entire statement.
This works because your eye reads the TV as part of the architecture, not as a separate black rectangle. It suits small spaces where floor room is tight, or any room where you watch TV infrequently and want the wall to earn its keep when the screen is off. Reproduction cost sits somewhere between $50 and $150 for paint or peel-and-stick wallpaper, making this the budget and renter-friendly route, shiplap panels in a peel-and-stick form remove cleanly, and many landlords approve the treatment without complaint.
Scale requires restraint. Hang this on a wall between 6 and 10 feet wide, keep the shiplap planks under 6 inches in width, and choose a TV size you can still center comfortably without dominating the space. Semi-gloss paint simplifies dust removal, since flat finishes trap particles around the bracket edges.
Budget an extra 20–30 minutes per year to wipe gently over the screens and seams.
Media Console Base with Wall-Mounted Storage Above
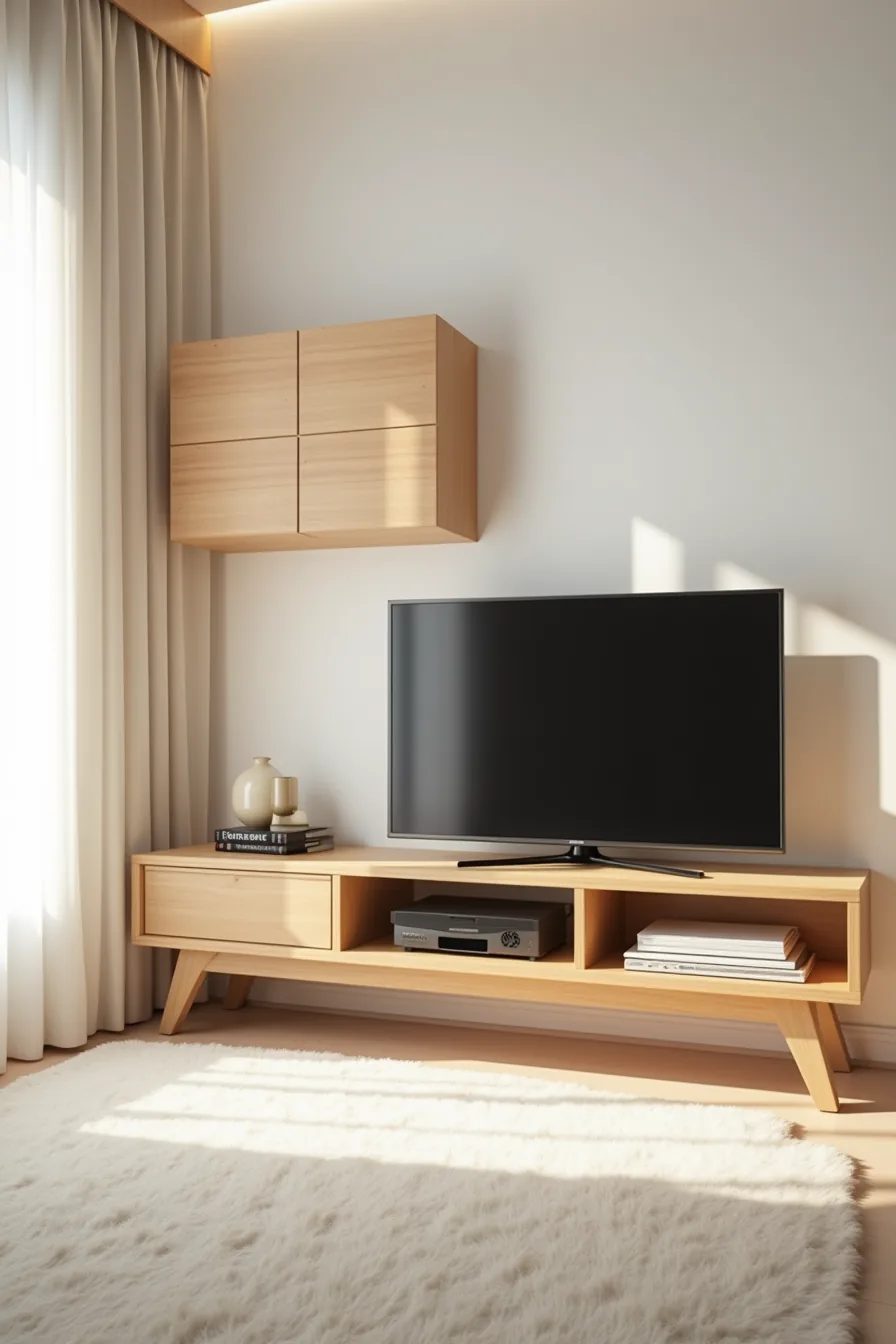
Pair a low media console with two wall-mounted cabinets flanking the TV to turn dead vertical space into functional storage. The four-legged console keeps the TV at seated eye level and provides open shelving for game consoles or baskets, while the overhead cabinets hold items you access weekly, remotes, DVDs, or board games. This layered composition balances visual weight across a wall that would otherwise feel top-heavy with a lone floating shelf.
The setup suits medium to large living rooms where floor space exists but wall height goes unused, especially if you own physical media or decorative objects you want displayed yet protected from dust. Warm wood tones throughout tie the separate pieces into one cohesive system, but match your cabinetry to the console’s finish rather than introducing a third material.
You’ll need a stud finder and a level for the wall cabinets; anchor them 18–24 inches above the console so you can reach the shelves comfortably. Allow at least 6 inches of clearance between the TV’s top edge and the cabinet bottoms to prevent the screen from feeling boxed in. Budget $300–$900 total depending on whether you buy ready-to-assemble or solid-wood pieces.
This is the mid-range route, more permanent than peel-and-stick, less costly than custom built-ins. For Modern TV wall organization, this approach delivers the most storage per square foot without committing to full cabinetry.
Integrated Lighting and Cable Management
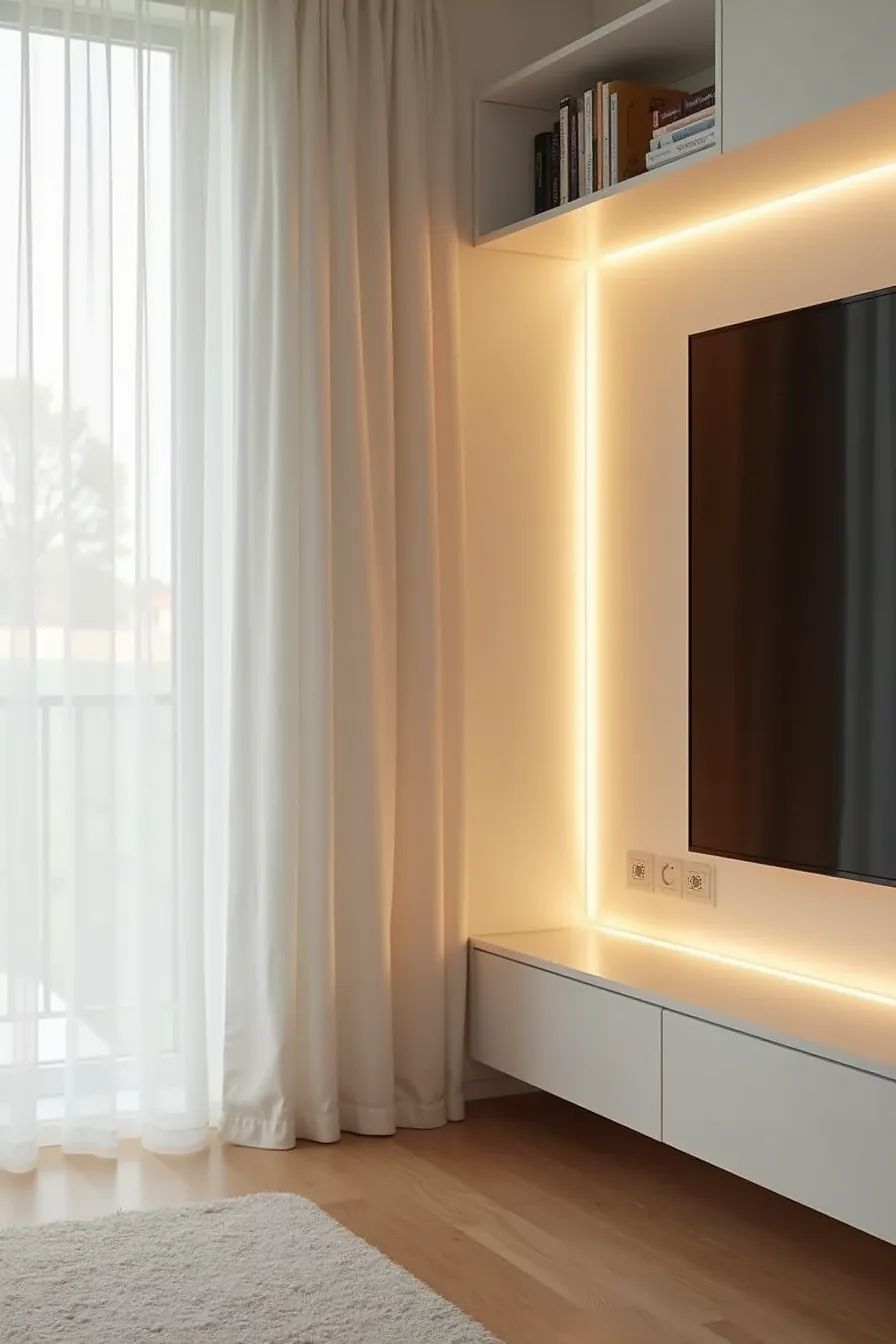
The corner of your TV unit wall becomes its most polished detail when you plan lighting and wiring together from the start. Mount an LED strip behind the floating shelf’s front edge to cast a warm glow down the wall, this adds depth without glare on the screen. Use a strip with a color temperature around 3000K for a living-room-friendly amber tone rather than a cool blue that feels clinical.
Run vertical and horizontal cable management channels along the back panel to route power cords from the TV, soundbar, and console into a single conduit that meets the outlet. Secure bundles with adhesive-backed clips every 12–18 inches, then feed everything into a surge-protected power strip hidden inside the unit’s cavity. Leave a 3–4 inch gap around the power outlet and heat vent so airflow keeps electronics from overheating; never block vents with cables or foam filler.
For renter-friendly setups, use removable mounting tape for the LED strip and clip-on channels that peel off without damaging paint. Expect to spend $40–$120 on strips, clips, channels, and a power strip, the smallest budget line in any TV wall unit build, and the one that most affects daily usability.
Your decision checklist
Before you commit to a design, verify three things: the width of your TV, the distance from your seating, and the clearance for ventilation. A unit that looks great in a photo but crowds your room or blocks airflow will fail daily.
Match the build to your situation, renters should lean on floating shelves and tension rods, while homeowners can invest in custom joinery. Budget builds work best with painted MDF and open cubbies; skip glass doors if you’ve small children.
Start here: measure your wall and TV, then tape out the proposed unit’s footprint on the floor. Live with it for 48 hours before buying anything. That single step prevents most costly mistakes.
Frequently Asked Questions
What is the ideal height to mount a TV on a wall unit?
Center the screen at your seated eye level, typically 40–45 inches from the floor. Adjust for your sofa height and viewing distance, not a universal rule.
How do I hide cables and wires in a TV wall unit?
Use a recessed power strip behind the unit and route cables through vertical channels or conduit. For floating units, install a cord cover that matches the wall color. Never pinch cables behind closed doors.
Can I install a TV wall unit in a rental apartment?
Yes, if you avoid permanent modifications. Use a freestanding media console with a tension-mounted pole or a wall unit that leans against the wall. Patch any screw holes with spackle before moving out.
What materials are best for a TV wall unit that lasts?
Plywood or MDF with a hardwood veneer resists warping better than solid wood in large panels. For humid rooms, choose moisture-resistant particleboard. Metal frames with wood shelves offer the best structural stability for heavy TVs.