
Your craft closet is the one room where Pinterest-worthy organization meets the daily reality of glue guns, half-finished projects, and bins that never quite stack the same way twice, so here are six distinct, decision-ready ways to make it work for your space, budget, and workflow. Each option below is matched to a specific constraint, from renter-friendly tension rods to permanent built-ins for serious collectors. You’ll find the exact materials, dimensions, and maintenance trade-offs required to replicate each system without guesswork.
Key takeaways
Pegboard systems fit closets as shallow as 6-8 inches, but you’ll need 2-3 inches of clearance behind hooks for bulky tools like glue guns. Clear 12-16 quart bins on tiered shelves let you spot materials without digging, and each shelf should hold no more than 8-10 pounds to keep the shelf stable. Rolling carts with locking casters suit renters because they pack into one unit, roll to a work table, and add zero permanent hardware, just measure the cart’s footprint against your closet’s doorway swing. Drawer dividers at 2-3 inch intervals keep paper, vinyl, and stencils flat; recharge a vertical file every 2-3 months by pulling items that poked above the divider lip.
Wall-Mounted Pegboard Systems for Small Spaces
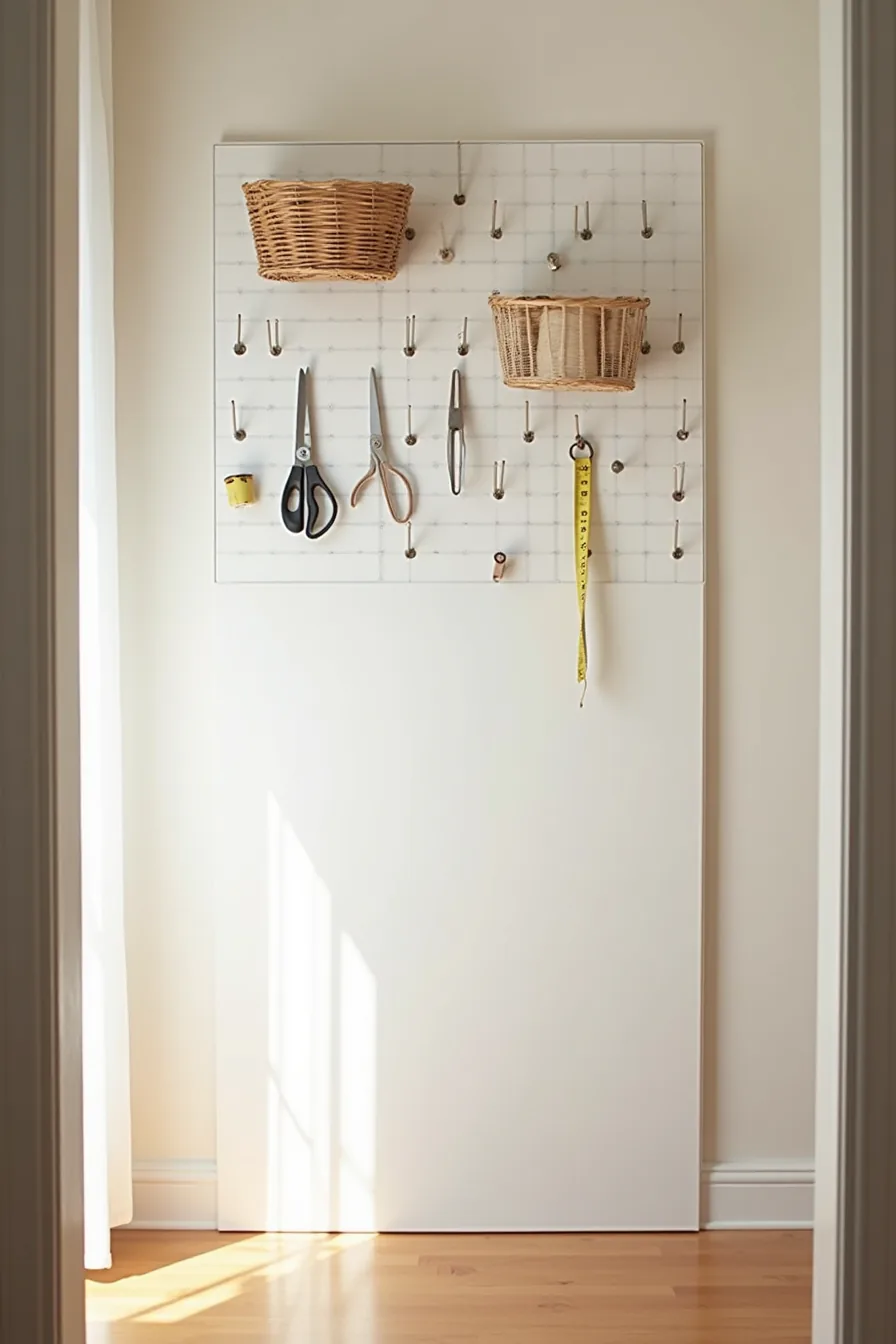
For a closet under 3 feet wide, a pegboard transforms dead wall space into a functional tool wall without consuming any floor depth. The setup here uses a 2.5-foot-wide board painted white to keep the narrow enclosure feeling open, with metal hooks of varying lengths holding scissors, thread spools, measuring tape, and small baskets. The key is arranging tools by frequency of use: everyday items like scissors at eye level, bulkier supplies like thread spools on longer hooks below, and baskets for loose notions near the top.
Standard 1/8-inch tempered hardboard pegboard suits most drywall installations, but you’ll need 1-inch standoff screws to create an air gap so hook bends catch properly. For plaster or tile walls, use masonry anchors rated for 25–50 pounds; for a renter-friendly route, skip drilling entirely and mount the board with heavy-duty Command picture-hanging strips rated for 7.5 pounds per pair, sufficient for lightweight supplies. Budget-wise, a 2×4-foot board costs roughly $10–$15, hooks run $3–$8 per pack, and the entire project lands under $50.
Maintenance is minimal: wipe the board monthly with a damp cloth, and periodically reseat hooks that twist loose from repeated use. Keep heavier items like glue guns on lower hooks to prevent board bowing over time.
Tiered Shelving with Clear Bins for Medium Closets
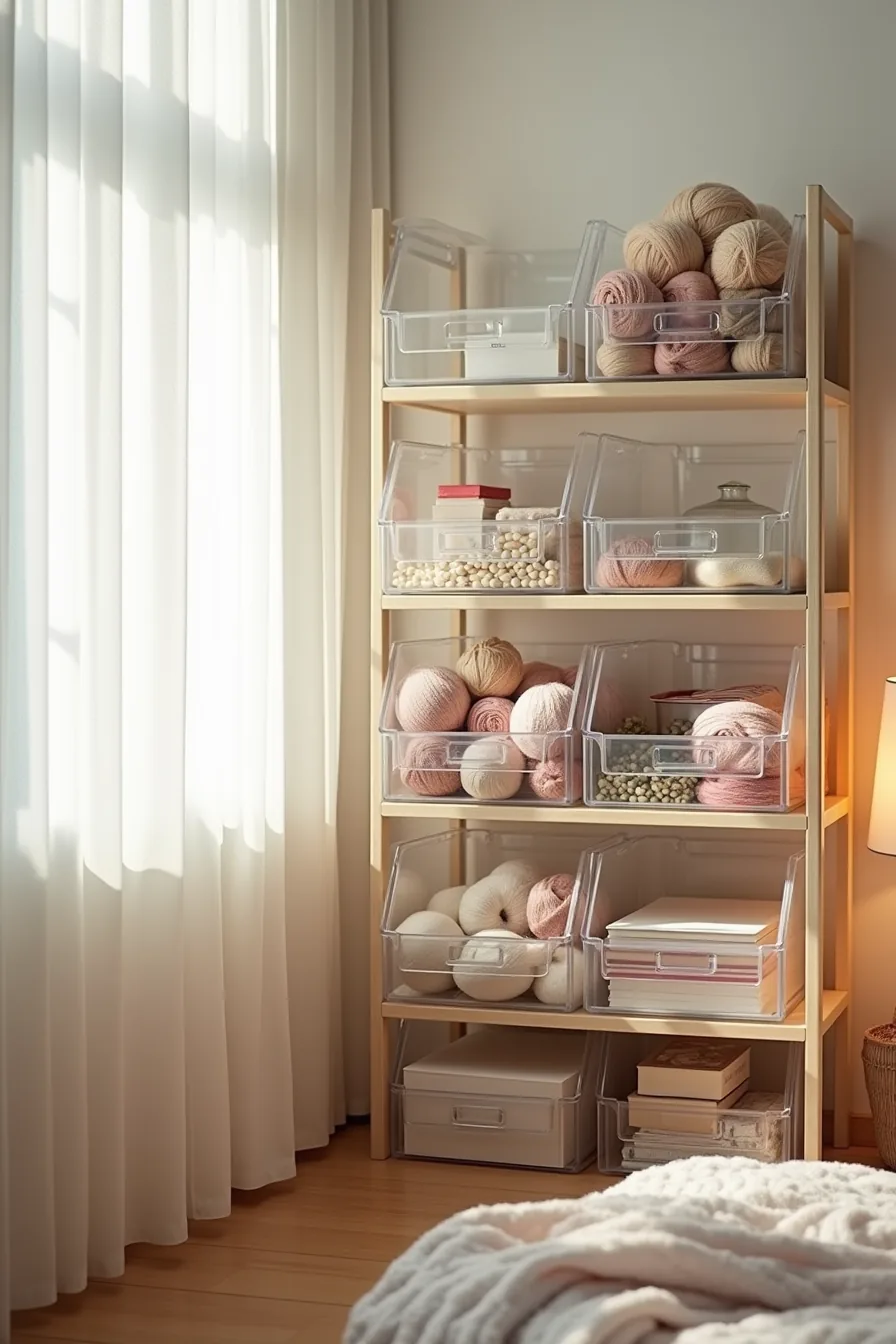
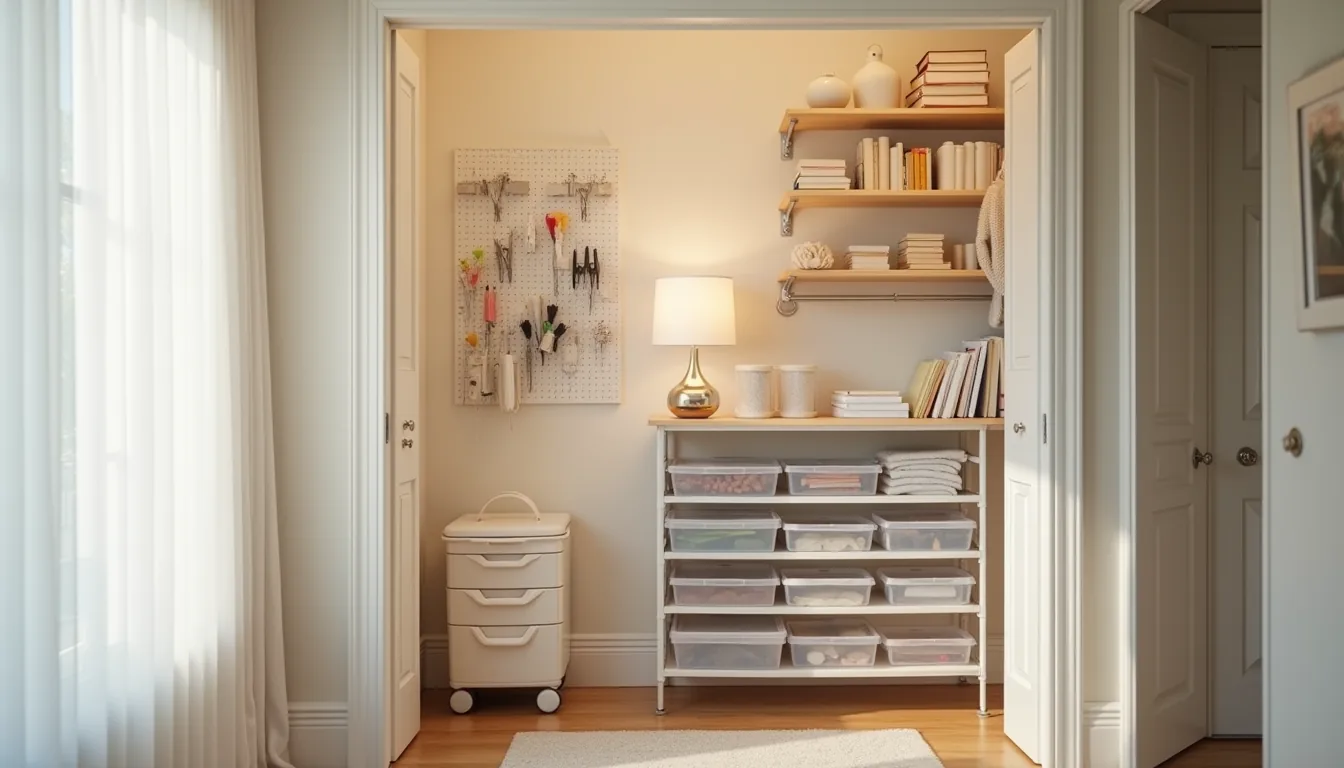
For a closet running 4–6 feet wide, a four-shelf adjustable unit spanning the full width converts vertical air into your primary storage asset. The setup here stacks uniform clear acrylic bins in tidy rows, smallest on top for buttons and paper reams, largest on the bottom shelf for yarn cones and bulky fiber packs. Uniform bin sizing matters more than color coordination: identical footprints allow you to swap positions without re-measuring, and the transparency eliminates the need to open five containers to find one spool.
Choose bins with straight sides and flat lids rather than tapered baskets, which waste roughly 15–20 percent of shelf depth. Adjustable shelving lets you shift tiers seasonally, tall glue-gun stands in December, flat cardstock stacks in July, without buying new containers. Label only the side facing you, using a 1-inch label maker strip or chalk marker; front-facing labels become invisible once you stack bins two deep.
Budget for $40–$70 on bins alone for a 5-foot unit; skip glass versions, which add weight and shatter risk. Wipe acrylic monthly with a microfiber cloth to prevent static dust from clinging to yarn fibers.
Rolling Cart Systems for Renter-Friendly Access
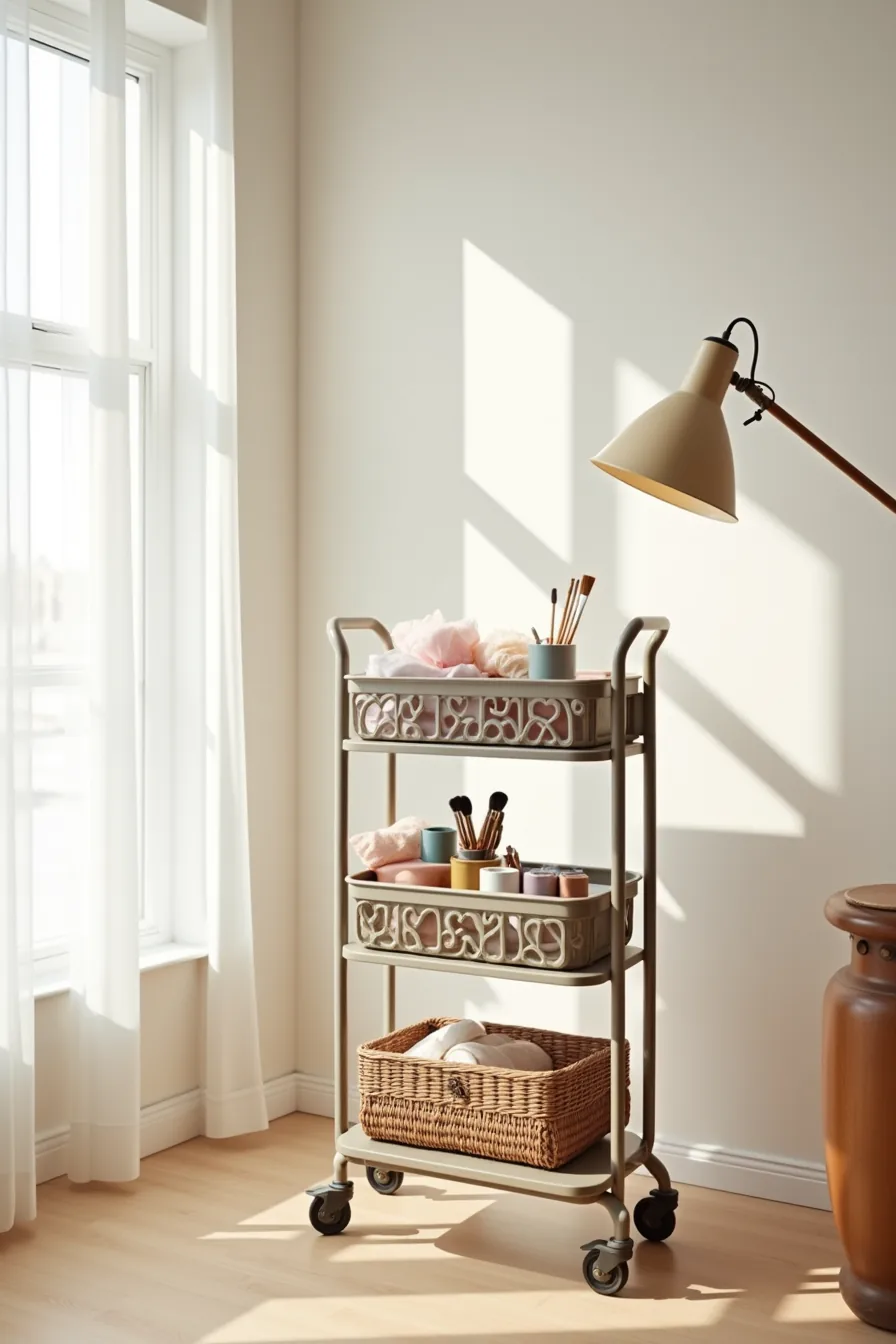
A three-tier metal cart running roughly 18–24 inches wide solves the deposit-risk problem without sacrificing function. The example here places fabric swatches in a top-tier caddy, paint bottles and brushes in vertical cups on the middle tier, and a single project basket on the bottom, everything visible at a glance, nothing bolted to a wall. Since the cart rolls, you can tuck it into a corner during the workweek and pull it beside your table when a project is active.
This route suits renters who can’t drill shelves, and it equally fits anyone who switches crafts weekly, stampers, painters, or sewists who work in short bursts. The trade-off is surface area: at roughly 30 inches tall, you gain about 4–5 square feet of usable space, not the 15–20 a full closet unit provides. Choose a cart with locking casters on at least two wheels, because a loaded cart shifts when you pull a drawer or reach for a bottom bin.
Smooth-rolling wheels demand hard flooring, carpet will catch casters, so budget for a 24-inch plastic floor mat if your closet sits on pile. Wipe metal frames monthly, and expect the wire baskets to collect dust, which you can blast out with a handheld vacuum attachment.
Drawer Dividers and Vertical Filing for Flat Materials

Flat goods, cardstock, pattern papers, and fabric squares, crumple, curl, and get lost when stacked horizontally. Vertical filing solves this by turning each sheet into an index card you can flip through in seconds. The example here uses a wooden drawer roughly 24 inches wide and 4 inches deep, fitted with five dividers that create six standing sections.
Cardstock fills one slot, fabric squares another, and pattern papers a third, so you never dig through a pile to find a specific colorway.
This approach suits anyone who works with multiple paper lines or a growing fabric stash, and it pays off most in closets where a standard dresser or built-in already provides the drawer. You can retrofit an existing piece with adjustable wooden dividers from craft stores (runs $10–$15 for a 4-pack) or commission a custom insert if your drawer runs non-standard depths. Keep each section loosely filled, over-stuffing defeats the purpose, since you lose the ability to see every sheet at a glance.
Dust accumulates on exposed paper edges, so run a soft brush through the sections monthly. For Practical Craft Closet Organization Ideas planning tips, measure drawer depth before buying dividers; most cardstock lies flat in a 12-inch-deep drawer, but 12×12 scrapbook paper needs at least 13 inches of interior width.
Overhead Storage and Door-Back Racks for Large Closets
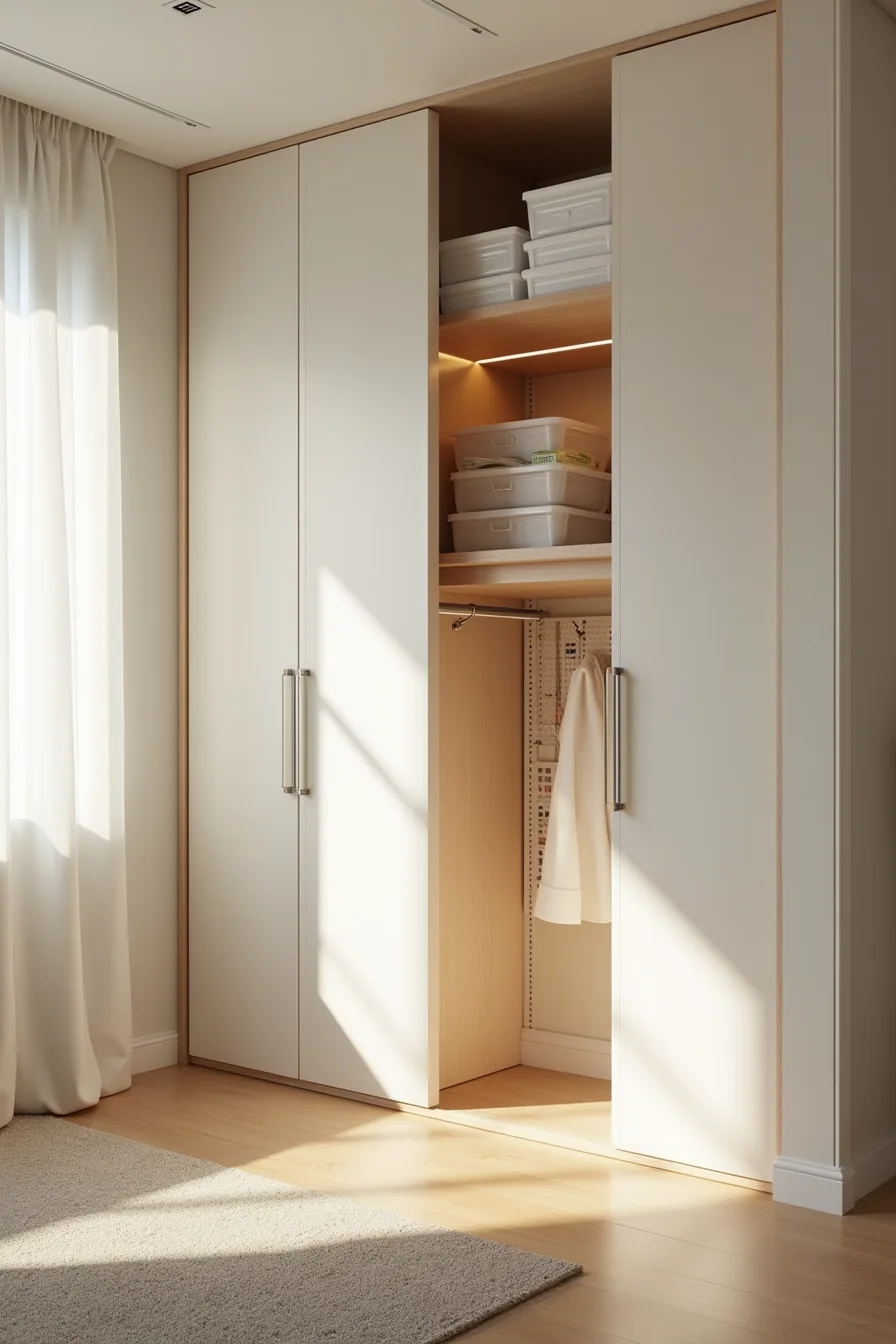
Closets with eight-foot ceilings unlock a second storage zone that smaller spaces simply can’t support. The overhead shelf mounted near the ceiling holds sealed storage boxes stacked two high, keeping seasonal decor and bulk supplies out of your daily workflow. Anchor that shelf into wall studs, not drywall alone, and keep the combined weight under 40–50 pounds per linear foot to avoid sagging or pull-out failure.
Arm-level wall space earns the pegboard, which holds frequently used tools like scissors, hot glue guns, and punches where you can grab them without bending. Door-back clear pockets take over at shoulder height for adhesives, ribbon spools, and small dies, items that disappear in bins but stay visible in vertical sleeves. This setup suits crafters with dedicated hobby rooms or walk-in closets, but it requires at least six feet of clear walking width to keep the door swing unobstructed.
Among the Best Craft Closet Organization Ideas examples, this dual-zone system works because it matches item frequency to body ergonomics: heavy boxes stay above, daily tools stay at arm level, and lightweight supplies ride the door.
Rotating Inventory Rotation and Seasonal Swaps
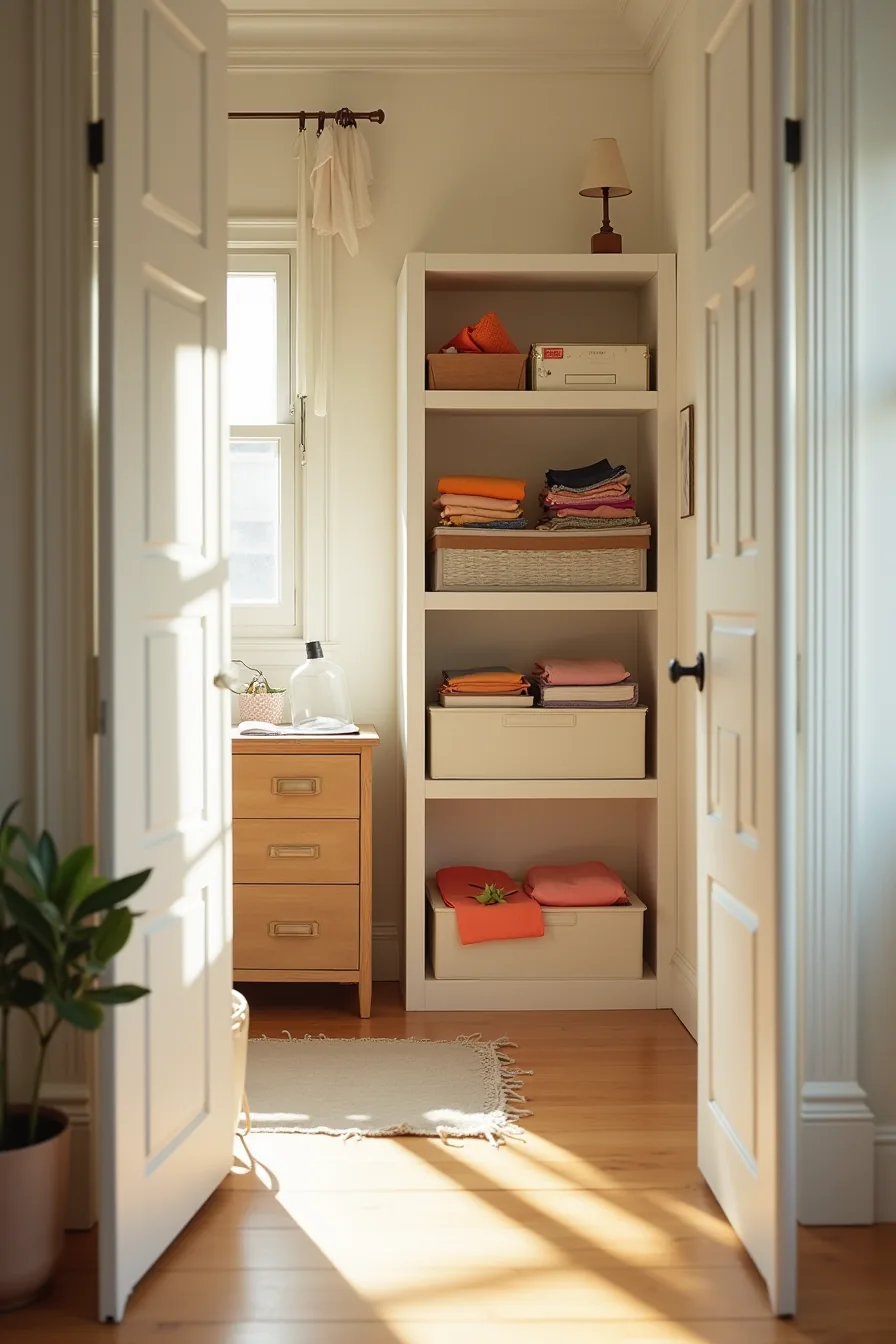
The most common Craft Closet Organization Ideas mistakes to avoid stem from treating every supply as equally accessible. Active-project supplies, fabric you cut this week, tools you reach for daily, belong in open bins on the left, where visibility prompts use and prevents duplicate purchases. Sealed archival boxes on the right hold seasonal decor and completed-project remnants that you access four to six times a year at most.
Implement a quarterly review: the first weekend of each season, pull every bin, check adhesives and paint for hardening or separation, and swap anything unused for six months into archival storage. That rotation keeps your active zone honest, if you haven’t touched it in two quarters, it no longer earns prime shelf space. Label each sealed box with a content list and a review date to catch expired supplies before you plan a project around them.
This system works for any crafter who juggles multiple hobbies, but it demands the discipline of a recurring calendar reminder rather than a one-time purge.
Where to start
You now have six distinct routes, from a budget-friendly pegboard system to a built-in long-term workstation. Before you buy a single bin, empty your closet and sort everything into three piles: keep, donate, and relocate. That single step reveals your true storage needs and prevents you from purchasing containers for items you no longer use.
Once the space is clear, measure the depth of your shelves and the width of your floor footprint. Match those numbers against the options above, then pick the one that solves your biggest frustration first, whether that’s reclaiming floor space or making every roll of tape visible. Start with that one solution, install it, and live with it for a week before adding anything else.
Frequently Asked Questions
What is the difference between craft closet organization and general closet storage?
General closets prioritize vertical hanging for clothing. Craft closets need shallow, compartmentalized storage for small items, plus a flat work surface. You’re organizing by project and material type, not by garment category.
How do I organize a craft closet if I have limited wall space or rental restrictions?
Use freestanding shelving units, rolling carts, and over-door organizers. These require no drilling or permanent mounting. Choose tension rods inside the closet for ribbon spools, and stackable clear bins that you can remove and carry to a table.
What supplies should I avoid storing together in a craft closet?
Keep liquids like paint and glue away from paper and fabric. Store adhesives in sealed containers to prevent fumes, and keep heat-sensitive items like wax or chocolate away from direct sunlight or heat vents. Never stack heavy tools on fragile materials like foam or cardstock.
How often should I reorganize or audit my craft closet system?
Audit your system every three months. Remove expired adhesives, dried paints, and broken tools. Reorganize after each major project season, like holidays, when your supply mix shifts.
A quick 15-minute monthly sweep prevents clutter from accumulating.