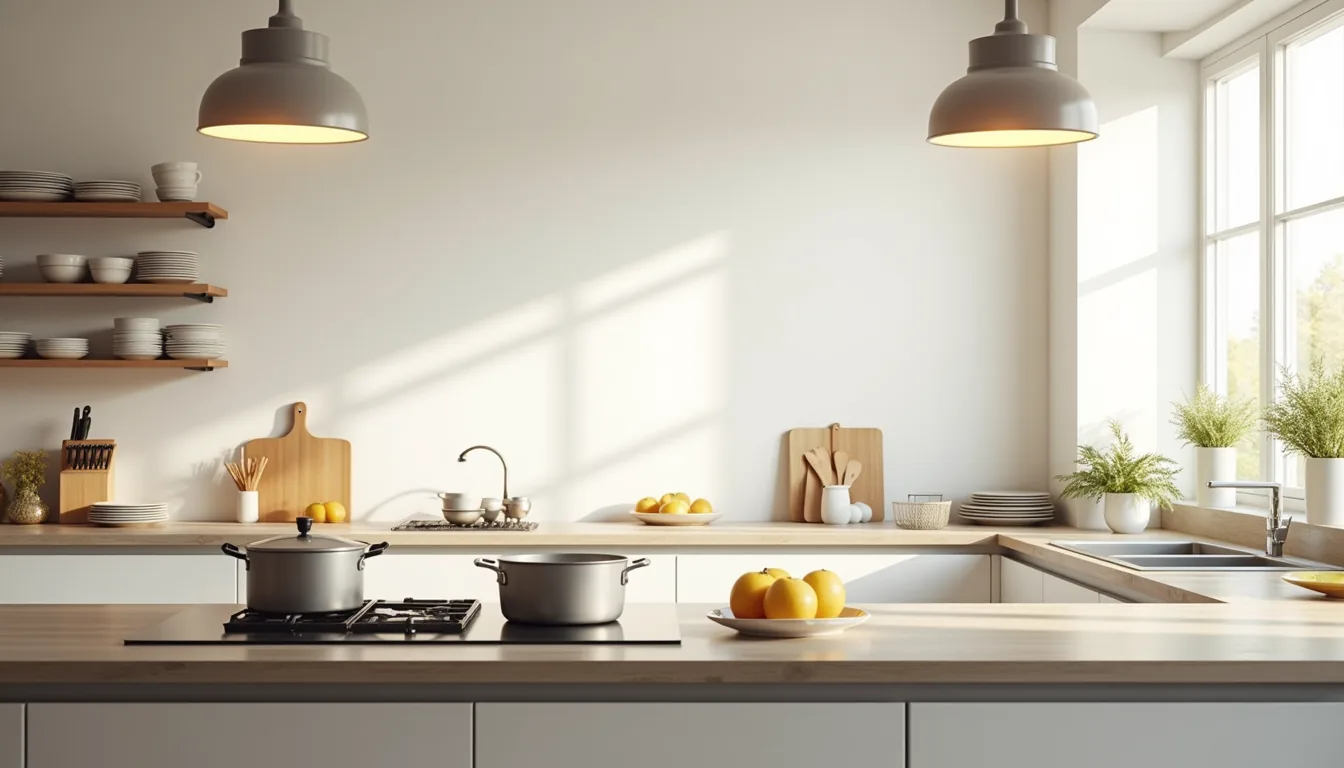
Your kitchen’s clutter problem is rarely a storage shortage, it’s almost always a mismatch between how you cook and where you put things. The fix isn’t more bins; it’s matching each system to your actual habits, counter space, and budget. What follows are six distinct approaches, from renter-friendly tension rods to built-in pantry overhauls, each with the specific trade-offs you need to decide which one fits your kitchen.
Key takeaways
- Zone-based storage cuts kitchen clutter by grouping items by task and frequency, so you place daily-use coffee gear near the kettle and reserve high shelves for holiday platters.
- Vertical wall systems reclaim up to a third of usable counter space in small and medium kitchens, but they require sturdy mounting into studs to avoid cabinet-door collisions.
- Drawer dividers and tiered inserts cost between $20 and $60 per drawer and deliver instant containment, making them the best budget route for renters who can’t modify cabinetry.
- Pull-out pantry systems suit large kitchens best, with full-extension slides that reveal every can at a glance, though you must budget for professional installation to handle the weight of loaded shelves.
Zone-Based Storage: Grouping by Task and Frequency
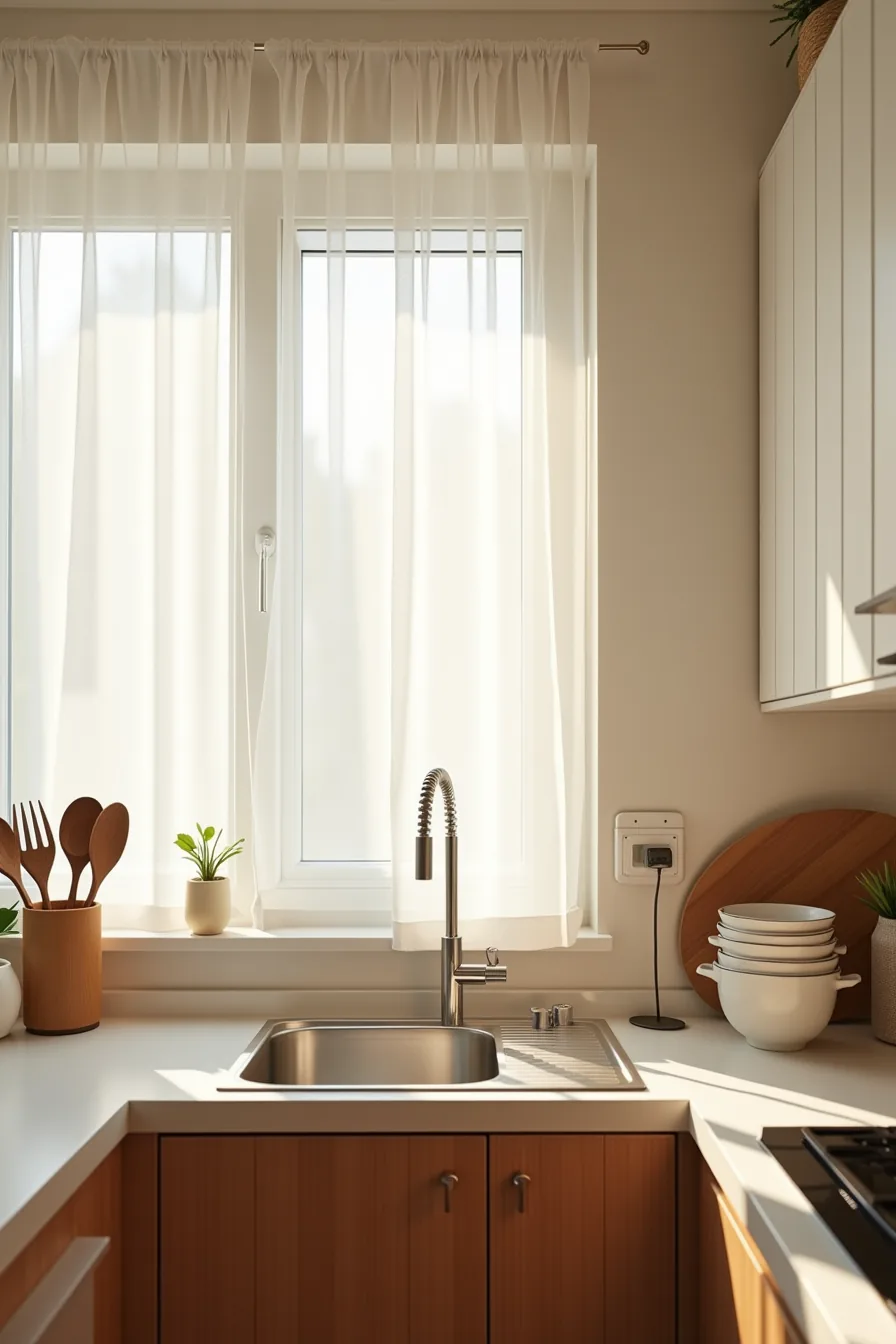
Zone-based storage arranges your kitchen around the four core workflows: prep, cooking, serving, and cleanup. The goal is to reduce steps between related actions and cut decision fatigue, you stop hunting for a spatula mid-recipe because every tool lives where you use it.
A counter laid out left-to-right for right-handed cooks works well: a utensil holder with peelers and whisks anchors the prep zone, a cooking vessel rack holds pans near the stove, stacked serving dishes sit beside the plating area, and a cleaning supply caddy tucks into the far right for quick wipe-downs. This setup suits medium to large kitchens with at least 6 feet of uninterrupted counter; smaller spaces can compress the zones into a single drawer bank or cabinet column.
Before committing, measure your dominant hand’s reach and place the most-used tools, pans, prep knives, daily dishes, at waist-to-shoulder height. Budget route: repurpose a plastic dish tub as a cleaning caddy (under $10). Renter-friendly: use freestanding racks and stacked dishware; skip adhesives and built-ins.
The trade-off is counter space, roughly 25–30 percent of your available surface, so keep zones shallow (12–14 inches deep) to preserve prep area.
Vertical Wall Systems: Maximizing Small and Medium Kitchens
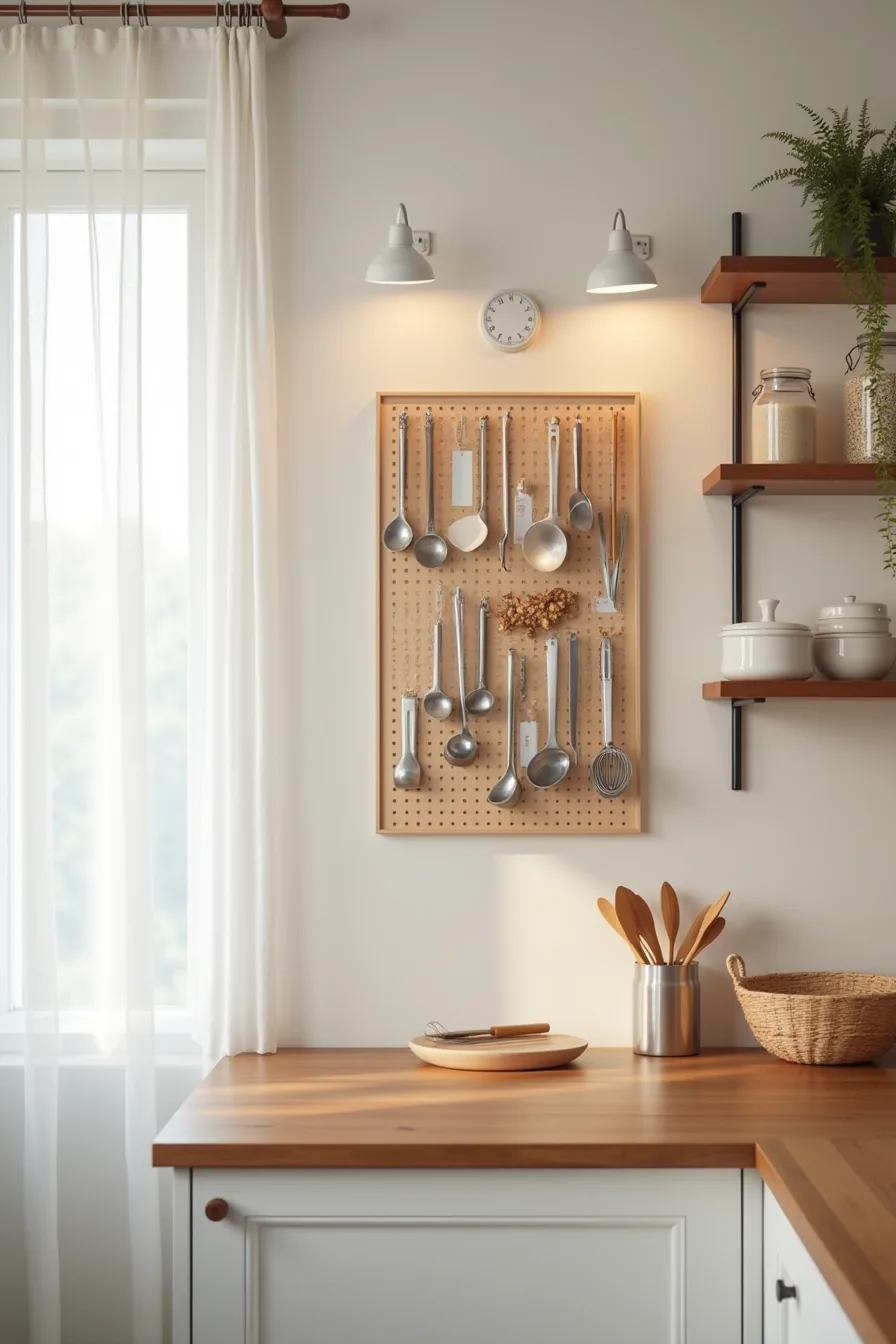
When cabinet space runs out, your walls become prime real estate. A pegboard mounted above a narrow counter turns dead vertical space into a flexible storage grid, the setup pictured holds hanging ladles, whisks, measuring cups, and small metal containers at varying heights, keeping daily tools within arm’s reach without consuming an inch of counter.
Wall shelves beside the pegboard extend the system with small baskets and jars for dry goods and bulky gadgets. For a medium kitchen, budget roughly 12–18 inches of shelf depth and allow 18–24 inches of clearance between shelves for taller jars. Weight limits matter: standard pegboard hardware supports 5–10 pounds per hook, so reserve it for lightweight tools, not cast-iron skillets.
This approach suits renters, pegboard mounts with adhesive strips or tension rods cause minimal wall damage. Expect to re-tighten metal hooks quarterly as they loosen with useational load, and keep heavier items on lower hooks to reduce strain. For the best organization ideas for the home kitchen examples on a small-scale budget, combine a 24-by-24-inch pegboard with one floating shelf; the total cost lands well under $50.
Drawer Dividers and Tiered Inserts: Containment Without Renovation
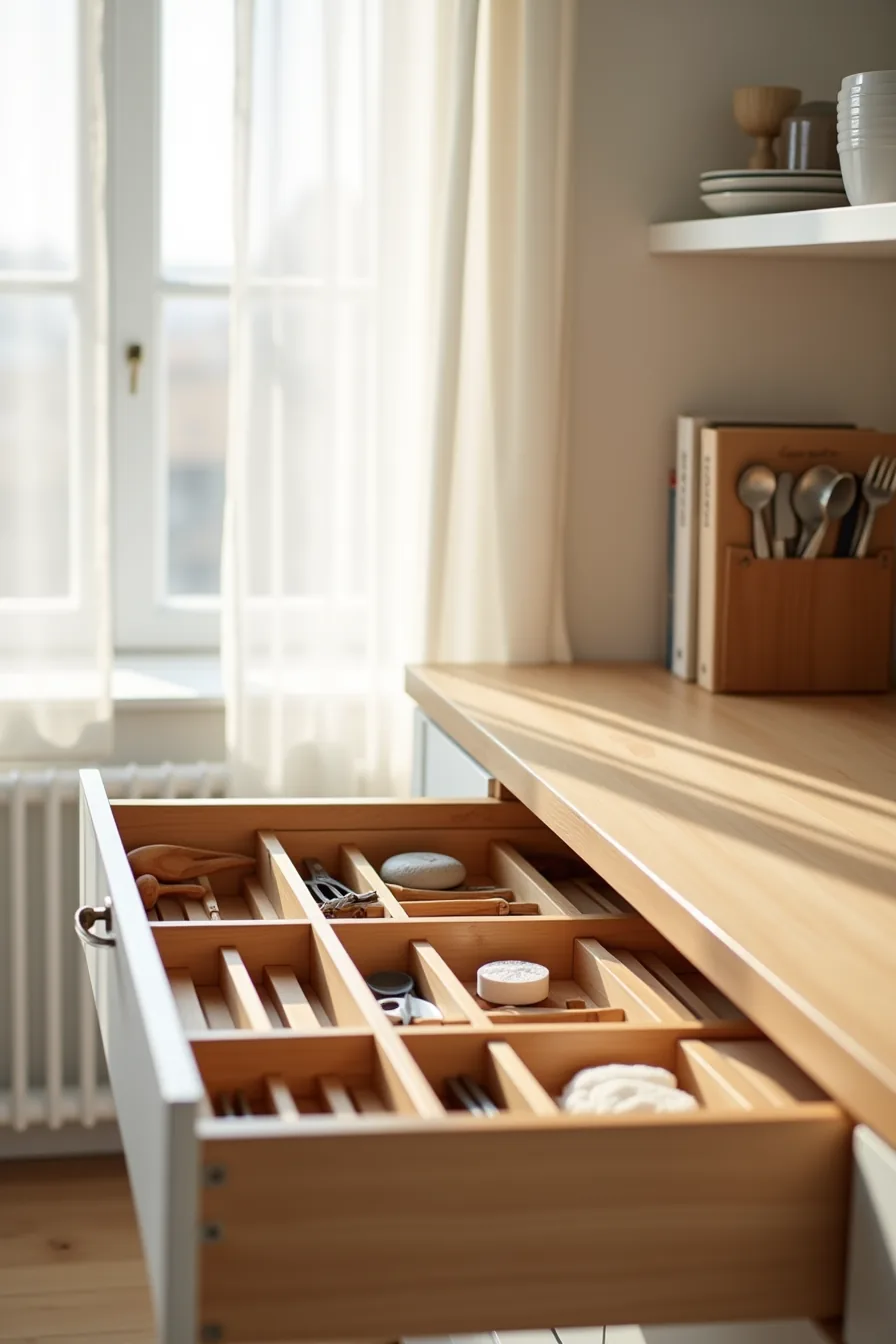
The most overlooked organization ideas for the home kitchen start inside your existing drawers. A fitted set of wooden dividers transforms a catch-all drawer into distinct zones: wooden spoons in one compartment, measuring spoons in another, kitchen shears and small tools in a third, and rolled dish towels standing upright in the fourth. The upright towel roll is the key trick, it triples visible capacity versus stacking flat and lets you grab one without collapsing the pile.
This system suits every kitchen size because it requires zero structural change. For a standard 18-inch-wide drawer, budget $20–$40 for bamboo or pine dividers; a custom-cut hardwood set runs $60–$120. That price gap defines the Budget vs. Splurge Organization Ideas For The Home Kitchen decision: bamboo resists moisture but warps under heavy dish loads, while hardwood holds up for years if you hand-wash around it.
Measure the interior depth before buying, most dividers need 2–3 inches of clearance to slide freely, and fixed-width inserts rarely fit drawers with angled fronts.
Pull-Out Pantry Systems: Accessibility and Visibility for Large Kitchens
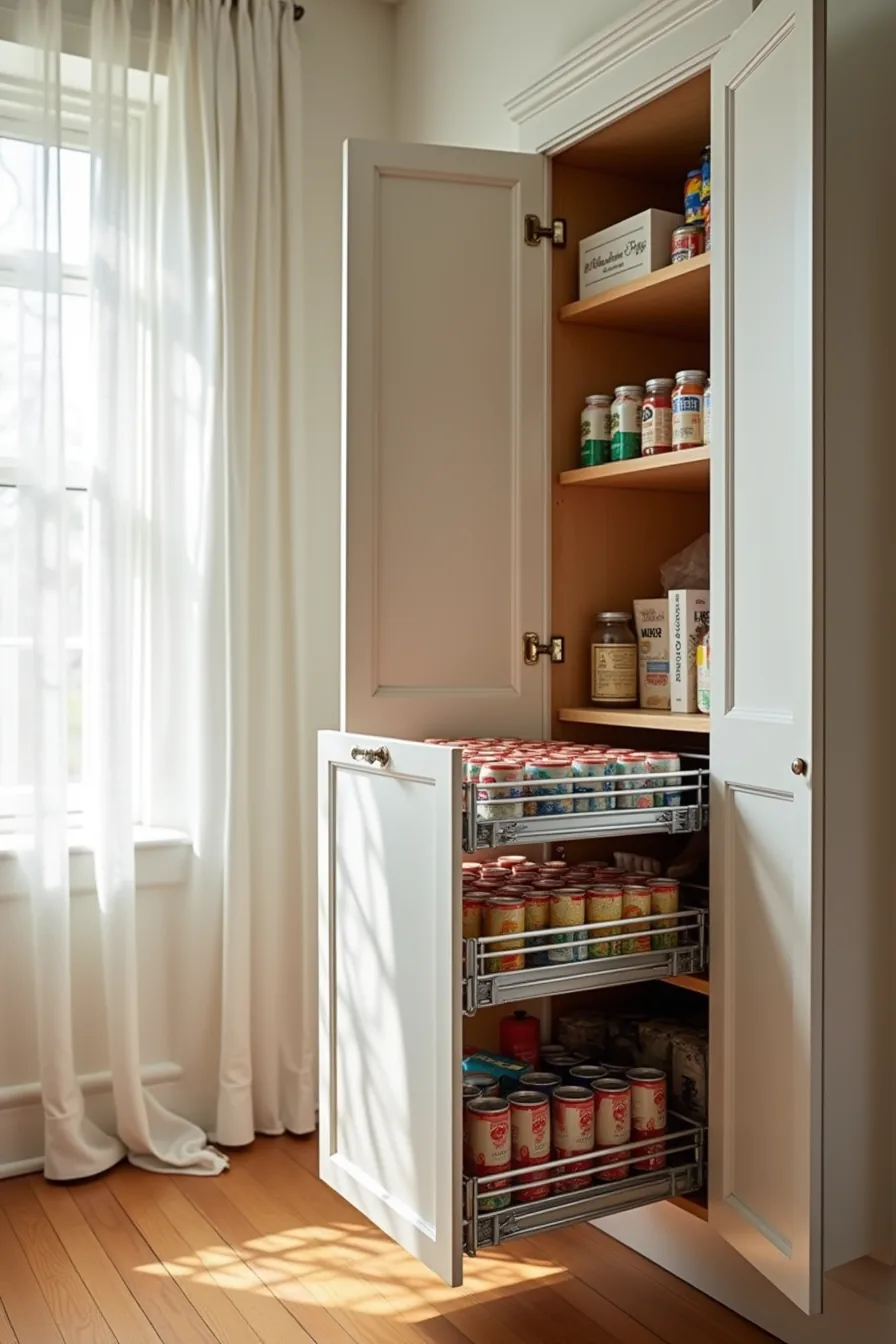
For deep cabinets that swallow dry goods, pull-out wire baskets deliver what static shelving can’t: total visibility. A two-tier system on full-extension slides shows every can of beans on the lower tier and every box of pasta on the upper tier simultaneously. You see the inventory before you reach for anything, which cuts forgotten duplicates and ends the crouch-and-dig routine that shallow shelves impose.
This is the long-term investment route among organization ideas for the home kitchen. A retrofit kit for one 24-inch-wide cabinet runs $150–$400 in materials, plus $200–$500 in labor if a carpenter adjusts the face frame. That cost only justifies itself in kitchens with cabinet depths of 20 inches or more, anything shallower and a single tier of clear bins does the same job at a fraction of the price.
Heavy users who cook in volume benefit most; the system demands nothing in daily maintenance beyond wiping the slide rails twice a year.
Corner and Dead-Space Solutions: Reclaiming Overlooked Areas
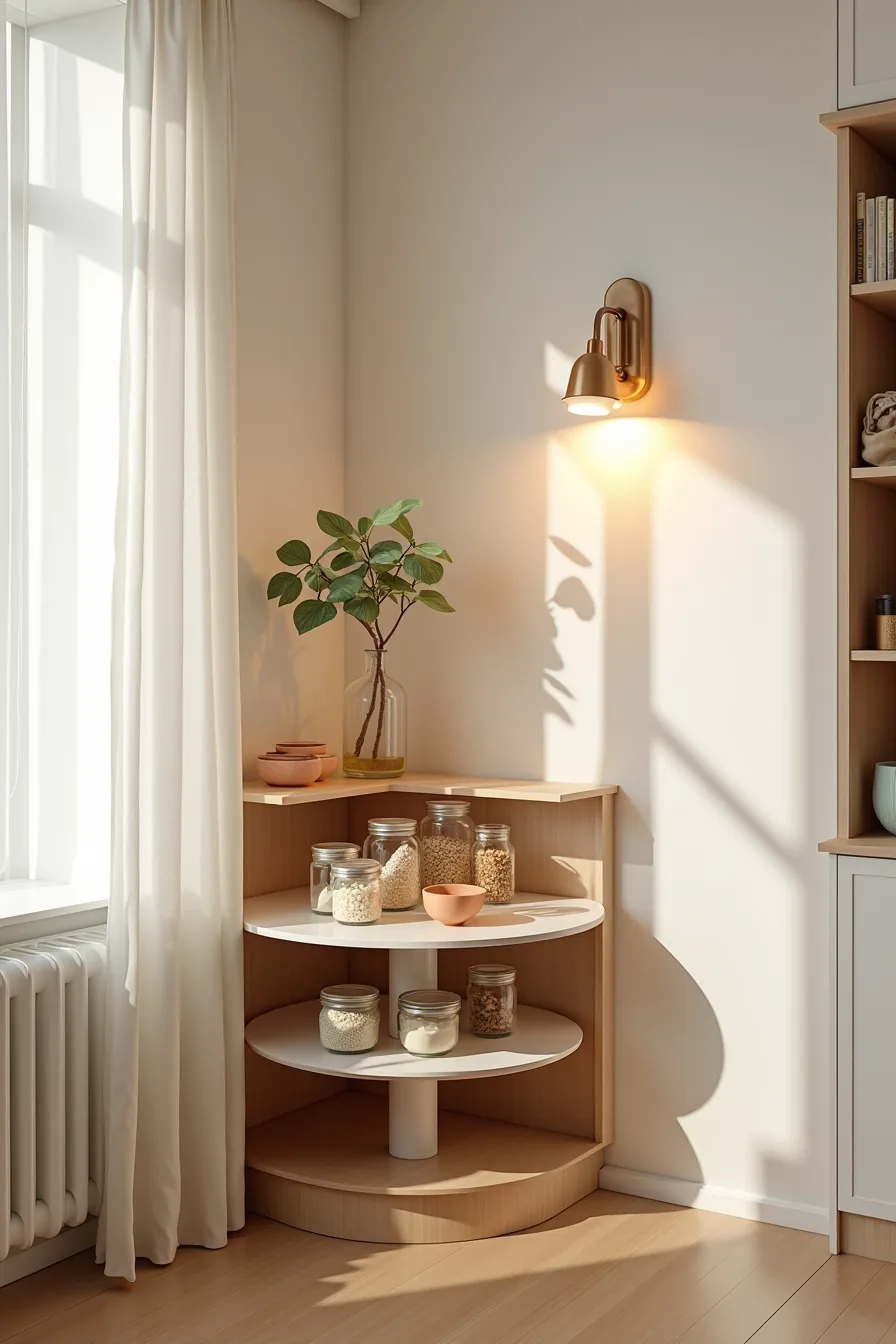
A lazy Susan turntable transforms a blind corner cabinet from a black hole into a fully visible storage zone. The rotating mechanism brings the back row of glass jars and containers to the front with a quarter-turn, so nothing gets buried behind its taller neighbors. This setup suits L-shaped kitchens where the corner cabinet sits at a 90-degree angle, the turntable’s circular motion works with the swing of the door rather than against it.
Measure the cabinet’s interior width before buying; most corner carousels need a minimum of 24 inches of clear floor space to rotate without scraping the cabinet walls. For smaller gaps under 20 inches, a half-moon lazy Susan on a single tier fits where a full circle can’t. The glass jars shown here keep dry goods visible and uniform, but they add weight, stick to lightweight pasta, rice, and spices rather than full beverage bottles that strain the turntable’s pivot bearing.
Wipe the base plate monthly to prevent crumbs from jamming the rotation mechanism. This is the budget-friendly route among organization ideas for the home kitchen: a quality 20-inch lazy Susan runs $30–$60, and installation takes ten minutes with no tools beyond a screwdriver.
Labeling and Maintenance Systems: Sustaining Organization Over Time

A labeling system only works if it follows a placement logic you can reproduce without thinking. The six matching glass containers you see here sit in a single row with white labels centered on each front, that uniform position lets you scan contents at a glance from three feet away, which is the practical distance most people stand when reaching for ingredients. A clipboard holding a maintenance checklist hangs to the left, while a cleaning cloth rests on the right, creating a visual reminder that organization is an ongoing habit rather than a one-time event.
This setup suits households with two or more people who share cooking duties, because the labels eliminate the “whose jar is this?” friction that undoes most kitchen systems within two weeks. Use a label maker for permanent categories like flour or sugar, but switch to chalkboard or dry-erase labels for anything you refill from bulk bins, since contents change seasonally. The checklist should track three weekly tasks: wiping jar rims after refills, checking for expired items on the first of each month, and re-evaluating the shelf layout when you acquire new cookware.
A full audit every three months, emptying each container, cleaning the shelf surface, and rotating stock, prevents the slow drift that turns a tidy system back into clutter.
Where to start
Pick the single biggest friction point in your kitchen, the drawer you dig through daily, the corner you avoid. Solve that one problem within the week; the rest of the plan can wait.
Begin with a 15-minute cleanup: clear the target zone onto your counter, sort items into keep, donate, and relocate, then measure the empty space. Those measurements tell you which solutions will actually fit, saving you from buying another storage unit that nearly works.
Order your first piece only after you confirm your space and budget. Then install it, load it, and live with it for two weeks. If it works, proceed to the next zone; if not, adjust placement before buying more.
Frequently Asked Questions
What is the fastest way to organize a kitchen with a small budget?
Start with clear, stackable bins for grouped items (canned goods, snacks, spices). Label each bin and assign one cabinet zone per category. You can complete this in under two hours for under $30 using dollar-store containers.
How do I organize a kitchen if I rent and cannot install shelving?
Use freestanding solutions: rolling carts, over-the-door racks, and tension-mounted shelves inside cabinets. These require no drilling and leave no marks. Choose units with adjustable heights to fit your existing cabinet interiors without permanent modification.
Should I organize by item type or by how often I use things?
Organize by frequency first, then by type within each zone. Keep daily-use items (mugs, plates, oils) at waist-to-shoulder height. Store rarely used or bulky items (roasters, platters) above or below.
This reduces movement and makes your routine faster.
How much does it cost to install pull-out pantry systems?
A single pull-out shelf unit for a standard 24-inch-wide base cabinet typically runs $50–$150 for the hardware alone. Professional installation adds $100–$300 per cabinet. DIY installation is feasible with basic tools and takes 1–2 hours per unit.