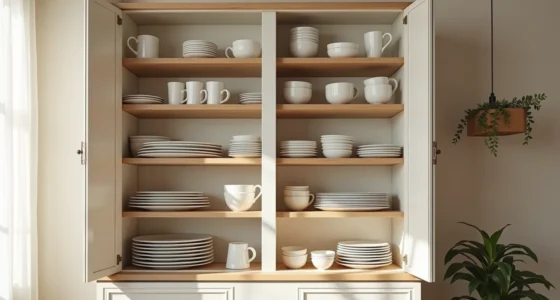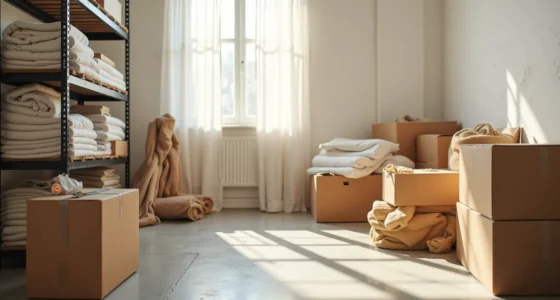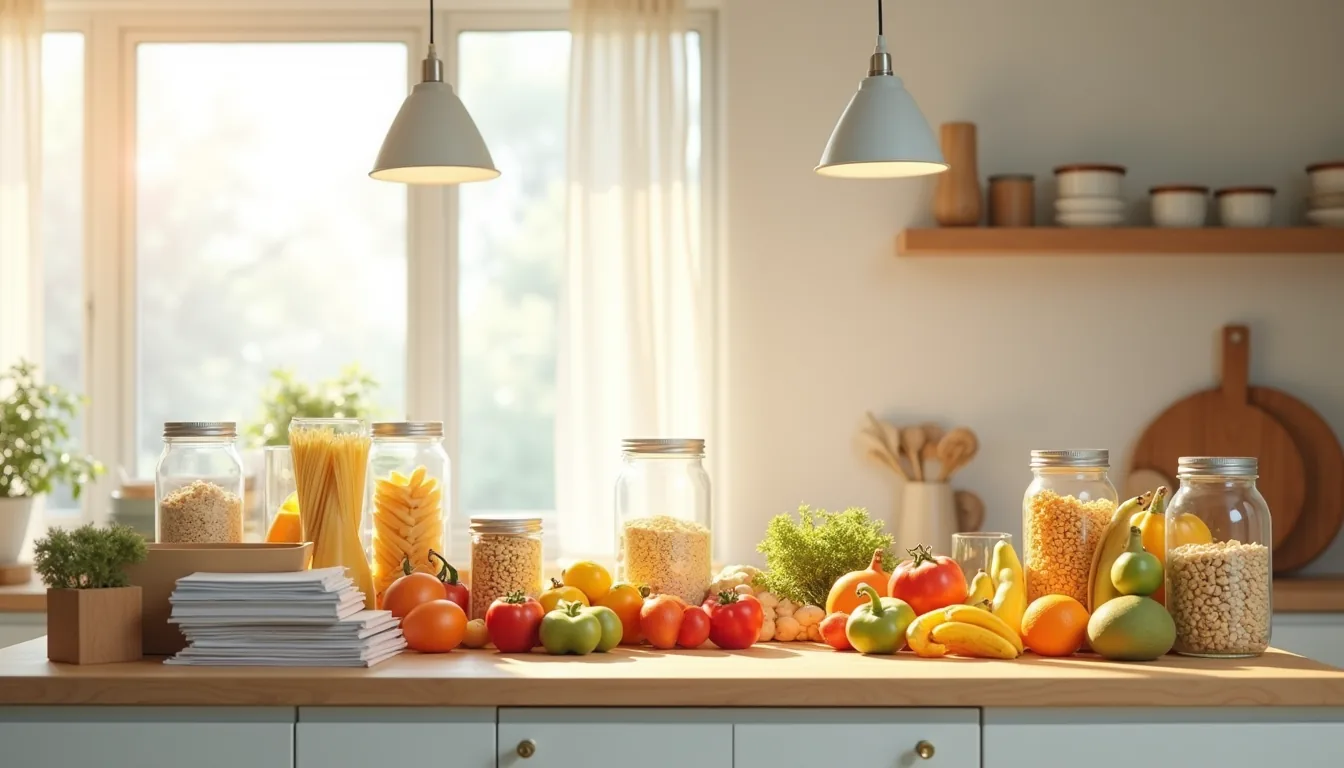
A food storage room is any dedicated space, from a converted broom closet to a full walk-in pantry, where you keep shelf-stable goods organized by category, and building one starts with emptying every cabinet and taking a complete inventory before you buy a single container. That first audit reveals what you actually store, how much of it you use, and which zones are wasting vertical space. From there, you can match a system to your square footage, budget, and lease terms without guessing.
Key takeaways
Audit first: Count every item and its expiration date before buying a single container, since storage needs are determined by what you actually own, not by shelf space. Match the system to your walls: Fixed shelving suits heavy, stable loads and permanent homes, while adjustable tracks or freestanding units work better for renters and changing inventories. Zone by food type: Group grains, canned goods, and snacks into dedicated zones so weekly restocking takes under 15 minutes instead of a full pantry shuffle. Prioritize shallow shelves: Use 12–16 inch deep shelves for most items to see everything at a glance, reserving deeper 18–24 inch shelves only for bulk bags and rarely used appliances.
Audit Your Inventory Before Buying Containers

Before you spend a single dollar on shelving or bins, commit one afternoon to a full pantry census. Empty your cabinets onto a large table and group items by category: canned goods, dry pasta and grains, baking supplies, and boxed meals. Keep a notebook and pen handy to tally each group, and use a calculator to sum the totals as you go.
This exact flat-lay setup, an open notebook with handwritten tallies, a calculator, a measuring tape, and stacks of food packages grouped by type, gives you the raw data you need for bulk storage planning.
As you sort, measure the height and depth of your most common container sizes with the measuring tape. A family that cycles through 20 tall cans per week needs different vertical clearance than one that stores mostly flat boxes. Record the number of items per category, then multiply by your average weekly consumption to estimate how many weeks of buffer you want to keep.
This number, not your available wall space, should dictate how many containers you purchase, most households discover they need 30–40% fewer bins than they initially planned to buy.
Fixed Shelving vs. Adjustable Systems: Which Fits Your Space
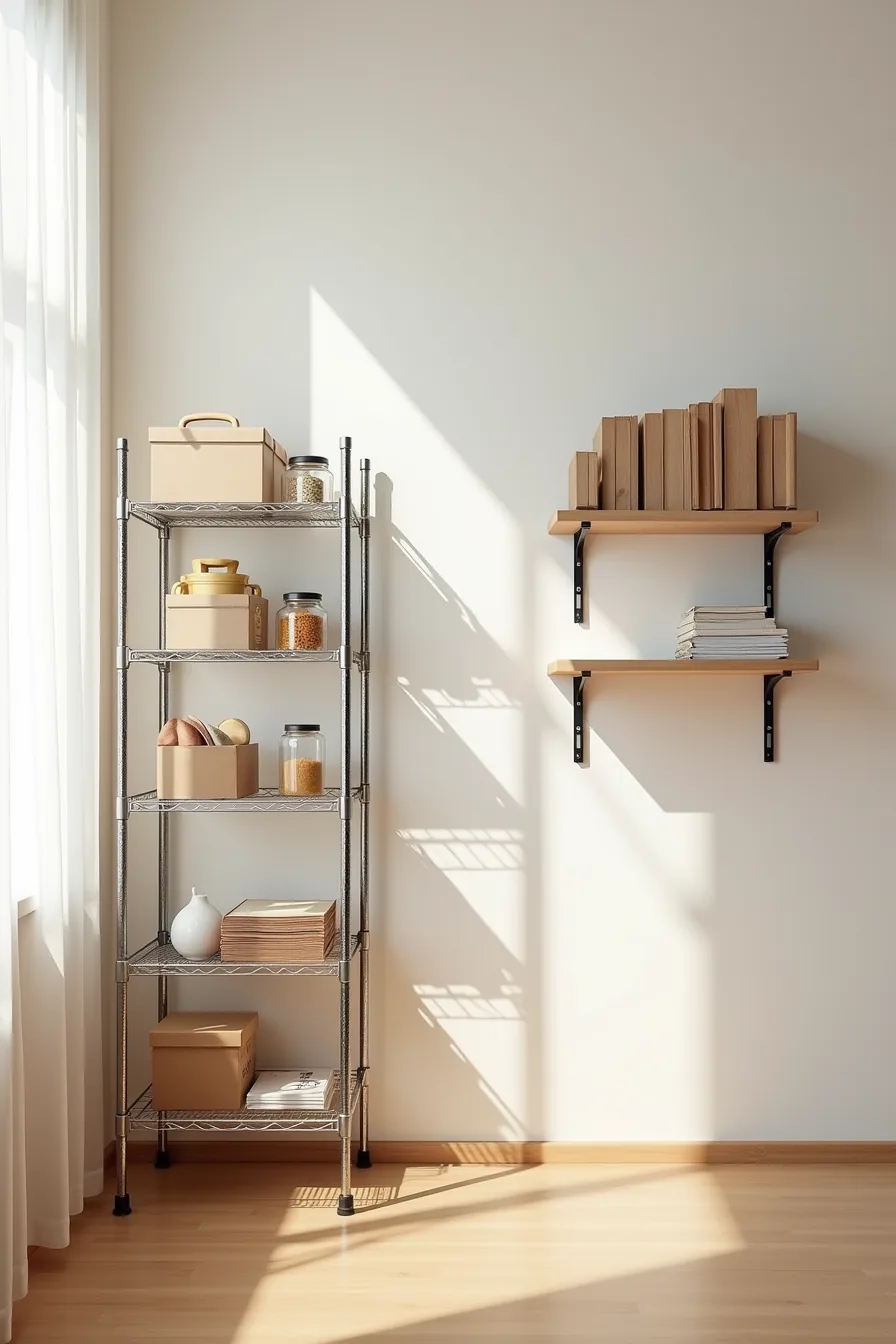
The core distinction comes down to your living situation and how much you’re willing to invest in installation. A metal wire shelving unit with three fixed shelves, like the one holding boxes and jars on one side, requires no tools and breaks down completely for moves, making it the default choice for renters. Expect to pay $80–$200 for a sturdy 48-inch-wide unit rated for 150–200 pounds per shelf, and note that fixed shelves force you to match your storage to their spacing rather than the reverse.
Wall-mounted adjustable bracket systems offer greater flexibility but demand drilling into studs. The setup on the other side, metal brackets supporting three shelves at varying heights, lets you create tall clearance for bulk cereal boxes and tight spacing for stacked jars, but installation runs 2–4 hours and costs $150–$350 including premium brackets and solid wood boards. You only gain this advantage if you own your walls and can commit to patching holes later.
For homeowners building a permanent Food Storage Rooms solution, adjustable wins on long-term utility; for anyone on a lease, the freestanding wire unit wins on practicality and portability.
Zone by Food Type for Faster Weekly Restocking
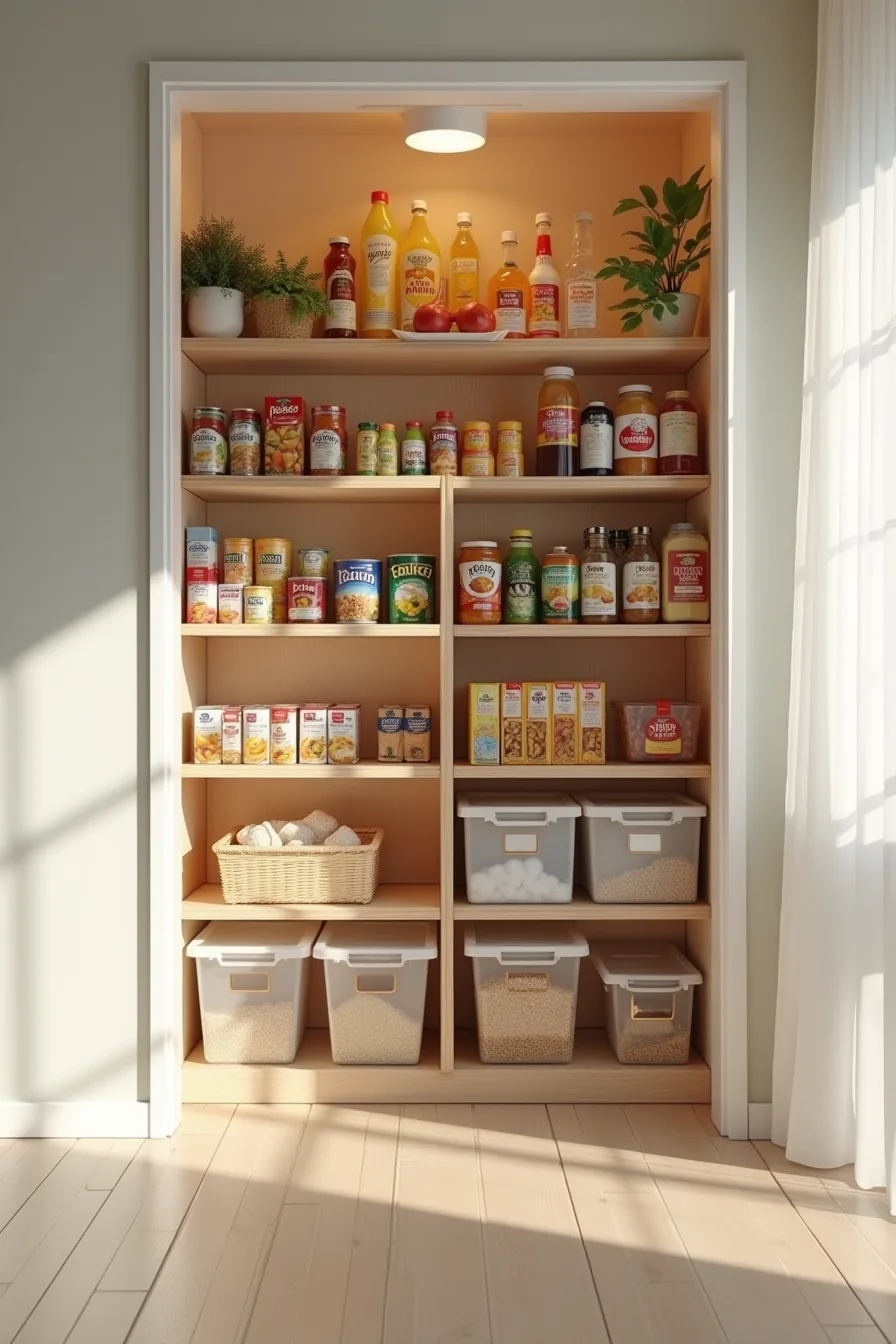
Organizing by category rather than by container size cuts restocking time dramatically because you always know exactly where an item belongs. A practical four-zone layout uses vertical bands: beverages on the top shelf, canned vegetables and soups on the upper-middle tier, pasta, rice, and grains on the middle-lower level, and sealed plastic bins for snacks and dried goods at the bottom.
The beverage zone works on the top because bottles are tall and rarely accessed daily. Canned goods sit at eye level where you can see the labels front-facing without pulling everything out to check what you’ve. The heavy pasta and grain boxes stay within comfortable reach below the cans, and the snack bins on the floor shelf are ideal for children to grab independently.
Assign each zone a consistent shelf height and enforce it strictly, the moment zones blur, restocking becomes a treasure hunt. For families, add a small label to the front edge of each shelf stating the zone name; this prevents anyone else from undoing your system within a week.
Deep Shelf vs. Shallow Shelf: Capacity and Access Trade-offs

Shelf depth is the single most consequential decision you’ll make, because it pits raw capacity against your ability to see and reach what you own. A shallow shelf in the 8-10 inch range holds only three glass jars in a single front row, but every jar’s label is fully visible and you can grab any of them without shifting anything. A deep shelf at 18-20 inches doubles the count to six jars, yet the back row sits partially obscured, and you’ll routinely forget what’s hiding behind the front row unless you commit to strict first-in, first-out rotation.
The trade-off maps directly to how often you access an item. Shallow shelves suit daily-use goods, jars of pasta sauce, frequently used canned tomatoes, where visibility saves you minutes each week. Deep shelves earn their keep for long-term bulk storage: extra canned goods, backup bags of rice, or seasonal items you open only a few times a year.
A practical hybrid is to install shallow shelving on the upper tiers for everyday items and deep shelving on the lower tiers for overflow, giving you both speed and volume without sacrificing either.
Labeling, Rotation, and Maintenance Routines
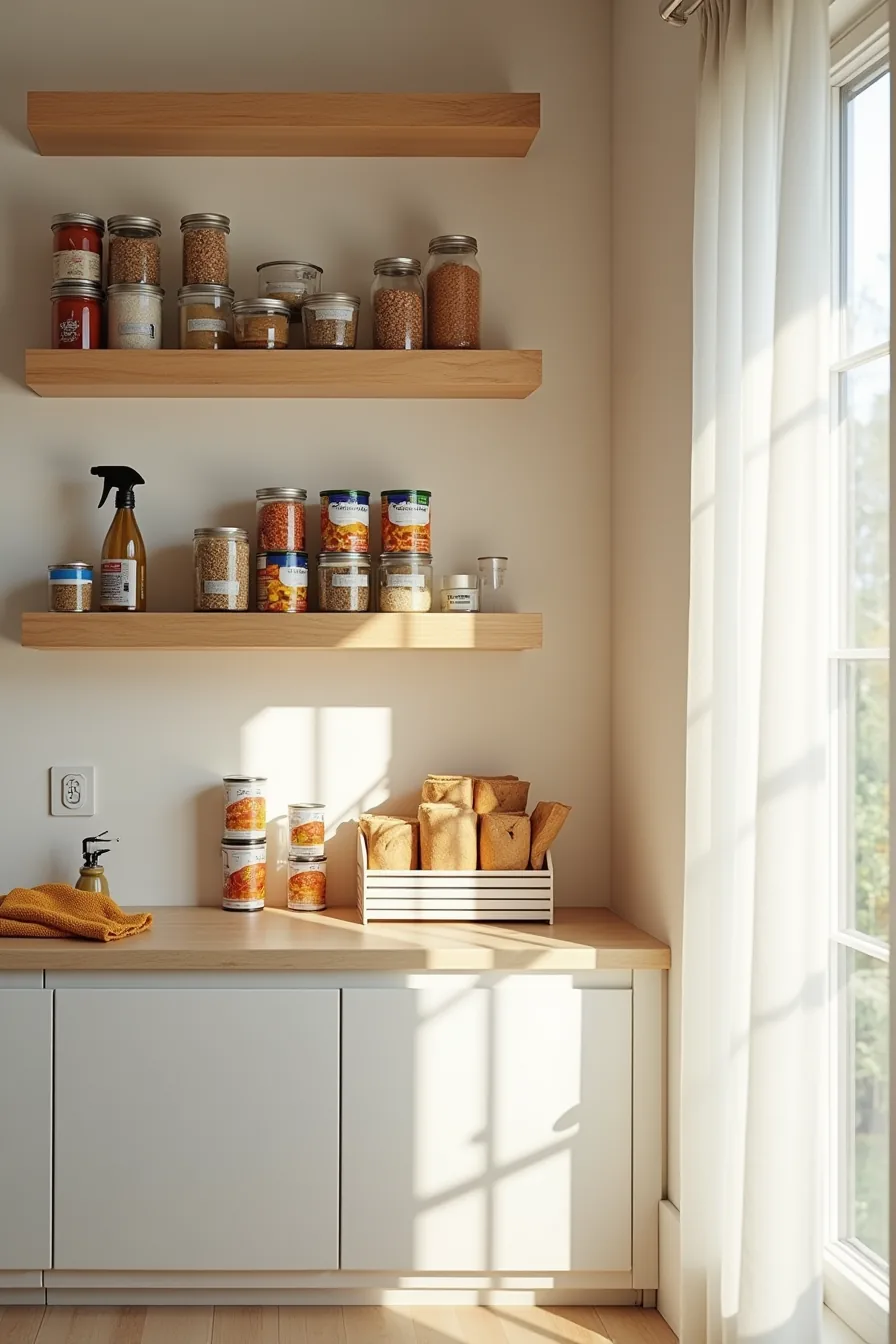
A date-stamp tool is the backbone of any functional food storage room. Press it onto every can, box, and bag the moment you bring it home, then arrange items so the oldest dates sit at the front. This first-in, first-out system takes under a minute per item and eliminates the guesswork that leads to expired goods buried behind newer purchases.
Your maintenance routine should run on a seasonal schedule. Every three months, pull everything off the shelves, wipe down surfaces with a microfiber cloth and a mild spray cleaner, and inspect for signs of moisture or pests. Check for rust spots on cans, torn packaging, or any powdery residue that signals weevils or pantry moths.
Catching one infested box early saves you from discarding an entire shelf of compromised food.
Scaling Food Storage Rooms for Small, Medium, and Large Homes
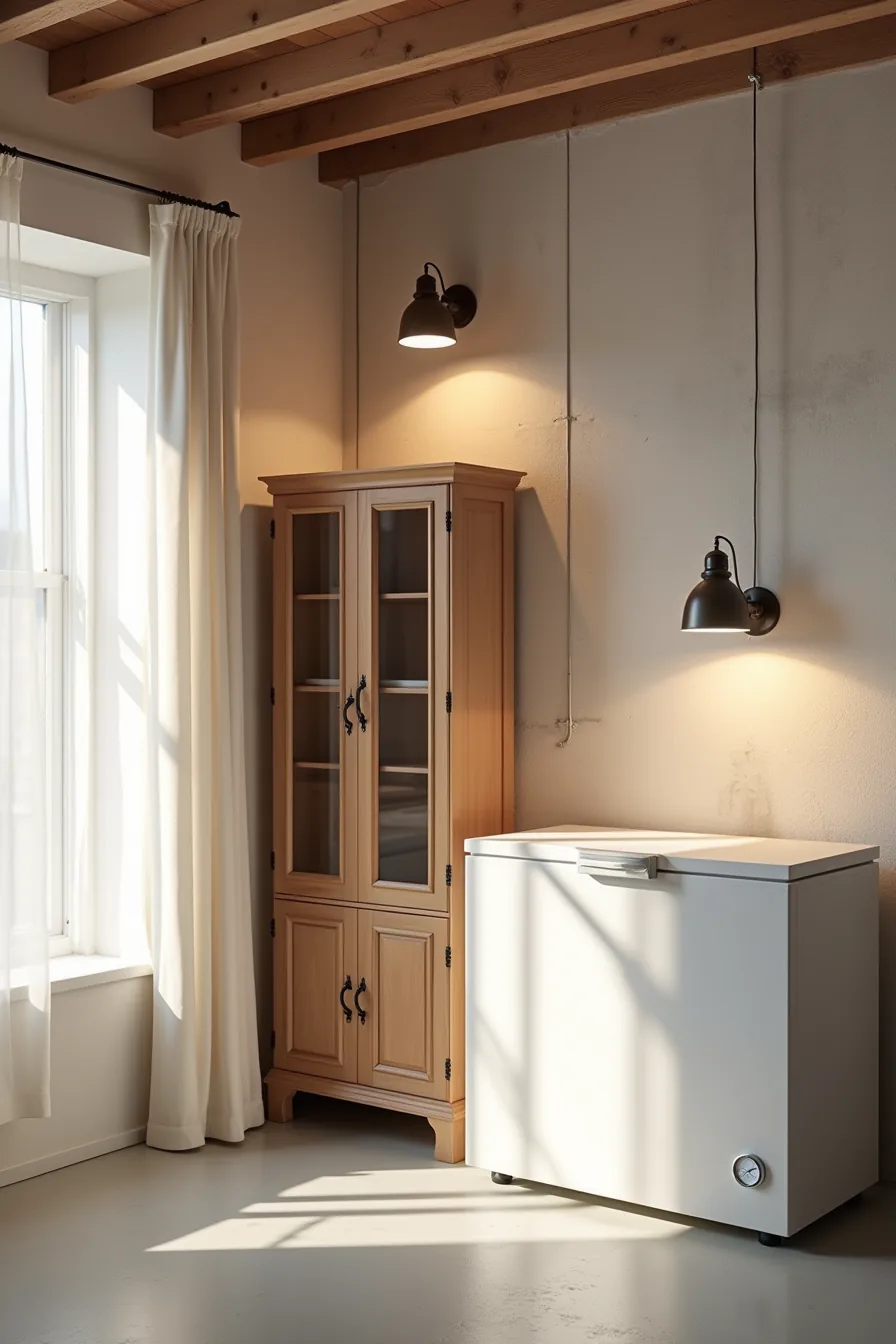
The image context here’s instructive: this is a basement corner that does triple duty. The tall wooden cabinet with glass doors on the left stores dry goods you need to see at a glance, while the compact freestanding shelving unit against the concrete wall handles bulk canned items. The large chest freezer on the right foreground, with its temperature gauge front and center, is your protein and prepared-meal anchor.
None of these pieces block the exposed ceiling pipes or the floor drainage, which matters because basements demand airflow to prevent moisture buildup, you’ll need a dehumidifier in most climates to keep that concrete wall from sweating onto your shelves.
Scale dictates your choices more than aesthetics. For a small home, a 24-inch-wide closet with three to four adjustable wire shelves gives you roughly 12 to 15 cubic feet of storage, enough for two weeks of meals for a family of four, just skip the freezer unless you’ve a garage or utility room. A medium home with a spare bedroom can run a 30-inch-deep freestanding unit against the longest wall, paired with that chest freezer, and still leave 18 inches of walking clearance.
Large homes with full basements can dedicate one wall to 24-inch-deep metal shelving, a separate zone for root vegetables in ventilated bins, and a freezer bank, just keep the freezer at least 6 inches off the wall so the condenser coils can breathe.
Lighting should be overhead and cool-toned (4000K to 5000K) so you can read expiration dates without squinting; a pull-chain fixture in a closet works, but a ceiling LED panel in a basement costs about the same and covers three times the area. If you’re converting an attached garage, remember temperature swings: that space will fluctuate with the seasons, so prioritize shelf-stable goods there and move anything temperature-sensitive, oils, chocolate, wine, to a conditioned interior room. The wooden cabinet with glass doors works beautifully in a living-adjacent space because it hides clutter while letting you verify stock levels at a glance, but in a damp basement, swap it for powder-coated steel to avoid warping.
What to Do First
Before you price a single shelf, empty every cabinet and pantry onto your kitchen table. Group items by category, check expiration dates, and measure what you actually own. That inventory tells you whether you need 12 inches of shelving or 120.
Start with the cheapest fix: clear bins and a label maker. If that works for a month, scale up to adjustable shelving. If you rent, skip the built-ins and buy freestanding units you can move.
Your first step today is simple, photograph every storage space you’ve, then measure the tallest and heaviest item you store. Design around that.
Frequently Asked Questions
How much shelf space do I need for a family of four?
Plan for 18–24 linear feet of shelving for a two-week pantry, or 30–40 linear feet for a one-month supply. Adjust upward if you buy in bulk or store large appliances.
Can I use a food storage room in a basement or garage, and what temperature should it be?
Yes, but avoid garages with extreme heat or freezing cycles. Basements work best at 50–60°F (10–15°C) for long-term staples. Never store food where temperatures exceed 75°F or drop below 40°F.
What’s the best way to prevent pests and moisture in a food storage room?
Install a dehumidifier to keep relative humidity below 60%, and seal all dry goods in airtight glass or food-grade plastic containers. Use bay leaves or diatomaceous earth near entry points, and inspect for cracks monthly.
How often should I clean and reorganize my food storage room?
Deep-clean shelves and wipe containers every three months, rotating stock by expiration date. Do a full inventory and re-label items every six months, discarding anything past its best-by date.