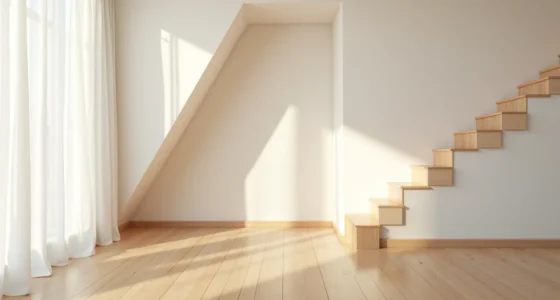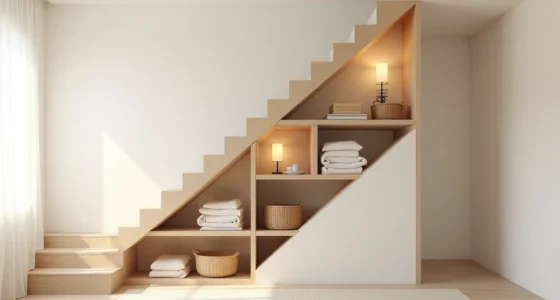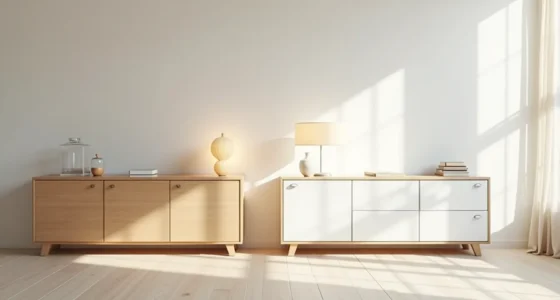

Storage and organization works only after you’ve taken stock of what you actually own, so your first move is a brutal inventory, not a shopping trip. Count every item by category, clothing, tools, pantry goods, and measure the shelf space you already have. That data tells you whether you need fixed shelving, adjustable inserts, or simple bins, and it prevents you from buying containers that don’t fit.
The six methods that follow each hinge on that inventory, and they range from renter-safe tension rods to permanent built-ins, so you can match a system to your space, budget, and tolerance for maintenance.
Key takeaways
- Inventory first: Sort every item into keep, toss, or relocate piles before buying a single bin, because containers purchased pre-declutter lock in wasted space and cost you 20-40% more in unused capacity.
- Match system to tenure: Choose fixed shelving for homes you own (costs $200-600 per wall unit but lasts decades), adjustable track systems for growing collections, and tension-rod or freestanding units (under $150) if you rent and need zero-drill removal in under an hour.
- Label by retrieval habit: Place labels at eye level on the front edge of bins for items you grab daily, but use top-down or color-coded tags for seasonal gear, and always pair text with a photo icon so household members find things without reading.
- Scale storage to traffic: Reserve open shelving for high-use zones like entryways (limit to 3-5 items per shelf to avoid visual noise) and concealed cabinets for low-traffic areas, keeping at least 36 inches of clear walkway in front of any unit taller than 60 inches.
Declutter Before Organizing: The Inventory Step

Before you buy a single bin or shelf, work through an inventory of what you actually own. Sorting into three distinct piles, keep, donate, and discard, forces you to handle each item once and make a decision in the moment. Keep a notepad and pen beside you during this process to track what you’re keeping by category; this list becomes your shopping list for containers, preventing the common mistake of buying storage that’s too small or the wrong shape for what remains.
This sorting step works best when you physically place the three piles on a neutral surface, like a large table or cleared floor. You’ll immediately see the volume of items leaving versus staying, which gives you a realistic sense of how much new storage you truly need. Commit to completing this before measuring shelves or browsing organizers, the effort here typically cuts your container needs by 30-50 percent, saving both money and wasted space.
Fixed vs. Adjustable vs. Renter-Friendly Storage Systems
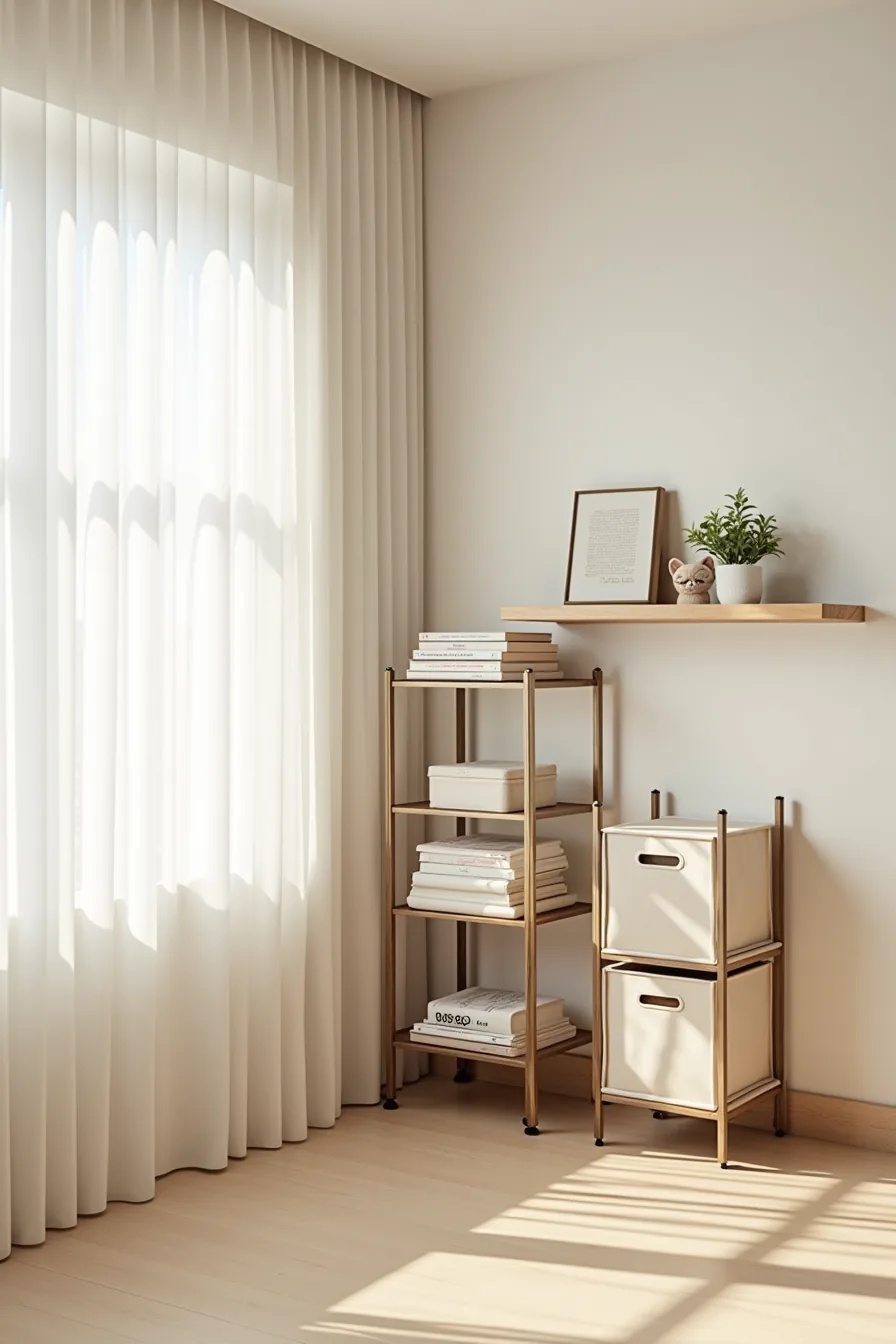
Your inventory list now tells you exactly which system type fits. A wall-mounted floating shelf represents fixed storage: it demands drilling into studs, takes several hours to install, and leaves holes you must patch when you move. It suits permanent homeowners who own heavy, frequently accessed items and want zero floor footprint, but you sacrifice repositioning flexibility permanently.
The freestanding metal shelving unit with adjustable levels bridges the gap. Each shelf typically supports 175-350 pounds when assembled correctly, and you can rearrange levels in minutes without tools. It costs roughly 50-70 percent less than custom built-ins, requires no wall damage, and moves with you.
The trade-off emerges in smaller rooms: at 30-36 inches deep, it consumes meaningful floor space and can feel visually heavy if you load it densely.
A fabric cube organizer on wheels prioritizes adaptability and renter safety above all. The casters let you shift your storage to clean behind it or reconfigure a room in seconds. You gain lightweight portability and zero installation, it assembles in about 15 minutes, but you sacrifice durability and weight capacity, typically maxing out around 10-15 pounds per cube.
Choose this when you rent, move frequently, or store lightweight category items like linens, accessories, or children’s toys. For mixed needs, combine systems: fixed shelving for heavy books, adjustable units for tools, and rolling cubes for daily-use items your family rotates between rooms.
Open vs. Concealed Storage: When Each Works Best
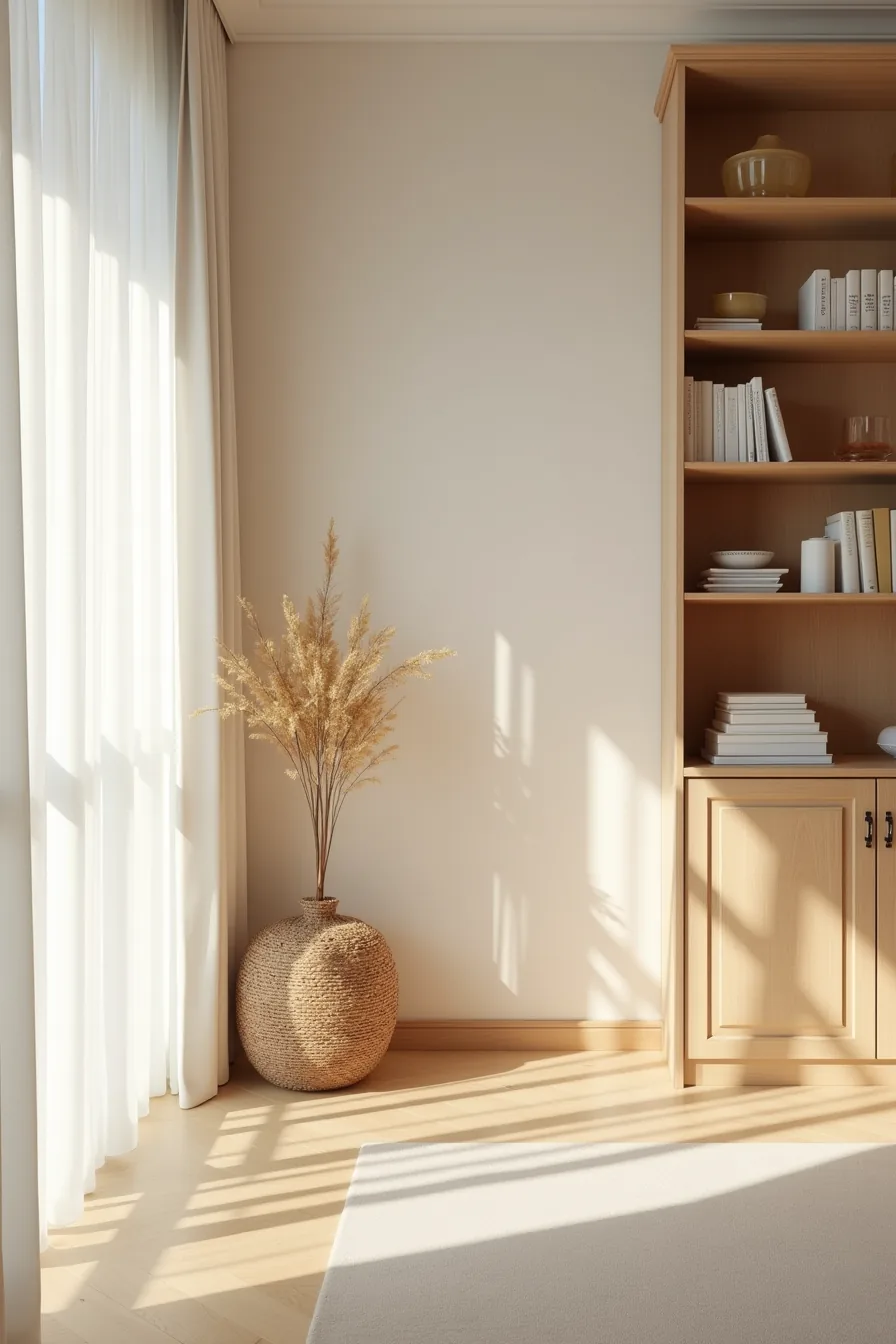
Your inventory list’s dust tolerance and access frequency dictate the split. An open wooden shelving unit works for items you grab daily, stacked baskets, folded throws, frequently rotated decor, because wiping a shelf takes seconds and visibility prevents you from buying duplicates. It also demands visual discipline: everything you display must look intentional, or the unit reads as clutter within a week.
A closed cabinet with solid doors suits anything you touch less than weekly: seasonal gear, paper files, small appliances, or backups. It hides visual noise, reduces dusting to the door fronts only, and protects items from fading or grime. The trade-off is friction, you must open a door to retrieve anything, which means high-frequency items stored behind doors will frustrate you.
People who hate tidying daily and entertain often lean concealed; those who enjoy displaying curated collections and maintaining them weekly prefer open. Maintenance costs differ too: open shelving needs dusting every 7-10 days in typical homes, while a closed cabinet needs only quarterly interior cleaning. Most practical rooms combine both, using open for the top 20 percent of frequently used items and concealed for the remaining 80 percent.
Scaling Storage and Organization for Your Space Size
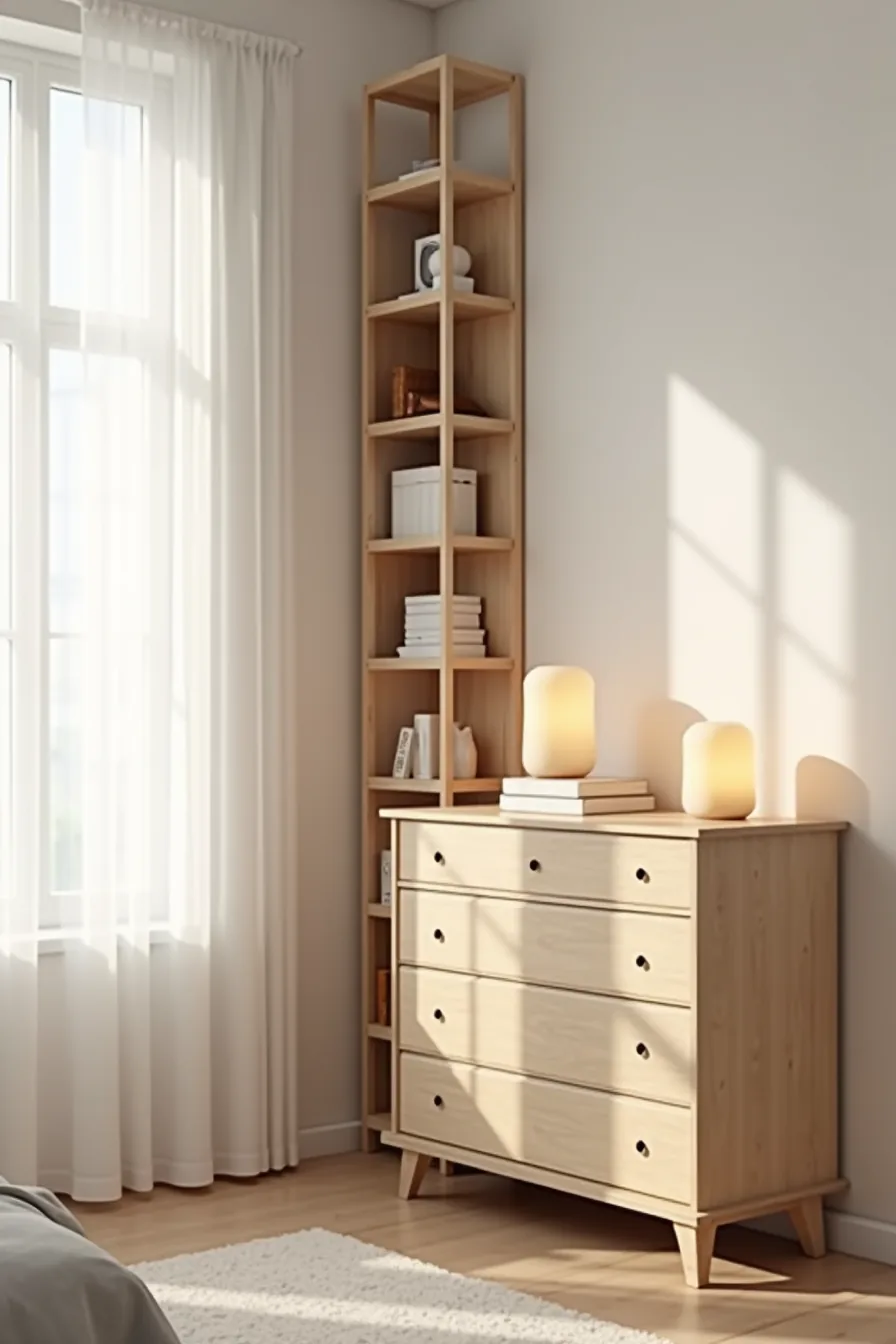
Scale is the difference between storage that works and storage that suffocates a room. In a compact bedroom, a narrow vertical shelf unit tucked into a corner, like the one in the setup below, exploits dead airspace without eating into walking clearance, aim for a footprint under 15 inches deep if your floor area is under 100 square feet. The adjacent dresser with multiple drawers consolidates folded clothing into a single anchor piece; for small rooms, keep the dresser height at or below 36 inches so it doesn’t visually tower over the bed.
Medium-sized rooms, roughly 120–180 square feet, can afford a wider footprint: a 48–60 inch dresser paired with a taller unit works, provided you leave at least 30 inches of clear path between furniture. Large spaces over 200 square feet risk underutilization, distribute storage into zones, not one massive wall unit, so the room doesn’t feel like a warehouse. Every unit you add should either replace a temporary plastic bin or earn its spot within one week of ownership; otherwise, you’re just collecting furniture.
Daily-Routine Organization: Placement and Labeling for Real Use
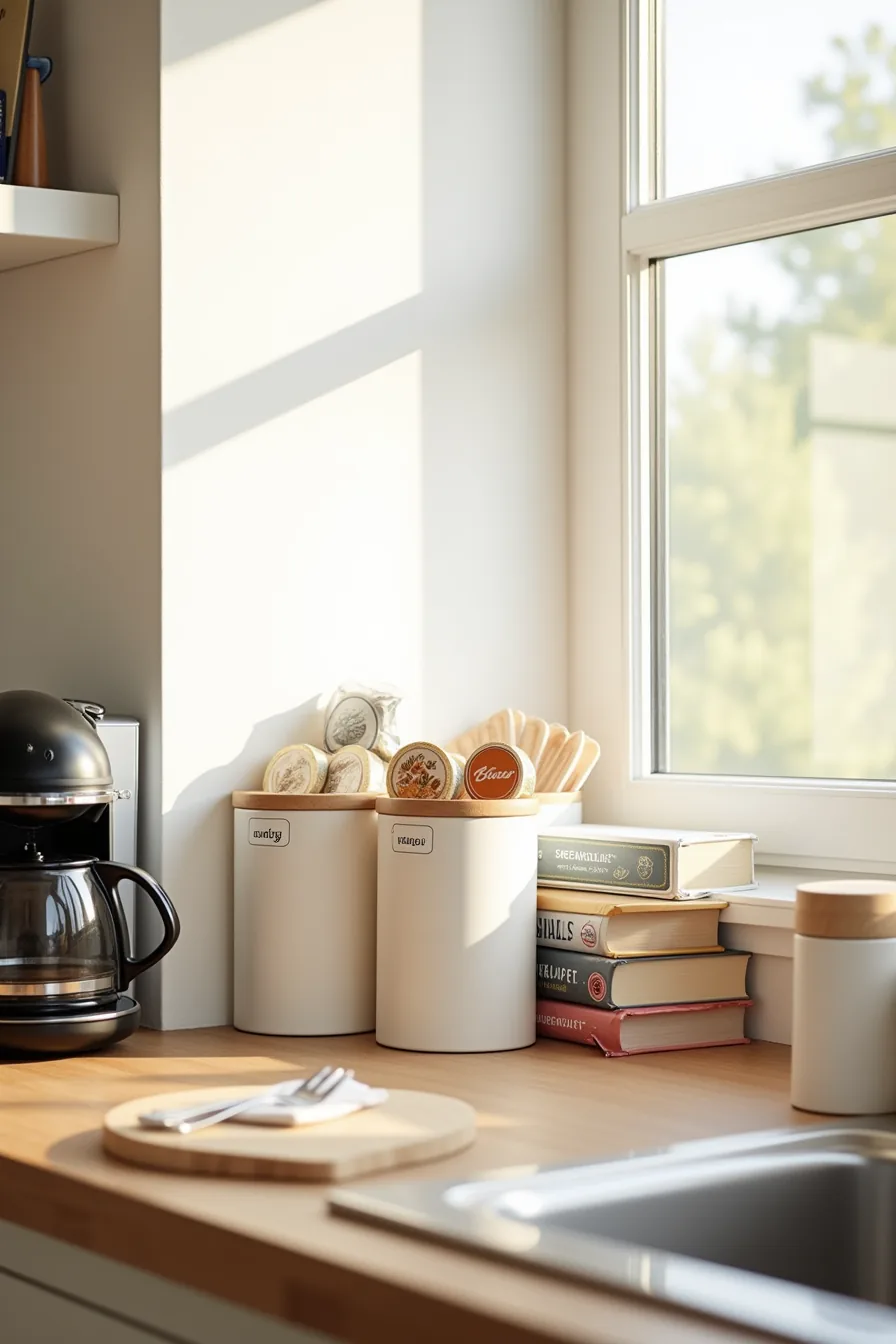
Daily-routine organization succeeds when containers sit where you actually reach for the item, not where they look neatest. On the counter beside the coffee maker and toaster, three clear containers hold coffee pods, tea bags, and breakfast items, each within arm’s length of the appliance that uses it. That placement cuts the morning routine to a single pivot, not a cross-kitchen hunt.
Labeling matters most for shared households. Use a label maker or chalk markers on the container fronts, and write the contents, not the category, “decaf,” not “coffee.” Clear containers let you see remaining stock at a glance, so you refill before empty, not after.
The system only survives real traffic if you obey two rules: return containers to the same spot after use, and never stack them. Stacking adds a step nobody maintains past day three. If the counter lacks room for three containers side by side, prioritize the coffee pods nearest the machine, that’s the highest-frequency item in the chain.
Storage and Organization Ideas for a Weekend Reset
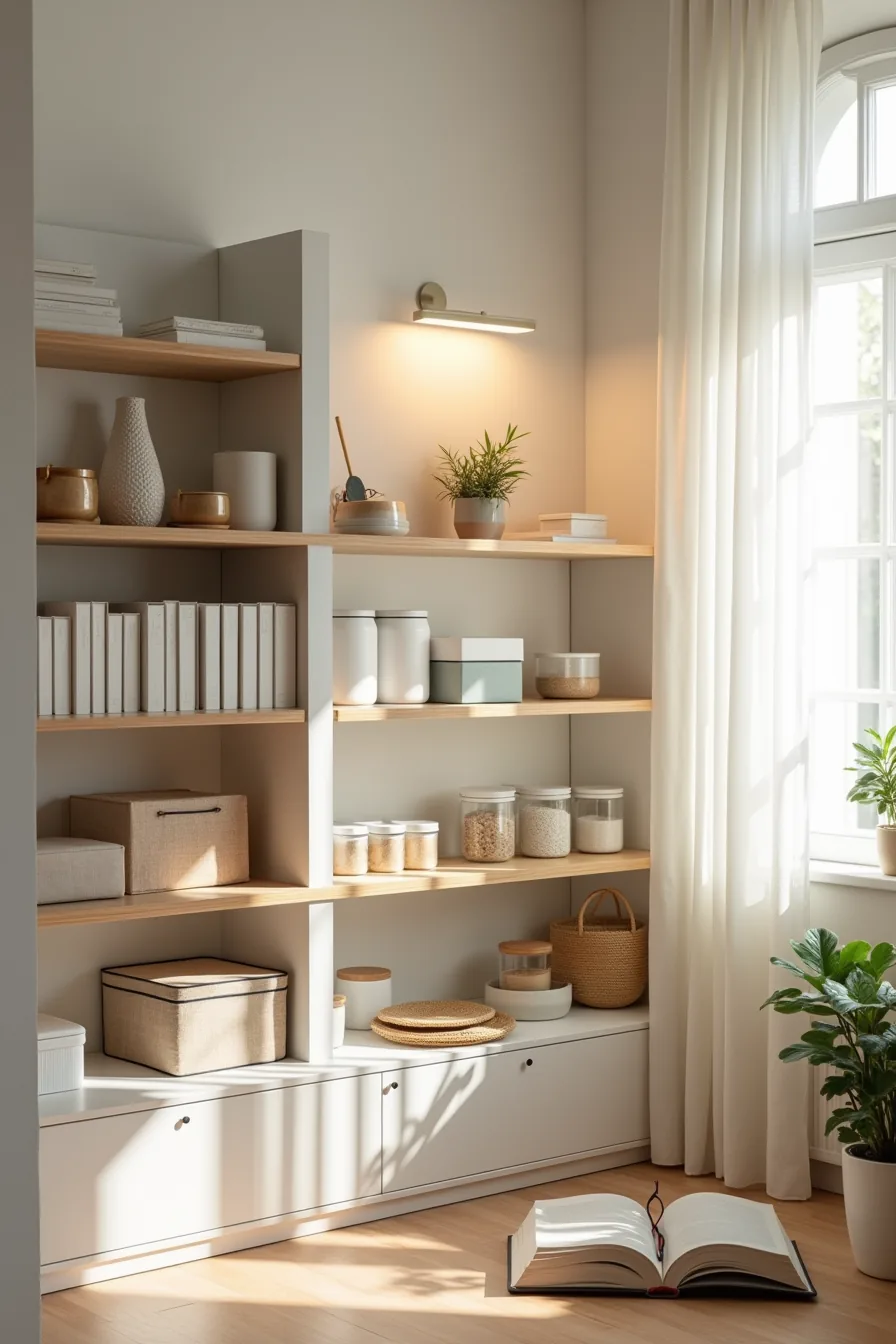
Block four hours on a Saturday, and run your storage systems through a maintenance cycle that keeps them functional for the next three months. Open the shelving unit and remove every container, placing the items temporarily on the floor to see the actual volume you’re storing, most people discover they use less than 60 percent of what’s shelveddur. Wipe down the empty shelves and each container with a damp cloth before anything goes back.
The redistribution step is where most resets fail because people try to do it mid-clean. Keep the shelving unit empty while you sort on the floor: group items you touched in the last month, and give those the easy-to-reach eye-level rows. Anything not touched since the last reset goes into a labeled bin for a donate pile, don’t re-shelve it just because it fits.
Relabel any container whose chalk marker has smudged, then return items only after the surface is fully dry, which prevents dust from bonding to the plastic and makes the next weekend reset faster.
Your first move
Start with the drawer you open most often, the one that frustrates you daily. Empty it completely, wipe it down, and sort every item into three piles: keep, relocate, toss. Measure the interior depth and width before buying anything; most standard drawers run 18–22 inches deep but vary widely by cabinet brand.
That single 20-minute session gives you real dimensions and honest inventory. Only then choose one container system that fits those measurements, not a generic set that looks good on a shelf. One functional drawer beats a dozen Pinterest-perfect closets you never finish.
Frequently Asked Questions
How do I know if I have too much stuff before buying storage containers?
Walk through each room and count items you haven’t touched in 12 months. If that number exceeds 20 percent of your total belongings, declutter first. Containers only organize what you keep.
What’s the difference between open shelving and closed cabinets for storage and organization?
Open shelving displays items for quick visual access but collects dust and requires neat styling. Closed cabinets hide clutter, protect contents from dust, and suit rarely used or mismatched items. Choose open for daily-use aesthetics, closed for bulk and privacy.
Can I use storage and organization systems in a rental apartment without damaging walls?
Yes, use tension rods, freestanding shelving units, over-door racks, and adhesive hooks rated for your wall type. Avoid drilling unless your lease permits; use removable putty or command strips for lightweight items, and always test a small area first.
How often should I reorganize and relabel my storage systems to keep them working?
Reassess every three to six months, or whenever you notice items landing in the wrong spot. Relabel immediately when contents change by more than one item. Seasonal shifts, like winter gear or summer tools, warrant a full review twice a year.