Cubby storage ideas work best when you treat them as a system, not a furniture trend, which means the first step is never buying a shelf, but taking a hard inventory of what you actually need to store. That inventory dictates the one variable that determines success: cube size. From there, you can choose between fixed, adjustable, or renter-friendly units, each with distinct trade-offs in capacity, access, and cost.
The following six approaches show you how to match those choices to your space, your habits, and your budget, without wasting money on compartments that never get used.
Key takeaways
- Audit first: Sort every item into keep, relocate, or discard piles before measuring for cubbies, since storage needs shift by up to 30% once duplicates are removed.
- Fixed cubbies suit permanent setups with heavy loads (books, bins), while adjustable systems cost 20–40% more but let you reconfigure as your inventory changes.
- Open cubbies work best for daily-use items in low-traffic areas, but baskets cut visual clutter by hiding irregular shapes and require dusting only the basket fronts.
- Renter-friendly options like freestanding cube grids or tension-mounted units avoid wall damage, but budget systems typically max out at 30–50 lb per shelf versus 75+ lb for solid-wood builds.
Audit Your Items Before Choosing a System

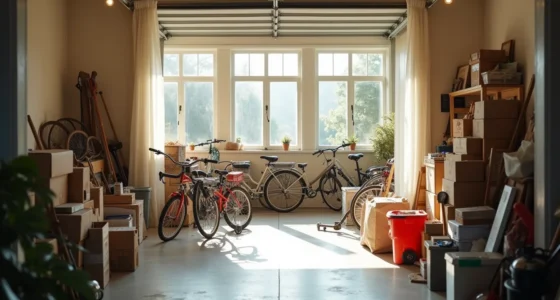
Before you buy a single cube, you need an inventory. Working from a ledger beside sorted piles, a clothing stack, a toy pile, a cluster of sports equipment, you can match each category to the right cubby style. If you skip this, you’ll end up with mismatched spaces: shoes jammed into bins meant for scarves, balls taking up shelves that could hold books.
Measure your available space first. Record the height, width, and depth of the wall or alcove you plan to use, then take a rough count of items in each pile. Group them by how often you need them.
High-use items like daily sneakers belong in open, front-facing cubbies; seasonal gear can go higher or deeper. This audit takes about 30 minutes and it directly determines whether you need shallow display cubes or deep storage units. A quick tally also tells you the total number of openings you’ll need, most household setups run between 6 and 12 cubbies for a single zone.
Fixed vs. Adjustable Cubby Storage Ideas
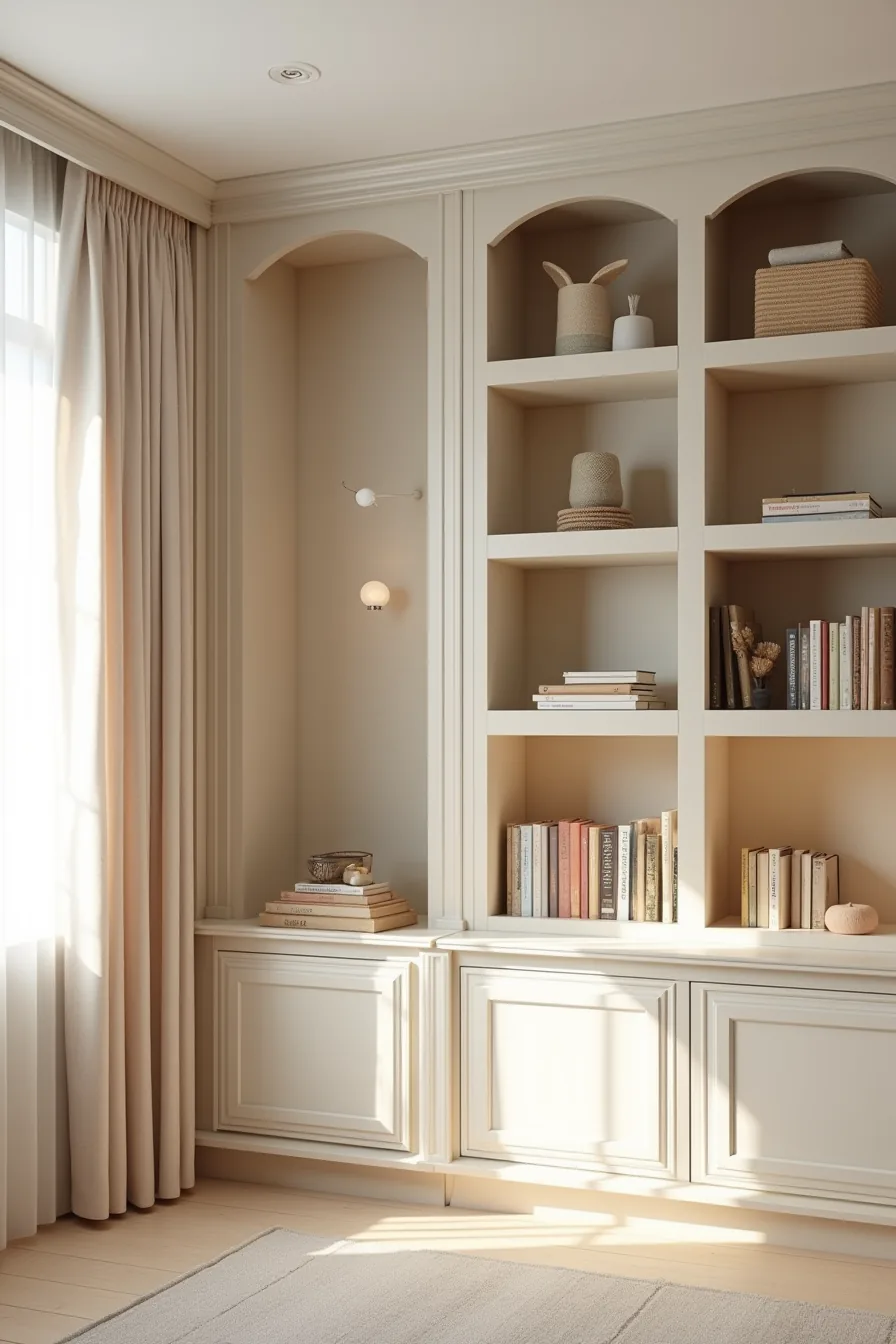
A built-in wall-mounted unit with fixed shelves delivers maximum stability and a smooth, custom look. You’ll need a stud finder, a level, and about two hours to anchor it properly. Fixed systems suit permanent spaces, a mudroom, a home office, where your item mix won’t change seasonally.
The trade-off: zero flexibility. When the boots pile up in winter, those fixed 12-inch openings won’t stretch to accommodate them.
A modular stackable plastic cube system gives you rearrangeable openings that grow with your needs. Each cube typically runs 11–13 inches square, and you can add or remove units in minutes without tools. This approach fits renters or families whose storage demands shift.
The downside is visual bulk and slightly less structural rigidity, you’ll want to secure tall stacks to the wall, especially with kids around. Built-ins cost three to five times more upfront, but they’ll last decades; plastic cubes run cheaper but show wear at the connectors after a few moves. Choose fixed for permanence, modular for adaptability, and match the opening depth to your largest stored item, most bins need at least 14 inches of depth to slide in and out cleanly.
Baskets vs. Open Cubbies: Which Suits Your Space
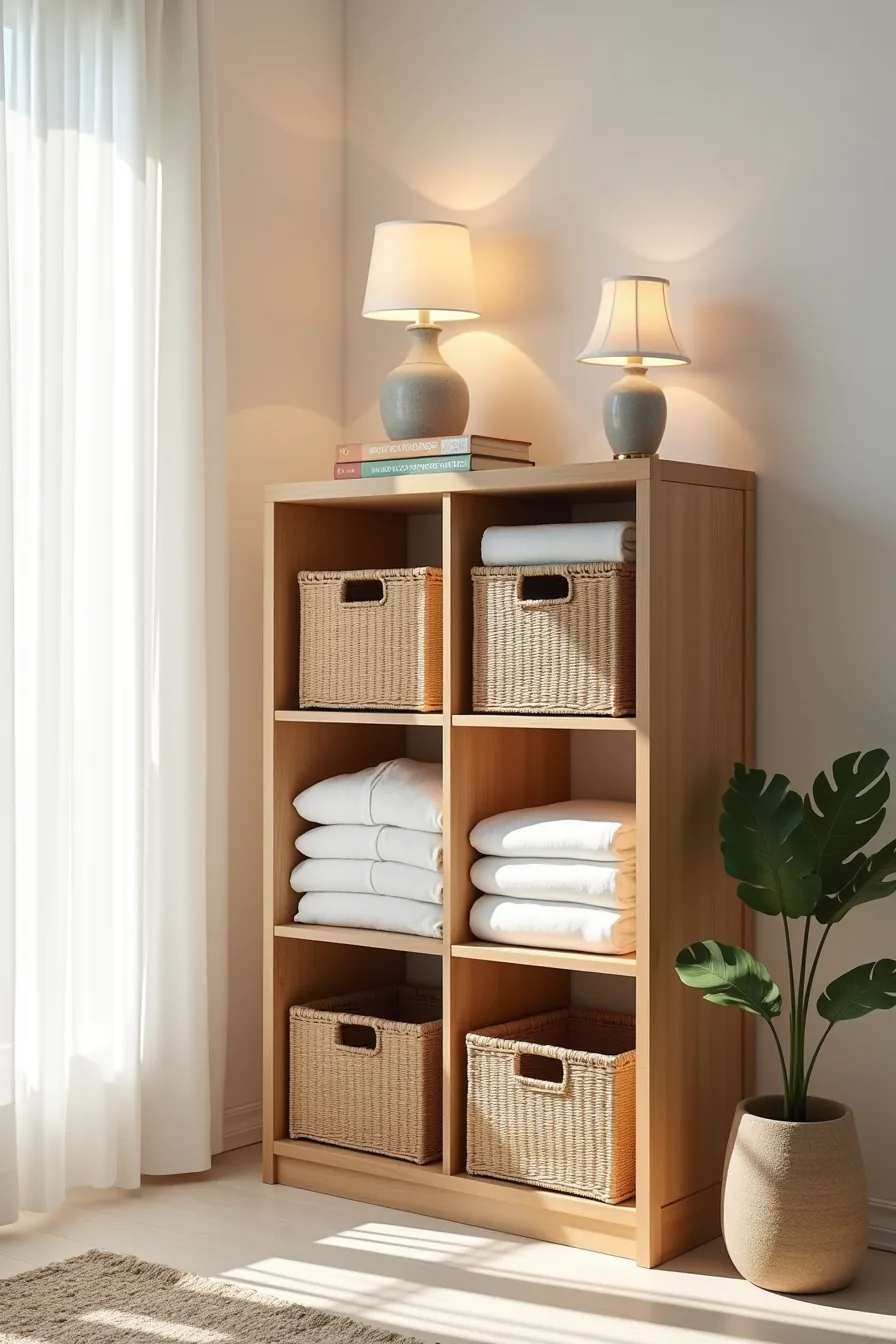
A four-cube wooden shelving unit with two woven baskets flanked by two open cubes offers the best of both approaches in one footprint. Those closed woven baskets hide clutter and catch dust silently, but they cost you visibility and access speed, you’ll lift a lid or pull the basket to find what’s inside. The open cubes do the opposite: folded linens and stacked items are instantly visible and grab-and-go, yet they demand constant tidying and clear labeling to avoid visual noise.
Match the basket-to-open ratio to your daily rhythm. If you reach for items multiple times a day, keep them in open cubes at waist or eye height. Reserve baskets for lower or higher cubes where seasonal or rarely used items live.
One practical rule: label every basket on the front-facing edge, and expect to re-fold open-cube stacks weekly, unlabeled open storage degrades into a jumble within days.
Styled Cube Display for High-Traffic Zones
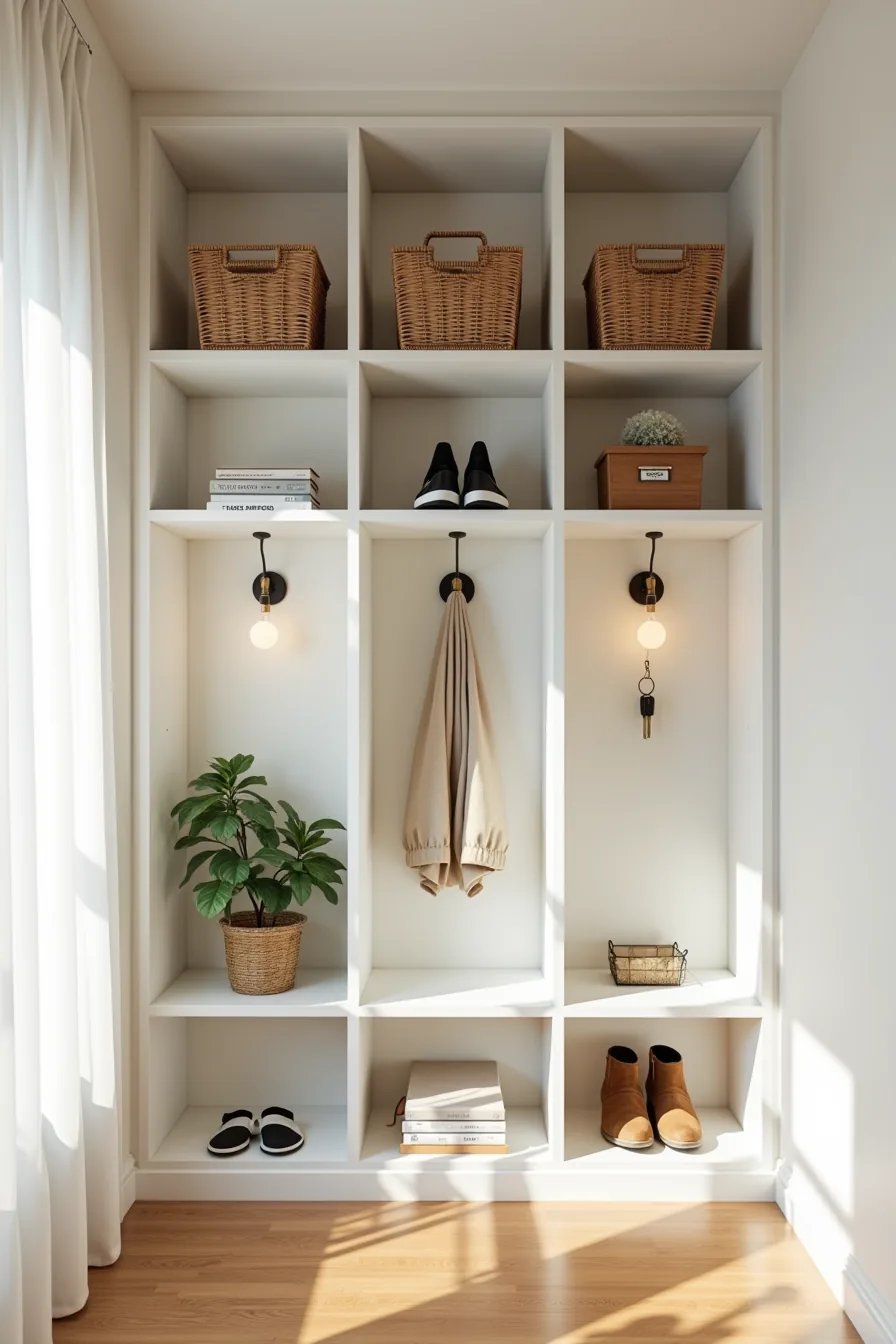
Zone your cubby wall by activity and person to stop the drop-zone pileup before it starts. In that six-cube setup, the top row holds labeled woven baskets for each family member’s gloves and hats; the middle row keeps daily shoes on one side and a small plant on the other. The plant isn’t decorative filler, it signals “this zone is maintained” and catches your eye so you notice when items drift out of place.
The bottom cube is where the rules change. A water-resistant tray holds keys and small pocket items, which keeps moisture and mud off the wood surface, essential in an entryway where wet shoes and rain-soaked fabrics land. Mount a coat hook beside the unit, not on it, so heavy jackets don’t strain the cubby frame over time.
Assign one cube per person per category, and label the baskets on the front-facing edge. When every item has a named home, the “toss it anywhere” habit loses its target. Choose sealed, wipeable finishes for the bottom row; expect to wipe the tray weekly and vacuum the shoe cube monthly.
Scaled Cubby Storage Ideas for Kids’ Rooms
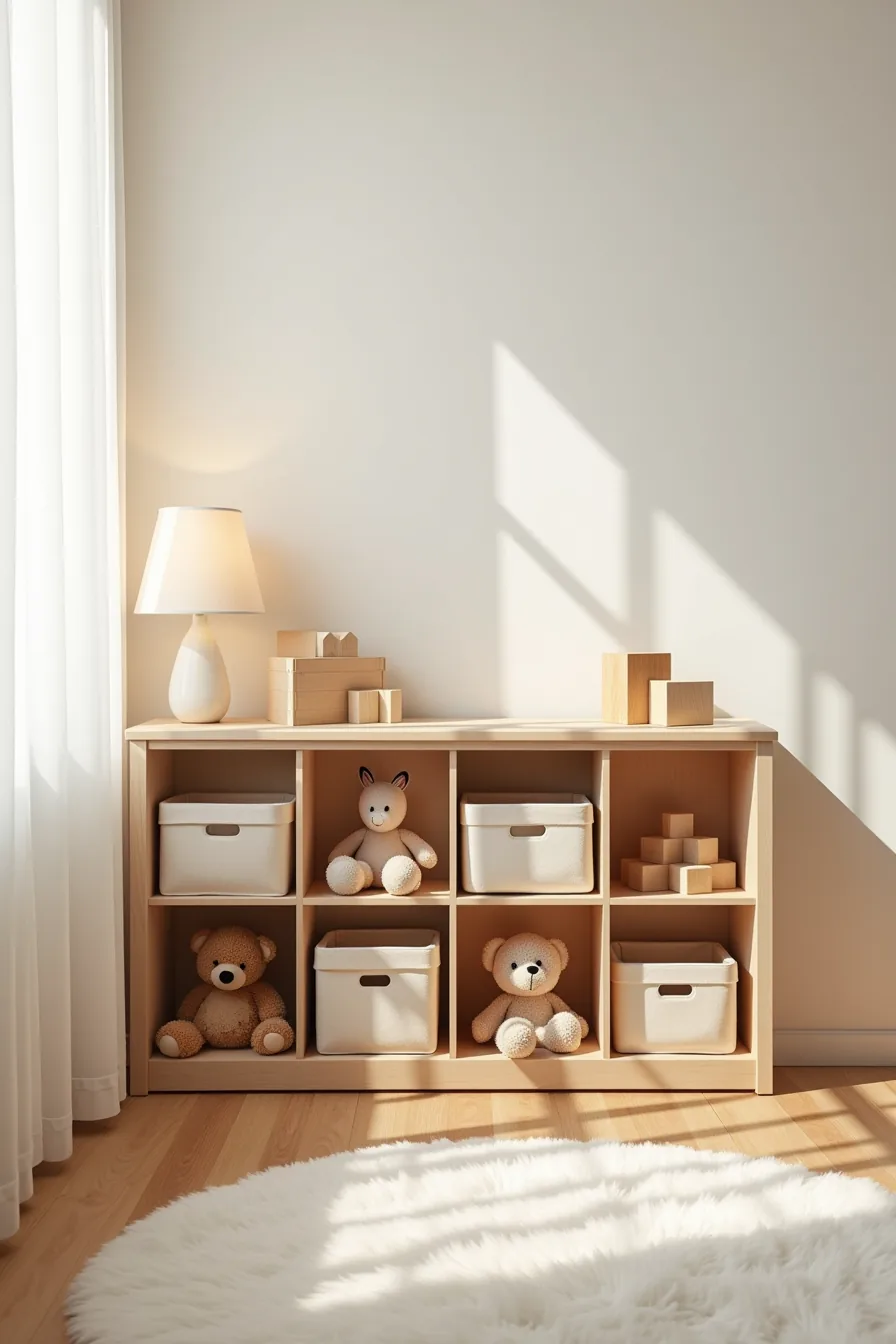
Kids’ rooms need cubbies they can actually use, and that means sizing everything to their reach, not yours. A low wooden cubby unit around 30 inches tall puts six child-sized compartments at eye level for a preschooler standing three feet away. That reachable height matters because toys stored above shoulder height get ignored, and kids climb to retrieve them, which is a safety risk you don’t want to invite.
For the toy bins, choose open-front fabric or plastic containers with cutout handles. Kids can see what’s inside without dumping the whole bin, and they can slide it out from the cubby without pinching fingers. Reserve the visible shelves for stuffed animals and building blocks, items that don’t need corralling and that a child can grab and return in one motion.
The rotation rule keeps the system honest: one bin in, one bin out. When a bin fills past overflow, swap it for a lesser-played bin from a closet, and cap the inventory at what fits comfortably. Label each bin with a picture and word combo so non-readers can sort independently.
Choose a wood unit with rounded corners and anchor it to the wall before you load it, cubbies this low become climbing frames if they’re not secured. As your child grows, you can adjust the system by swapping toy bins for books, art supplies, or folded clothes without changing the unit itself.
Renter-Friendly and Budget Cubby Solutions
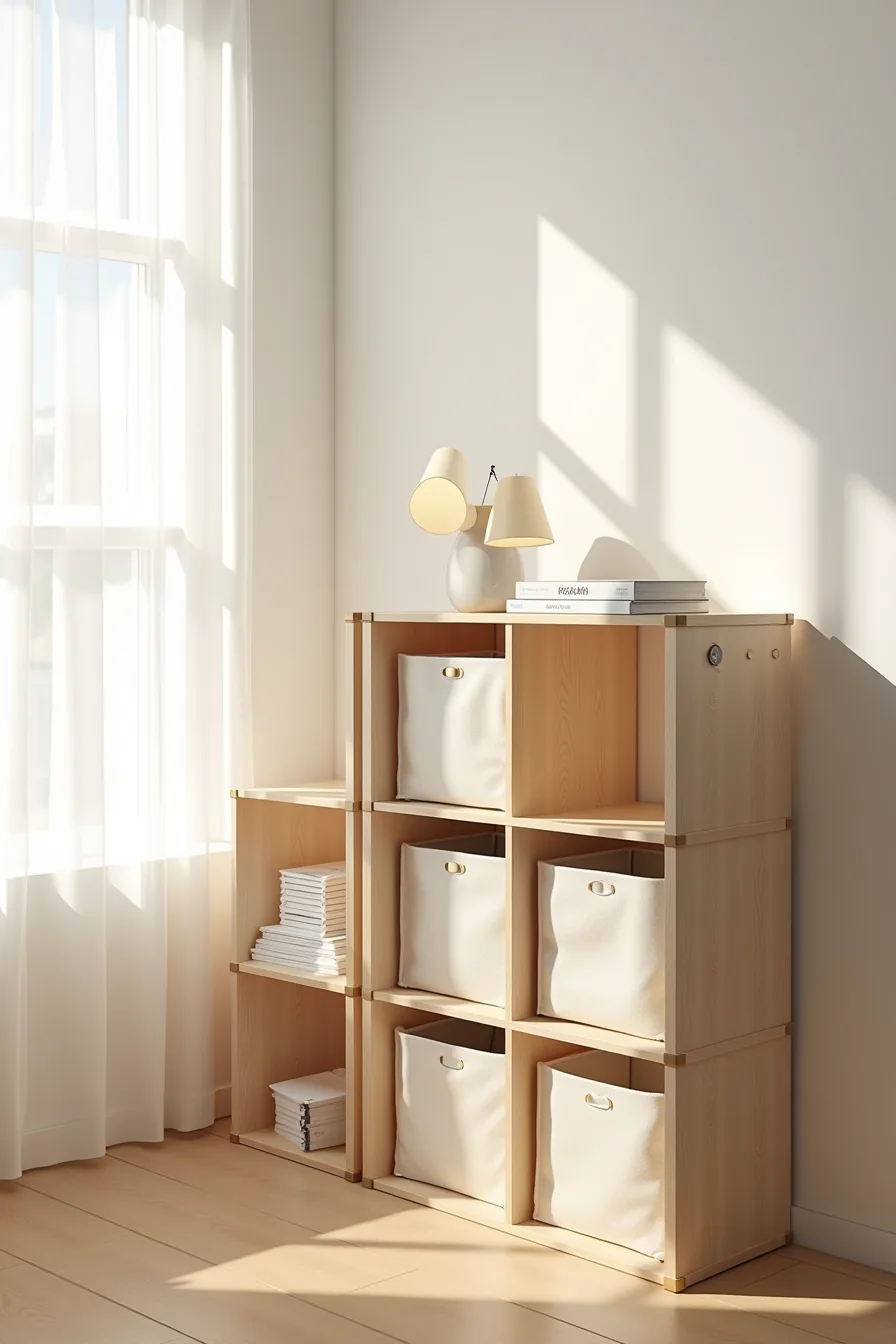
A freestanding four-by-four fabric cube organizer delivers the same grid logic as built-in shelving for roughly $40–$80, and it leaves zero trace when you move. The frame collapses flat for transport, and the bins slide out for washing, check the tag, but most polyester covers tolerate a gentle machine cycle. You want one with a rigid cardboard or plastic insert behind the fabric; without it, the shelves sag within months under anything heavier than a folded tee.
Anchor the unit to the wall even in a rental, use furniture straps with Command strips if you can’t drill, and confirm the strip weight rating covers the loaded organizer. An eight-cube unit reaching 50–60 inches tall stores roughly 24–32 folded sweaters or 16–24 shoeboxes, but keep the top row for lightweight items you access less often.
Stick adhesive-backed hooks to the side panel for bags or jackets; they hold 3–5 pounds each and peel off cleanly with a hairdryer. Label the removable bins with chalk tags or washi tape so the grid stays intuitive, and vacuum the fabric panels monthly to keep dust from embedding in the weave.
Your First 20 Minutes
Start with the inventory, not the containers. Empty every cubby into a single pile, sort into keep, donate, and relocate, and measure the items that remain. That measurement tells you whether you need fixed shelving, adjustable inserts, or simple bins.
Buy one system for the problem zone, not six for the whole house. Live with it for two weeks. If it works, replicate it; if not, return it and try a different configuration.
Clear a single shelf tonight, sort what fits, and photograph the result. That photo becomes your reference point for every decision that follows.
Frequently Asked Questions
What is the difference between cubby storage and shelving?
Cubby storage encloses items on three sides, bottom, back, and sides, keeping contents contained and organized. Shelving offers open, unobstructed access but provides no lateral support, making items prone to sliding off or toppling.
How do I prevent items from falling out of open cubbies?
Install a tension rod or a low front lip, typically 2-3 inches high, across the opening. Alternatively, use fabric bins or baskets that fit snugly inside each cubby, adding a barrier and making retrieval easier.
Can cubby storage work in small apartments?
Yes. Use vertical, wall-mounted cubby units that rise to the ceiling, maximizing storage without eating into floor space. Choose units 12-16 inches deep for narrow hallways, and opt for open-front designs to keep the room feeling airy.
What materials resist moisture best in mudroom cubbies?
Marine-grade plywood or PVC foam board are top choices, as they withstand humidity without warping. For a budget option, sealed and painted MDF works, but avoid raw particleboard, which swells and degrades quickly in damp conditions.