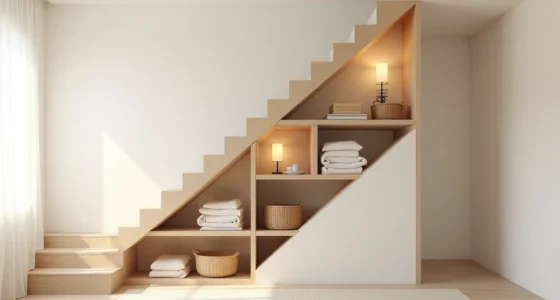

Your attic stops being storage the moment you treat it as a second floor, and the first step to making that shift is emptying it entirely so you can see what you actually own. That inventory reveals the real problem: you don’t lack space, you lack a system that matches how you retrieve things. The six solutions that follow range from fixed shelving to renter-friendly tension rods, each with a specific capacity, access trade-off, and maintenance cost, so you can match the design to your actual attic footprint, not a Pinterest fantasy.
Key takeaways
- Audit first: Walk your attic with a tape measure and inventory list before buying anything, because most storage failures trace back to purchasing containers that don’t fit the actual roof pitch or floor footprint.
- Fixed shelving wins on long-term capacity for tall, open attics, but it demands sturdy wall studs and a permanent commitment, expect installation costs to run 30-50% higher than freestanding units.
- Adjustable racking systems suit seasonal rotation best, letting you reconfigure shelf heights in under an hour to accommodate bulky holiday decor or flat storage bins without tools.
- Renter-friendly options like modular wire cubes or foldable fabric drawers cap out around 50-75 pounds per unit, so reserve them for lightweight keepsakes and prioritize labeled, clear bins for easy access under sloped eaves.
Audit Your Attic and Inventory Before Buying Anything
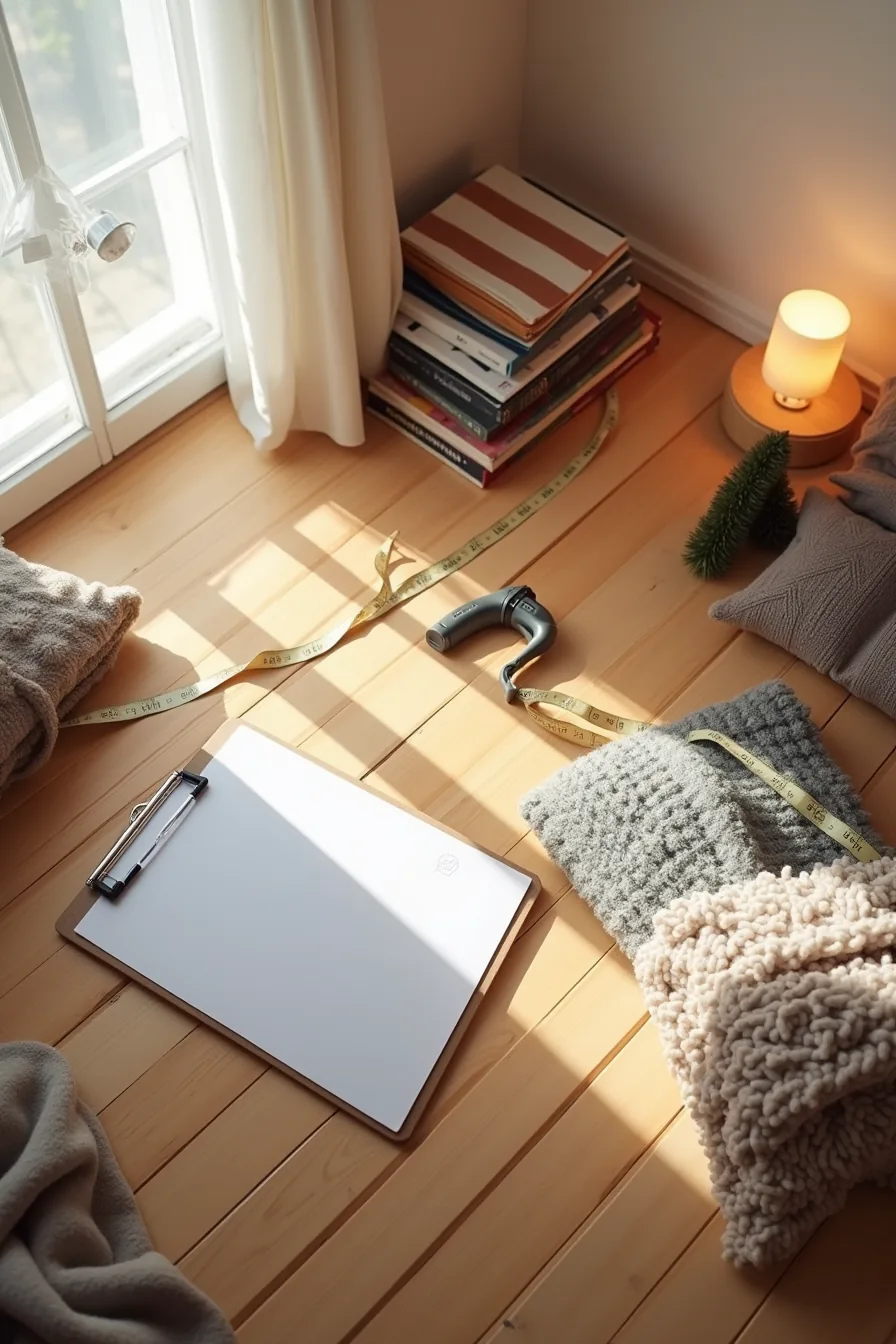
Before you spend a dollar on bins or shelving, measure your usable floor space. Attics lose significant square footage to sloped ceilings, measure only where headroom exceeds 4 feet, since that’s the minimum height for comfortable crawling and stacking. Stretch a metal measuring tape across the wooden planks to map out these zones, and note any spots where you can’t stand upright.
Next, dump everything out and sort into distinct piles on the floor: winter clothes, holiday decorations, tools, and items you forgot existed. You’ll likely find duplicates and broken pieces you can discard immediately. Write everything on a clipboard checklist, grouping by how often you access each category, monthly, seasonally, or yearly.
This baseline inventory determines your storage systems. High-frequency items need front-facing access near the hatch; yearly items can live in the deepest, hardest-to-reach corners. Without this step, you’ll buy mismatched containers that don’t fit your actual ceiling angles or access patterns.
Fixed Shelving for Year-Round, High-Capacity Attic Storage
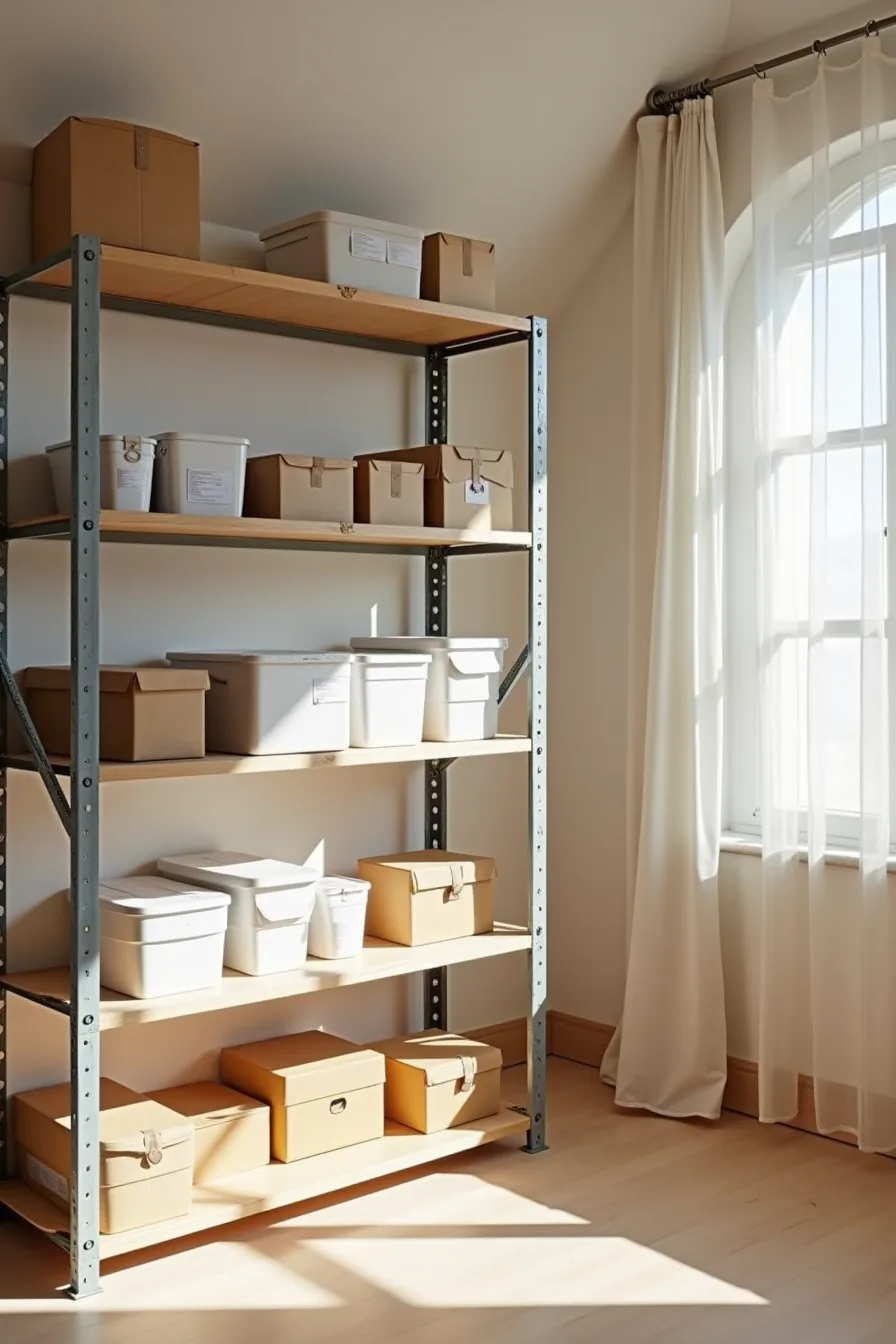
Permanent wall-mounted shelves deliver the highest weight capacity of any attic option. A metal shelving unit bolted directly into rafters, like the one holding stacked plastic bins and sealed boxes across the full width of a peaked roof, supports substantially more than freestanding alternatives. Install units rated for 500–800 pounds per shelf if you plan to store heavy tools or bulk seasonal items, but only mount into solid structural lumber, never drywall alone.
Position the base shelf 12–24 inches off the floor to keep contents clear of potential moisture and make sweeping underneath manageable. For sloped ceilings, step down shelf depth as you ascend: use 18-inch-deep shelves lower down, tapering to 12 inches near the peak. This keeps boxes within arm’s reach while maximizing every vertical foot.
Leave 4–6 inches between the top of stacked bins and the roof deck for airflow, which prevents condensation from forming on stored goods.
Fixed systems require basic carpentry skills and a stud finder; expect 2–4 hours for a two-person installation. They permanently reduce flexibility, so commit this zone to items you access no more than quarterly.
Adjustable Racking Systems for Flexible Seasonal Storage Zones
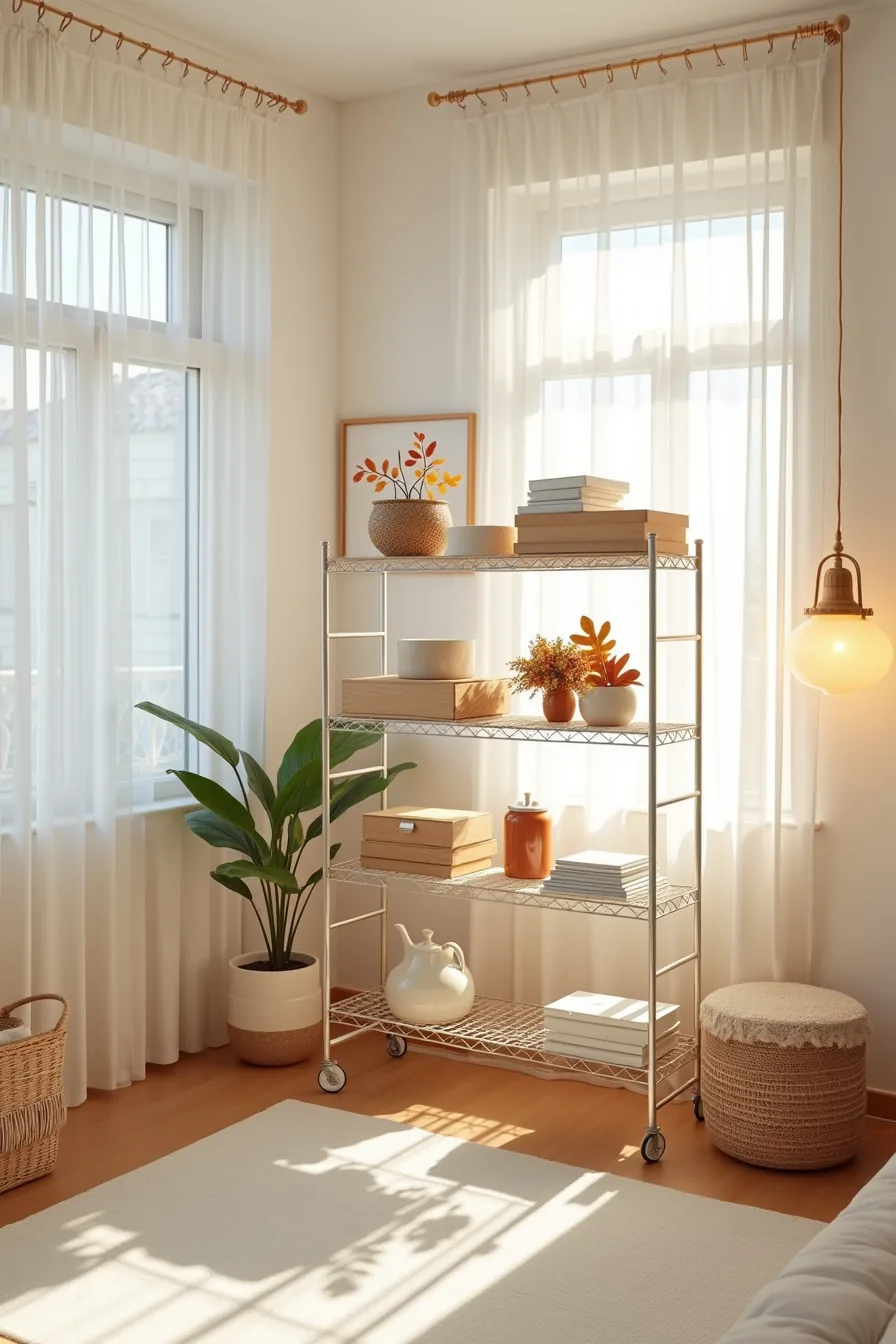
Modular wire racking solves the attic problem of changing needs by letting you reconfigure shelf heights in minutes without tools. The featured unit demonstrates this: summer beach gear sits on a lower shelf at 14 inches of clearance for bulky towels and floats, while winter holiday boxes occupy the upper tier at 24 inches, and autumn decorations claim a middle position at 18 inches. Each shelf adjusts independently, so when the seasons flip, you simply reposition the shelf clips rather than emptying the entire unit.
Typical adjustable systems range from 48–72 inches tall and 36–48 inches wide, with wire shelves rated between 250–350 pounds each. Spread heavy items like canning jars or power tools across multiple lower shelves instead of stacking them on one, this reduces sag and keeps the unit stable on uneven attic flooring. The open wire design also allows air to circulate around stored goods, which cuts down on musty odors that sealed cabinets trap.
This approach suits renters or homeowners who rotate inventory every 90 days. Budget 30–60 minutes to rearrange all shelves, and pair the rack with clear bins so you can identify contents without pulling anything down. If your attic has a low eave, position the tallest shelves toward the center peak and step down the heights as the ceiling slopes, you still gain a functional seasonal storage zone without wasted vertical space.
Low-Height Cabinet Ideas for Sloped Ceiling Solutions
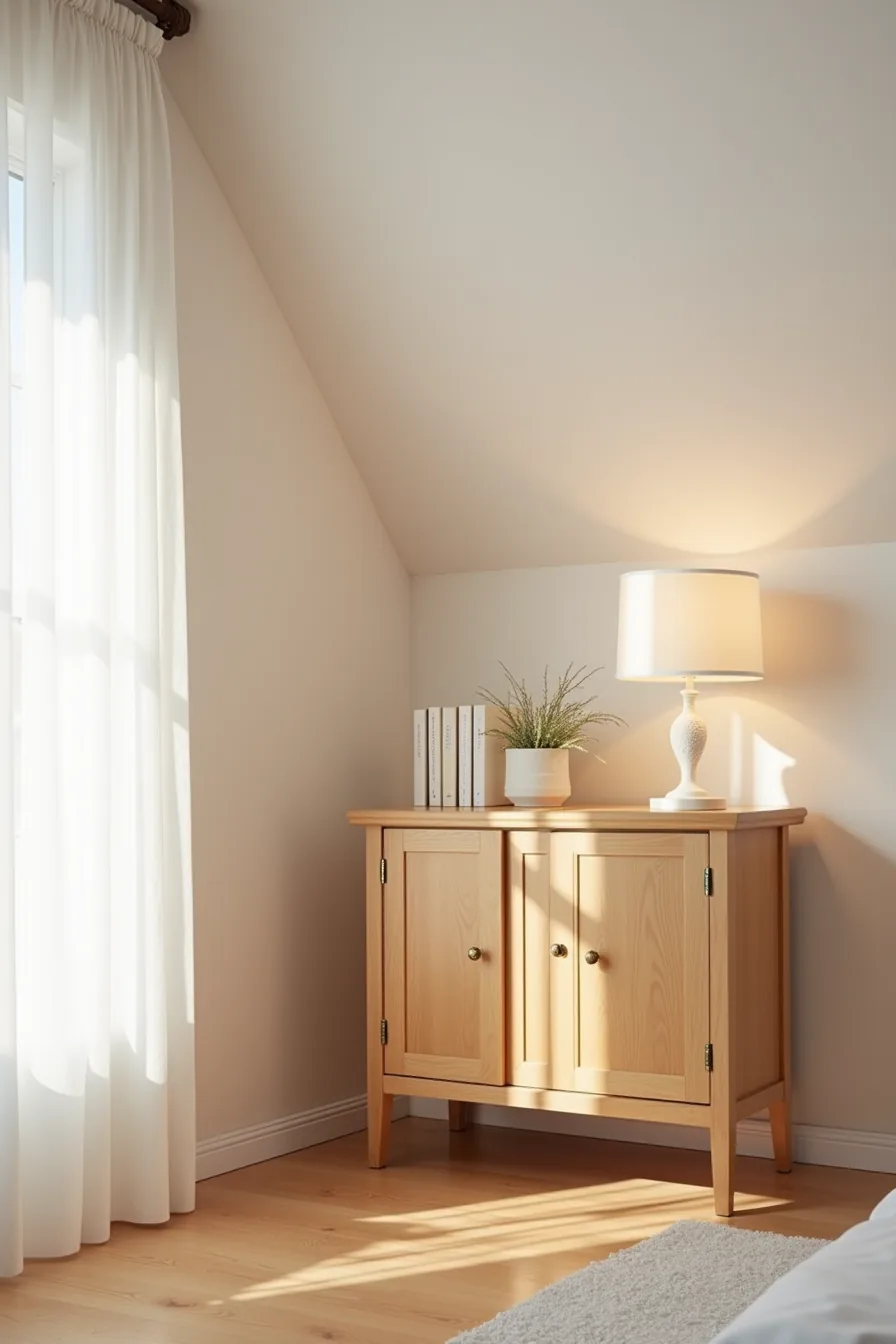
A low wooden cabinet with two doors, standing 24–30 inches tall, fits naturally beneath an attic eave where full-height furniture would block the slope. Position it against the attic wall where the ceiling drops to its lowest point, leaving the open floor area clear for headroom and movement. The cabinet’s compact depth, typically 16–20 inches, tucks flush against the wall without protruding into the walking path.
Choose a model with hinged doors that swing fully open rather than sliding options, which can bind against the uneven ceiling line. Inside, use pull-out bins or stackable trays so you can reach rear items without kneeling deep into the cavity, a real trade-off when the roofline limits how far you can lean in. Ventilation matters here: keep a 2–3 inch gap between the cabinet back and the attic wall to let air circulate and prevent moisture buildup on the wood surface.
This setup works best for infrequent-access items like holiday linens, spare bedding, or out-of-season shoes you retrieve a few times a year. Budget 15–30 minutes to rearrange contents when swapping seasons, and wipe the cabinet’s exterior with a dry cloth every few months to manage attic dust. Secure the unit to a wall stud if your attic floor vibrates, and avoid placing it directly under a roof vent where temperature shifts can stress the wood joints.
Renter-Friendly and Portable Storage for Temporary Attics
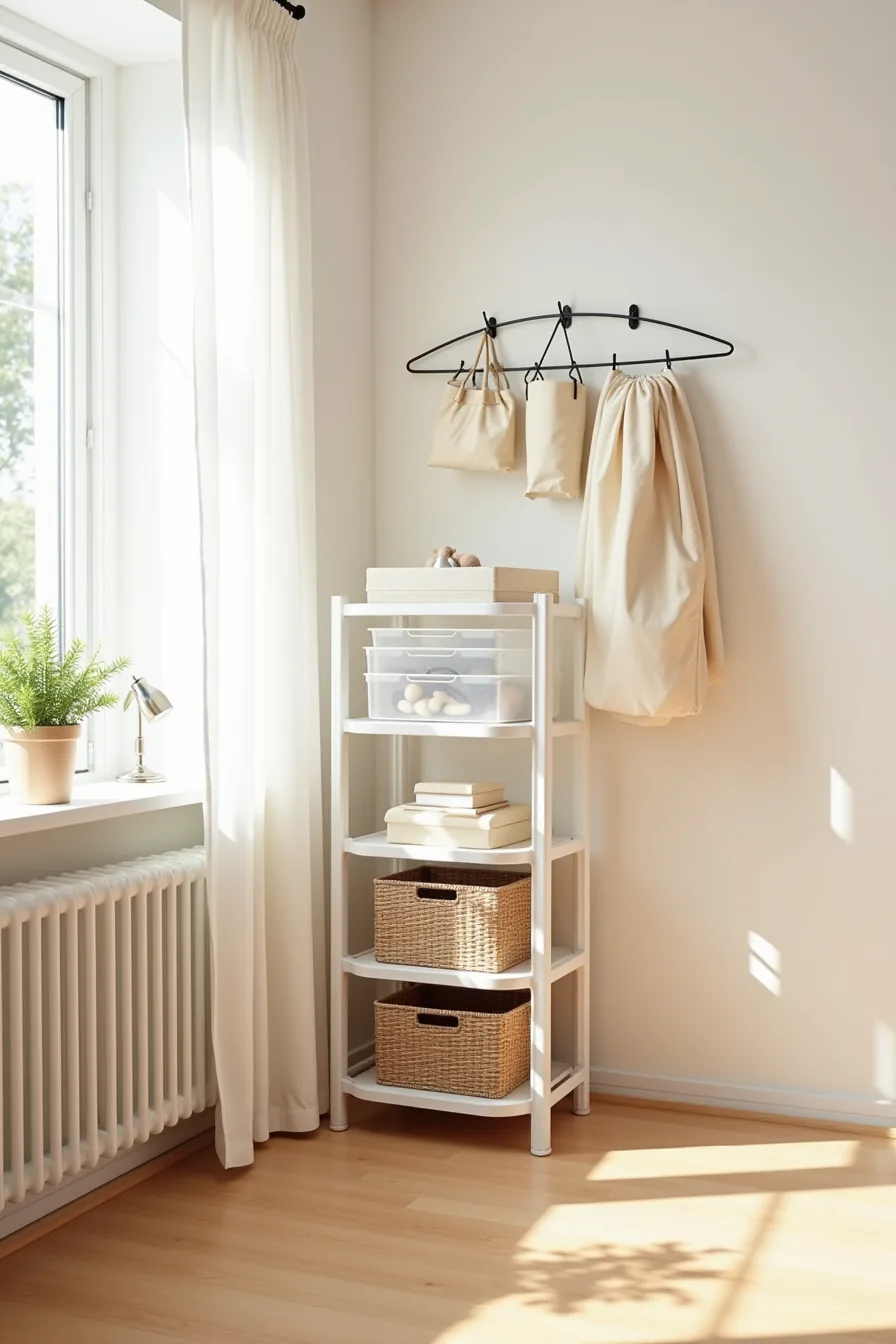
A freestanding plastic shelving unit with no tools required gives you full storage capacity without touching a single wall, a decisive advantage when your lease forbids drilling. Place it 6–8 inches away from walls and rooflines so air moves freely behind it and you can access bins from every side. The clear plastic bins let you identify contents at a glance, while woven baskets hide the less tidy odds and ends you’d rather not display.
Above the unit, a tension rod spans between two ceiling joists without leaving marks. Hang lightweight fabric storage bags from it for scarves, winter hats, or off-season accessories that would otherwise crush inside stacked bins. Assembly takes 10–15 minutes, and the entire system disassembles in under five when moving day arrives, leaving nothing behind but footprints.
This approach suits short-term rentals or anyone who expects to relocate within 2–3 years. Budget roughly $60–$120 for a four-shelf unit, a dozen bins, and the tension rod. Wipe plastic shelves quarterly with a damp cloth; fabric bags machine-wash on gentle.
Skip this route if your attic has high humidity, as plastic traps condensation against stored goods, opt for ventilated wire shelving instead.
Turn Awkward Attic Corners Into Useful Storage With Custom Fit Solutions
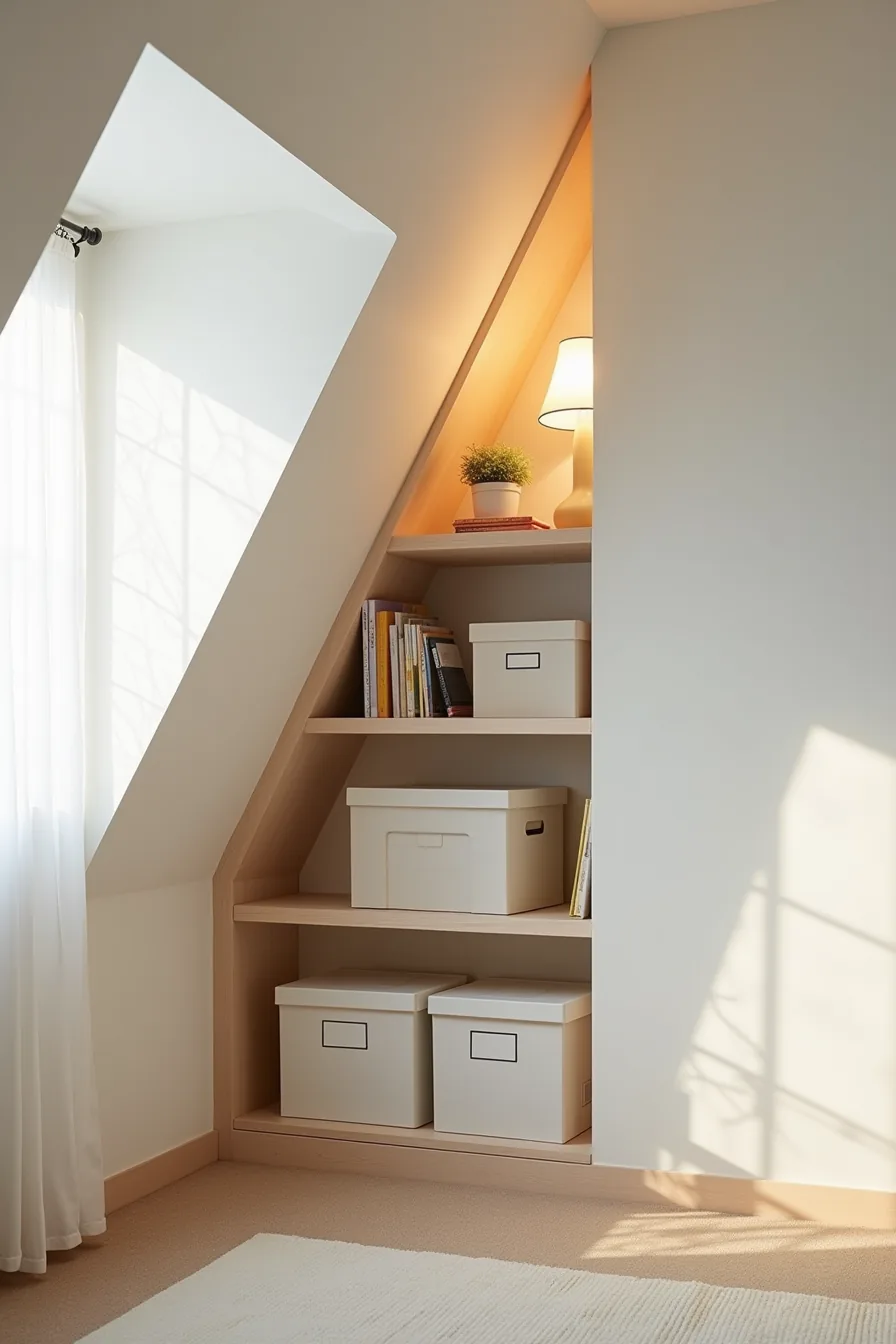
The triangular dead zone where two sloped walls meet usually ends up as a dumping ground for things you never see again. Measure the corner’s height at its highest point, the depth of both slopes, and the floor footprint before designing anything, a custom angled shelf unit built to those exact dimensions turns that void into prime real estate. Have the shelving cut from ¾-inch plywood with a beveled front edge, and you’ll gain three to four tiers of storage that a straight-sided cabinet simply can’t use.
Fit labeled storage boxes and sealed containers on each tier, positioning the most-used items at waist height where you can reach them without stretching into the roofline. Slide boxes out from the front rather than lifting them over lower shelves, and keep every container sealed tight against dust and humidity. Install a small dehumidifier nearby if your attic shows any condensation on cold mornings, moisture will ruin cardboard and warp plywood within two seasons.
For small attics, one corner unit can add up to 12 cubic feet of storage; larger spaces can accommodate two mirrored units on opposite corners to balance the load. Expect to spend $150–$300 in materials for a DIY build, or $400–$700 if a carpenter fabricates it for you.
What to do first
Before you buy a single bin, measure your attic’s clear floor space and lowest ceiling height. Skip any container taller than 30 inches if you’ve less than 4 feet of headroom, you’ll never lift it out safely.
Start with one corner, not the whole space. Clear it, install a basic platform or shelving unit, and store your most-used seasonal items there. That single working zone shows you exactly what adjustments your layout needs before you scale up.
Your next step: take those measurements and your inventory list to a storage retailer this week. Pick one adjustable shelving system and one set of clear, stackable bins with lids that seal. That pair handles 80% of attic storage needs and costs less than $200 in most markets.
Frequently Asked Questions
Question
What’s the typical weight limit for attic shelving, and how do I know if my joists can support it?
Most attic floors handle 10–20 pounds per square foot, but joist spacing, span, and condition vary widely. Check exposed joist size and spacing, then consult a structural engineer before adding heavy shelving.
Question
Should I use plastic bins or cardboard boxes for attic storage, and how do I protect items from moisture and temperature swings?
Use clear, lidded plastic bins, cardboard absorbs humidity and invites pests. Seal bins with silicone gaskets, improve them off the floor, and add silica gel packs to manage condensation during seasonal temperature shifts.
Question
How do I organize seasonal items so I can find them quickly without creating a maze?
Group by category and season, then label each bin’s front and top with a bold marker. Create a simple map on the attic door listing bin numbers and their contents, and keep a clear central aisle for access.
Question
What ventilation and pest-prevention steps do I need to take before storing anything in my attic?
Ensure soffit and ridge vents are unobstructed, and install a dehumidifier if humidity exceeds 50%. Seal gaps around pipes and eaves with steel wool and caulk, then set traps near entry points before adding storage.