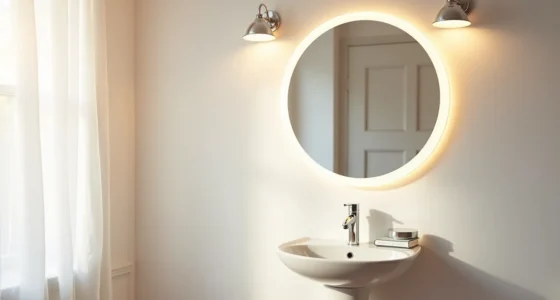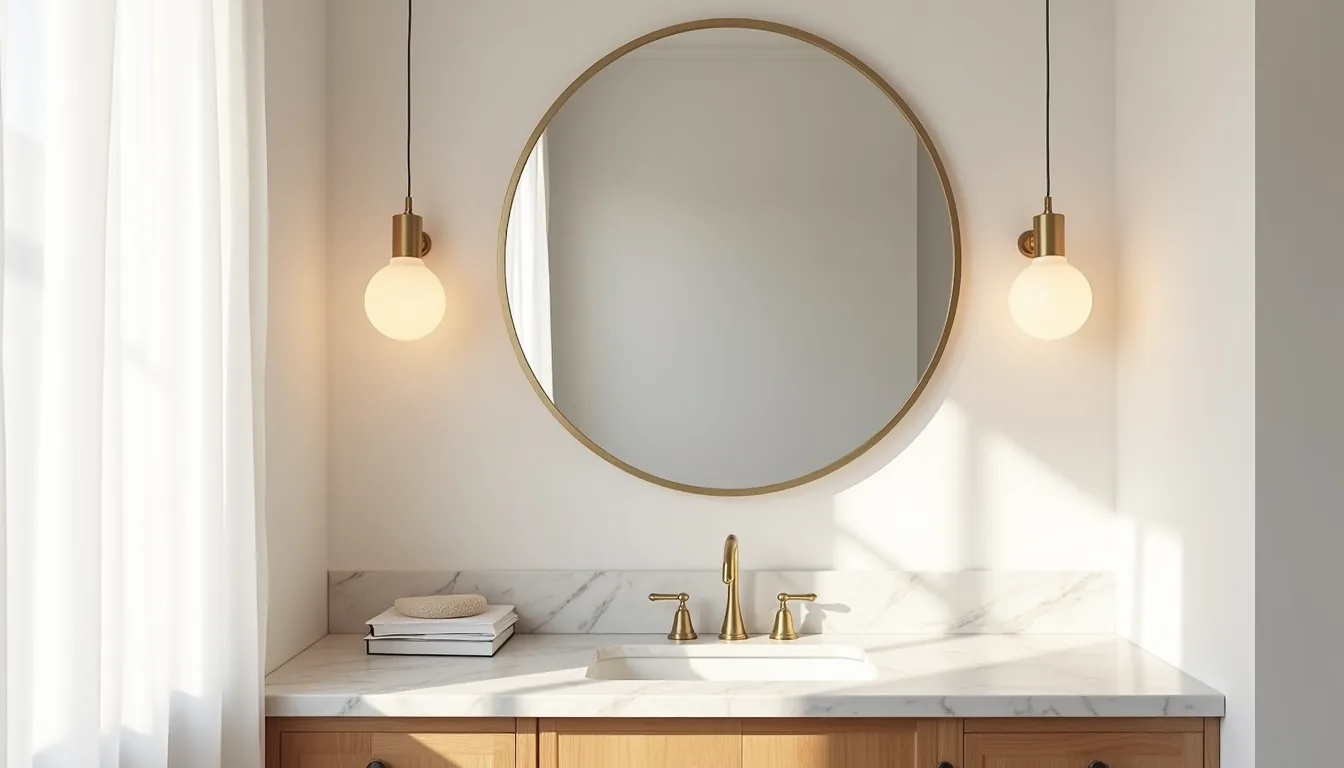

A circle mirror is one of the few decorative pieces that can anchor a room without adding visual weight, but its success depends entirely on where you place it and how you size it. Get the scale wrong, and you’ll visually crowd a hallway or leave a console looking sparse. The six approaches that follow range from a budget-friendly floor lean to a built-in investment piece, each with the specific dimensions and placement logic you need to replicate the look without guesswork.
Key takeaways
- Measure twice, hang once: position a round mirror so its center sits at eye level (57-60 inches from the floor) and leaves 6-8 inches of clearance above a vanity or console.
- Choose framing by room moisture: solid wood or metal frames suit bathrooms and kitchens, while frameless beveled mirrors tolerate humidity better but show water spots and need weekly wiping.
- Use diameter as your anchor: for a 30-inch vanity, pick a 24-28 inch circle; for a large living room wall, go 36-48 inches wide, and in a narrow hallway, cap it at 18-22 inches to avoid blocking traffic.
- Budget smart, not cheap: a renter-friendly adhesive-mounted acrylic mirror costs $20-40 and leaves no holes, while a solid brass-framed investment piece runs $150-300 and needs only occasional polish to stay spot-free.
Round Mirror Over Vanity: Scale and Placement Rules
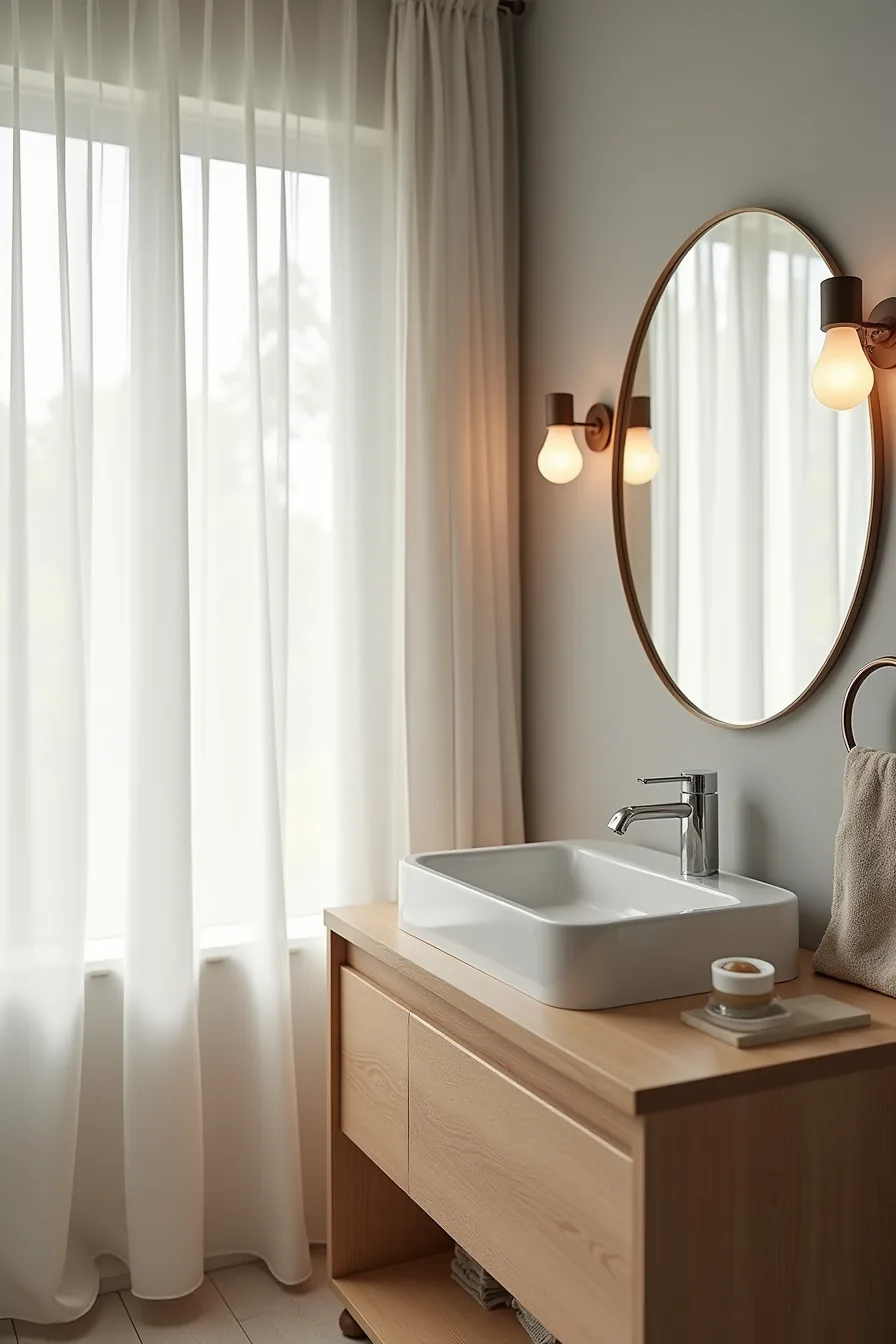
A circle mirror over a vanity works when its diameter falls between 50–75% of the vanity width. For a single-sink setup, that typically means 24–36 inches; a 36-inch mirror suits a 48-inch vanity, while a 24-inch version fits a 30-inch base. In the setup pictured, the 36-inch circle sits 6 inches above the faucet, which keeps the mirror’s bottom edge from colliding with the spout during use while leaving enough wall to anchor the fixture visually.
Placement matters more than style here. Leave 3–6 inches of clearance on each side of the mirror to avoid a cramped feel, and mount the center at your eye level, roughly 60–65 inches from the floor for most adults. The ceramic sink basin, chrome towel rack, and soap dispenser flanking the mirror follow a simple rule: keep mirrored surfaces within arm’s reach of the basin, and let the circle become the focal point rather than competing with busy hardware.
A neutral gray wall behind the setup absorbs glare, which helps if you rely on overhead lighting rather than sconces.
Framed vs Frameless: Material Trade-Offs and Durability
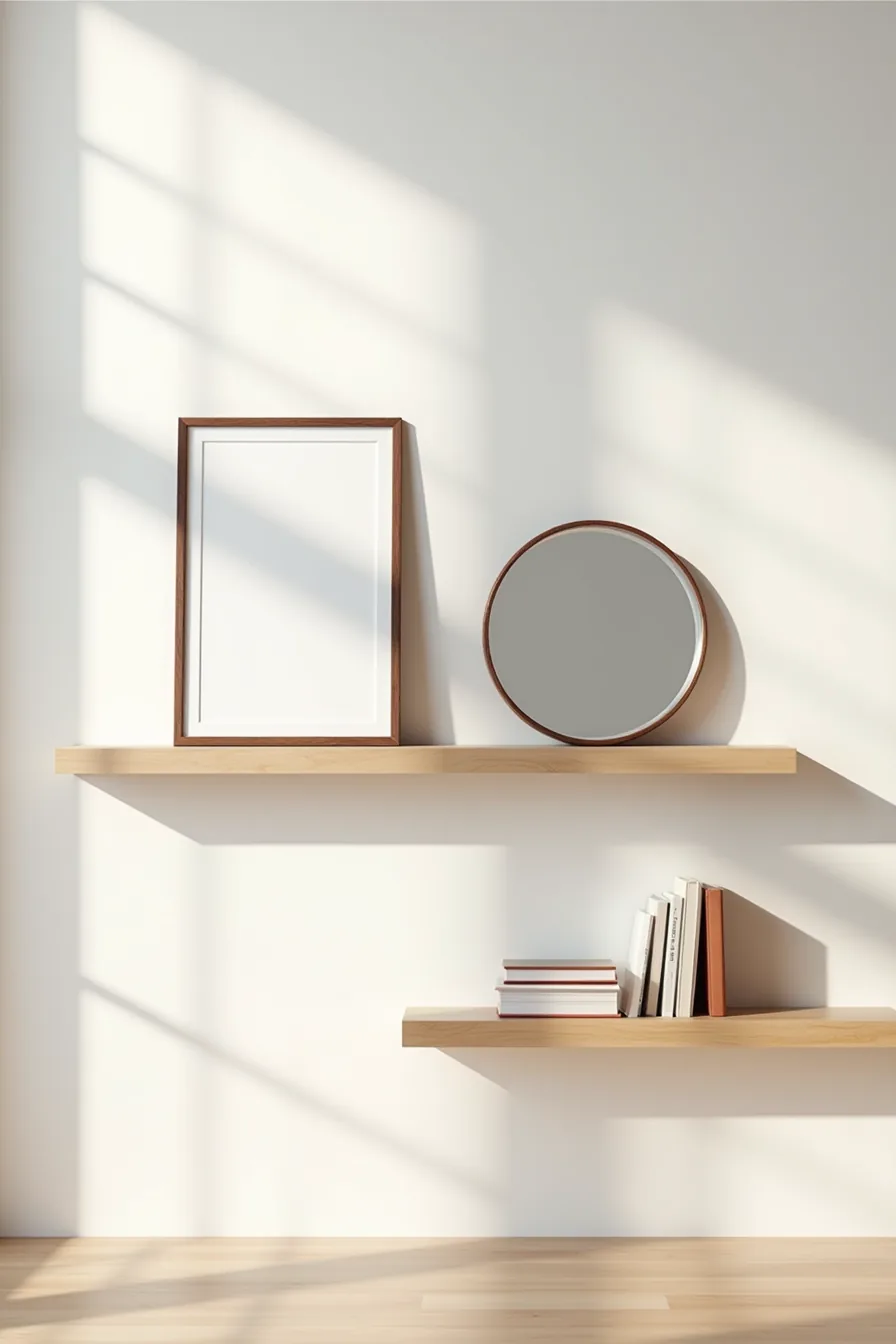
Your first decision is structural: a frame changes both the look and the lifespan of the mirror. A walnut-framed circle like the one on the left adds visual weight and defines the edge, which helps in rooms with busy wallpaper or textured paint. Wood frames typically cost 20–40% more than frameless equivalents, and they require occasional conditioning to prevent warping in humid spaces like bathrooms, expect to reapply oil or wax every 6–12 months if the room steams up regularly.
A frameless polished-edge mirror, as on the right, keeps the silhouette clean and reads as more contemporary, but it demands better wall placement because every smudge and water spot is immediately visible. The trade-off is maintenance: frameless options wipe down in seconds with a microfiber cloth, while wood frames need careful cleaning around the trim to avoid moisture seeping behind the finish. Metal frames (brass, black steel) sit between the two, more moisture-resistant than wood but prone to fingerprinting on matte finishes.
For a rental or a first home, frameless wins on cost and portability; for a permanent installation where the mirror anchors the room’s character, a wood frame justifies the extra upkeep.
Soft Shape Contrast in Angular Rooms
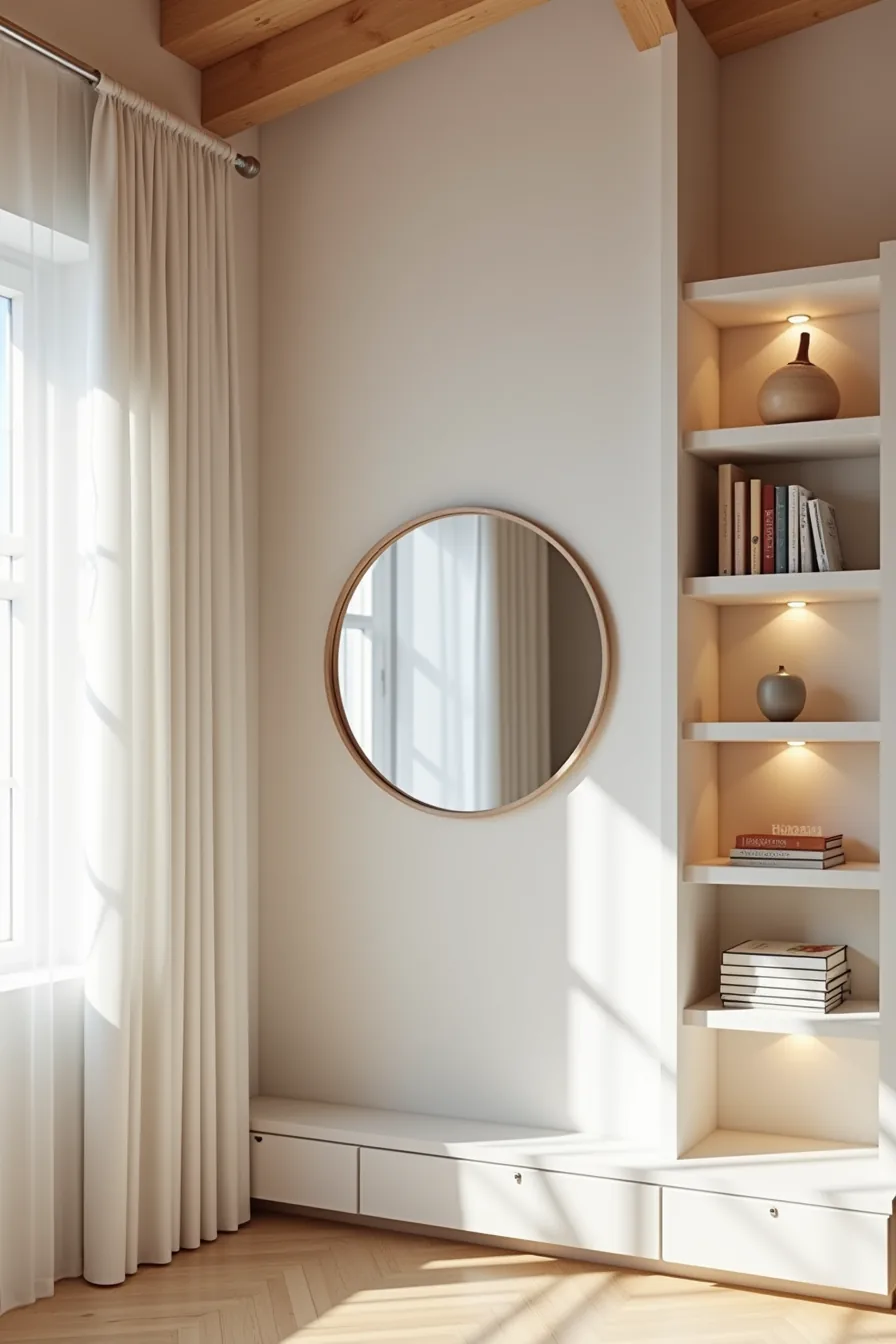
Rooms dominated by straight lines, exposed wooden ceiling beams, angular shelving units, sharp window frames, need a visual counterpoint. A circular mirror introduces soft shape contrast that breaks the visual rhythm of vertical and horizontal edges, giving the eye a resting point rather than a continuous pattern of corners.
This approach suits open-plan living areas, home offices with built-in joinery, and loft-style bedrooms where architecture takes the lead. Position the circle on a wall flanked by geometric shelving, as with a large round mirror between two angular units, so the curve directly engages the straight lines around it. The mirror reflects the opposite corner, which doubles the sense of openness without adding furniture.
For proportion, match the mirror diameter to roughly one-third of the wall width between the shelves, a 36–48 inch circle reads balanced against most standard shelving spans. Hang it at eye level, around 60 inches to center, and keep the frame simple; in this context, the contrast does the work, not the detailing.
Circle Mirror Ideas for Brightening Small Rooms
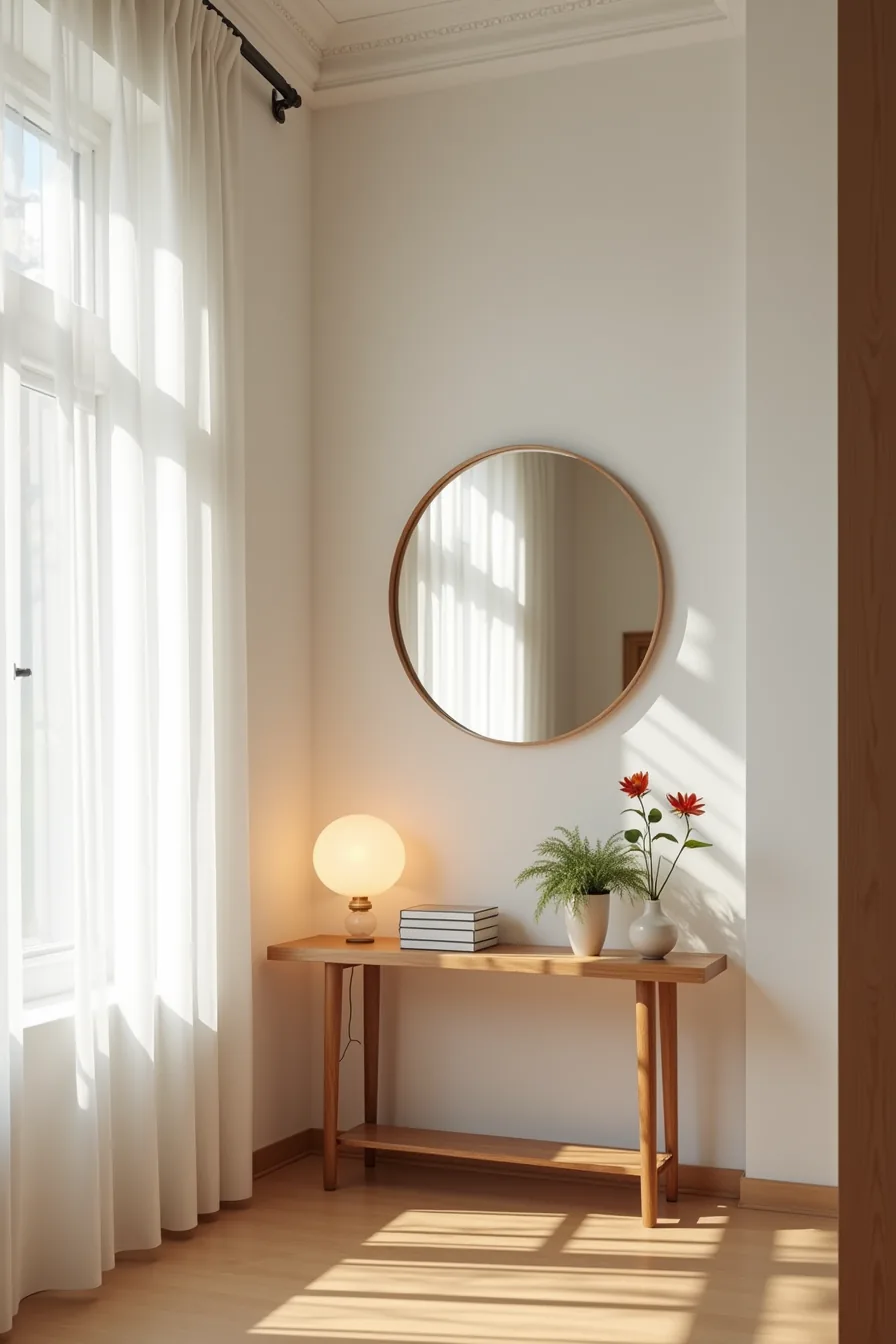
In a compact entryway with a single window, the mirror’s job is redistribution, not reflection. Hang a polished circular mirror on the wall directly opposite the window, and it will bounce that daylight across the full width of the space. A 24-inch circle on the facing wall reads proportionate to a narrow entry, catching the window’s light without overwhelming the sightline from the door.
The reflective surface matters more than the frame here. Choose high-polish glass with no antiquing or smoke tint; a clear, bright reflection maximizes the bounce. The small console table beneath the mirror should sit roughly 6–8 inches lower than the window sill to keep the reflection unobstructed at standing height.
You gain usable light for tasks like key sorting and coat removal, and the doubled daylight reduces your reliance on overhead fixtures during daytime hours. Avoid placing the mirror on the same wall as the window, that setup reflects the opposite wall and captures no direct light.
Budget, Renter, and Investment Routes
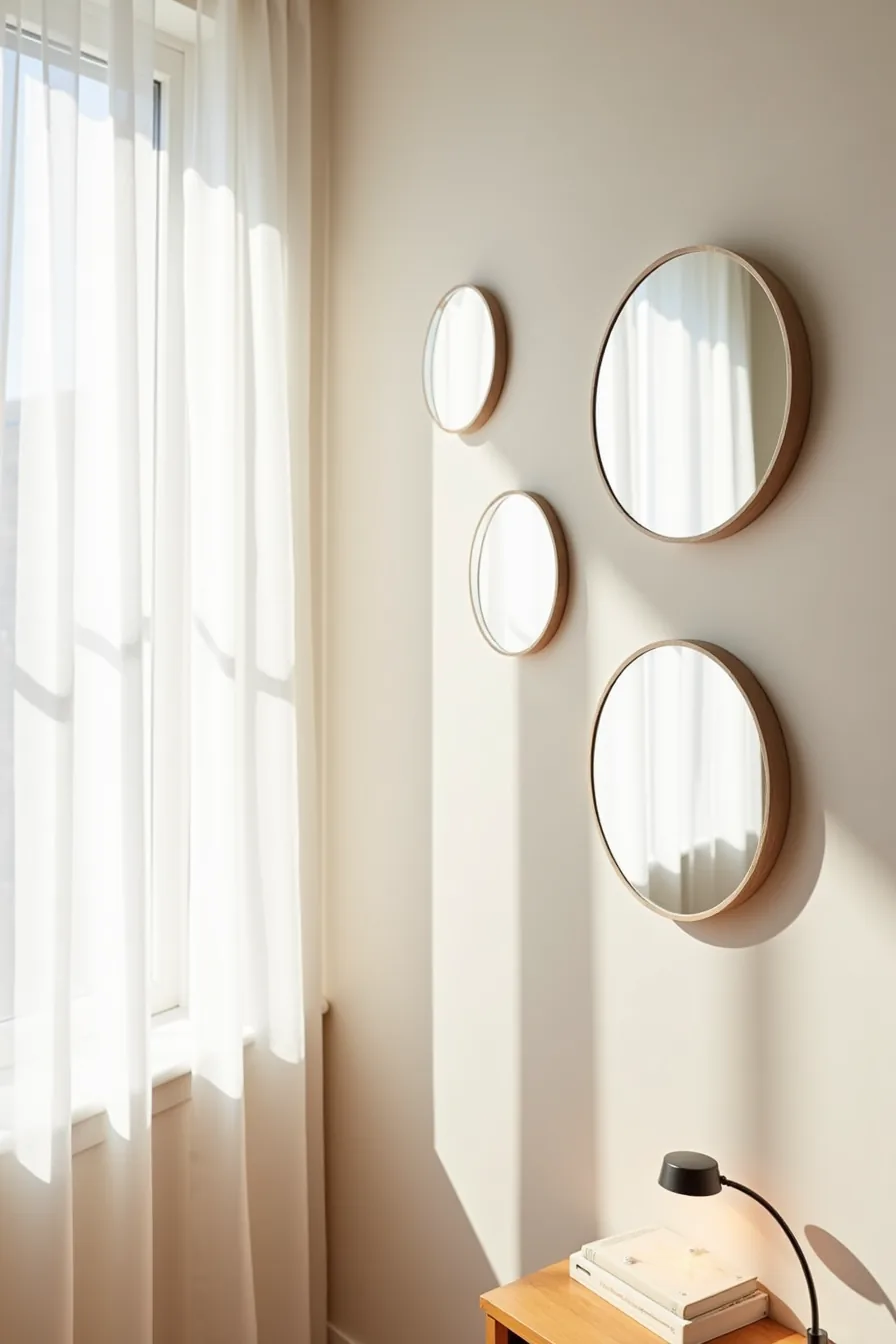
For a fast, low-commitment setup, an adhesive-mounted frameless circle mirror costs roughly $20–$50 and installs in under ten minutes. The adhesive strips hold securely on smooth painted drywall but lose grip on textured plaster or wallpaper, and removing them risks peeling paint. This route suits temporary rentals, dorm walls, or anyone testing the look before committing.
A renter-friendly bracket system with removable mounting plates sits in the $60–$120 range. The wall plate anchors with small screws that leave pinhole-sized marks, and the mirror clips onto the plate so you can take it down and remount it in a new room without re-drilling. This works best if you move every 1–3 years and want the mirror to travel with you.
For a long-term investment, a metal-framed circle mirror secured with wall anchors costs $200–$600 depending on frame weight and finish. The anchors distribute the load safely in drywall, and a quality powder-coated frame resists humidity in bathrooms or coastal homes. You pay for durability and a finish that will still look current in a decade, but you need a drill and basic hardware skills to install it correctly.
Maintenance, Safety, and Placement Checklist
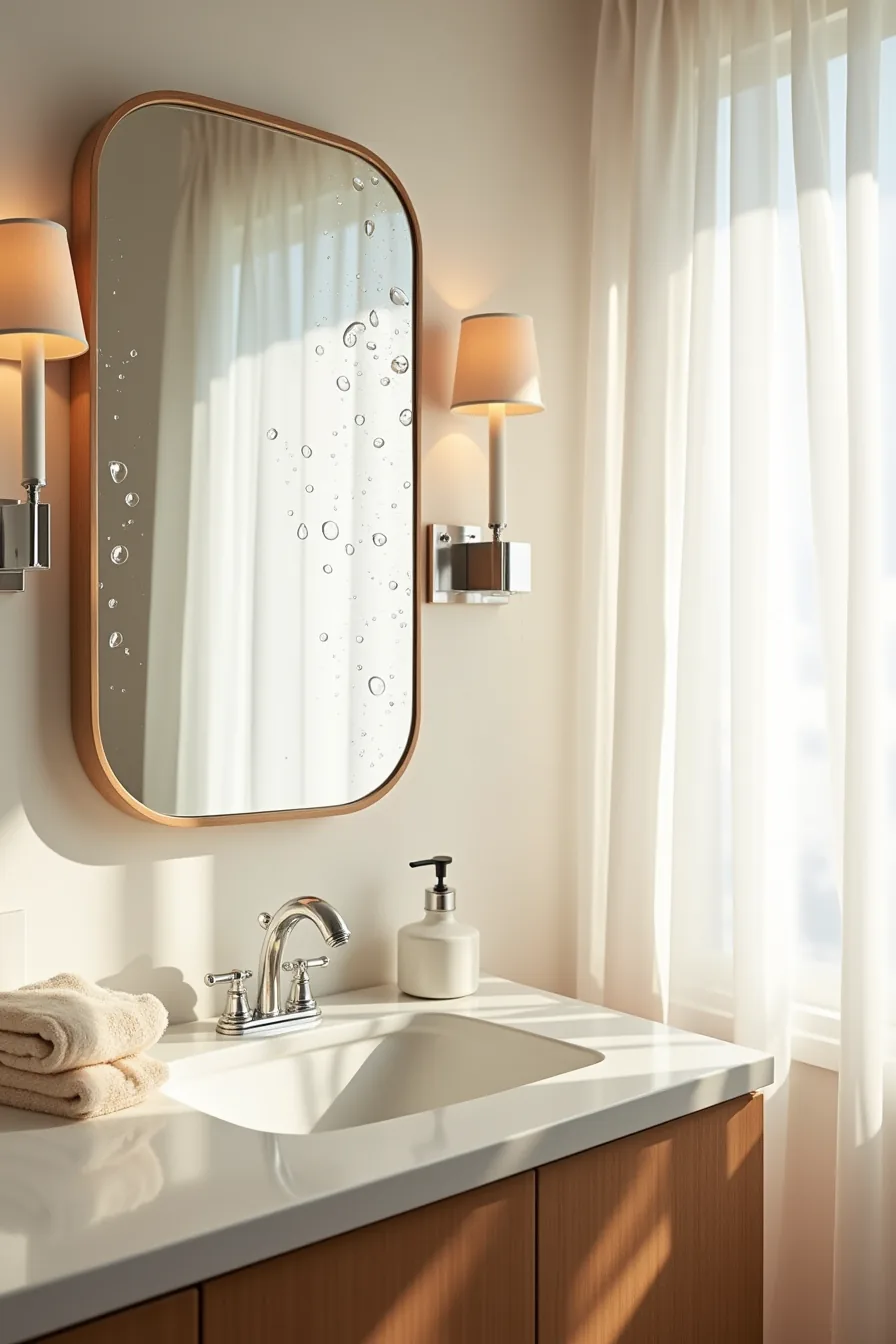
Clean glass and acrylic mirrors with a microfiber cloth and a diluted vinegar solution or an ammonia-free glass spray; dry immediately to prevent water spots. Avoid abrasive scrubbers and commercial cleaners containing ammonia on any mirror with a tinted or decorative edge, as they can degrade the finish over time.
For any circle mirror over 15 pounds, mount directly into wall studs or use toggle bolts rated for at least double the mirror’s weight, standard drywall alone supports roughly 20–30 pounds per anchor point, but bathroom steam and seasonal humidity weaken adhesive and screw grip over time. In a humid zone, like the one pictured with condensation on the glass and a cloth resting on the vanity, choose a frame with a sealed backing and rust-resistant hardware; unsealed wood warps and bare metal corrodes within a year of regular shower exposure.
Position the mirror so its center sits at your eye level (typically 55–65 inches from the floor) and leave at least 4–6 inches of clearance from adjacent fixtures to prevent splash damage and allow air circulation. If an outlet or light switch sits within the mounting zone, measure the wall plate layout before drilling, cutting into electrical boxes creates a safety hazard you can avoid with a stud finder and a quick tape measurement.
Where to Start
Begin by measuring your wall and identifying the room’s primary function. That single step will immediately narrow your choices between a bold sculptural piece, a practical storage mirror, or a subtle minimalist arc.
Sketch your top two options on paper or use painter’s tape to outline their dimensions on the wall. Live with the outlines for a day to confirm the scale feels right for your space.
Then, make your purchase decision, commit to one mirror, mount it at eye level, and style the surrounding area with minimal decor. Start with the tape-outline test tonight; it takes ten minutes and prevents costly sizing mistakes.
Frequently Asked Questions
What size circle mirror should I hang above a standard bathroom vanity?
For a 30–36 inch vanity, choose a mirror 24–30 inches in diameter. It should be 2–6 inches narrower than the countertop, leaving 4–8 inches of wall on each side for balance.
Can I use a frameless circle mirror in a high-humidity bathroom without damage?
Yes, if it’s made with a sealed, moisture-resistant backing and coated glass edges. Unsealed mirrors risk black edge corrosion within 6–12 months. Look for “bathroom-rated” or marine-grade backing, and wipe condensation daily.
How does a round mirror brighten a small room compared to rectangular shapes?
A circle’s continuous curve reflects light in multiple directions, spreading brightness more evenly than a rectangle’s flat surface. It also breaks up harsh wall lines, visually softening corners and making the room feel less boxy, though it reflects the same total light area.
What is the best way to hang a circle mirror as a renter without drilling?
Use heavy-duty adhesive mirror clips rated for 20–30 pounds, placed at the 3, 6, 9, and 12 o’clock positions. Clean the wall with rubbing alcohol, press firmly for 60 seconds, and wait 24 hours before hanging. Remove with dental floss to avoid paint damage.