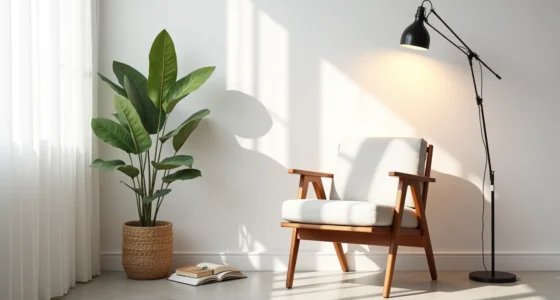

A simple wooden chair isn’t one fixed look but a spectrum of choices spanning joinery, timber, proportions, and finish, and the version that fits your home depends on your space, skill level, and budget. Six distinct interpretations follow, each paired with the room it suits, the tools it demands, and the maintenance it will cost you over time. You’ll know which route to take before the final decision checklist.
Key takeaways
- Choose joinery first: Mortise-and-tenon or through-wedged joints outlast glued butt joints, so inspect or request those when buying or building a simple wooden chair.
- Scale legs to room: Tapered legs at 1.5–2 inches thick visually lighten a chair in small spaces, while thicker 2.5–3 inch legs anchor it in large open rooms.
- Slatted backs beat solid: Slats spaced 1–2 inches apart reduce visual bulk and allow airflow, making them ideal for narrow dining nooks or compact entryways.
- Budget pine works if sealed: A 2–3 coat wipe-on polyurethane or hardwax oil protects softwood from dents and stains, but expect to reapply annually for rental-grade durability.
The Shaker-Inspired Frame: Straightforward Joinery for Stability
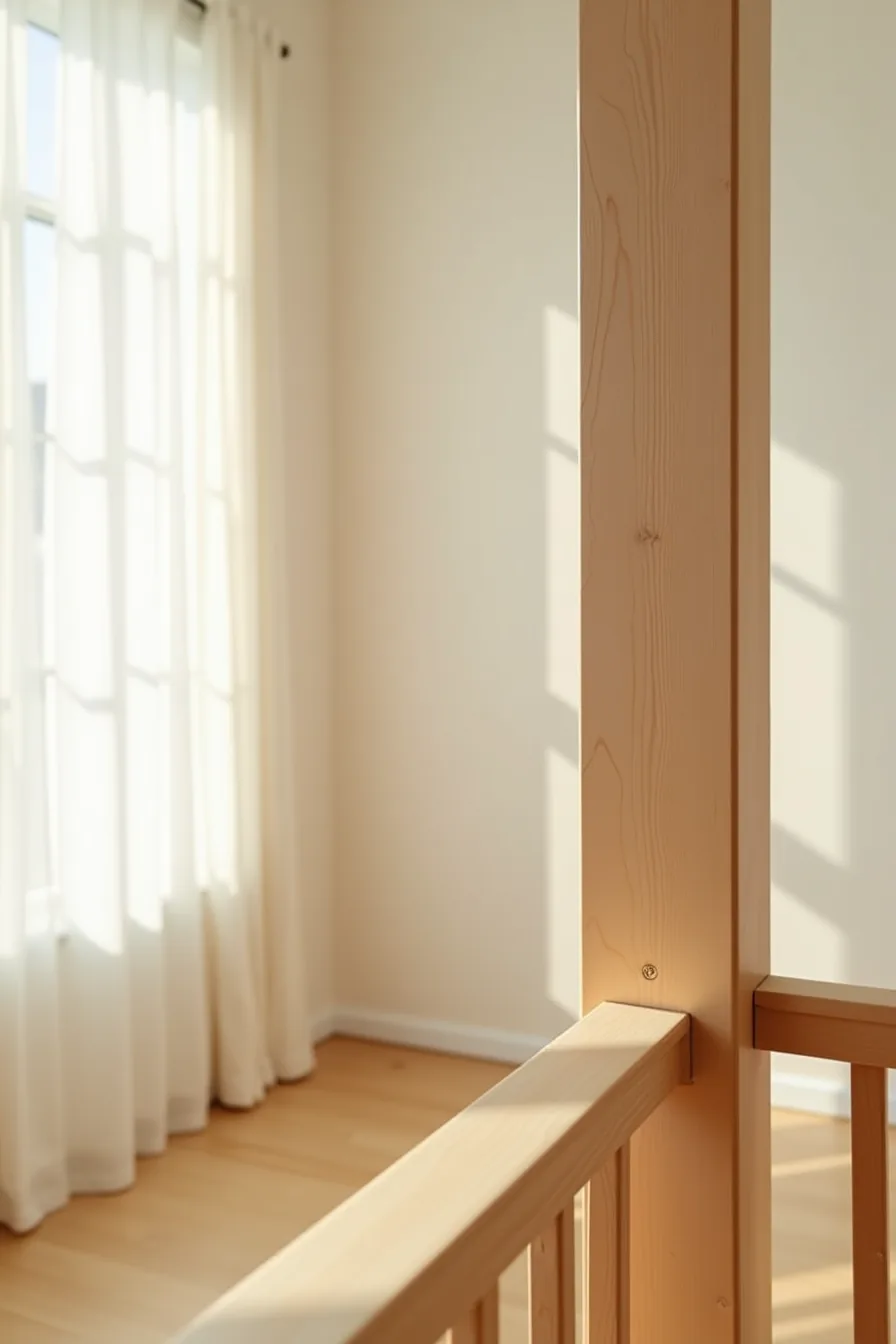
The Shaker approach strips the chair down to its structural skeleton, relying on mortise-and-tenon joinery rather than glue blocks or metal brackets. You can see the payoff in the tight seam where the horizontal rail meets the vertical post, a clean, unbroken corner that signals strength without shouting about it. This connection distributes weight evenly across the joint, so the frame handles years of daily leaning without developing a wobble.
For a DIY builder, this is the most forgiving route to a durable chair. You need a marking gauge, a sharp chisel, and a mallet; the hidden shoulder of the tenon hides minor fitting errors that would be exposed on a visible dowel joint. The absence of a backrest slope keeps the geometry simple, so you can cut both rails on a single setup.
An oil finish is optional, but the bare wood grain here’s the real design, it makes the chair recede visually, letting the joinery read as the ornament.
The Slatted Seat Chair: Minimal Backrest Forms That Work in Small Spaces
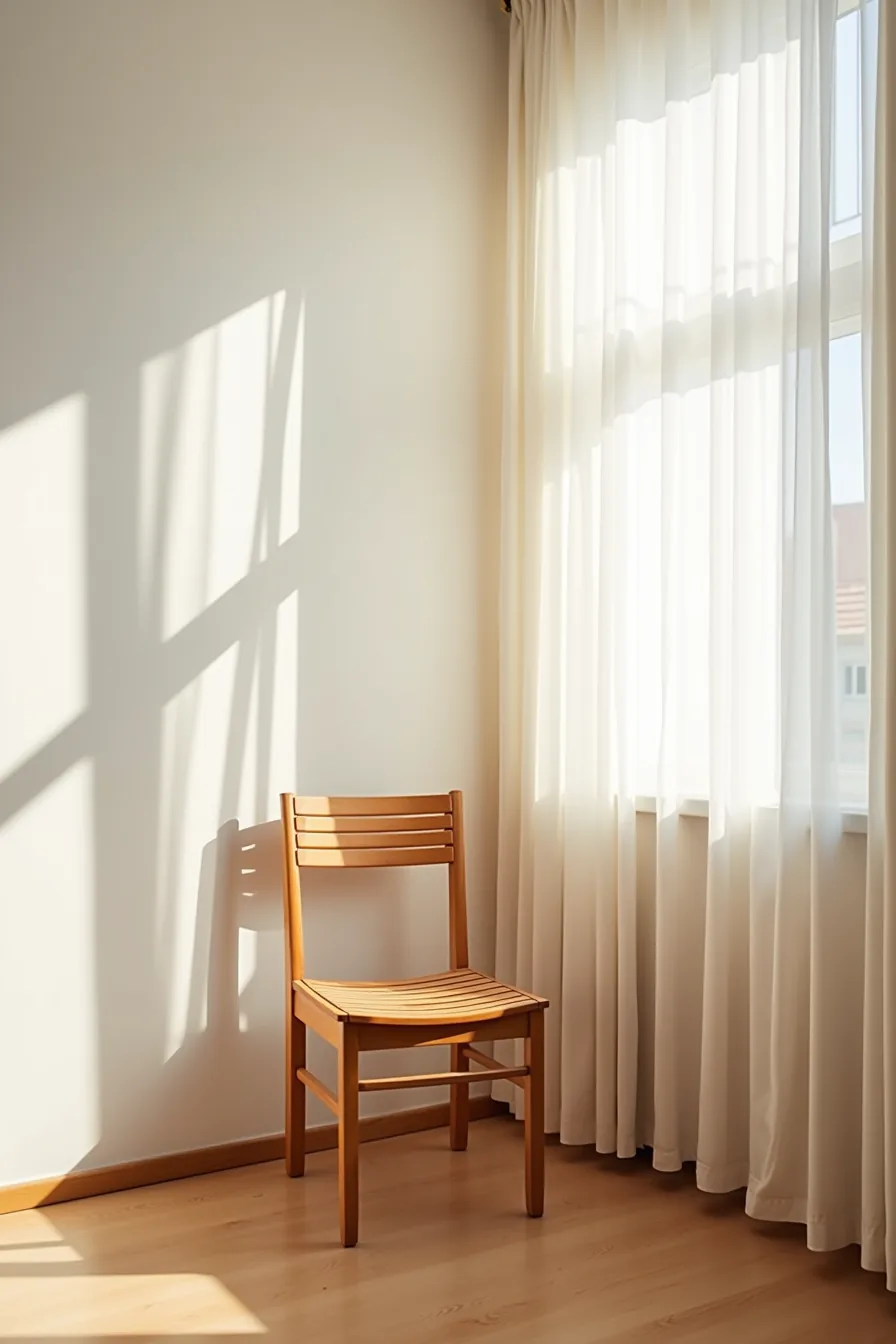
Replace a solid back panel with three or four horizontal slats and you cut the chair’s visual weight by roughly half, even when the overall dimensions stay the same. The gaps let light pass through, so the chair reads as negative space rather than a solid block, an effect that keeps a 22-inch-wide frame from dominating a tight corner nook. This makes the slatted design a strong fit for studio apartments, narrow breakfast nooks, or rental dining areas where bulky furniture visually shrinks the room.
The build itself is straightforward: each slat sits in a shallow dado cut across the back posts, spaced about an inch apart, with a thin bead of wood glue holding them in place. Because the slats are individually replaceable, a cracked one costs you a single strip of stock and twenty minutes of repair time, not a full re-glue of the entire frame. You can also skip the seat cushion entirely, the slats’ slight forward curve provides enough lumbar support for a 45-minute meal, though you’ll want a small side table nearby to lean on when you push back.
The Tapered-Leg Approach: Proportional Scaling for Any Room Size
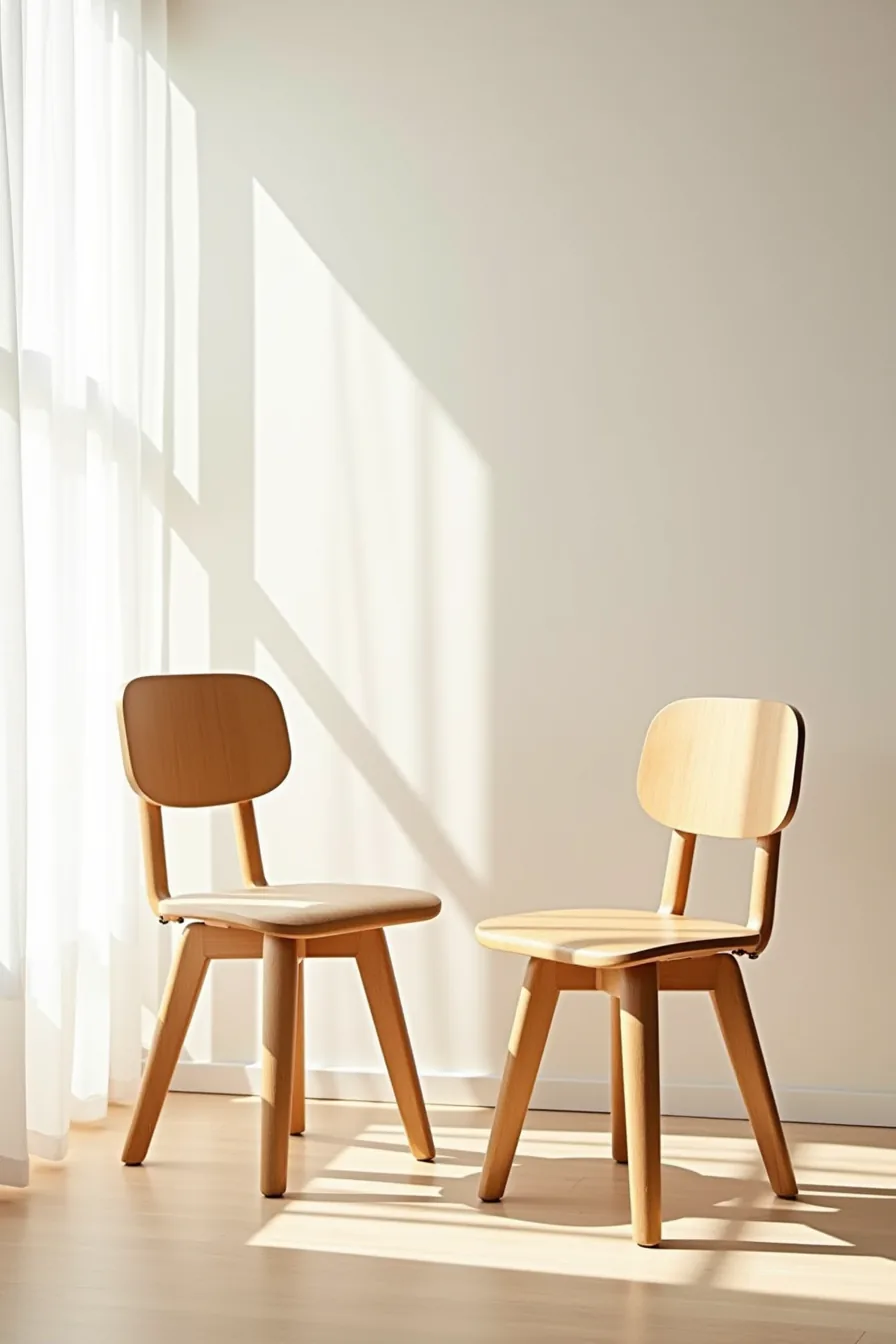
Tapered legs, where the leg narrows from roughly 2 inches at the top to 1 inch at the floor, lift the chair’s visual mass by shifting weight toward the center. When you place two chairs with tapered legs side by side at different heights, the size contrast becomes immediately obvious: the shorter one suits a 28–30-inch desk, while the taller version pairs with a standard 30-inch dining table. The angle of the taper matters more than the leg length itself; too steep a cut above 3 degrees starts to compromise the joint where the leg meets the seat rail.
For a small space, keep the taper subtle and the legs shorter, 16–17 inches to the seat, so the chair tucks fully under a table without protruding. In a large room, extend the leg to 18–19 inches and increase the splay outward by 1–2 degrees; this widens the footprint from about 18 inches to 20 inches square, which improves stability without adding bulk to the seat itself. Match the taper the same way on both chairs in a pair, since mismatched angles read as a factory error rather than an intentional design choice.
Natural Finish Options: Oil, Wax, and Stain Choices for Low Maintenance

A matte oil finish, typically pure tung or a Danish oil blend, penetrates the grain and hardens within the wood rather than sitting on top, which means scratches and small dents remain invisible until they accumulate deeply. You reapply it every 12–18 months with a lint-free cloth, and the process takes under 30 minutes per chair. This works best for white oak or ash, where the open grain pattern is the primary visual feature and you want zero surface film.
Satin wax, by contrast, builds a thin protective coating you can feel. Paste wax requires a 24-hour cure before light use, then a second buffing pass; plan on repeating it every 3–4 months if the chair sees daily contact. The trade-off is warmth, wax deepens the color of cherry or walnut by roughly 10–15 percent without the amber shift that oils produce.
A warm stain is the most permanent route but the highest maintenance: the solvent-based pigment seeps into the grain, so a topcoat of polyurethane or lacquer becomes mandatory to prevent wear-through at armrests and seat edges. On pine or maple, species with tight, subtle grain, stain adds the color that the wood lacks naturally, but you must sand to 220 grit first or the blotchiness appears within six months. For rental spaces or high-turnover dining areas, skip the stain entirely and pick a waxed birch chair; the lighter tone hides scuffs better than any colored finish.
Budget-Friendly Construction: Pine and Plywood Routes for Renters

The straightest path to a simple wooden chair design on a rental budget is pine, a softwood that costs roughly 40–60 percent less than oak or walnut per board foot. A pine chair with visible grain and a natural, unfinished color works because the material itself is the design; you skip staining entirely and let the knots and subtle striping carry the visual weight. Standing alone in an empty room with neutral walls, that basic frame reads as intentional minimalism rather than austerity, which suits a first apartment or a space you plan to leave within three years.
Its downside is softness: pine dents noticeably under daily use, so budget for a felt pad under each leg and expect to sand down scratches before you move out.
Plywood routes demand more tooling but deliver a tougher result. A chair cut from 3/4-inch birch plywood, one continuous sheet forms the seat and back, costs under $50 in material and requires only a jigsaw, a sander, and wood glue. The exposed edge-layers become a visible striped detail, which gives the design a deliberate, workshop-made character that reads contemporary rather than cheap.
No permanent installation is needed: the frame stands on its own, and you can disassemble glued joints with a chisel and mallet when the lease ends. This option suits renters who want a piece they can take apart, transport flat, and rebuild without patching walls or leaving anchors behind.
Use Simple Wooden Chairs for a Lighter Look: Placement and Pairing Strategies
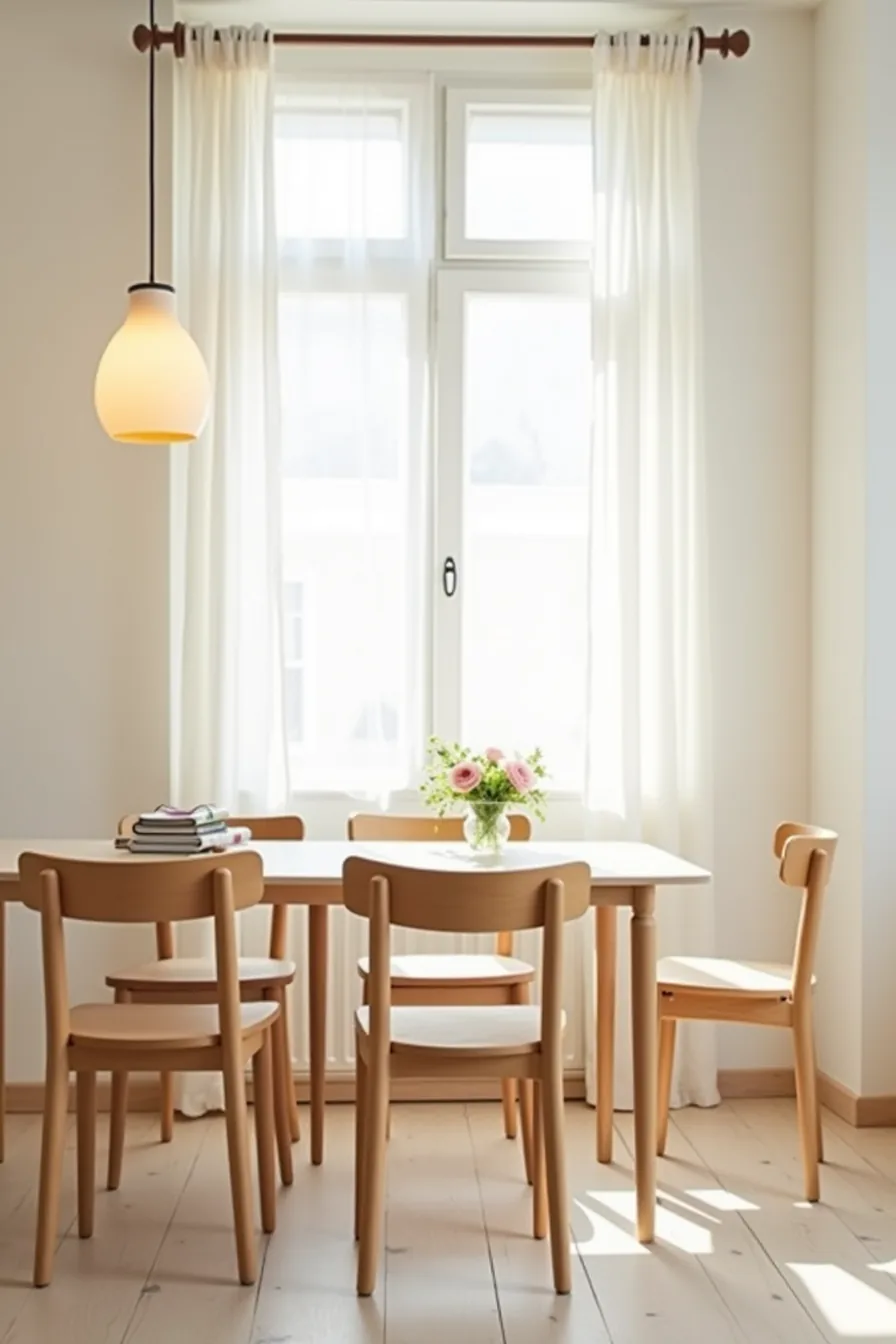
The key to a lighter look is giving each of the four wooden chairs room to breathe. Pull them 18–24 inches away from the table edge so the seat backs don’t visually merge with the tabletop, and keep at least 36 inches of clear floor space between the table’s perimeter and any wall or nearby furniture, that gap becomes your circulation path and prevents the seating from feeling like a solid block.
Pairing strategy matters as much as spacing. Mix two identical chairs on opposite sides with two matching but visually distinct ones at the ends; this creates rhythm without introducing clutter. In a dining area, skip the upholstered seat cushions and let the bare wood soften the silhouette.
In a home office, place one chair at the desk and rotate the others toward a window or reading corner, the open space between them keeps the room from feeling weighed down. For a living area, stagger chairs at slight angles rather than squaring them off, which breaks the grid and preserves the airy, uncluttered feel.
Where to start
Measure your space before you buy anything. For a dining area, allow 24-30 inches of chair width per person, and keep 18-24 inches of clearance from the table edge to walls or furniture behind you. For a reading nook, you need 30-36 inches of floor space in front of the chair for comfortable leg extension.
Choose one chair that fits your primary use case, not the one you like most in photos. If you rent, pick a lightweight model under 15 pounds that you can carry up stairs alone. If you’re investing long-term, spend more on solid oak or ash with visible joinery; these hold up for decades and cost $150-$400 more than flat-pack alternatives.
Start with a single chair in a high-traffic spot like the entryway or kitchen corner. Live with it for two weeks before committing to a set.
Frequently Asked Questions
What wood species work best for a simple wooden chair design on a budget?
Pine and poplar are your most affordable options, typically costing 30–50% less than hardwoods. They dent easily but take paint well. For a step up, consider rubberwood or birch, still budget-friendly but more durable.
Can I build a simple wooden chair without woodworking experience?
Yes, but start with a stool or bench design first. A basic chair requires accurate joinery and angle cutting. Use pocket-hole screws and pre-cut lumber from a hardware store.
Expect a learning curve of 5–10 practice joints before your first build.
How do I maintain a natural finish on a wooden chair over time?
Dust weekly with a dry microfiber cloth. Reapply a thin coat of paste wax or Danish oil every 6–12 months. Watch for water rings, use coasters and wipe spills immediately.
For UV-exposed areas, refresh with a UV-protective topcoat every 2–3 years.
What seat height and backrest angle are comfortable for dining and desk use?
Dining chairs seat height runs 17–19 inches from floor to seat top, matching standard 28–30-inch tables. Desk chairs sit slightly higher at 18–20 inches. Backrests recline 5–10 degrees from vertical; more than 15 degrees suits lounge seating, not work.