
The bathroom wall tile you choose determines more than color, it sets the entire room’s visual weight, light reflection, and cleaning routine, so the decision hinges on three factors: your space’s dimensions, your tolerance for grout maintenance, and whether you’re renovating for five years or fifty. Before you buy a single box, you need to separate the looks that photograph well from the ones that survive daily humidity, hard water, and a dropped shampoo bottle. This guide breaks down six distinct approaches, from budget-friendly peel-and-stick to investment-grade natural stone, so you can match a tile system to your actual bathroom, not just your Pinterest board.
Key takeaways
Large-format tiles (12×24 inches or larger) cut grout lines by up to 50%, making small bathrooms feel smooth and reducing scrubbing time. Grout color dictates the entire look: white grout hides on light tiles but stains visibly, while dark charcoal grout defines geometric patterns without daily maintenance. A feature wall should cover only one surface behind the vanity or tub, never exceed 30% of the room’s tile area or it overwhelms the space. Peel-and-stick tile panels (starting around $3–$5 per square foot) offer a renter-friendly route that removes cleanly with a hairdryer, unlike real tile that requires demolition.
Large-Format Tiles for a Clean, Minimal Look
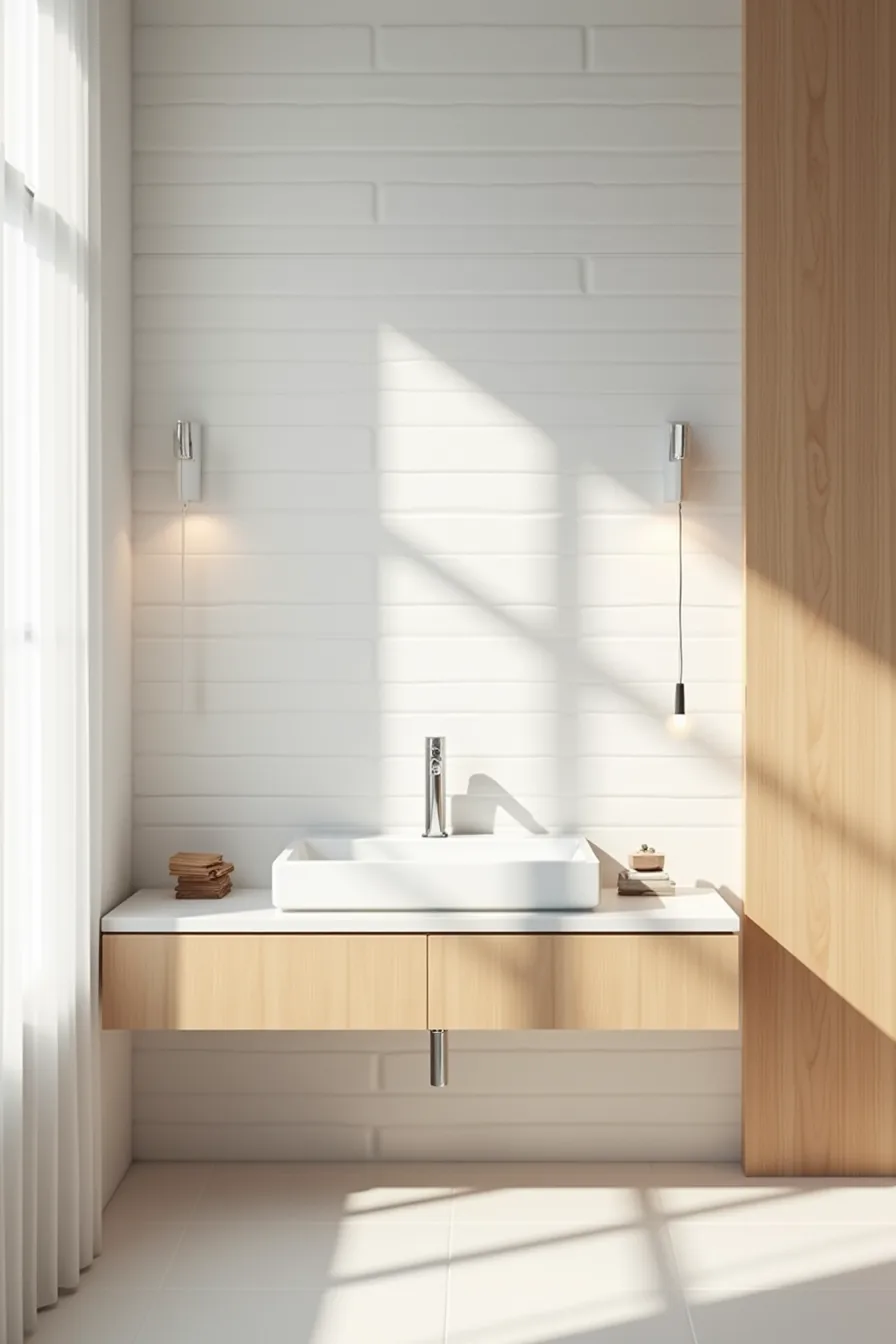
If your priority is a smooth, low-maintenance surface, large-format tiles deliver that with fewer grout lines to clean and a visual calm that smaller tiles can’t match. The image here shows 24×48 inch matte white bathroom wall tiles laid in a running bond pattern above a floating vanity, with a single chrome faucet as the only interruption. That offset layout, each row shifted by half a tile, adds subtle horizontal motion, which makes the wall feel longer than it actually is.
This approach works best in medium to large bathrooms, roughly 60 square feet or more, because the panels’ sheer size can overwhelm a tiny powder room where a toilet takes up half the wall. Installation demands a perfectly flat substrate; any imperfection in the drywall or plaster translates directly to lippage, where one tile edge sits proud of its neighbor, so budget for a skim-coat or backer board if your walls aren’t true. Expect to pay 25–50 percent more per square foot than standard 12×24 inch tiles, and factor in that a professional installer will likely charge a premium for handling panels this large.
For the long haul, matte finishes hide water spots better than polished surfaces, and the minimal grout lines mean you’re cleaning a fraction of the surface area, a real win for busy households. The trade-off: you lose the slip-resistant texture options that smaller mosaics offer, so keep this look above the splash zone, not on the floor.
Mosaic and Small-Format Tiles for Texture and Movement
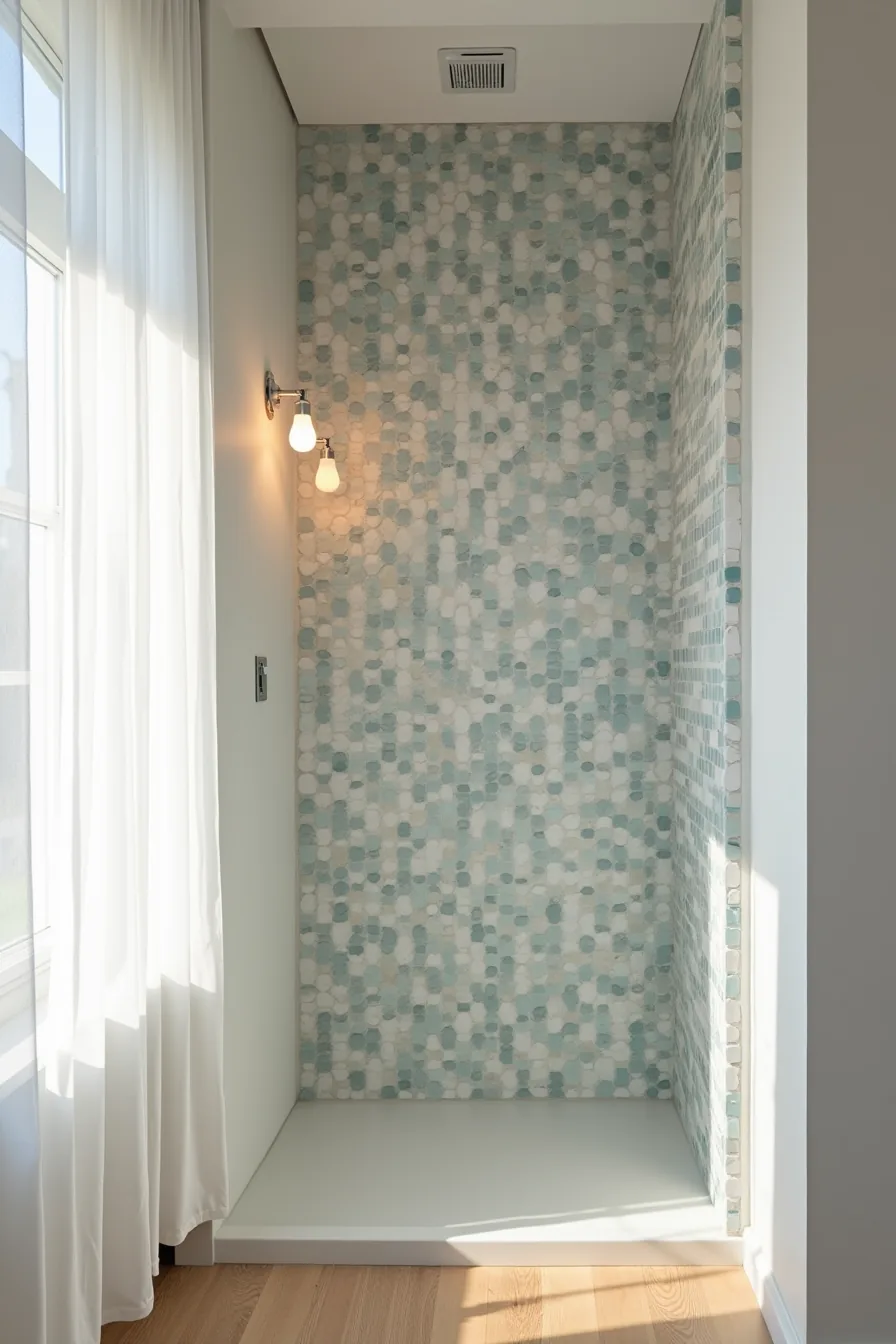
That patchwork of 2×2 inch tiles in mixed blues, grays, and whites does more than add color, it builds an irregular grid that catches light differently with every tile, turning a flat surface into something that feels dimensional. The visible grout lines are part of the design, not an afterthought; they break up the pattern into digestible pieces and give your eye a rhythm to follow. This is your best choice for shower walls and alcoves under 40 square feet, where large-format bathroom wall tiles would read as cold slabs and mosaics make the space feel intimate and handcrafted.
The trade-off is maintenance you can’t ignore: roughly 16 times more grout lines than a 12×24 tile means you’re committing to periodic sealing and scrubbing with a stiff brush. Opt for epoxy grout to cut that effort in half, it resists staining and needs no annual sealer, and keep the color palette within two or three adjacent hues so the wall reads as cohesive rather than chaotic. You can stretch a budget by using these tiles only inside the shower curb and pairing them with a solid-color large tile elsewhere, or if you rent, choose a peel-and-stick mosaic sheet that lifts cleanly without damaging the drywall beneath.
Using Grout Contrast to Define Your Tile Design
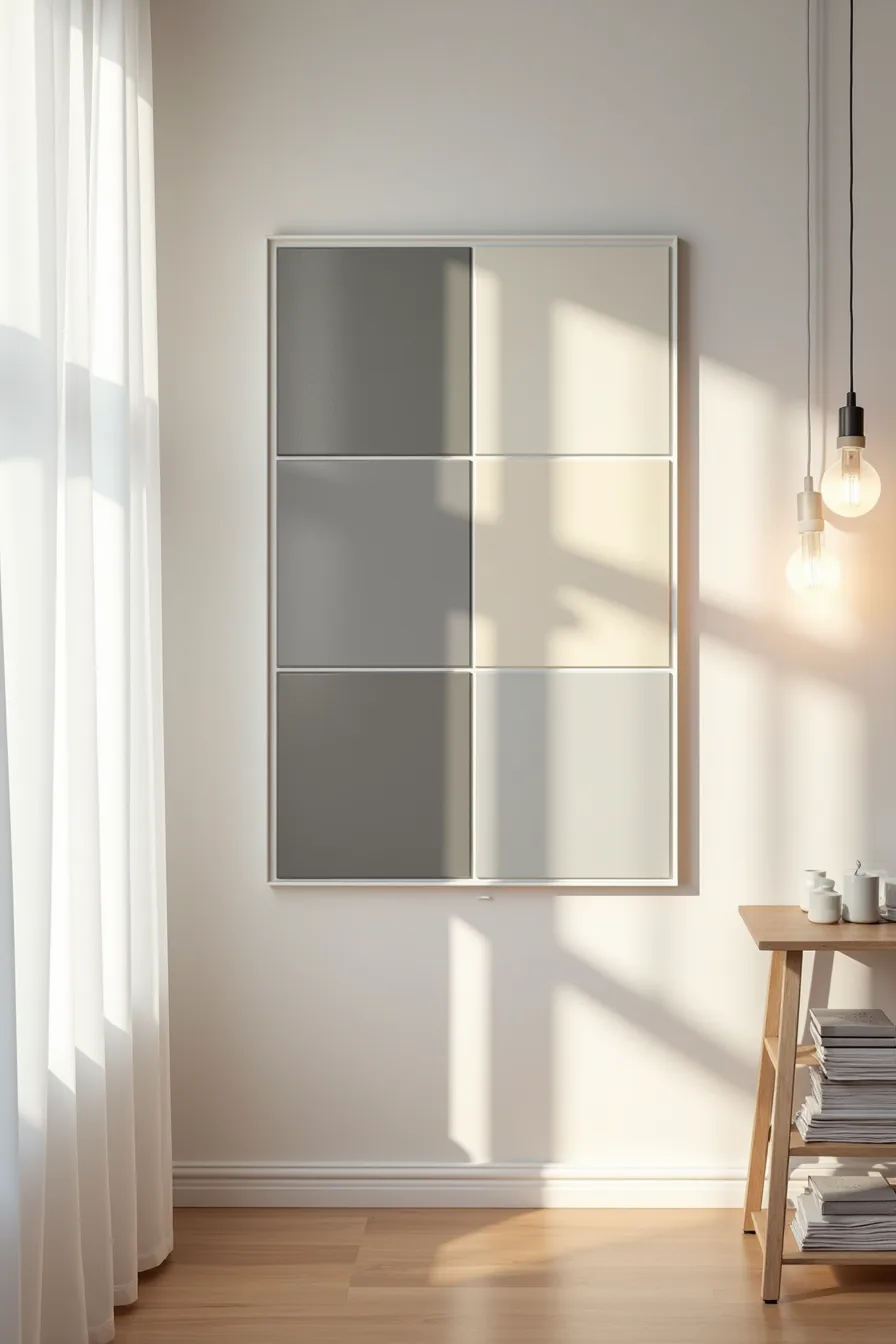
The same 6×6 inch gray tile reads as four entirely different materials depending on the grout color beside it. On that sample board, white grout softens the tile into a pale, continuous field, while dark charcoal grout carves each tile into a sharp grid that makes the wall feel structured and deliberate. Cream grout creates a warm, smooth blend that hides layout irregularities, and medium gray offers the safest middle ground, it lets the tile recede so fixtures take center stage.
Choose dark grout when you want to emphasize pattern in a small powder room, but commit to sealing it annually since dark pigments show efflorescence and soap scum more readily than light tones. Light grout suits larger-format tiles where fewer lines reduce the visual weight, and it hides hard-water staining better in shower zones. Epoxy grout costs roughly 30-50% more than cement-based options but eliminates the yearly sealing ritual and resists the mildew that thrives in damp corners.
Creating a Feature Tile Wall Without Overwhelming the Space
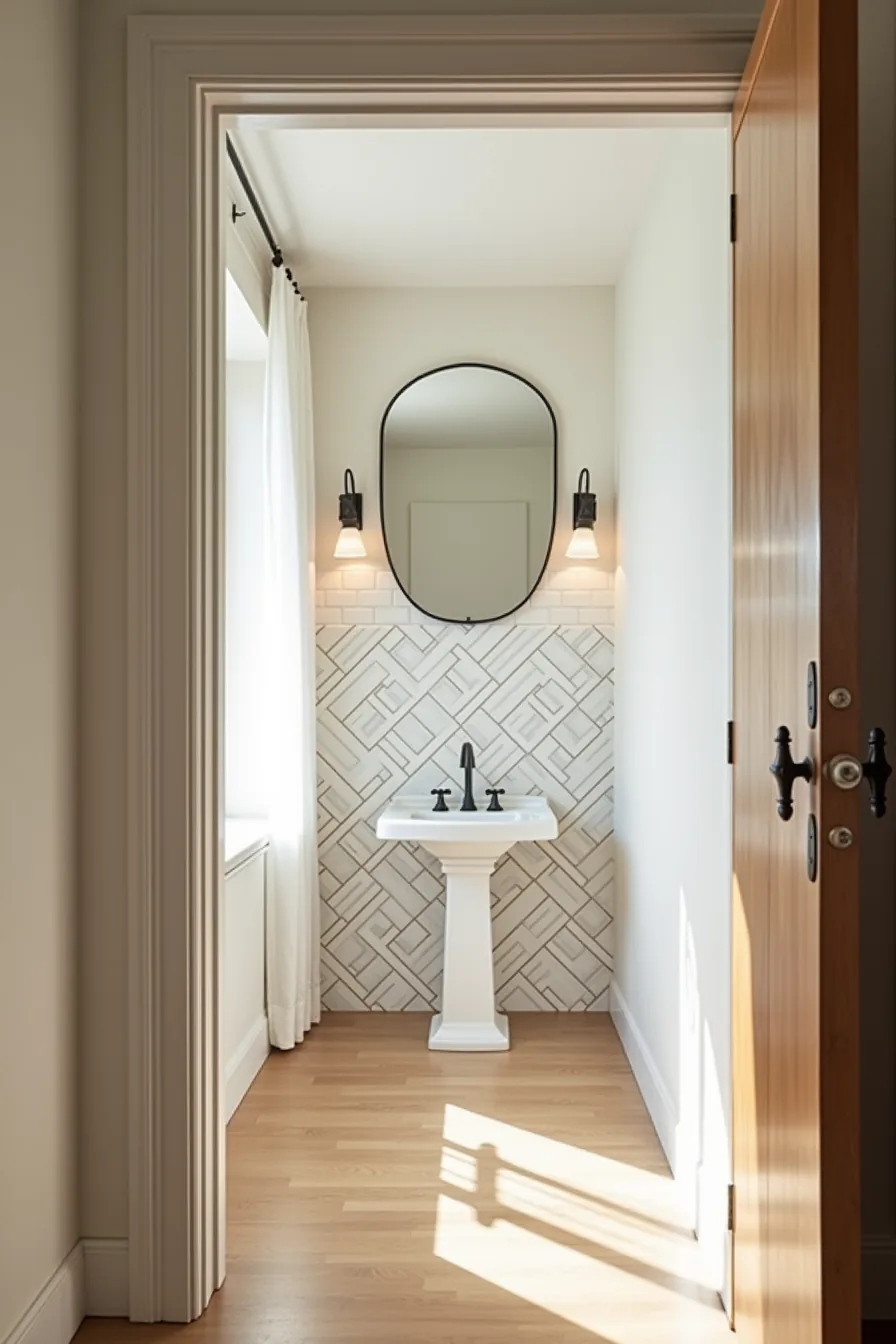
A single feature tile wall works because it gives the eye one clear destination. In a bathroom with a pedestal sink, tiling only the wall behind it, using 12×12 inch patterned cement tiles, creates a focal point without competing with the plain white subway tile on the remaining three walls. The visual trick is restraint: one bold surface, three quiet ones.
Scale the feature wall to the room, not the tile. For a powder room under 40 square feet, keep the patterned area to a single wall no wider than the sink vanity; in a primary bath, you can extend it floor-to-ceiling across a 60-inch span. Choose patterns with at least one color pulled from your fixtures, if the sink is white, opt for cement tiles with white in the design, so the contrast feels intentional rather than random.
Cement tiles require sealing before installation and resealing every 1–2 years, so budget for that maintenance. For a lower-cost alternative, a 4×12 inch glazed ceramic in a geometric layout delivers similar impact at roughly half the price per square foot, though it lacks the handcrafted depth of cement.
Tile Placement Strategies for Small Bathrooms
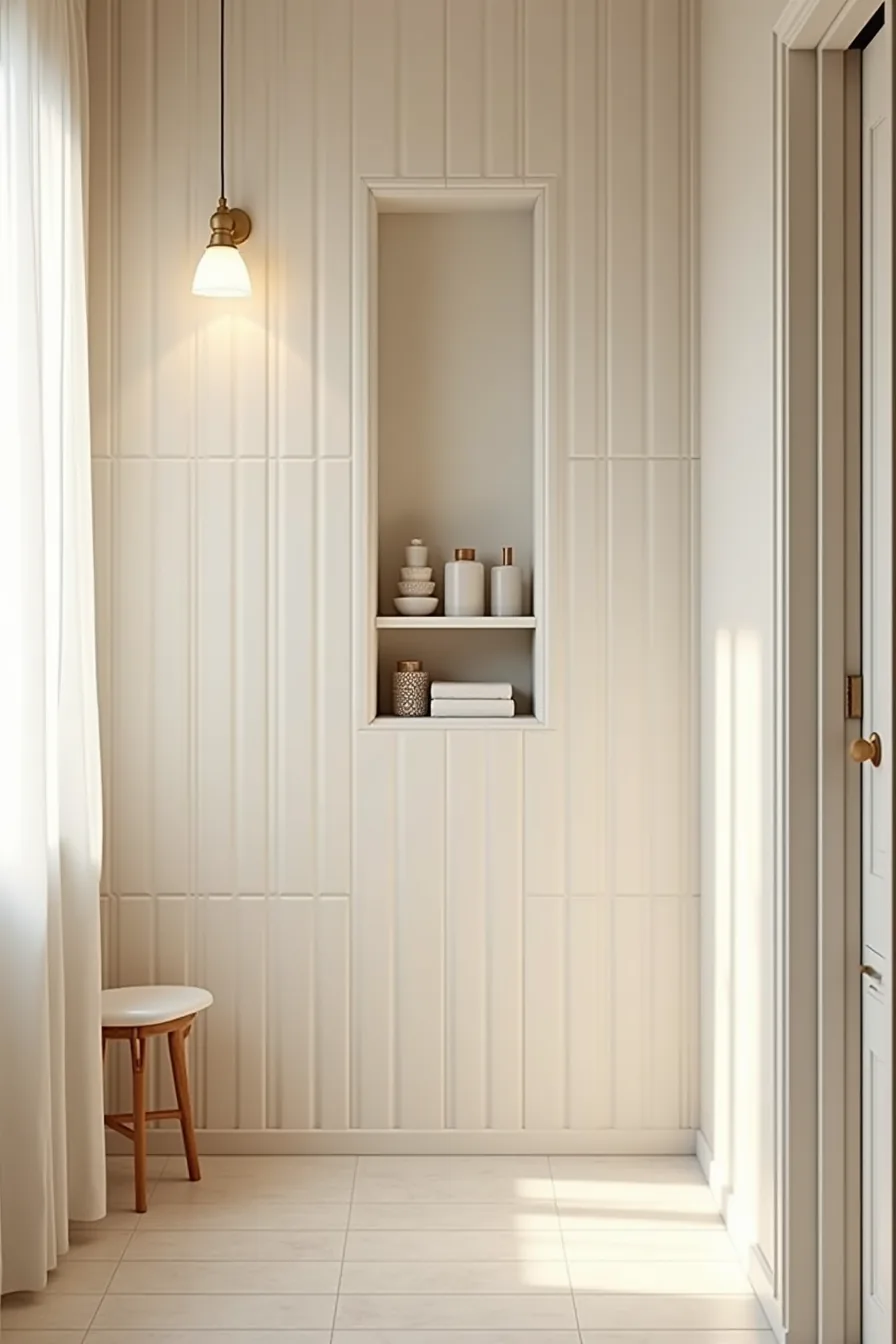
Orientation changes perception more than size. Vertically installed 4×12 inch tiles draw the eye upward, making a 7-foot ceiling feel taller, the exact setup visible with the recessed shelf and medicine cabinet mounted within the tiled area. Horizontal stacking, by contrast, visually widens a narrow room but can make a low ceiling feel oppressive.
For a compact bathroom under 50 square feet, choose tiles with a length-to-width ratio of at least 3:1. The elongated shape creates fewer grout lines per square foot than a 4×4 inch square, which translates to less visual clutter and faster cleaning. Keep grout joints at 1/16 to 1/8 inch; anything wider reads as busy and collects soap scum in high-moisture zones.
Run the vertical tile uninterrupted from floor to ceiling, including behind the toilet, to eliminate the visual break that shortens wall height. If you’re tiling only a partial wall, stop at 54 inches and cap with a bullnose edge, this keeps the room feeling open while still protecting the splash zone.
Budget, Rental, and Investment Routes for Bathroom Wall Tiles
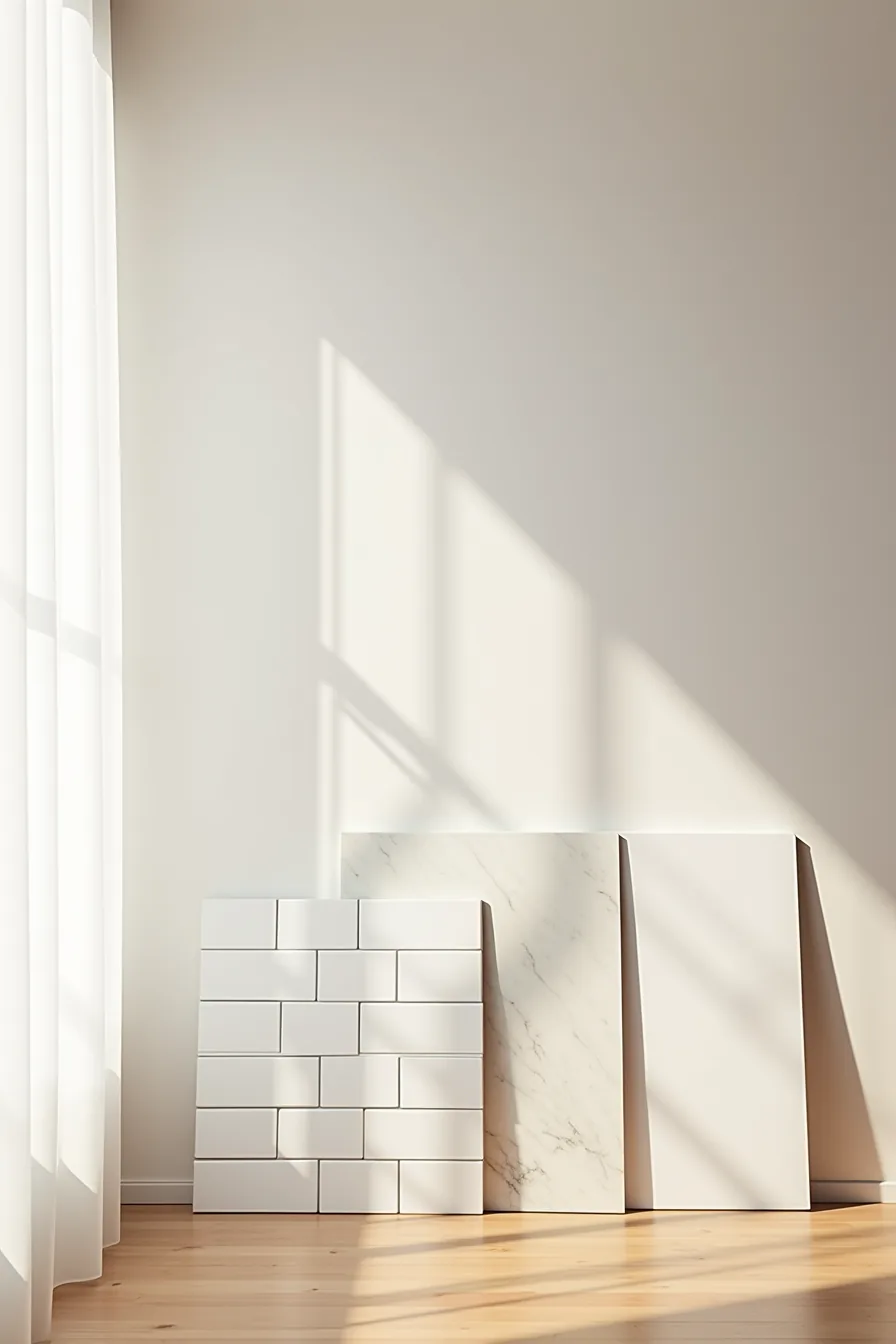
Your budget tier determines both the material and the removal strategy. Peel-and-stick vinyl sheets cost roughly $2–$4 per square foot and install in an afternoon with a utility knife and a credit card for burnishing. They suit renters because most brands release cleanly from painted drywall when you heat the adhesive with a hair dryer, though they won’t tolerate moisture behind the sheet, so fix any leak source first.
Expect a service life of 2–4 years before corners lift in steam-heavy bathrooms.
Mid-range ceramic subway tiles run $5–$12 per square foot and deliver the best balance of cost, water resistance, and longevity. Glazed ceramic is impervious to humidity and cleans with mild detergent, making it a strong permanent choice for a primary bathroom you plan to keep for a decade. The trade-off is installation labor, expect $8–$15 per square foot for professional tiling, plus a 15% overage for cuts and breakage.
Premium porcelain or natural stone marble, at $15–$40 per square foot, is the long-term investment route. Porcelain outperforms marble in stain resistance and requires no annual sealing, while marble demands yearly hydrophobic treatment and is prone to etching from acidic cleaners. Both justify their cost only in bathrooms with proper ventilation, a continuously steamy space will erode grout and sealants regardless of tile price.
Choose commercial-grade porcelain if durability outweighs aesthetics; choose marble only when the visual payoff justifies a decade of careful maintenance.
Your Decision Checklist
Before you order a single tile, confirm these five points. Your wall tile choice must pass the moisture test (porcelain or glazed ceramic), fit your room’s scale (large-format for small bathrooms, metro for mid-size, mosaic for large), and meet your DIY or contractor skill level. Verify your substrate, drywall, cement board, or plaster, will bond with your adhesive.
Then calculate your waterproofing need: any tile within shower splash zones requires a membrane behind it.
Your next step: Measure your wall width and height in centimetres, then write down the figure. Take that number to a tile showroom, buying sample slabs in person prevents your biggest regret. Return the samples you don’t choose within 30 days.
Frequently Asked Questions
What size bathroom wall tiles work best for a small bathroom?
Use tiles 4×4 to 6×6 inches for visual texture, or 12×24 inches laid vertically to elongate walls. Avoid oversized formats over 24 inches, which overwhelm tight spaces and create excessive waste.
Can I use large-format tiles in a bathroom with low ceilings?
Yes, but install them vertically, stacked or staggered, to draw the eye upward. Keep grout lines minimal with rectified edges. Avoid horizontal layouts, which shorten the perceived height further.
How does grout color affect the final look of bathroom wall tiles?
Matching grout creates a smooth, monolithic surface, ideal for large-format tiles. Contrasting grout highlights individual tile shapes, adding pattern and depth, best for subway or mosaic designs. Dark grout hides stains but shows texture; light grout brightens but requires sealing.
Are peel-and-stick tiles a viable option for renters?
Yes, for smooth, dry walls. Choose vinyl or PVC tiles rated for wet areas. They remove cleanly within a year if you use painter’s tape primers.
Expect 3–5 years lifespan; avoid near shower spray zones where adhesive degrades.