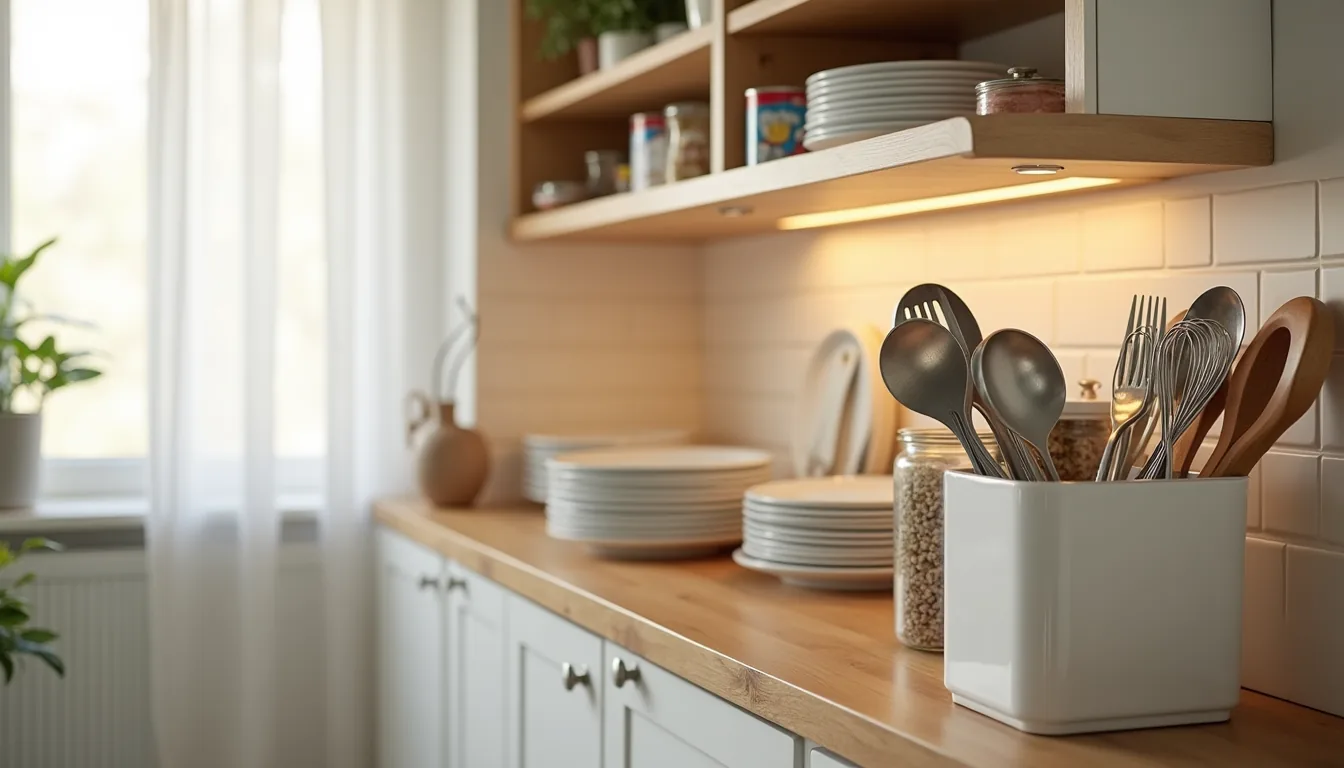

Your kitchen cabinets only work as storage if you can see, reach, and retrieve everything inside them, and that starts with a ruthless audit of what you actually own before you buy a single organizer. Once you purge duplicates, expired goods, and orphaned lids, you’ll know exactly which zones need fixed shelving, pull-outs, or tension rods. From there, six practical systems, ranging from budget tension kits to custom drawer stacks, can transform dead corners into high-efficiency zones.
The catch is matching each solution to your cabinet depth, your budget, and how much you cook.
Key takeaways
Audit first, empty every cabinet, sort by category, and measure shelf heights before spending a dollar on bins or dividers. Fixed shelving costs less upfront, but adjustable tracks (typically $20–$50 per cabinet) let you reclaim wasted vertical space as your cookware changes. Pull-out drawers shine in deep base cabinets, installing a single 24-inch rack can double usable access versus reaching to the back. Renter-friendly options like tension rods, stackable risers, and adhesive hooks require zero drilling and remove cleanly without patching holes.
Audit Your Inventory Before Buying Containers

Before purchasing a single bin or basket, empty every cabinet and sort your contents into the categories you actually use: measuring cups, mixing bowls, small appliances, and dry goods. This exact setup, items grouped in separate piles with a measuring tape and notebook beside them, forces you to reckon with volume and frequency. Measure the height, depth, and width of your cabinet interiors, then record which items you reach for weekly versus monthly; the rarely-used waffle iron occupying prime shelf space is a dead zone you can reclaim.
That notebook becomes your spec sheet. Note the tallest mixing bowl and the bulkiest appliance footprint, because those dimensions dictate whether a pull-out drawer or a simple riser will work. Skipping this audit is why most storage purchases fail: you buy a 10-inch-deep organizer for a 9-inch shelf, or a stackable system that blocks access to the corner.
You aren’t organizing abstract space, you’re fitting your real habits, and the tape measure tells you which habits matter.
Fixed Shelving vs. Adjustable Systems: Trade-Offs
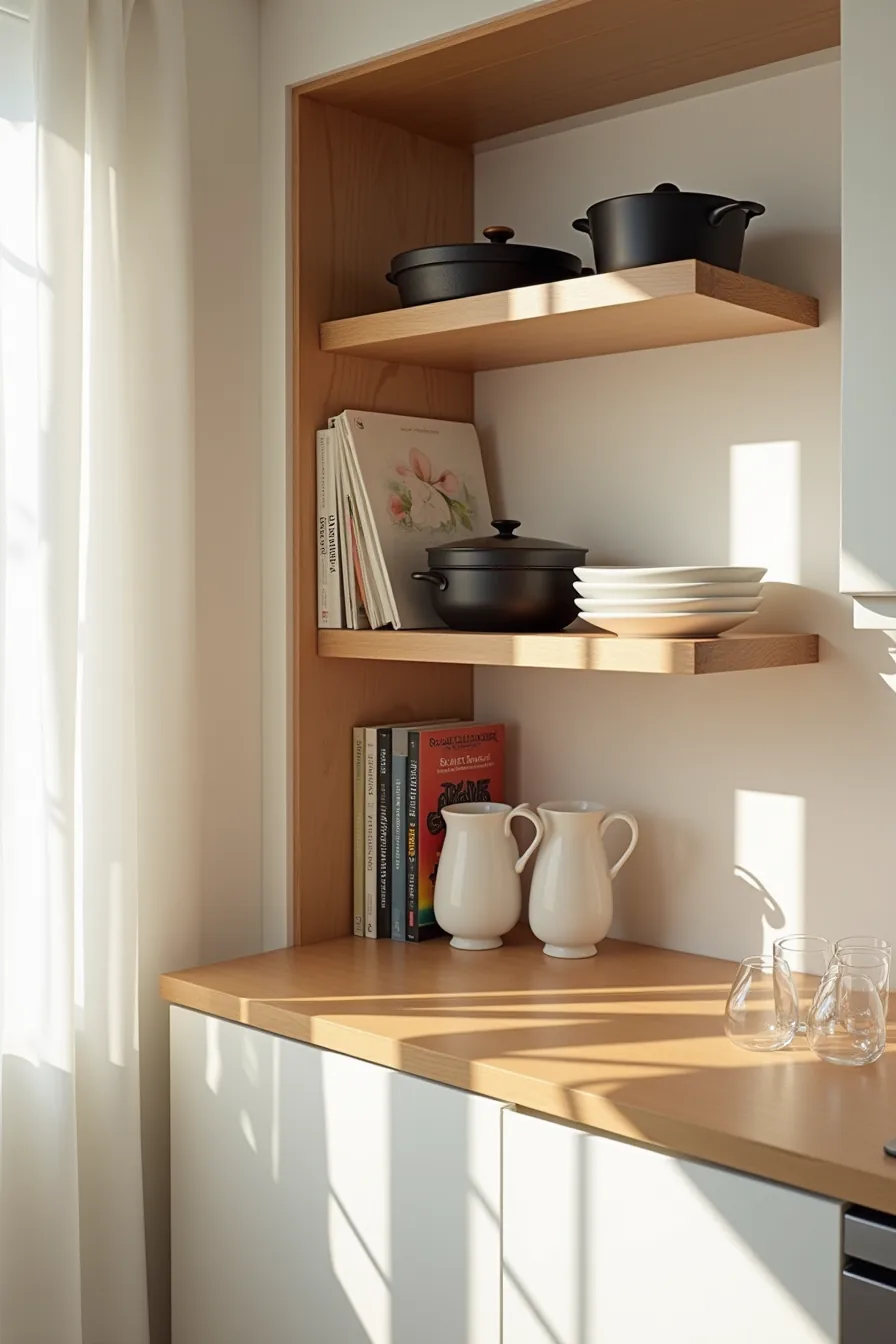
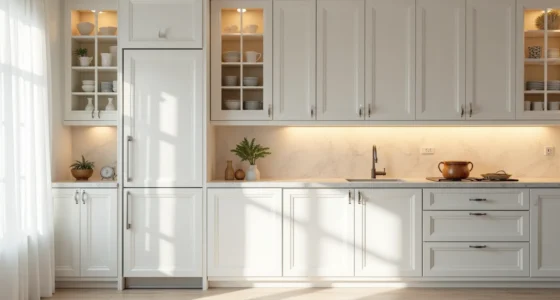
The decision between permanent wood shelves and adjustable shelf pins comes down to how much your storage needs change. Fixed shelving, like the lower section holding your cookbooks and cast iron, handles heavy loads without sagging and costs nothing to maintain, but you’re locked into that spacing forever. If you later buy a taller stand mixer, you’re either living with wasted vertical space or drilling new holes.
Adjustable pins give you flexibility, but they carry a weight penalty. The upper section holding your bowls and glasses works fine because those items are lightweight; most adjustable shelf systems support 25–50 pounds per shelf, whereas fixed wood shelves can handle triple that. The trade-off surfaces in the middle ground: you can lower a pin to fit a bulky blender, but you sacrifice the ability to stack heavy canned goods above it.
For most kitchens, the practical hybrid is fixed shelving for the lower 18 inches, your dense, heavy zone, and adjustable pins above for glassware and everyday dishes. Installation runs 30–60 minutes per cabinet for pins versus a full afternoon for custom fixed shelves, and you’ll pay roughly $5–15 for pin hardware versus $40–100 for a cut-to-size wood shelf. If you rent or remodel frequently, skip the permanent route entirely and use modular riser systems that sit on existing shelves without tools.
Deep Cabinet Rescue: Pull-Out Drawers and Baskets
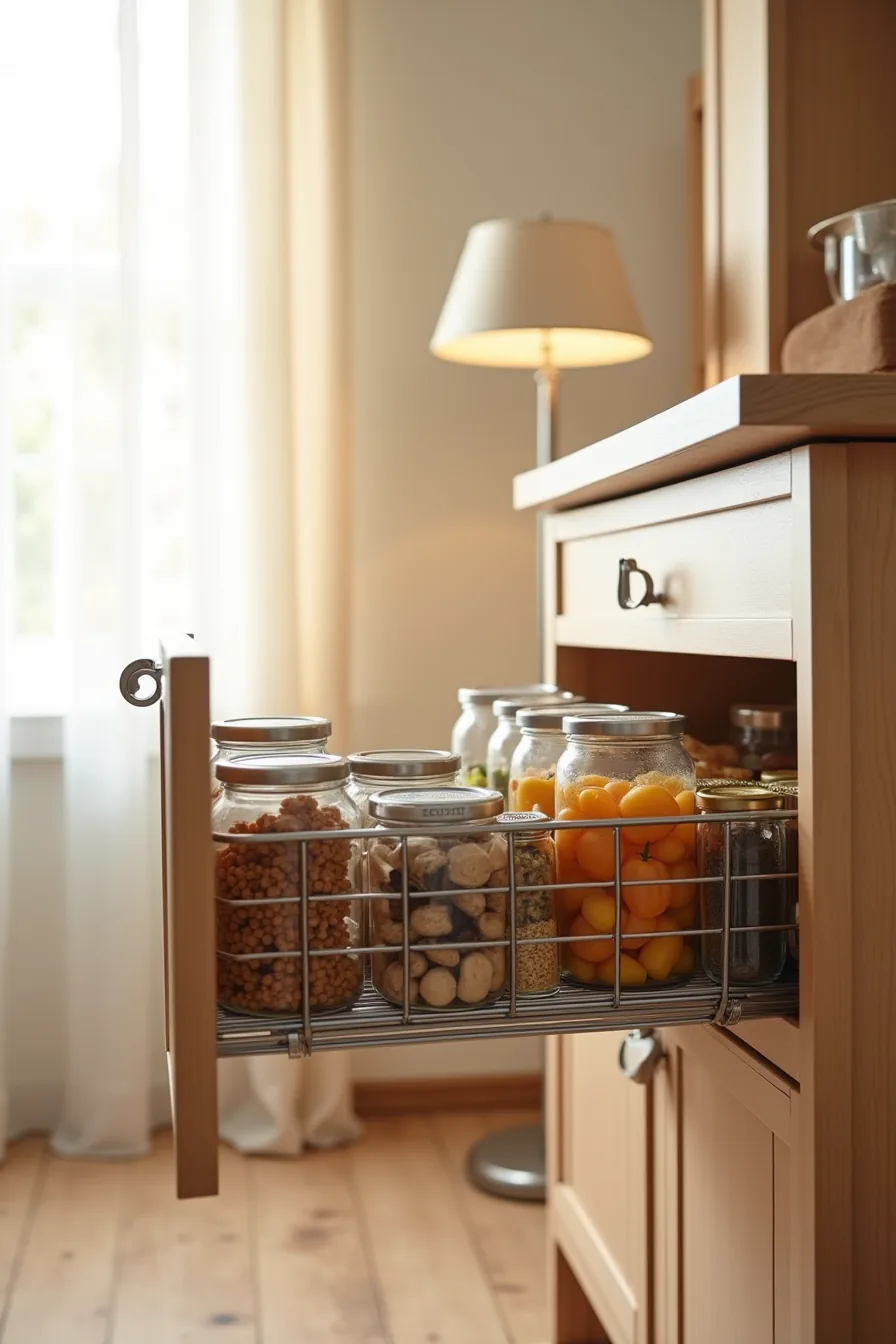
The dark rear of a 24-inch-deep base cabinet is where cookware goes to die. You can reach the front row of food containers and small jars, but the back wall remains a black hole you avoid restocking. That wasted depth is why pull-out wire baskets recover 30–50% more usable space, they bring the back of the cabinet to you on telescoping slides.
Pull-out systems work best for nested food containers, small jars, and lightweight staples because the basket’s wire construction lets you see every item at a glance. The trade-off: they hold less vertical stacking than solid shelves, so reserve them for mid-weight goods, not your Dutch oven collection. A full-extension basket with the cabinet door open gives you complete access to the rear without kneeling or blind-reaching.
Renters should choose freestanding pull-out drawer units that sit on the existing shelf, no drilling, installs in 10 minutes. Homeowners can opt for permanent undermount slides rated for 75–100 pounds, which cost $30–80 per cabinet and take under an hour to fit. Measure the cabinet’s interior depth before buying; most standard base cabinets accommodate a 20–22-inch pull-out, but corner cabinets need shorter, angled variants.
Cooking-Zone Storage: Organizing by Task Frequency
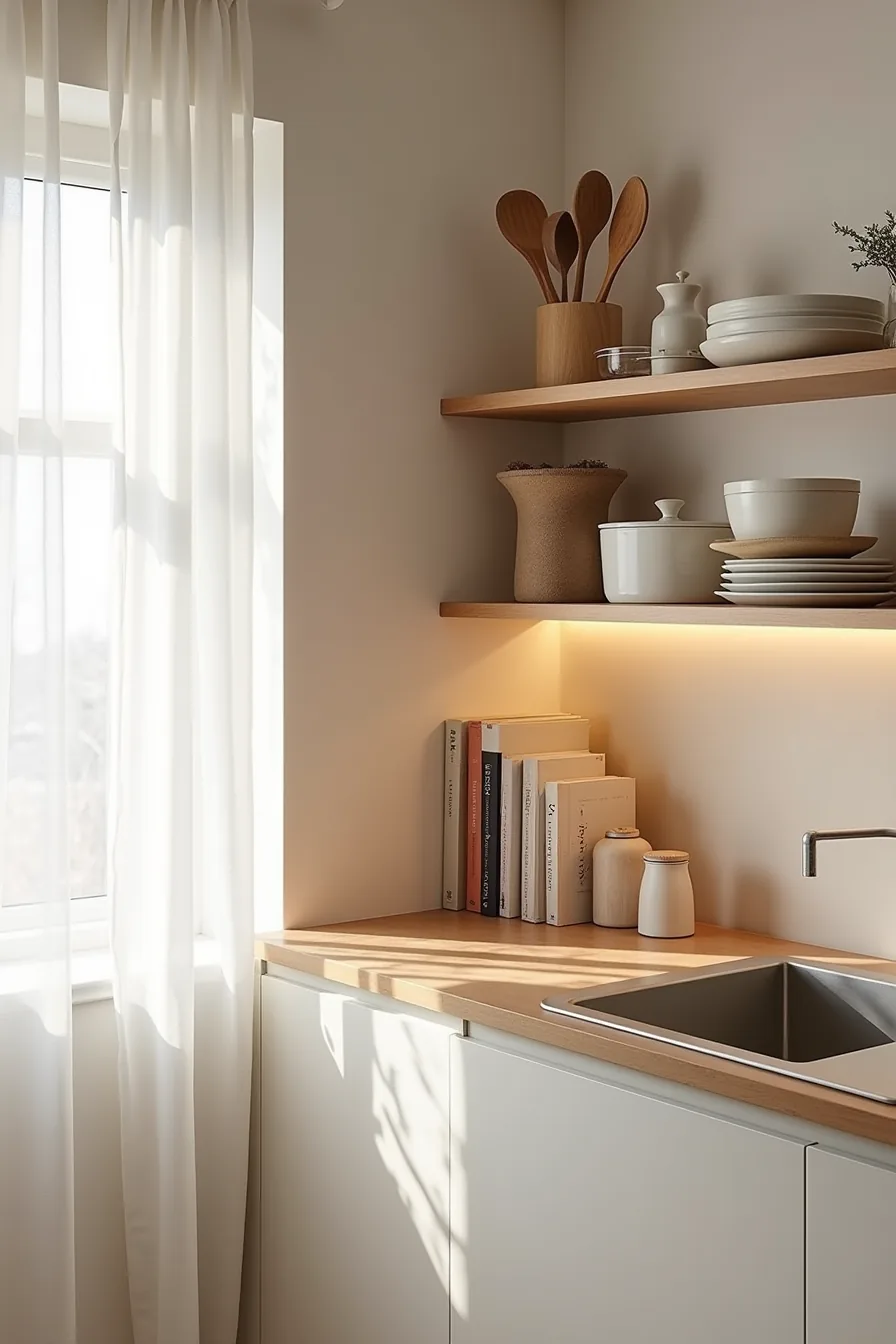
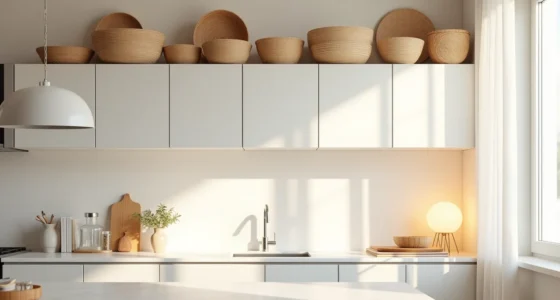
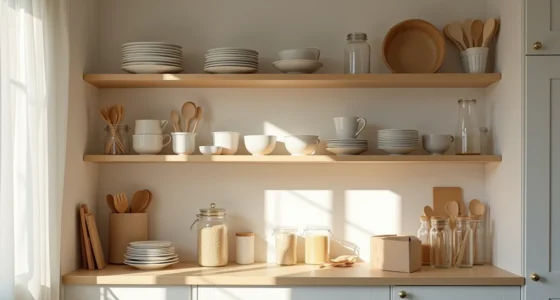
Cooking-zone storage works on a simple rule: what you touch daily lives between your hip and shoulder height. That eye-level shelf holds your cooking utensils, salt and pepper, and the measuring spoons you reach for without thinking. Everything you use once a week or less, baking pans, specialty tools, moves up to the top shelf where you store them back toward the wall, out of your visual field but still accessible when needed.
The bottom shelf takes the heavy, infrequent items: large pots and serving dishes that would strain your shoulders if lifted from above. This three-tier system scales directly to kitchen size. In a small kitchen with two cabinets, designate one full cabinet for daily-use items and accept that occasional pieces live elsewhere.
Medium kitchens get one dedicated cooking cabinet with this vertical split. Large kitchens can afford a separate baking zone, but the frequency rule still applies, most home cooks bake less than they sauté, so baking tools always sit higher or farther than everyday cookware.
Placement matters as much as height. The front third of each shelf holds daily items; the rear two-thirds holds what you use less often. That way you never move a rarely used serving dish to grab your salt.
Renter-Friendly Storage Without Permanent Changes
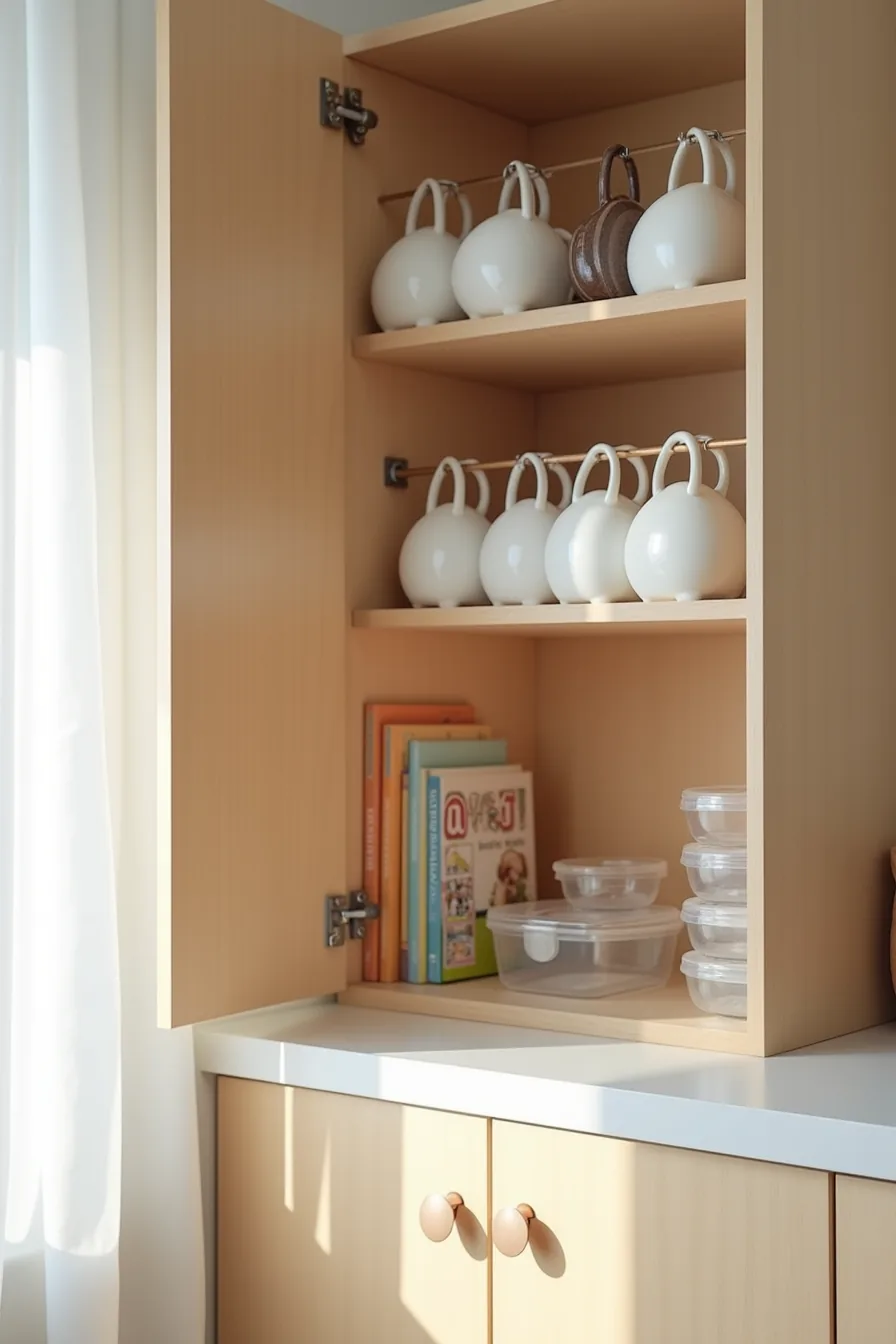
Adhesive shelf liners protect the wood beneath and give your containers a non-slip base, but they leave residue when removed. Press the liner down firmly, and peel it slowly at a 45-degree angle; any sticky film comes off with rubbing alcohol and a soft cloth. Liner costs around $10–$20 per roll and lasts years if you wipe spills promptly rather than scrubbing abrasive pads.
Tension rods are the strongest no-drill option for hanging mugs between cabinet sides. Choose a rod rated for at least 15–20 pounds, twist it until snug against both walls, and test with a firm tug before loading mugs by their handles. Most standard upper cabinets accommodate rods from 13 to 28 inches, so measure the interior width before buying or you’ll need shims.
Stackable clear containers make the most of vertical space without shelving units. Use the widest sets that fit side-by-side with a finger’s width of clearance, that gap prevents the cabinet doors from scraping the lids. The visible setup pairs these three methods in one cabinet: liner on the shelf, rod holding six mugs above, and stacked containers below for dry goods.
When you move out, remove the rod, lift the containers, and peel the liner, no patching, no sanding, no deposit disputes. This is Kitchen Cabinet Storage for Renters Avoiding Permanent Changes done right: every element is reversible in under ten minutes.
Labeling, Cleaning, and Maintenance Routines
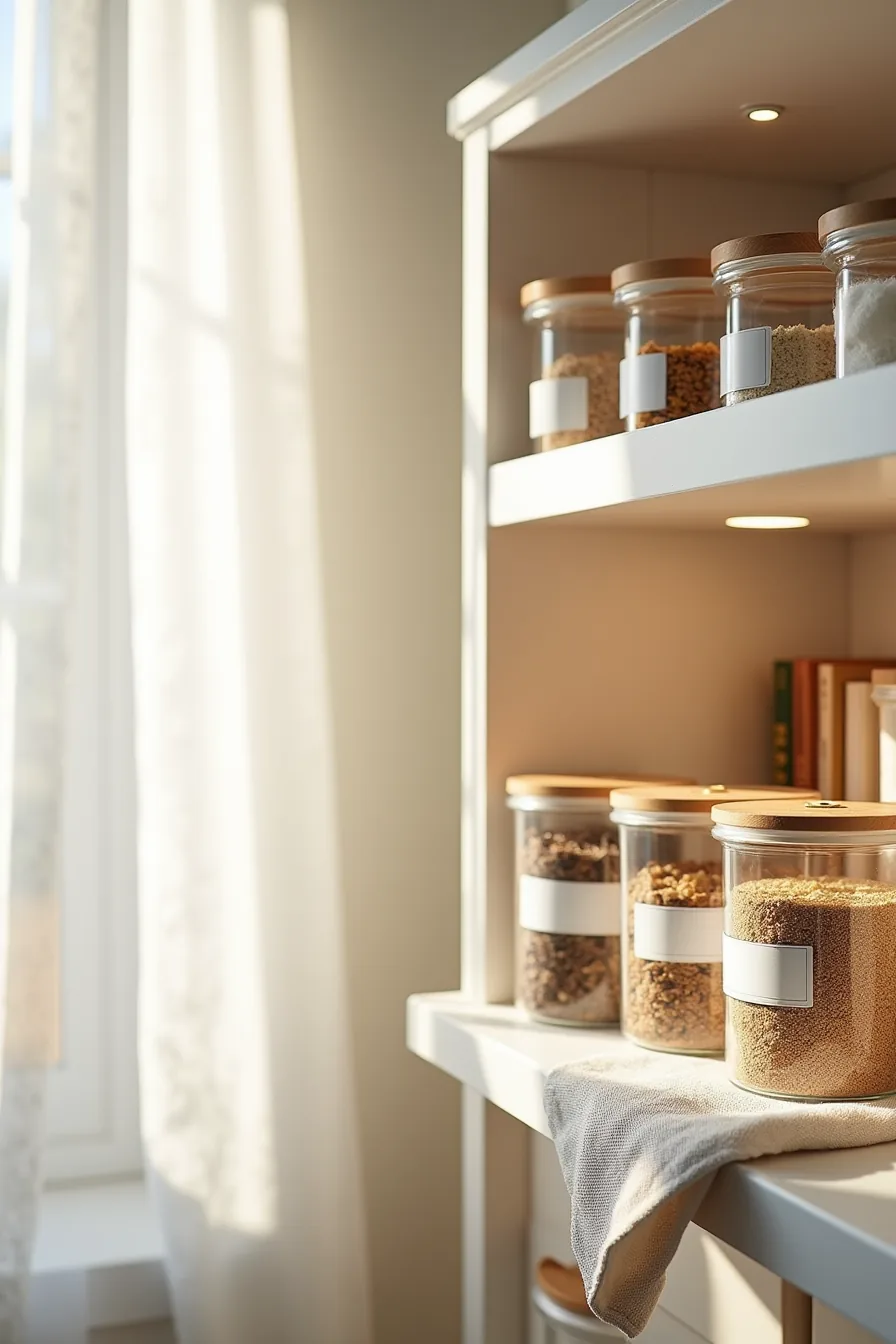
Label only the container’s front face, never the lid, so you can identify contents without lifting or shifting stackable units. A standard label maker or chalkboard sticker holds up fine in dry-goods cabinets, but skip handwritten paper tags, moisture from steam makes them curl within two weeks. Write the purchase date and expected shelf life on the label, then rotate stock by moving newer items to the back.
Wipe down the cabinet shelf monthly with a damp microfiber cloth and mild soap, then dry it thoroughly before replacing containers. This routine removes flour dust and cereal crumbs that attract pantry moths, whose larvae can chew through thin plastic bags within days. The placard on the shelf underside lists a 40-60 pound capacity limit, so check it before loading heavy canning jars or small appliances.
Inspect door seals and corner joints every three months for gaps where pests enter. Wash the cloth weekly in hot water to prevent cross-contamination, and replace it every three months for about $5–$8. Budget ten minutes per cabinet per month, and you’ll spend less time cleaning than you would scrubbing pest droppings or replacing ruined food.
Where to start
Before you buy a single bin, measure your cabinet interiors and take stock of what you actually reach for weekly. That inventory determines whether you need deep drawers for pots or narrow racks for baking sheets. Start with the one cabinet that frustrates you most, empty it, and group items by frequency of use.
Your first purchase should always be stackable shelf risers or pull-out trays. They work in almost any space, cost under $30, and instantly double usable capacity without remodeling. Install them, live with the arrangement for a week, then decide which specialty organizers earn their space.
That single cabinet should take you about two hours to complete.
Frequently Asked Questions
How do I know if my cabinet can support a pull-out drawer system?
Check the cabinet floor thickness, particleboard under ½ inch flexes under load. Open the door and press down firmly; if it bows, reinforce with plywood or choose a lighter basket system instead.
What’s the difference between a shelf riser and a pull-out basket for deep cabinets?
A shelf riser adds vertical stacking on an existing shelf, costing under $20, but requires reaching to the back. A pull-out basket glides forward, giving full access to deep spaces, typically $30–$60 per unit, and needs track mounting.
Can I use adhesive shelf liners in a rental kitchen without losing my deposit?
Yes, if you choose non-permanent liners with low-tack adhesive or silicone grip. Test a corner first, and peel slowly at move-out. Avoid rubber-backed liners that bond to wood over heat or humidity, they can leave residue or lift finish.
How often should I clean inside cabinets to prevent pest problems?
Wipe down interiors every 2–3 months, and do a full empty-and-vacuum sweep quarterly. Check for crumbs or spills monthly in high-use areas like the coffee or baking cabinet. Seal dry goods in airtight containers to break pest cycles between cleanings.