The gap above your kitchen cabinets is either a design opportunity or a dust trap, and the difference comes down to a few deliberate decisions about scale, weight, and how much upkeep you’re willing to take on. This dead zone, typically 12 to 18 inches tall, reads as intentional only when the styling matches your ceiling height, cabinet depth, and the visual weight of the room below. Get those three measurements right and you can pull off anything from a single oversized basket to a curated gallery wall; get them wrong and the same objects will look like forgotten clutter.
The six approaches ahead break down exactly what to place, where to place it, and what each choice will cost you in time and money.
Key takeaways
- The right scale depends on the gap between your cabinets and ceiling: measure it, then choose décor that fills roughly 70-80% of that height to avoid a sparse or crowded look.
- Baskets win for a budget-friendly, renter-safe base since they’re lightweight, require no drilling, and hide clutter, but stick to natural fibers to avoid a dated vibe.
- Pottery adds permanence and visual weight, so reserve it for kitchens with 12+ inches of clearance where tall pieces won’t block ventilation or feel cramped against the ceiling.
- Seasonal refreshes work best with a single interchangeable anchor, like a large tray or a set of three vases, so you swap accents in under 10 minutes without re-styling the entire ledge.
Why the Space Above Cabinets Matters
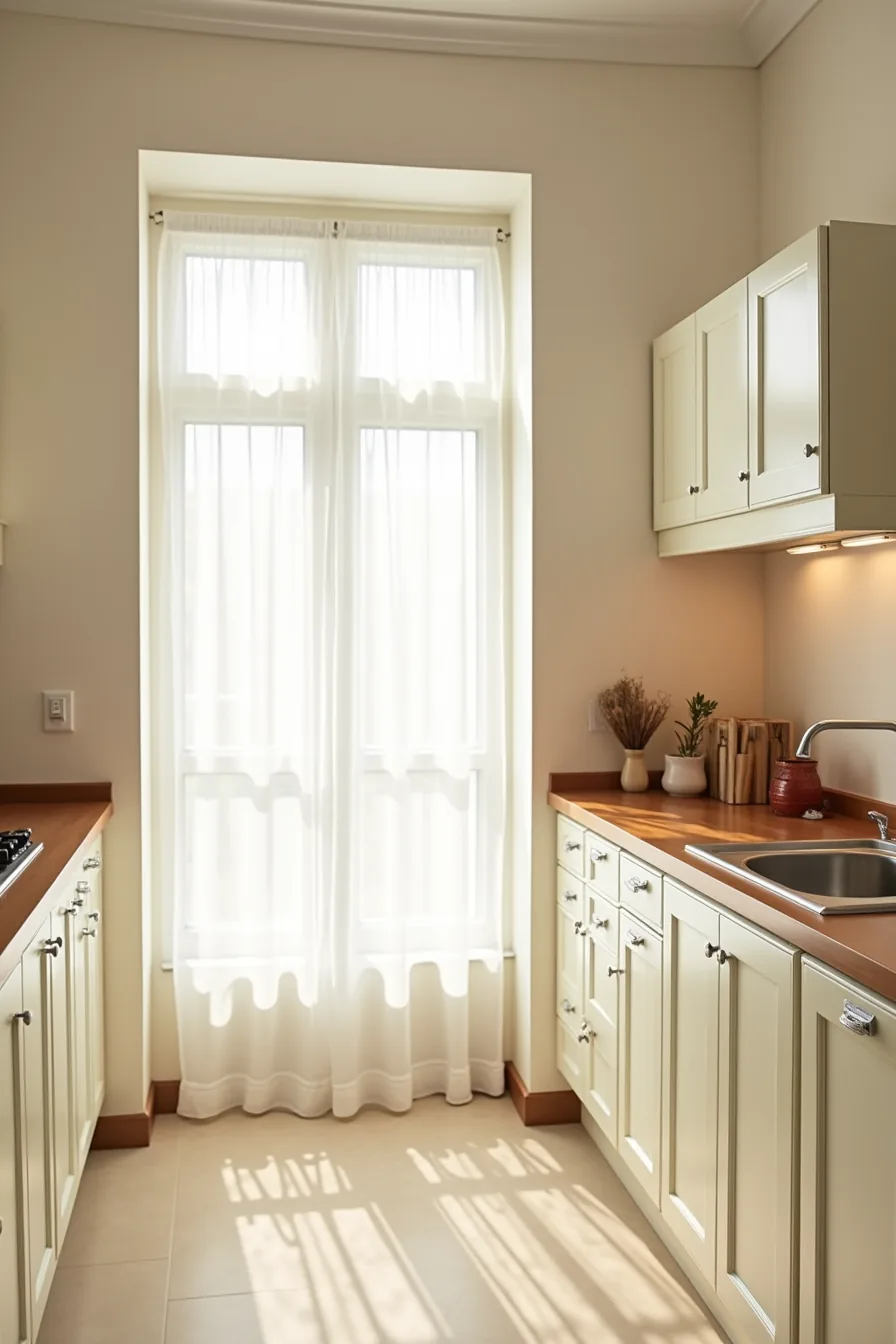
You face a design paradox: a 10- to 14-inch gap between your cabinet tops and an 8-foot ceiling that gathers dust but demands attention. Sightlines make it unavoidable. When you stand across the room, that strip sits at roughly eye level for most adults, so it functions as a fifth wall you decorate or ignore.
In a galley kitchen with 36-inch-tall cabinets and a narrow counter below, vertical proportion compounds the problem. Your eye travels up past the counter, along the cabinet face, and lands on that dusty ledge before hitting the ceiling. Leaving it bare makes the room feel taller but unfinished; filling it carelessly adds visual weight to an already tight corridor.
Cabinet height and ceiling clearance determine your options. Taller cabinets leave less decorative room, while shorter ones create a display zone that can either anchor the kitchen or overwhelm it, depending on what you place there.
The Case for Leaving It Empty
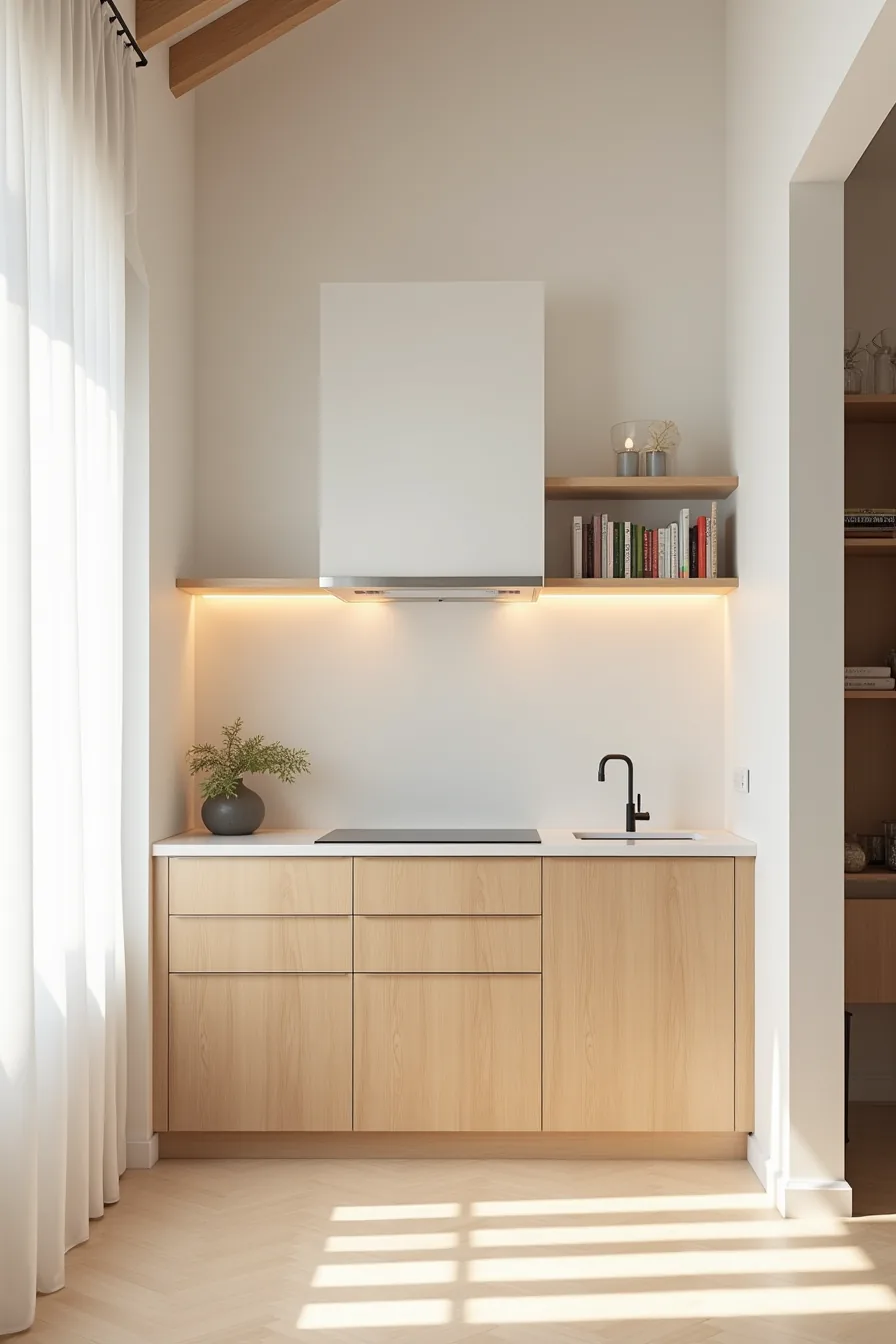
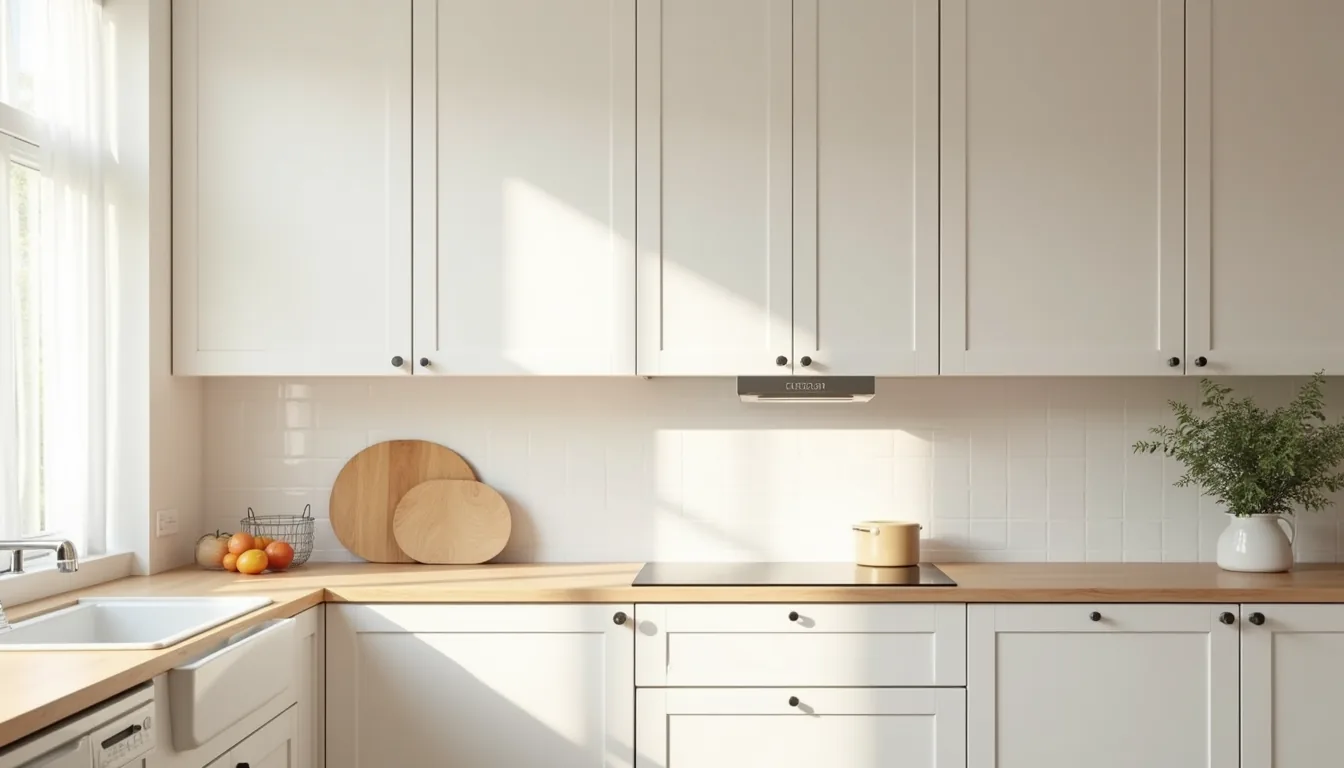
Leaving the tops bare works best when your ceiling clears cabinet height by 18 inches or more. That distance turns the gap into genuine negative space instead of a dusty ledge, giving the room an airy, gallery-like quality. A vaulted ceiling amplifies this effect, it draws the eye upward past the cabinets, making the kitchen feel larger without a single decorative object.
This approach suits modern and Scandinavian kitchens where natural wood cabinets already carry visual interest. The clean tops let the grain and joinery become the focal point, and open shelving on the opposite wall provides the display moment you might otherwise crave. Maintenance becomes a once-a-month wipe with a microfiber cloth rather than dusting around fragile items.
Choose this route if you prefer a low-effort, low-clutter kitchen and your ceiling height cooperates.
Baskets vs. Pottery: Choosing Your Foundation
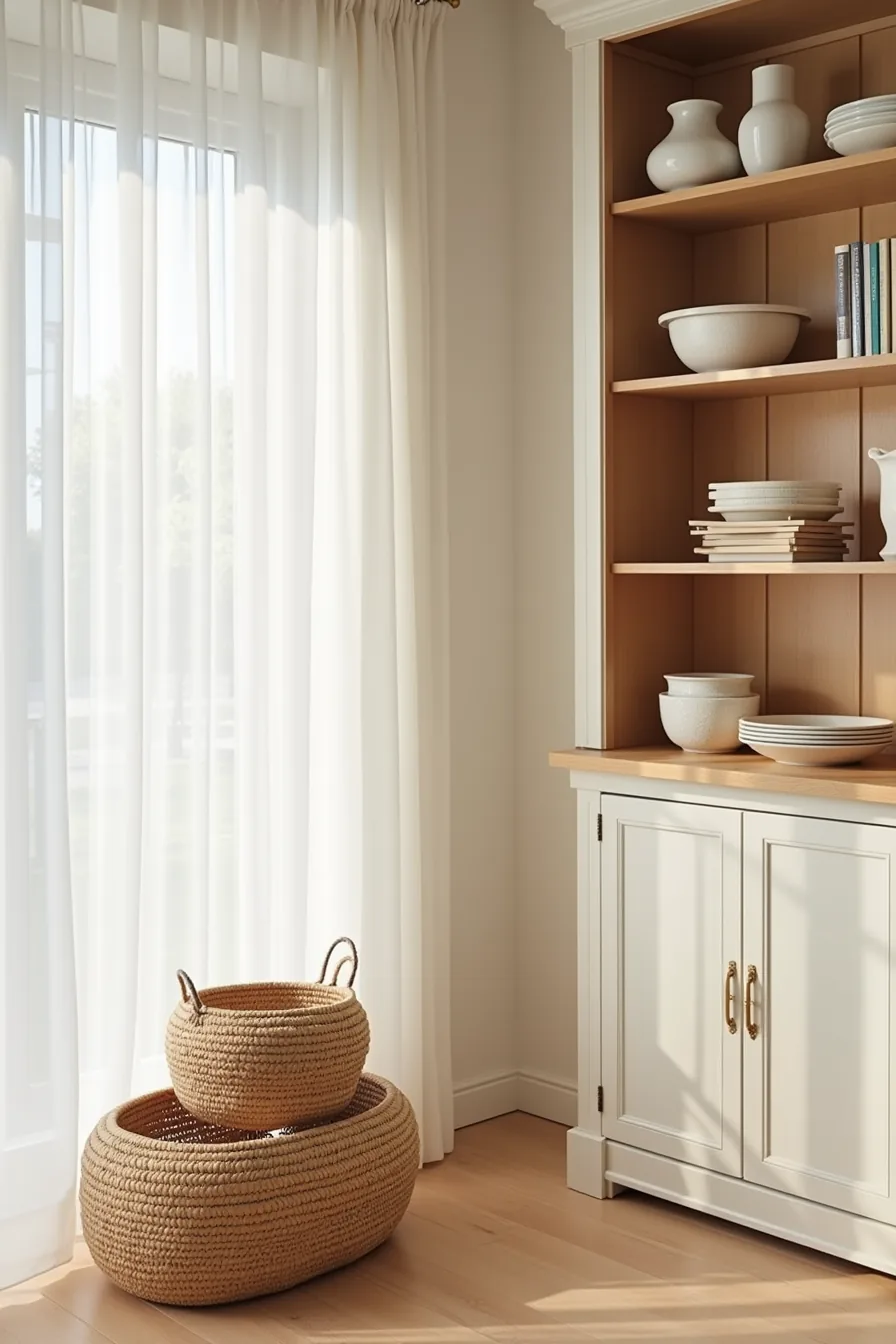
Woven baskets win on forgiveness. They tolerate uneven surfaces, hide minor dust accumulation, and weigh little enough to reposition without a step stool struggle. Natural fiber options in varying sizes, think 10 to 16 inches in diameter, cost roughly a third of what comparable ceramic pieces run, making them the practical choice for a 42-inch cabinet run where you want mass without permanence.
Ceramic vessels justify their higher price through presence. Glazed pottery reflects light and reads as intentional sculpture, though you’ll dust each piece individually and handle them with two hands. For a 36-inch run, limit yourself to three vessels with at least 2 inches of breathing room between them; any tighter and the arrangement reads as clutter rather than collection.
The split approach, baskets on one run, pottery on the adjacent, works when your two cabinet sections serve different visual functions. Baskets absorb visual noise; pottery creates focal points. Match basket tones to your floor or backsplash undertones, and keep ceramic finishes within the same color family to preserve cohesion.
Layering Height and Depth for Visual Balance
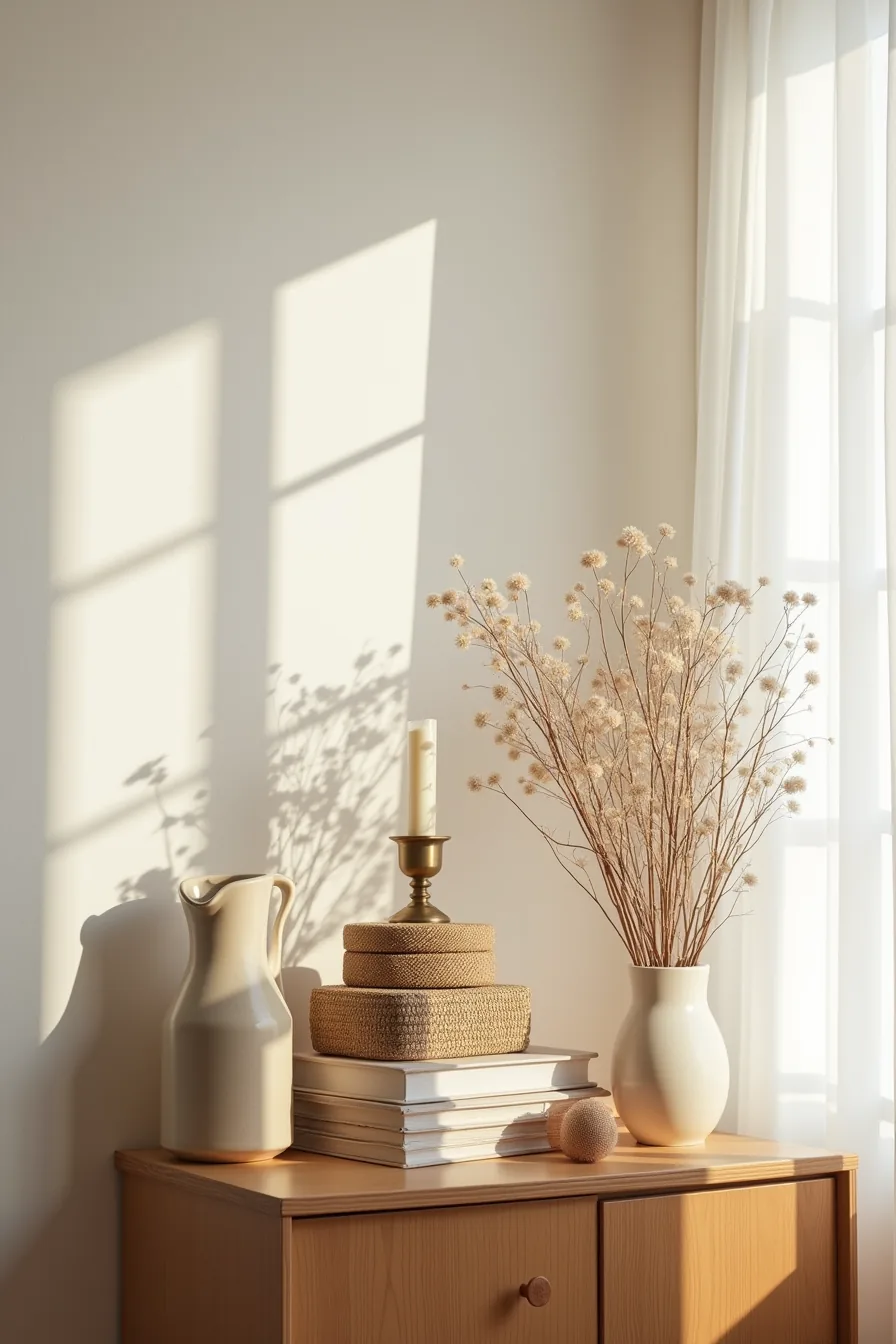
The 48-inch run in this setup works because it stacks three distinct depth layers. A tall ceramic pitcher anchors the back-left corner, pulling the eye upward first. Stacked woven boxes in the center create a solid mid-height block, while the small brass candleholder sits forward-right, drawing your gaze along the front edge after the taller elements have registered.
Pull the tall piece back 4 to 6 inches from the cabinet lip, then let shorter items creep closer to the front. This railroading illusion of depth matters most on medium runs like this one, you get variety without the visual weight of a full, floor-to-ceiling vignette. For a smaller 24-inch run, skip the stacked boxes and pair just the pitcher with the candleholder.
For a large 72-inch run, add a third height tier with a second tall vessel at the opposite end, keeping the center lowest so the composition reads as intentional rather than accidental. The dried branches extending upward soften the top line and prevent the arrangement from feeling truncated against the ceiling.
Minimal Top-Cabinet Styling for Tight Spaces
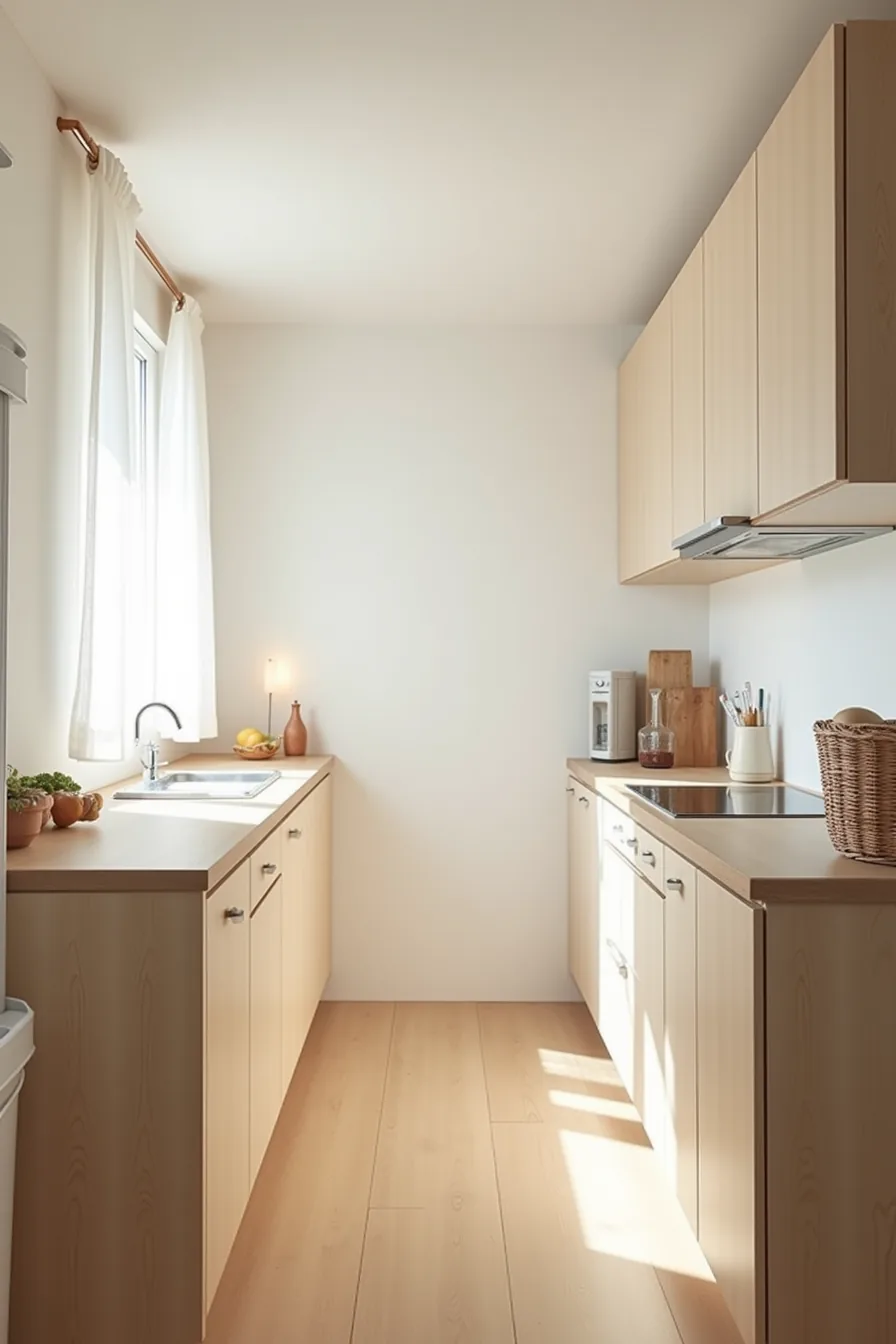
When your ceiling sits at 8 feet and your uppers run a narrow 30 inches, the space above becomes a visual pressure point rather than an opportunity. The clearance between the cabinet top and ceiling likely falls in that awkward 12- to 18-inch band, which makes anything tall feel immediate and claustrophobic. Your solution is a single centered woven basket, nothing else, no stepping, no layering.
The basket’s low profile (roughly 8-10 inches tall) leaves most of the gap open, and its open weave lets the wall color show through, which keeps the eye moving instead of stopping.
This approach suits galley kitchens where you pass within arm’s reach of the cabinet tops daily. You aren’t decorating; you’re terminating the sightline so the space reads as finished, not forgotten. Widen the cabinet run to 36-48 inches and you can scale the basket up or add a second, slightly shorter one beside it, but only if the ceiling height allows a 5-6 inch breathing room above the tallest piece.
Any tighter, and the basket alone is the correct, disciplined choice. Dust it monthly with a dry microfiber cloth; woven fibers trap grease faster than smooth surfaces, so plan to vacuum it with a brush attachment every other month.
Top of Kitchen Cabinet Decor for Seasonal Refreshes

The transitional setup you see here, autumn gourds and rust-toned fabric on one cabinet run, white ceramic and frosted glass on the other, works because every piece is lightweight and graspable with one hand. That’s the non-negotiable criterion for seasonal rotation: if you need two hands or a step stool to manage an item, you’ll abandon the switch by November.
Keep a single open storage basket at the cabinet base to hold the off-season pieces. This eliminates the “where do I put this” friction that kills most seasonal decorating attempts. Curate a palette that bridges two seasons, not one, rust and cream work for both autumn and winter, while the white ceramic and frosted glass carry through to spring without looking off.
Budget under $40 by sourcing gourds from a farm stand and ceramic pieces from a thrift store; the dried corn costs roughly $3-5 and composes cleanly once removed. Rotate at the solstice and equinox only, not monthly. Dust each piece before storing it in the basket, and wipe the cabinet surface every rotation to prevent grease buildup from bonding to your seasonal decor.
Where to start
Begin by emptying the top of your cabinets and measuring the depth and height of the clearance. That single number determines what fits, so write it down before you buy anything. Then, pick one route from this guide that matches your budget and living situation, a wire basket collection costs under $50, while a built-in soffit wrap is a permanent renovation.
Your first actionable step: place one anchor piece, like a large ceramic urn or a stack of three books, on the left or right end. Live with it for two days. If it feels balanced, build outward; if not, adjust the height or move it to the center.
This forces you to commit to a direction instead of overthinking.
Frequently Asked Questions
How do I keep dust off items sitting on top of kitchen cabinets?
Use a microfiber duster weekly, or place a clear acrylic shelf liner under decor to simplify wiping. Washable items like glass or ceramic tolerate monthly cleaning; porous materials collect grease film faster.
What’s the minimum clearance needed between cabinet top and ceiling for decor?
You need at least 6 inches of vertical clearance for low-profile pieces, but 12–18 inches suits most vases, baskets, or stacked books. Less than 6 inches makes dusting and styling difficult.
Can I use real plants on top of kitchen cabinets, or will heat damage them?
Yes, but only low-light, drought-tolerant varieties like pothos or snake plants. Avoid direct heat sources like vents or range hoods; radiant heat from appliances can scorch leaves. Place them at least 24 inches from any heat outlet.
How much weight can the top of a kitchen cabinet safely hold?
Standard particleboard or plywood cabinet tops support 20–40 pounds distributed evenly, but check manufacturer specs. Avoid exceeding 25 pounds per linear foot. Heavy stone or metal pieces risk sagging or cracking the cabinet frame over time.