A black bathroom isn’t a single look, it’s a design framework that ranges from matte, cave-like drama to crisp, high-contrast elegance, and getting it right depends entirely on your lighting, finish choices, and how you handle maintenance from day one. Before you commit to a single tile or fixture, you need to decide which of six distinct interpretations matches your space, your routine, and your budget. Each route carries specific trade-offs in cost, upkeep, and visual impact, and selecting the wrong one can turn a bold statement into a daily maintenance headache.
The following breakdown cuts through the aesthetic noise to show you exactly what each style demands, who it suits, and how to execute it without regret.
Key takeaways
Finish choice drives maintenance: Matte black shows water spots and fingerprints within days, while glossy black hides smudges but reveals every scratch, so pick based on your tolerance for weekly wiping. Warm lighting prevents a cave effect: Install 2700K-3000K LED fixtures at vanity height to keep the room feeling inviting, as cool white light makes black surfaces read as flat and gloomy. Contrast is non-negotiable: Reserve at least 20-30% of wall or floor surface for white, wood, or metallic elements to stop the black from visually shrinking the room and swallowing natural light. Budget and rental routes differ sharply: Peel-and-stick tile and matte black paint cost under $200 but last 2-5 years, while porcelain tile and factory-finished fixtures run $1,500+ but survive a decade without refinishing.
Matte vs Glossy Black: Which Finish Suits Your Space
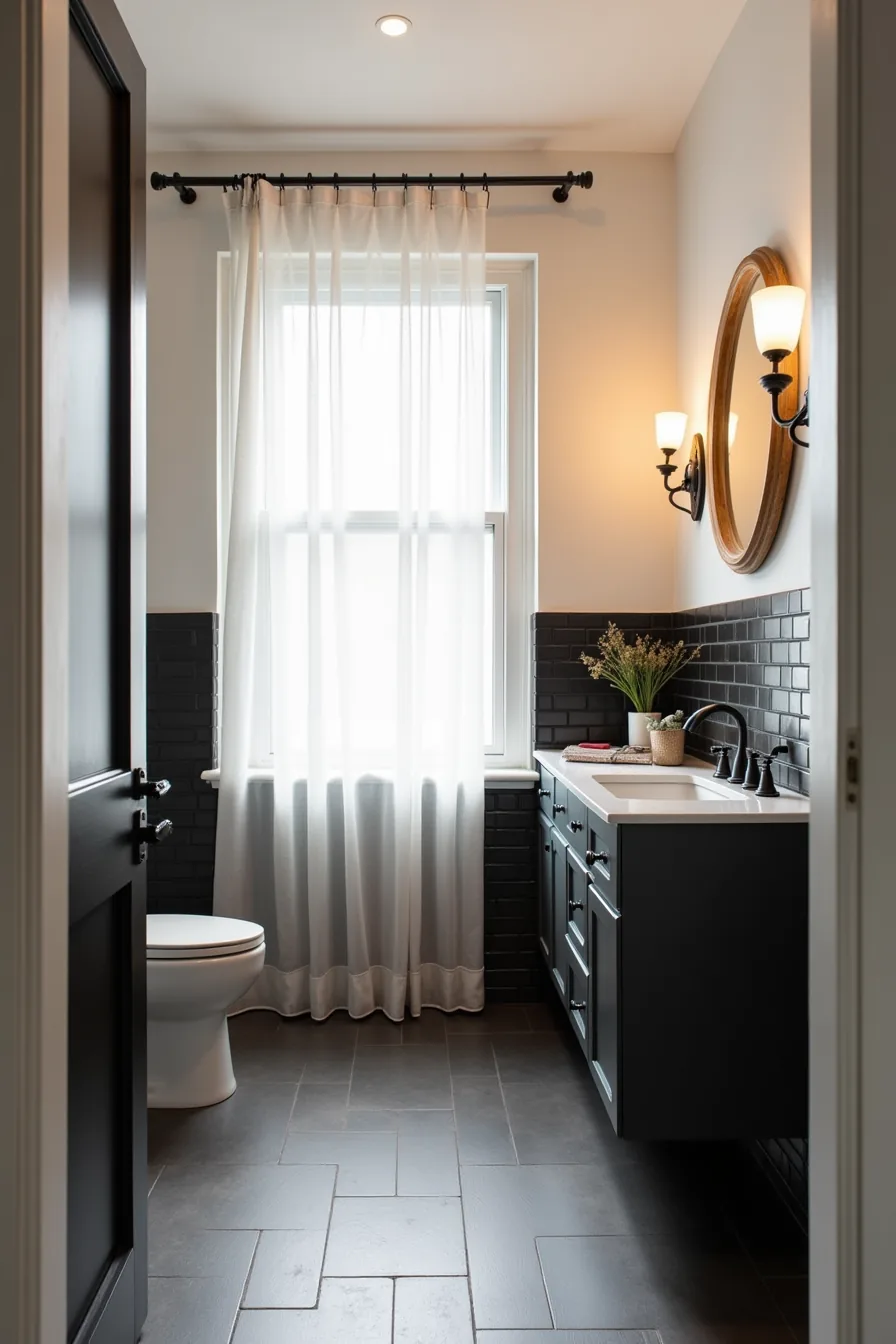
The matte black bathroom setup, subway tiles on the walls, floor tiles below, and a matching vanity cabinet, relies on absorption rather than reflection. This finish diffuses light, which softens edges and hides water spots, soap scum, and fingerprints far better than any polished surface. You can realistically clean matte black once a week with a mild, non-abrasive cleaner and still maintain a uniform appearance.
Glossy black, by contrast, acts as a mirror. It amplifies natural light, making a small or windowless space feel larger and more dynamic, but you’ll wipe it daily to remove streaks and hard-water marks. Choose matte for bathrooms larger than 75 square feet or those with strong direct sunlight, where glare becomes a problem.
Choose glossy for compact powder rooms or spaces with limited daylight, where its reflective punch compensates for the lack of square footage. Your fixture finish should match your tile finish, mixing matte walls with glossy faucets creates a visual clash that reads as unintentional.
Warm Lighting as Your Black Bathroom’s Foundation
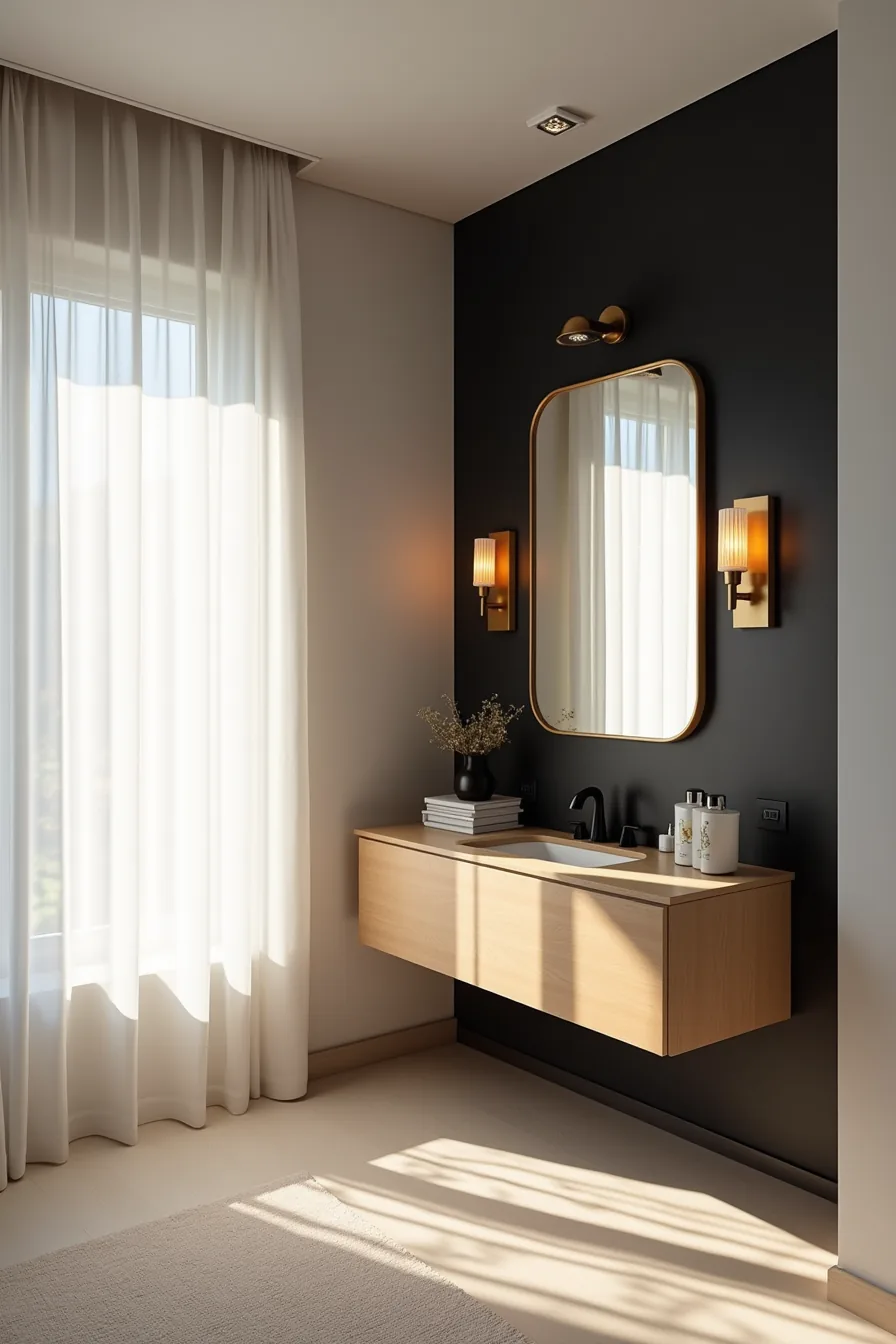
Color temperature matters more than brightness in a black bathroom. Target 2700-3000 Kelvin for warm lighting that reads as soft amber rather than clinical white; anything above 3500K will cast a cool blue-gray over black surfaces, making the room feel cavernous and uninviting. Brighter isn’t better, a 3000K bulb at 60-75 watts of equivalent output will outperform a 5000K bulb at 100 watts in both mood and depth perception.
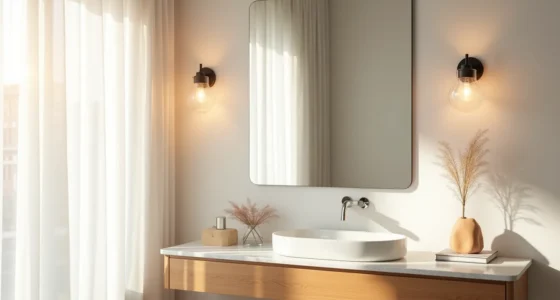
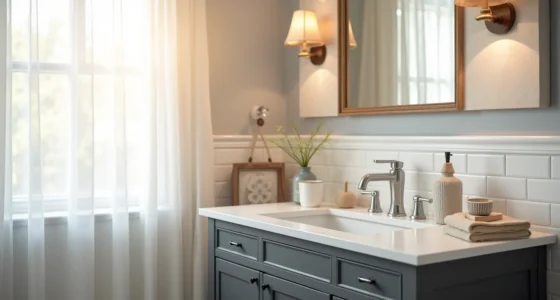
The vanity setup relies on layered placement. Brass wall sconces flanking the mirror at eye level (roughly 60-66 inches from the floor) eliminate the harsh shadows a single overhead source throws across your face. Recessed ceiling lights above, set on a dimmer between 40-60 watts equivalent, provide ambient fill without competing with the sconces.
A small accent pendant over the toilet area at 30-40 watts equivalent creates a visual anchor that prevents that corner from disappearing into the black walls. Match the lamp shades’ finish to the brass sconces to unify the warm lighting scheme across all three zones.
Strategic Contrast: Preventing a Black Bathroom From Feeling Too Heavy
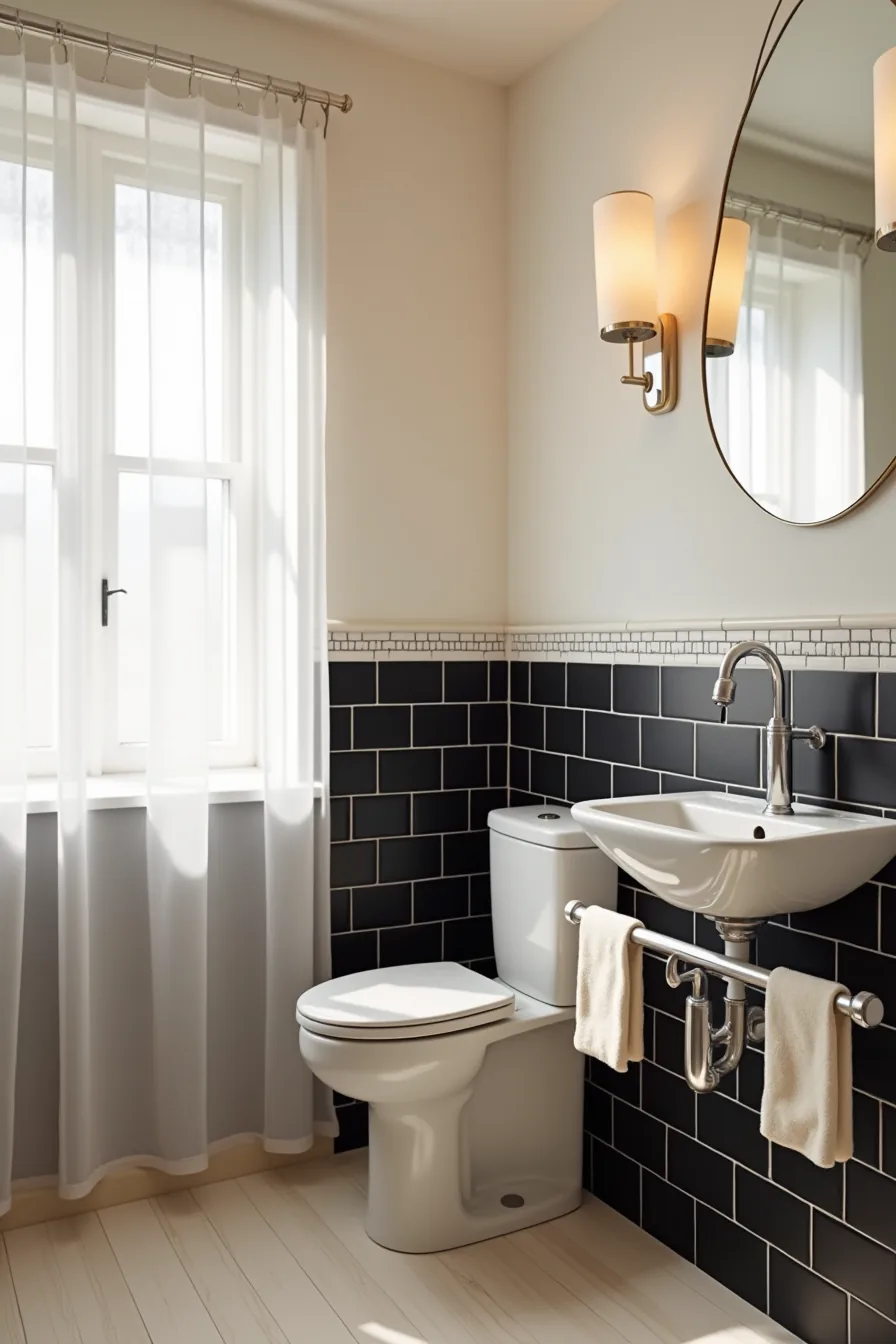
The rule of thumb for a dark room with contrast is the 60-30-10 split: 60% black surfaces, 30% mid-tone neutrals, and 10% bright accents. Without that middle layer, the space collapses into a flat void. The most effective placement for your 30% is at eye level, the zone you actually inhabit, rather than scattering it across the floor or ceiling.
A horizontal white subway tile stripe running at mid-wall height (roughly 42-48 inches from the floor) interrupts the vertical mass of black tile and gives your eye a resting line. Mount a white towel rack directly on the black wall above that stripe; the contrast between the matte black tile and the glossy white metal creates a crisp edge that reads as intentional design rather than accident. Drape cream-colored towels over the rack, the warm off-white softens the stark black-and-white pairing and adds the texture that flat paint can’t.
Keep the stripe to a single row of tile; anything wider shifts the room from accent to split-palette and defeats the purpose of keeping a black bathroom from feeling too heavy.
Black Bathroom Materials: Durability and Real Maintenance Costs
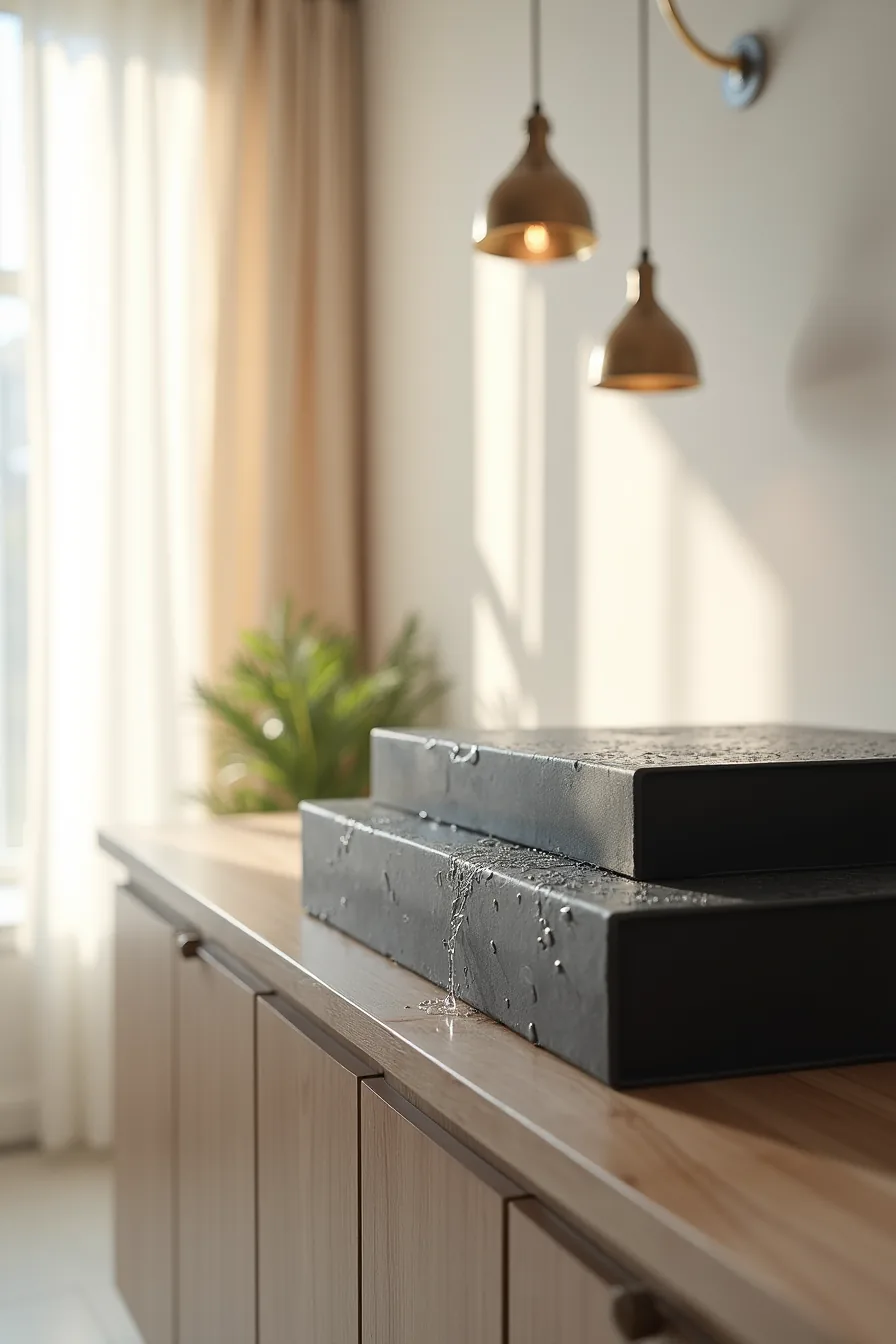
Your material choice determines how often you scrub and what your renovation actually costs over a decade. Black ceramic tile with standard grout is the budget entry point, but those lighter grout lines will show soap scum within two to three weeks in a shower that sees daily use. Switch to a black porcelain tile, which has lower water absorption, and pair it with a dark epoxy grout, you’ll cut visible water spotting by roughly half and extend the time between deep cleans.
Black composite countertops resist staining better than natural stone, but they scratch visibly if you wipe them with abrasive pads. Use a microfiber cloth and a pH-neutral cleaner exclusively. The real cost difference: ceramic runs roughly $2–$5 per square foot, while porcelain sits at $4–$10, and both demand resealing of grout every 12–18 months regardless of color.
On the painted surfaces, expect to repaint black bathroom walls every 3–4 years in humid conditions, since moisture degrades the finish faster than lighter shades reveal.
Adapting Black Bathrooms to Room Size and Layout
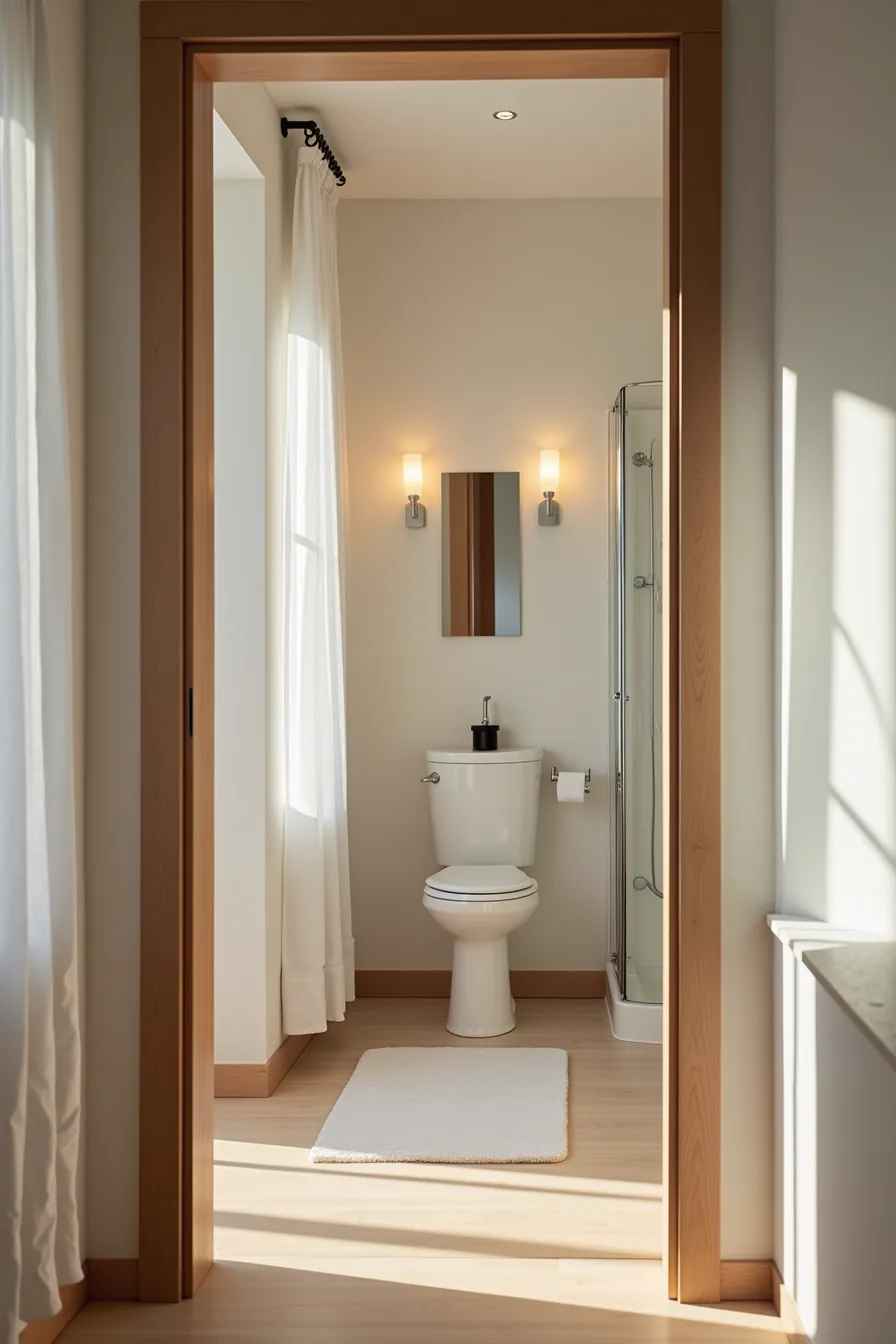
In a small bathroom under 40 square feet, apply black paint to the ceiling and the wall behind the vanity, then keep the remaining walls light. That single dark focal point, paired with a black-framed shower enclosure and a mirror that spans most of the vanity width, creates depth without shrinking the room visually. The single vanity should leave at least 24 inches of clear floor space in front of it, and the shower door must swing outward or slide to avoid blocking the toilet.
For medium spaces from 40 to 75 square feet, wrap black around three walls but leave the wall opposite the entry lighter to preserve a sense of arrival. In a large bathroom over 75 square feet, use black on all walls, but break up the mass with a freestanding vanity that has visible floor space beneath it, this maintains circulation around the fixtures and prevents the room from feeling like a cave. Throughout, prioritize matte black paint over glossy, since it hides water spots and reduces the visual weight of the enclosure.
Budget, Rental, and Investment Routes for a Black Bathroom
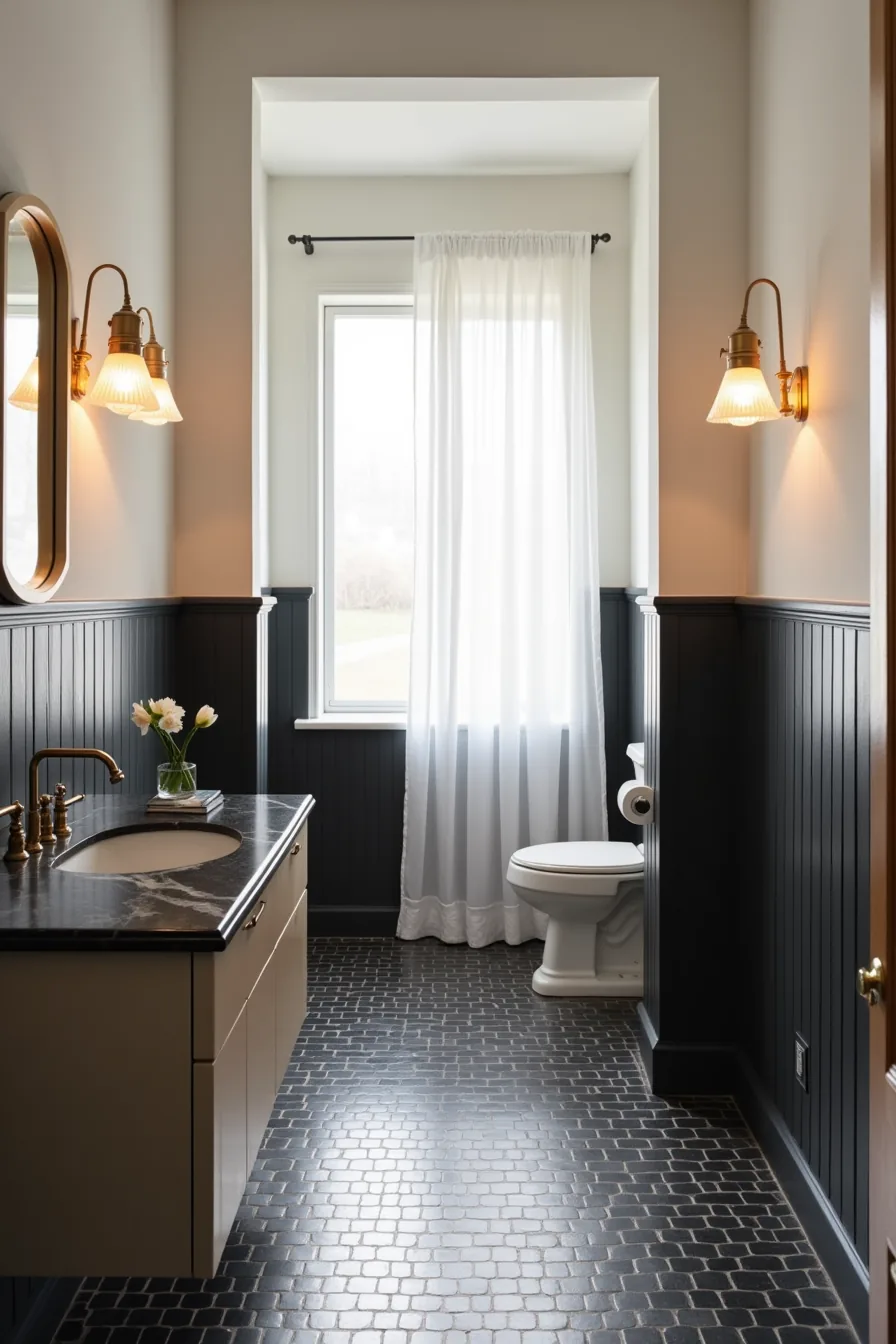
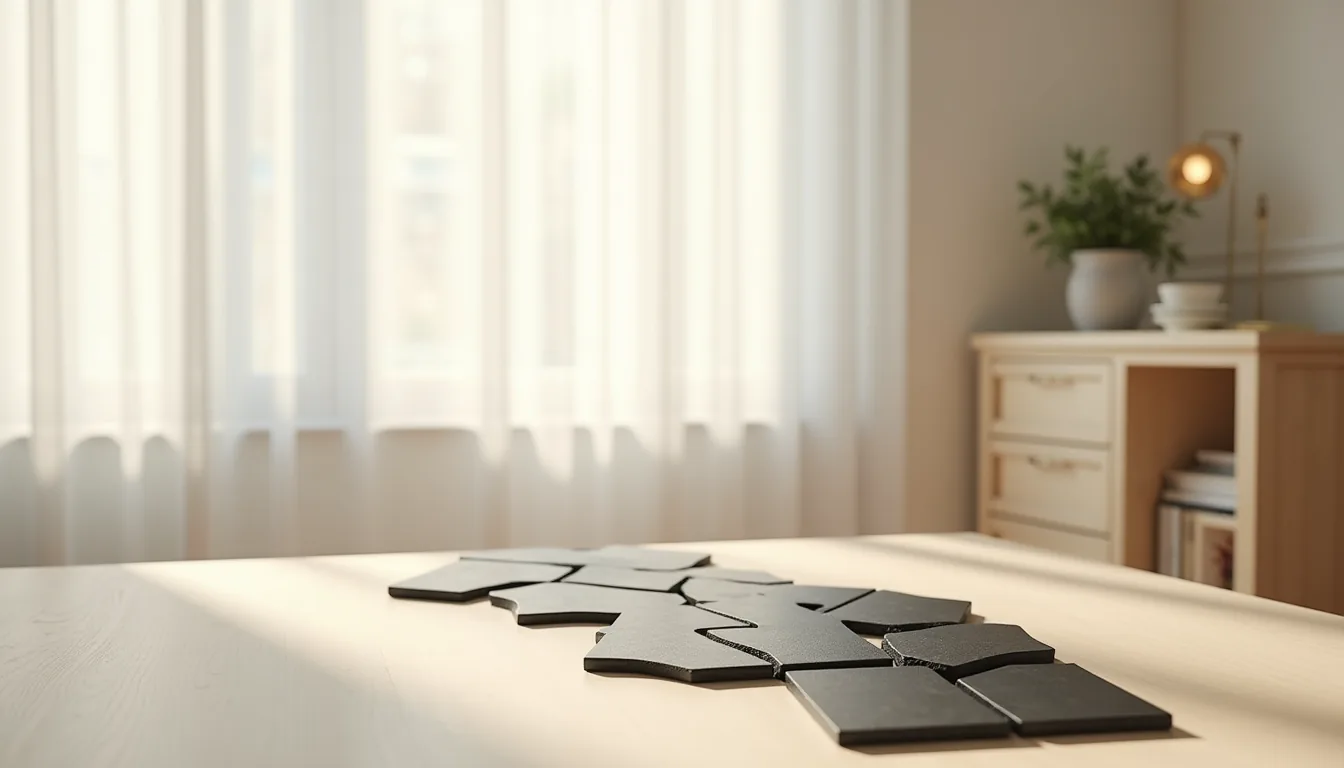
If you rent, peel-and-stick black tiles on the lower half of the wall give you the dramatic contrast of a black bathroom without violating a lease. They typically remove cleanly after 12 to 24 months of use, though seams can collect grime, so wipe them weekly with a damp cloth and avoid abrasive scrubbers. Renters can pair these with a black-framed mirror and matte black faucet, both install with screws and come off easily when you move.
For homeowners on a mid-range budget, permanent black paint on the upper walls alongside those peel-and-stick tiles creates a layered look that reads as intentional rather than temporary. A quality matte black bathroom paint covers roughly 300 to 400 square feet per gallon and costs $40 to $60, making this the most cost-effective permanent route.
The high-end investment path uses a black marble countertop, typically $80 to $150 per square foot installed, and custom black cabinetry. This option suits those planning to stay in the home for ten-plus years, as marble requires annual sealing and daily wiping to prevent etching from acidic products. The combination of black marble, black painted walls, and black tiles creates a monochrome depth that resells well in premium markets, but expect the project to run $8,000 to $15,000 for a standard 5-foot vanity setup.
Your first move
Start with the surface that touches the most water: the vanity. Paint it matte black, swap in a brushed nickel faucet, and hang a large rectangular mirror with warm LED lighting. That single zone will carry 80 percent of the visual weight, and it works in any room size.
If you’re renting, skip the paint and install a peel-and-stick black tile backsplash behind the sink instead. It removes cleanly and costs roughly one-third of a permanent tile install.
Bookmark this guide, then measure your vanity width and order a sample tile before you commit. That measurement determines everything else you choose.
Frequently Asked Questions
Does a black bathroom make a small bathroom look smaller?
Yes, if you paint every surface flat black. Instead, limit black to one feature wall or the lower half of walls, paired with white or light stone above. This creates depth rather than enclosure.
How often do you need to clean black tile to hide water spots and dust?
Expect to wipe surfaces every two to three days if you use the shower daily. Use a squeegee after each use to prevent hard-water spots. Matte black tile shows less than glossy, but both require more attention than white.
Can you use black paint in a bathroom without mold problems?
Yes, if you choose a bathroom-rated, mildew-resistant paint with a satin or semi-gloss finish. Apply two coats over a proper primer, and run an exhaust fan during and 30 minutes after showers. Avoid flat finishes, which trap moisture.
What color lighting temperature works best in a black bathroom?
Use warm white (2700K–3000K) for vanity lighting to soften the black and flatter skin tones. Add cool white (4000K) as accent lighting on mirrors or niches for contrast. Avoid single overhead cool bulbs, which create harsh shadows.