An open plan kitchen dining living layout works only when the zones respect three non-negotiable clearances: 36 inches for main walkways, 42 inches for paths behind seated diners, and 48 inches for routes that pass an open appliance door. Getting these numbers wrong turns a spacious room into a obstacle course, regardless of how stylish the finishes are. The six layouts that follow show you how to anchor each zone without sacrificing traffic flow, sightlines, or daily function, and where each approach falls short.
Key takeaways
- Measure before you move: keep 36-42 inches for main walkways and 24-30 inches between island seating and the counter edge to avoid pinch points.
- Anchor the sofa 8-12 feet from the TV for comfortable viewing, and angle it to face the kitchen action without blocking the primary path to the patio or hallway.
- Zone with light, not walls: install dimmable pendants over the island and separate floor lamps in the living corner so each area can dim independently at night.
- Budget for infrastructure first: add floor outlets and dedicated appliance circuits before finishing floors, since retrofitting them after installation can double your renovation cost.
Define Your Space Type and Measure Critical Zones
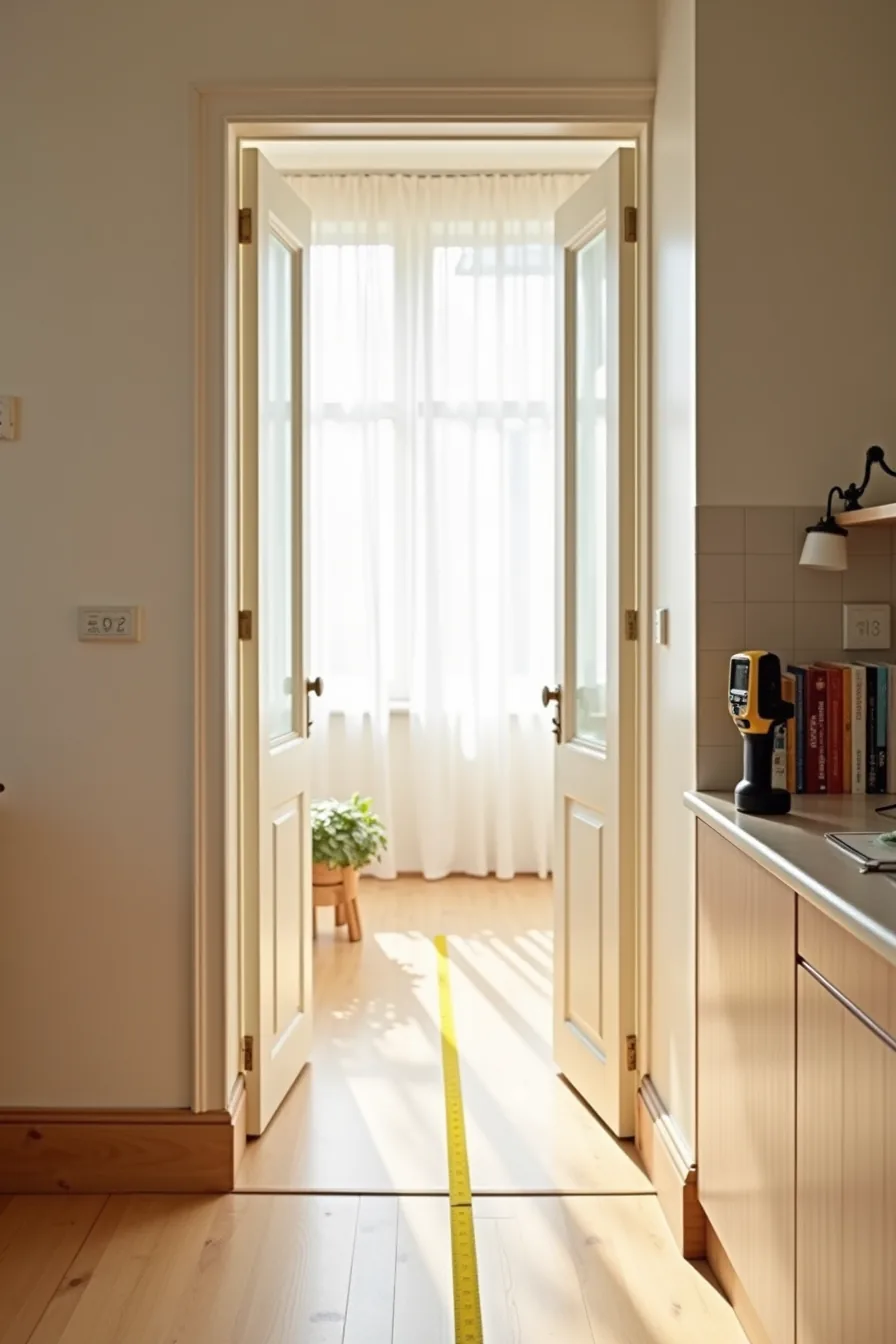
Before you choose a single piece of furniture, you need a hard number for your total square footage and, critically, the clear width of your main circulation corridor. In a typical open plan kitchen dining living layout, you’ll need at least 36–42 inches of unobstructed walkway between the kitchen counter edge and the nearest dining chair or sofa back. If you’re working with a galley-style footprint under 10 feet wide, you may find that a central island simply won’t fit; instead, your baseline is a simple two-sided passage.
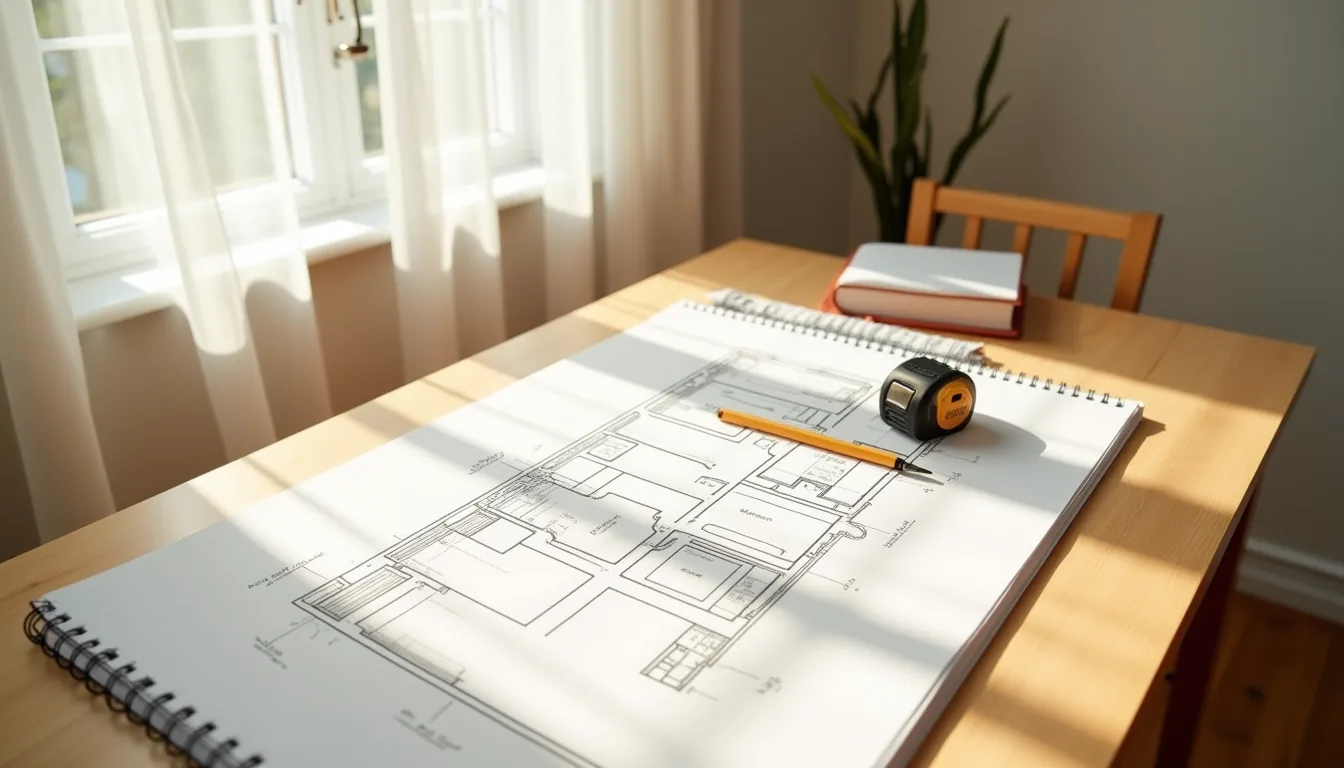
Pull out a measuring tape on the floor, extend it from the kitchen entry toward the doorway frame, and check the baseboard-to-baseboard distance. A laser distance meter on the counter gives you the diagonal and wall-to-wall lengths quickly, but you must also measure every doorway and window separately, a 32-inch-wide entry door will cap what you can bring in later, and a low window sill limits where you can place a tall pantry unit. Finally, tap the walls to identify load-bearing lines; if a structural wall runs through your space, your layout must respect it, not fight it, because removing it’s a structural engineering project that typically costs thousands.
Island-to-Table Flow: Kitchen as the Circulation Hub
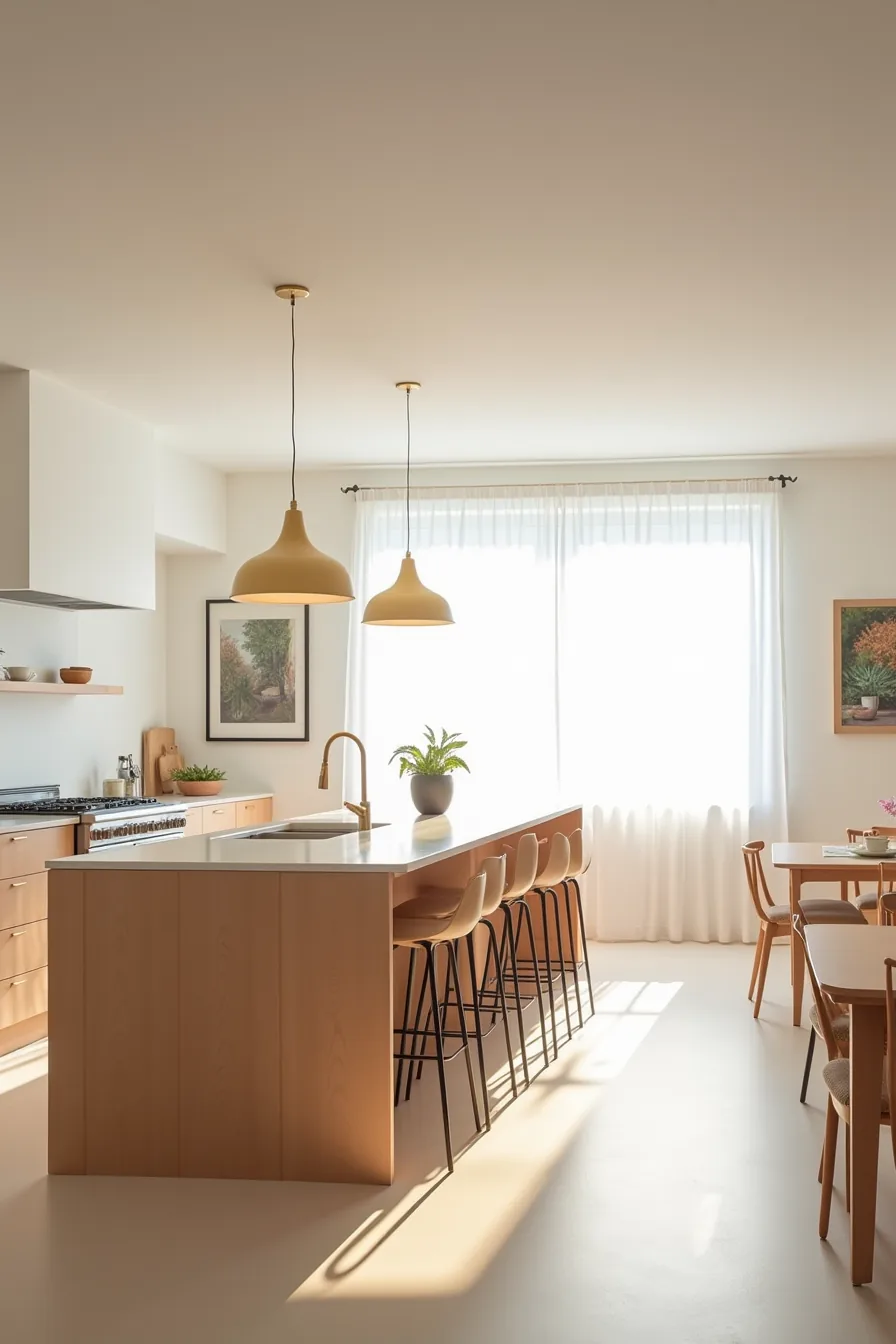
Position the island so its longest edge runs parallel to your main walkway, not perpendicular to it. In the setup with a rectangular island, bar seating on one side, and a dining table beyond, the bar stools occupy 18–24 inches of depth when pushed in, so you need the island’s working side (where you prep) to have a full 42–48 inches of clearance. The seating side can work with 36 inches, but only if the stools tuck fully under the overhang.
The sightline rule is simple: a seated diner should see the cook’s face, not their back, and the cook should see the table. That means keeping the island height at standard counter level (36 inches) rather than bar height, which creates a visual wall. The pendant lights above the island should hang 30–36 inches above the countertop, low enough to define the zone, high enough that a standing cook never ducks under them.
The floor clearance on all sides is non-negotiable: any island that touches a wall or cabinet on more than one side stops being a hub and becomes a barrier. If your space can’t give you that clearance, skip the island entirely and use a peninsula attached to a wall, which preserves the island-to-table flow with half the footprint. That trade-off costs you the second circulation route but keeps the connection between kitchen and dining intact.
Traffic Path Planning: Routes That Don’t Cross Seating
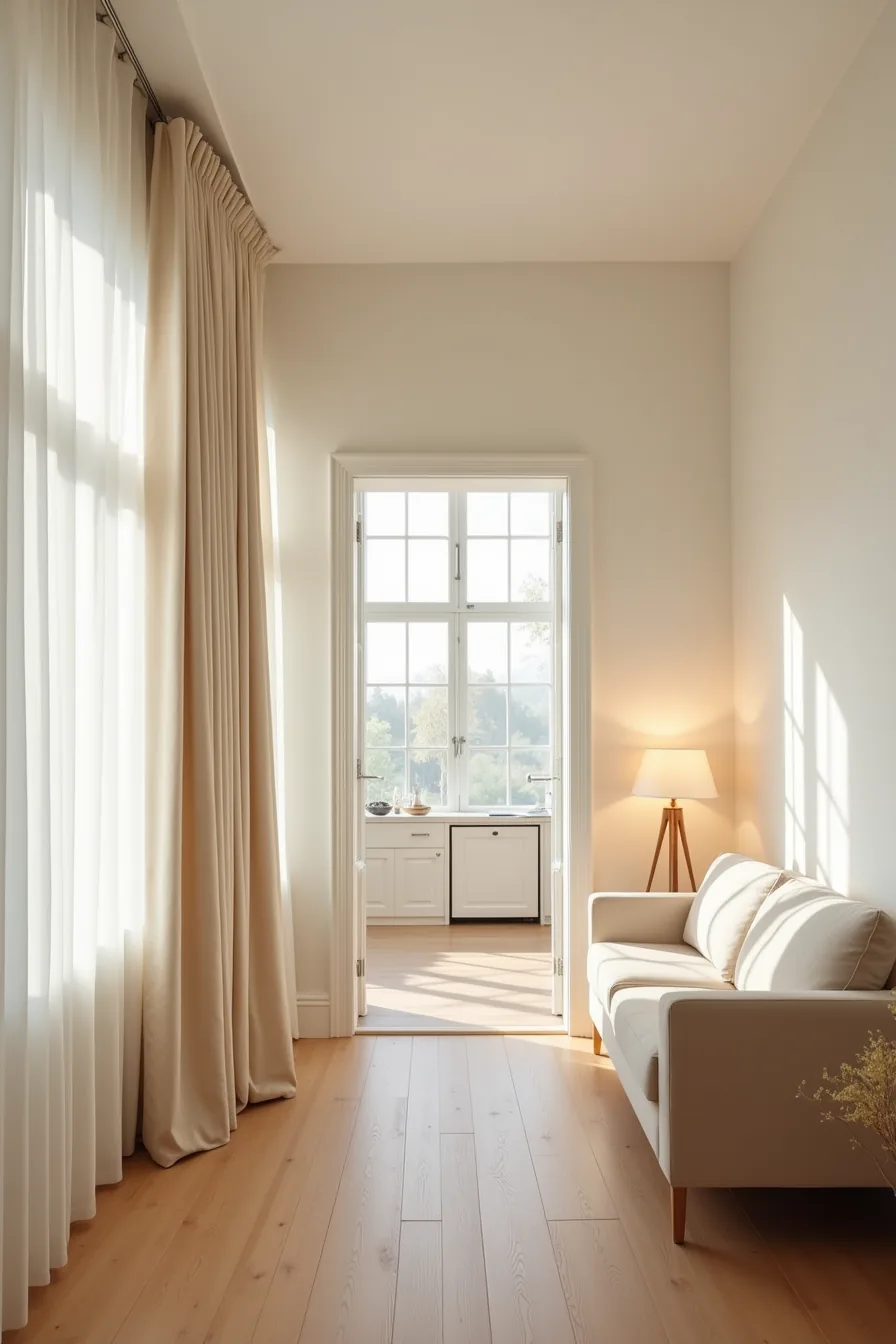
Map every door, hallway, and exterior exit before you place a single piece of furniture. In a typical open plan, the corridor from the kitchen doorway to a rear exit should stay at least 36 inches wide, ideally 42–48 inches if it doubles as a primary route to the backyard. That corridor should run along the room’s perimeter, not through its center, so a sofa positioned to the side keeps the seating zone out of the path entirely.
The critical checkpoint is the transition zone: where the corridor meets the living area, you need a visual buffer of roughly 24–30 inches between the sofa’s armrest and the traffic edge. Without that gap, seated guests instinctively pull their feet in, and passersby clip the furniture. If your entry points sit on opposite walls, run the circulation route between them in a straight line rather than forcing a jog around the sofa, a diagonal path through the room is the fastest way to turn a conversation area into a walkway.
Sofa Orientation and Viewing Distance: Anchoring the Living Zone
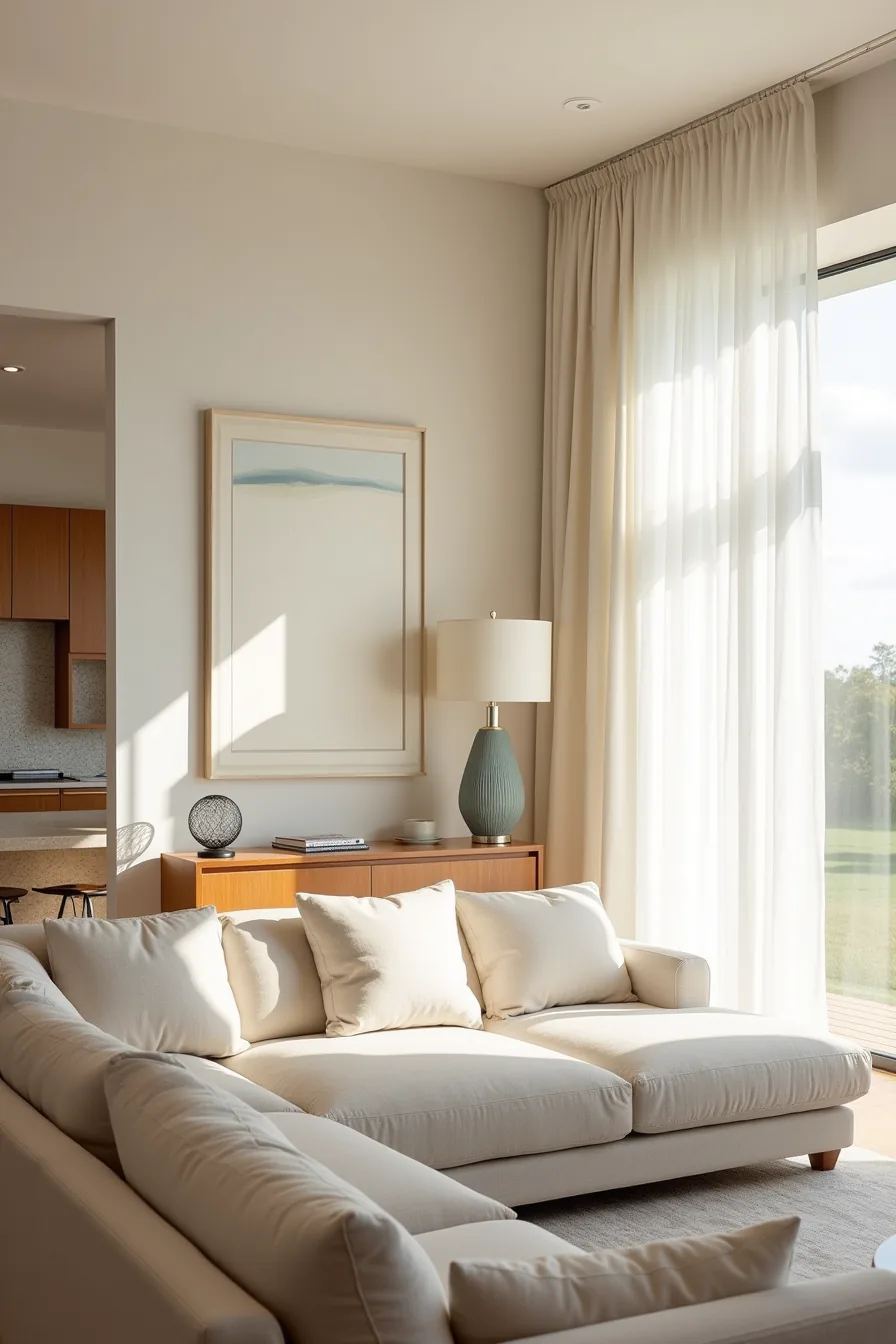
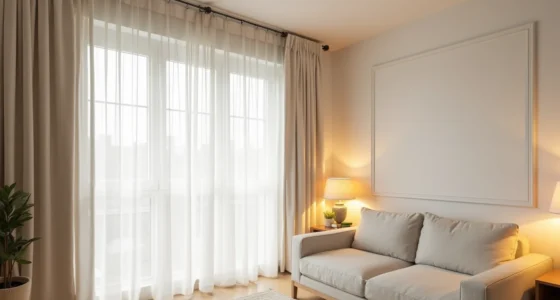
Your sofa orientation determines whether the open plan feels cohesive or chaotic, and the sightline from your seat to the kitchen island should drive that decision. In the sectional setup pictured, the sofa sits 10–12 feet from the island, a distance that lets you hold a conversation with someone prepping meals without raising your voice, while keeping the dining area visually framed to the side. Position the focal point (a large artwork or a window) directly ahead of the seating, not off to one shoulder, so the eye has a deliberate place to rest when the kitchen is quiet.
For television viewing, the 8–10 foot range works for most 55–65 inch screens; anything closer strains the eyes, anything farther shrinks the image into the surrounding space. If your room runs longer than 15 feet, pull the sectional forward with a console table behind it rather than pushing it against the wall, that gap preserves the perimeter circulation path while visually carving the living zone out of the open floor plan.
Lighting, Outlets, and Sightlines: Infrastructure That Enables Function
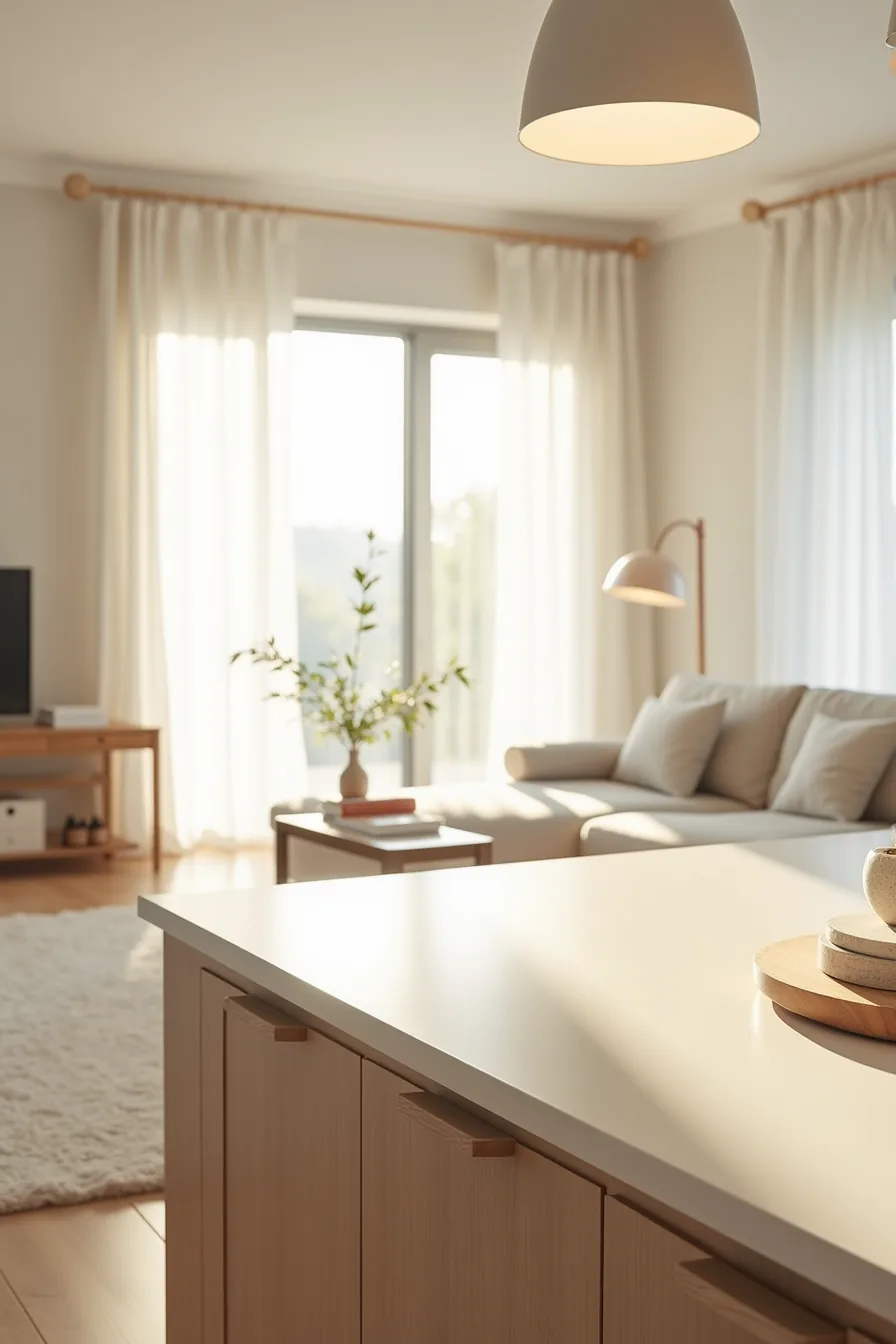
The recessed task lighting mounted above the island countertop should sit 36–42 inches from the work surface to cast shadows directly beneath your hands without spilling into your eyes. Add a second row of dimmable pendants over the dining table, not the island, so you can drop the ambient level during meals without losing prep visibility.
Place outlets on the island base, two duplex receptacles on opposite faces, to serve small appliances, phone charging, and laptop use without trailing cords across the circulation path. On perimeter walls, space outlets every 6–8 feet, and include at least one floor outlet near the sofa for lamps and charging; nothing breaks a clear sightline faster than extension cords routed across the floor.
Keep the sightline from the living area to the kitchen sink unobstructed, that sightline lets you watch children or guests while you work and prevents the room from feeling like three rooms accidentally pushed together. If the outlet placement forces a cord across a doorway, relocate the outlet rather than covering the cord with a rug; the trip hazard outweighs the convenience.
Adapting Open Plan to Small, Medium, and Large Footprints
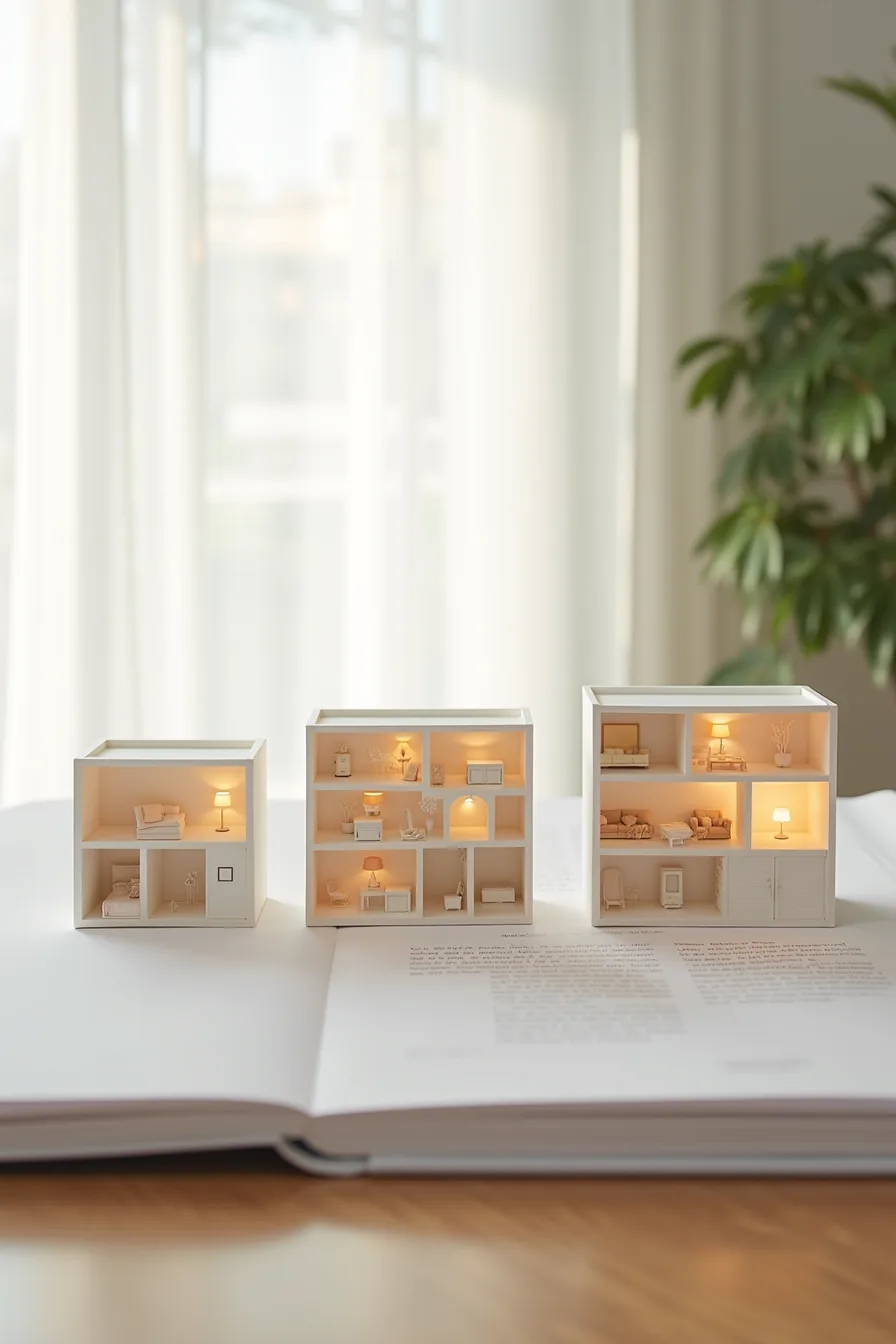
Under 700 square feet, treat the open plan as a single zone with visual divisions only, a low-backed sofa or a slim shelving unit separates living from dining without eating floor space. Keep the island to a narrow 24–36 inch-wide prep counter with seating on one side only; a full 42-inch island with stools on two sides will turn a 10-foot-wide room into a corridor. Choose a round 36–48 inch dining table here; it slips into corners and adds 3–4 usable seats without the sharp edges of a rectangular table blocking circulation.
Between 700 and 1,200 square feet, you gain room for a proper 36–42 inch island and a rectangular 60–72 inch table. Place the dining table parallel to the island with a 36-inch clearance between them, enough for a person to pass while someone sits, but tight enough to keep the conversation flowing across both surfaces.
Above 1,200 square feet, you can afford defined zones without walls. Use a large area rug under the living set, a contrasting floor finish under the kitchen, and a pendant cluster over the table to anchor each function. Increase the island to 42–48 inches deep with seating on two sides, and extend the dining table to 84–96 inches to host eight or more.
The trade-off: larger footprints demand more lighting zones and at least two seating clusters, or the space feels like an empty hall rather than a room.
Where to start
Before you buy a single furnishing, tape out your primary walkway on the floor and live with it for a week. If your delivery route and cooking traffic haven’t collided, that’s your green light to commit the budget to furniture instead of structural changes.
The fastest win is often the cheapest: anchor your dining table with a pendant light, then build the kitchen zone’s color story to match. That single fixture will define the living area and pull the whole open plan kitchen dining living layout together without a contractor.
Your first step is simple: measure the clear width of your main path right now and write it down. If it’s under three feet, move the obstruction before you purchase anything else.
Frequently Asked Questions
What is the minimum clearance needed around a kitchen island in an open plan layout?
Keep at least 36 inches on sides without seating and 44–48 inches on the seating side for chair pull-out. For high-traffic paths behind the island, add 12–18 inches more.
How do I prevent cooking odors from spreading to the living room in an open plan kitchen dining living layout?
Install a range hood rated for at least 300 CFM, ideally vented outdoors. Use a ducted model over recirculating ones. Close interior doors or run a small exhaust fan near the cooking zone during heavy frying.
Can you have an open plan kitchen dining living layout in a small apartment, and what are the constraints?
Yes, but you must sacrifice a formal dining table for a counter-height breakfast bar or a fold-down table. Clearances shrink to 30–32 inches for walkways, and you lose visual privacy, so use rugs and lighting to define zones without walls.
What furniture arrangement works best for hosting in an open plan kitchen dining living layout?
Place the dining table perpendicular to the kitchen island, leaving 36 inches between them. Angle living-room seating toward the kitchen, not the TV, so guests can converse while you cook. Keep a clear 40-inch path from entry to the seating area.