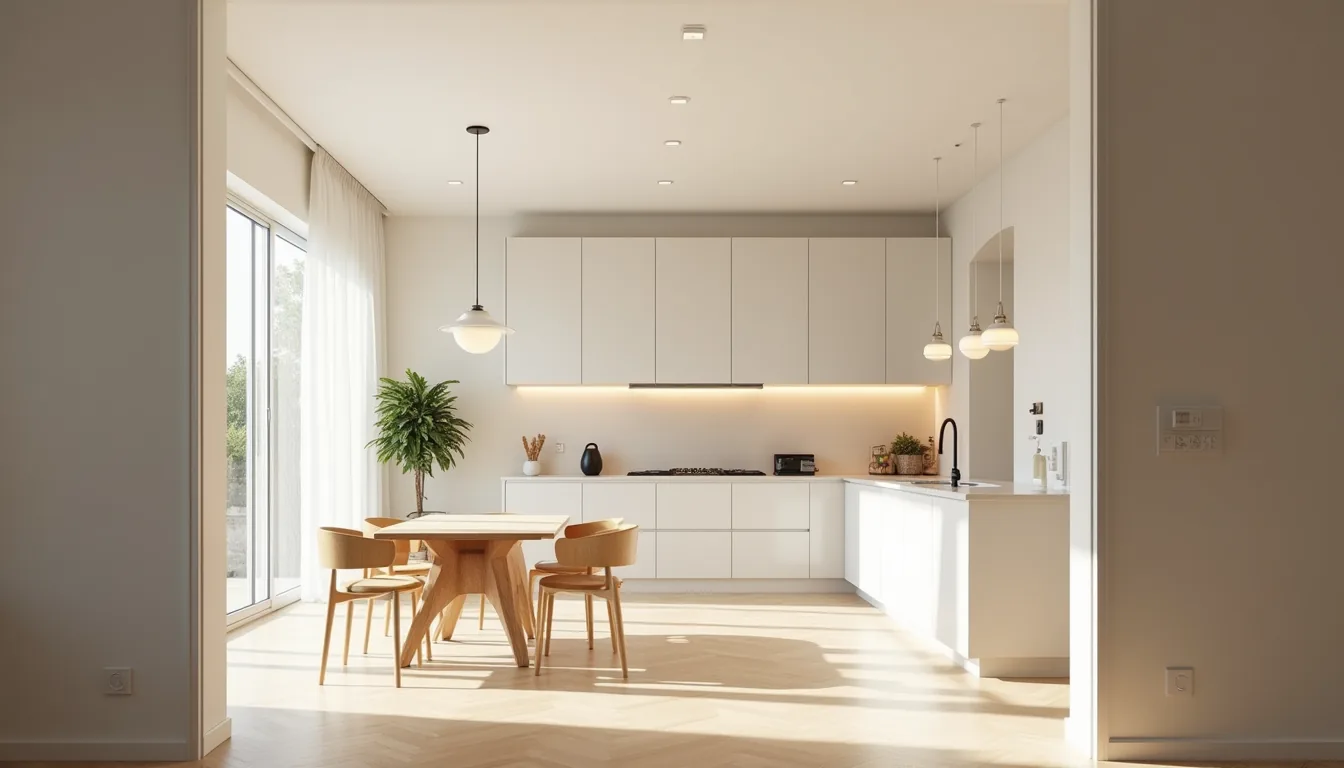
Open plan kitchen dining is a single, continuous zone where cooking, eating, and often lounging share one visual and functional space, but the way you arrange that zone changes everything about how your home feels and works. Whether you’re merging two cramped rooms or reworking a vast footprint, the layout you choose dictates circulation, light, and how easily you can actually cook and host at the same time. The six approaches ahead range from renter-friendly furniture groupings to full structural investments, each matched to a specific room size, budget, and daily routine.
Your job is to pick the one that fits your constraints, not your Pinterest board.
Key takeaways
- A kitchen island with overhang seating suits casual dining best, but allow at least 24 inches of legroom per stool and 36–42 inches of clearance behind the island for traffic flow.
- Pendant lights hung 30–36 inches above the dining table visually separate the zone without walls, and choosing fixtures with a diameter of roughly one-third the table width keeps proportions balanced.
- An open corridor between the cooking zone and dining table works only if it’s at least 36 inches wide; narrower paths turn meal service into a bottleneck, especially with multiple cooks.
- For small spaces, a fold-down wall table or a slim counter with stools saves up to 30 percent of floor area compared to a full dining set, while in large rooms, a low shelving unit or half-height divider maintains sightlines without blocking natural light.
Table Beside Island: Casual Dining Without Separation
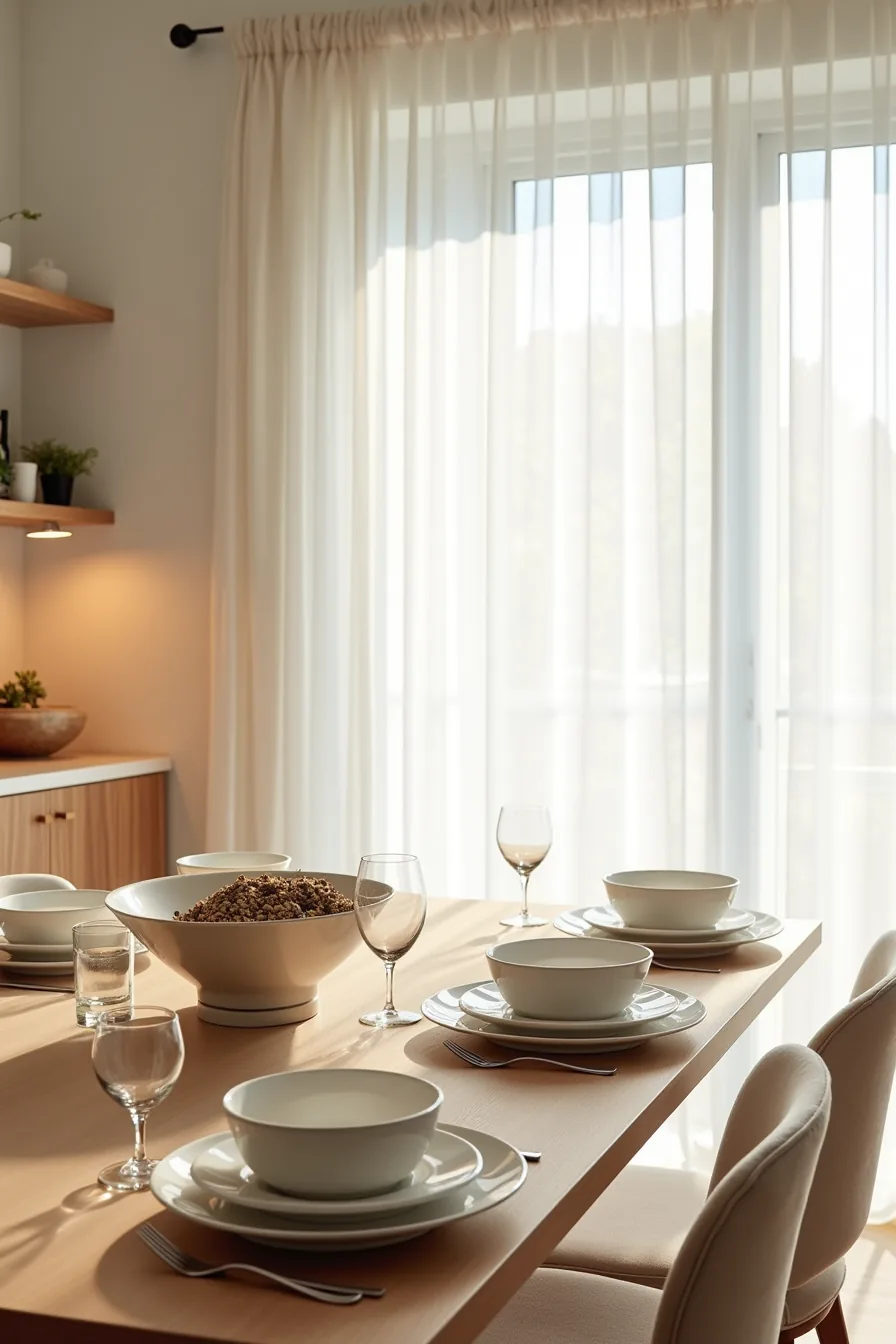
Positioning a rectangular dining table perpendicular to the island’s end creates an L-shaped work-and-eat surface that keeps prep bowls and place settings within arm’s reach. This layout works best when your kitchen runs at least 10–12 feet in length, giving the table room to extend beyond the island without blocking the route to the refrigerator or sink.
You gain a casual drop zone for quick meals, laptop work, or kids’ homework while maintaining distinct furniture pieces that can be rearranged later. The trade-off is accessibility: you’ll need to tuck chairs fully under the table when not in use, and guests seated at the table’s outer edge will need to squeeze past anyone working at the island.
Match the table’s height to the island’s counter height (typically 35–36 inches) so the two surfaces feel continuous. Choose a table 36–42 inches wide for comfortable seating, and leave at least 36 inches of clearance on the open side for traffic flow. This approach suits renters and budget remodelers alike, you need no construction, just a complementary table and island that share a material or color family to feel intentional.
Pendant Lights Define the Dining Zone
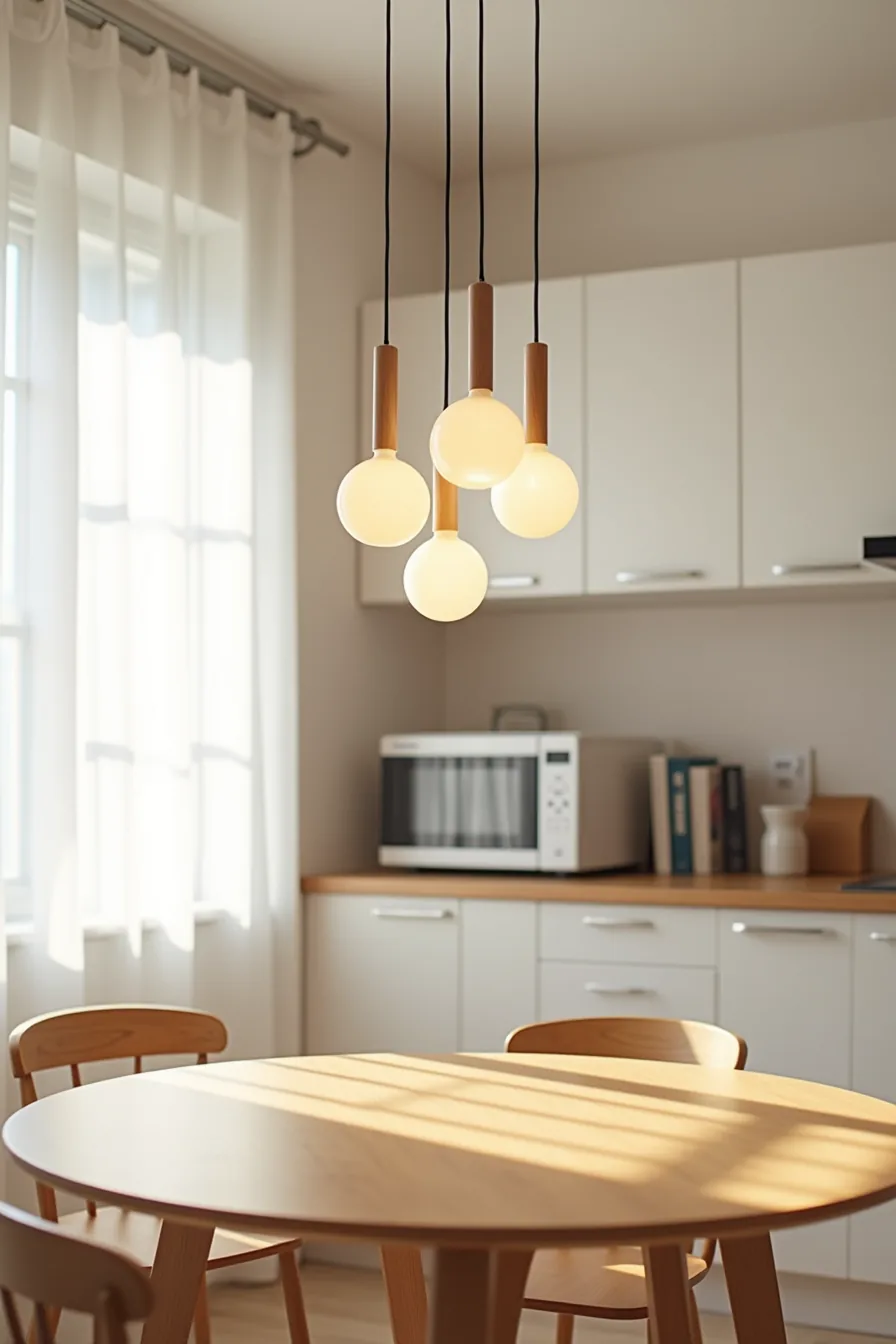
Three pendant lights suspended above a round dining table turn a corner of your open-plan kitchen into a distinct dining room without a single wall. The pendant cluster, positioned roughly 30–32 inches above the tabletop, creates a visual ceiling that anchors the eating area, while the kitchen appliances and cabinetry behind it recede into soft focus at eye level. This works best when your dining zone sits at the room’s perimeter, so the light pool doesn’t compete with task lighting over the island or prep zones.
You need a 7–8 foot ceiling clearance to hang pendants low enough for intimacy without head bumps, and a dimmer switch to shift from bright meal prep to subdued evening dining. The round table matters here: its curved edge reflects light uniformly, making the pendant cluster read as one cohesive zone rather than three separate spots. Choose matte black or brass fixtures with wide shades (12–16 inches) to spread light rather than spotlight.
This route suits renters perfectly, pendants hardwire into existing ceiling boxes, and you can swap them out before you move without patching drywall or altering the kitchen footprint.
Cooking-to-Table Flow: Direct Access Layout
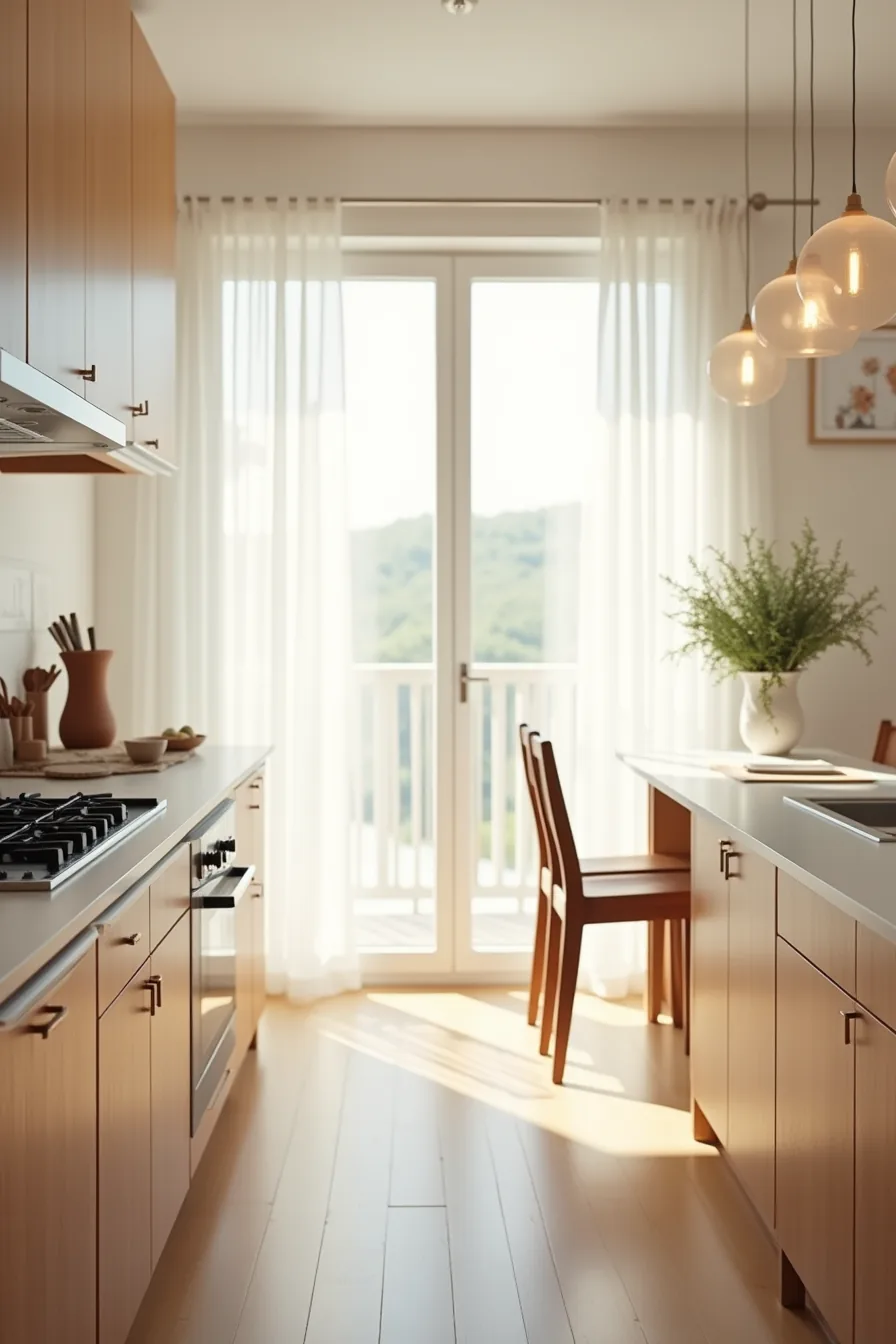
In a galley-style open plan, positioning the cooktop on one wall, the prep counter mid-room, and dining chairs at the far end creates a straight-line serving path that cuts mealtime steps dramatically. You’ll move from searing to plating to seating in under ten strides, which suits busy weeknights when hot food needs to hit the table fast. The sightline matters: aligning all three zones in one unbroken axis lets you monitor a simmering pot while setting down plates, so nothing boils over mid-conversation.
This layout requires a minimum 10–12 feet of unobstructed length between the cooktop and the dining chairs to avoid a cramped shuffle. Keep the path clear of islands or stools; a pass-through counter on the prep side works, but anything that forces a detour defeats the efficiency. Durable flooring, porcelain tile or sealed hardwood, handles the constant foot traffic between zones.
This setup suits households that cook daily and prefer function over formal separation. For a budget route, skip the structural changes: arrange freestanding cabinets and a mobile butcher-block cart to create the same flow, no renovation needed.
Low Dividers: Partial Separation for Open Spaces
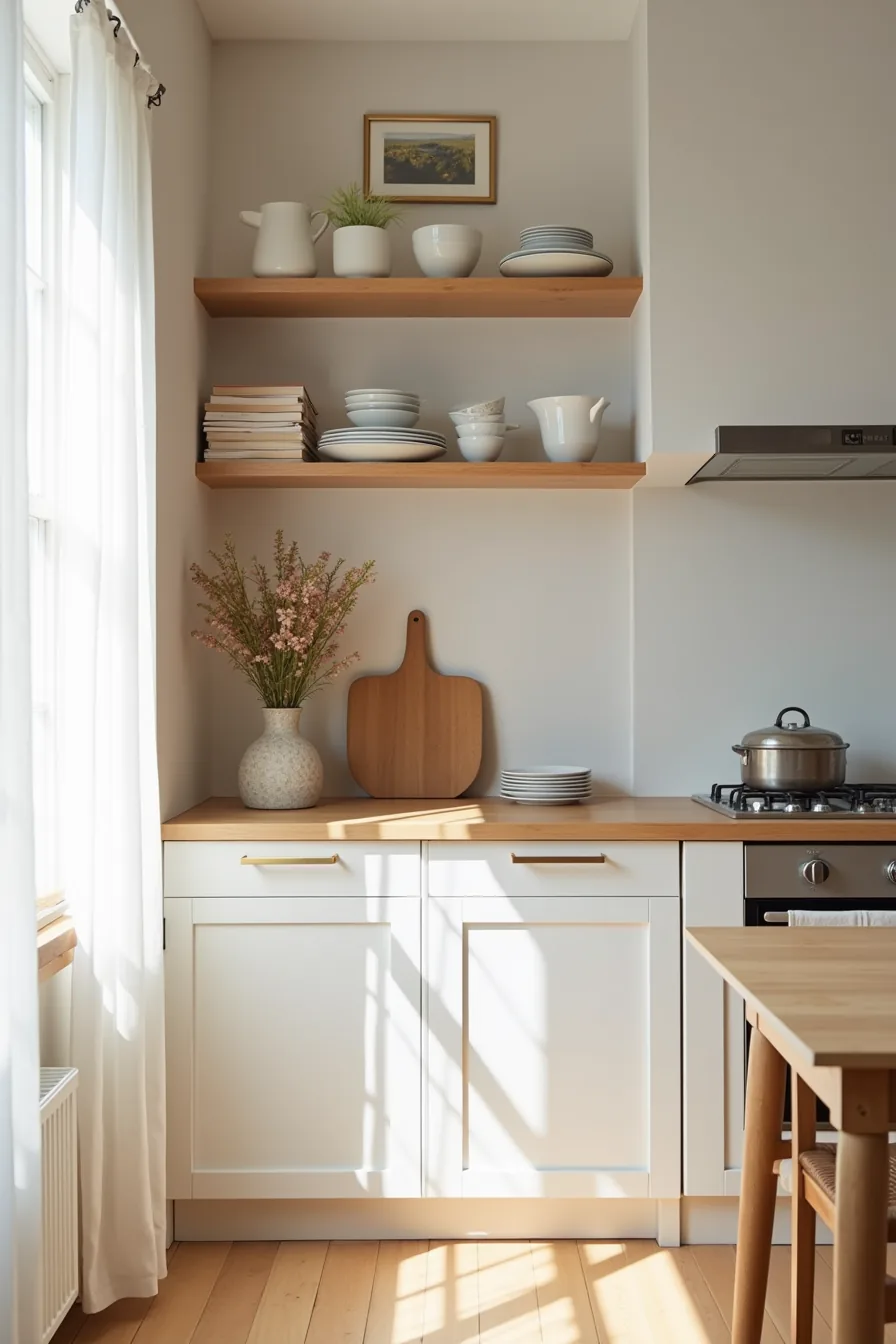
A half-height divider, a shelving unit, pony wall, or counter-height run of cabinets, breaks the sightline from sink to sofa without sacrificing the spatial continuity that makes an open plan kitchen dining area feel expansive. The practical payoff is twofold: cooking splatters stay visually contained, and guests seated at the dining table no longer watch every dish you stack into the dishwasher MIRE. You retain the ability to talk across the divide, but the barrier lends each zone a discreet sense of purpose.
Eye-level open shelving, loaded with cookbooks and stacked serving pieces, works best when its depth stays under 12 inches and its top lands between 42 and 48 inches high, tall enough to hide countertop clutter, low enough to pass plates over. This setup suits households that entertain casually but don’t want the kitchen to dominate every conversation. It also acts as a built-in display surface: arrange the cookbooks upright, group serving pieces by color, and you turn the divider into a styling opportunity rather than a wasted wall.
Expect to dust the shelves weekly, and anchor the unit to the floor or wall if you live in a seismic zone. A renter-friendly route: freestanding modular shelving in the same height range delivers the identical partial separation with zero permanent alterations.
Small-Space Open Plan: Compact Dining Solutions
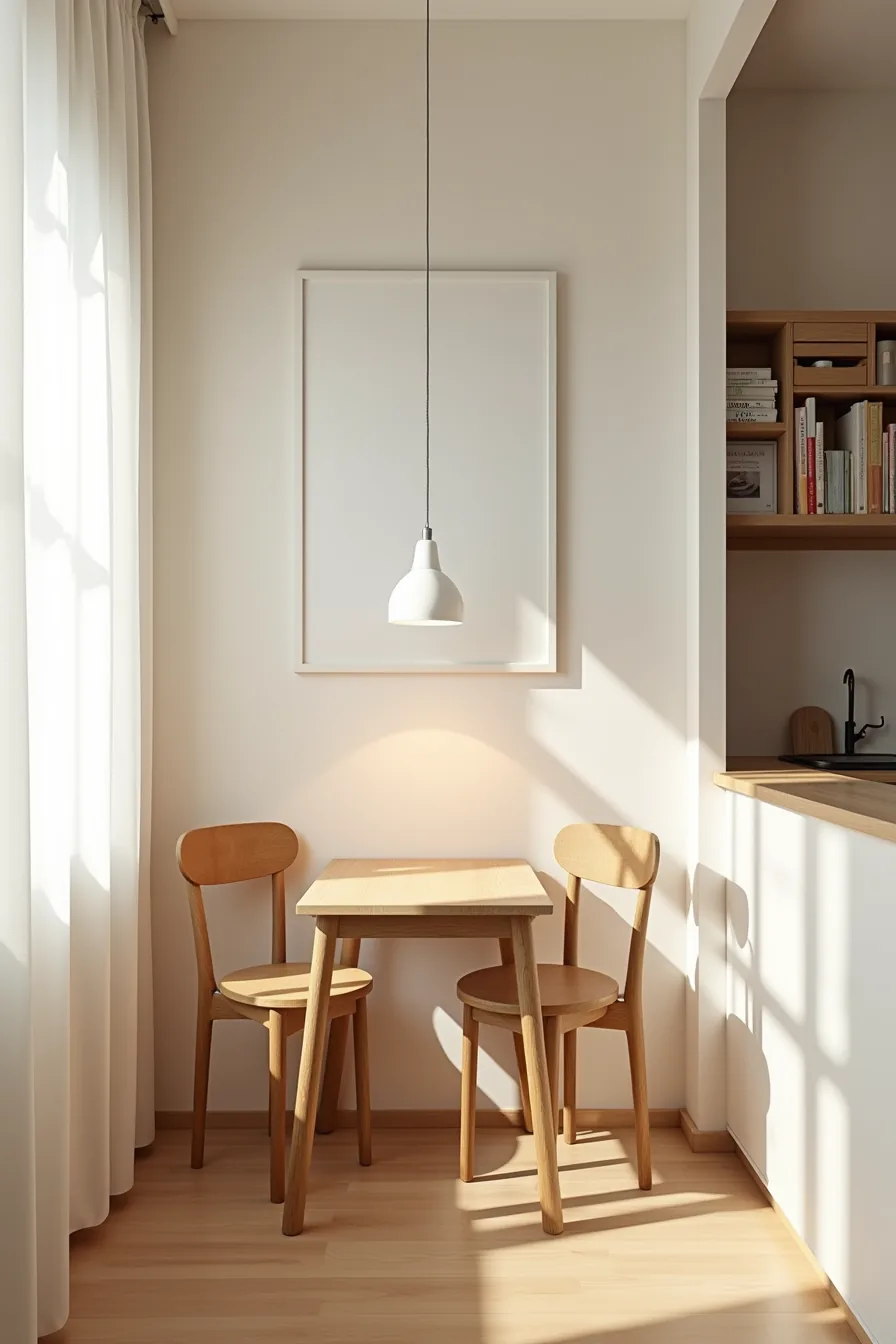
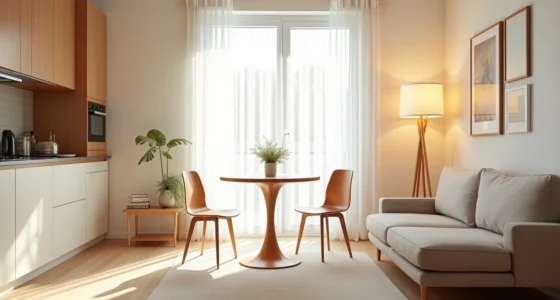
In an open plan kitchen dining area under 200 square feet, the problem isn’t the lack of walls, it’s the lack of floor. Your solution is to treat the dining zone as a corner destination rather than a central island. A rectangular table sized for two, roughly 30 by 48 inches, tucked perpendicular to the galley run leaves a clear 36-inch walkway behind the chairs, which is the minimum for comfortable passage.
The two chairs should be armless; the 2-3 extra inches of width per chair makes a measurable difference in a tight corner.
Wall-mounted shelving above the table, set 18-24 inches above the surface, reclaims vertical space for glassware and condiments without eating into your footprint. This setup suits singles, couples, or anyone who prioritizes counter prep over formal entertaining. The trade-off: you lose the ability to seat drop-in guests, and the table doubles as your workspace, so budget for a wipeable surface if you plan to spread out documents or laptops.
A single base cabinet opposite the run provides the only dedicated storage, keep it for dining linens and small appliances, not bulk pantry overflow. For renters, swap the fixed wall shelves for a tension-mounted unit rated for the same weight, and you replicate the layout without a single drilled hole.
Large-Space Open Plan: Zoning Without Walls
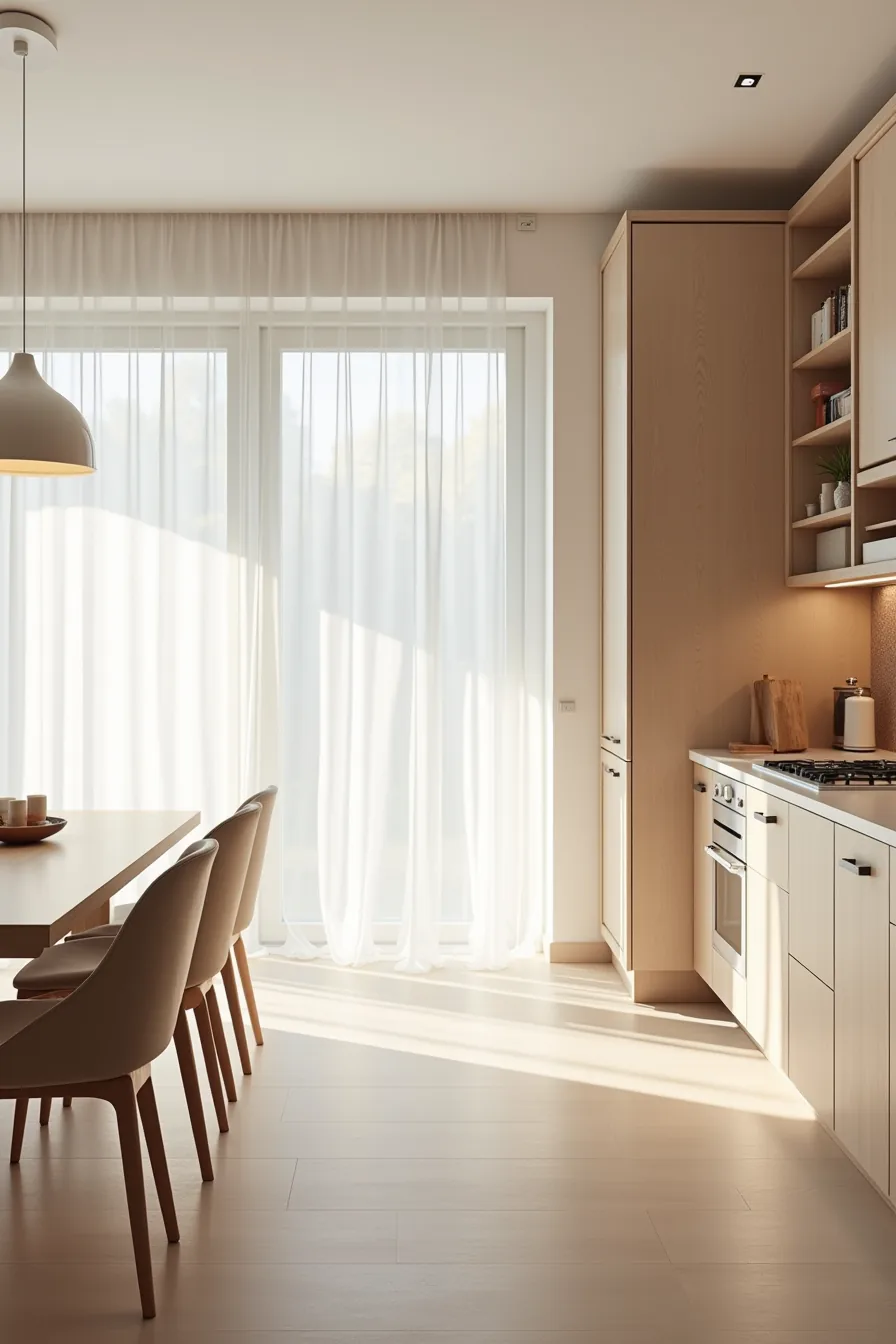
In a room exceeding 300 square feet, your goal shifts from saving space to creating destinations. The most effective way to define zones without a single partition is through a deliberate flooring transition: run large-format porcelain tiles through the kitchen, then switch to engineered oak planks where the dining area begins. This material change visually anchors your full-size appliance run and kitchen island, while the darker wood under the dining table signals a shift in function, from cooking and prep to lingering and conversation.
Your large dining table should sit at least 5 feet from the island’s edge to allow two people to pass comfortably and let you open appliance doors fully. Position the table’s long axis perpendicular to the island; this creates a natural aisle and prevents the two zones from feeling like one long counter. This approach suits families who entertain regularly and need distinct areas for cooking and hosting without visual separation.
The trade-off is permanence: a flooring seam is a long-term commitment. If you’re renting, skip the material change and instead zone with a large area rug under the table, just ensure it leaves 24 inches of bare floor visible on all sides so the room doesn’t read as wall-to-wall carpet.
Your decision checklist
Before you commit, weigh three factors: your budget, your renovation freedom, and your cooking habits. Renters should prioritize movable islands or freestanding tables over built-ins. Small spaces gain the most from a single continuous counter surface rather than separate zones.
Match your choice to your real lifestyle, not an aspirational one. If you cook daily with strong aromas, skip fully open layouts unless you invest in ventilation. For most homes, a partial partition or level change delivers the open feel without the acoustic downsides.
Start here: Measure your room’s length and width, then mark out your proposed dining zone with tape on the floor. Live with that footprint for one week before buying anything.
Frequently Asked Questions
How do you define open plan kitchen dining in practical terms?
It means removing full-height walls between cooking and eating zones, so both share one continuous footprint. You retain distinct functions through flooring changes, lighting zones, or island placement, but sightlines and circulation remain uninterrupted.
Can you do open plan kitchen dining in a small apartment or rental?
Yes, if you skip structural changes. Use a freestanding island, a fold-down table, or a slim counter with stools. In rentals, avoid removing walls; instead, zone with rugs, pendant lights, or a portable screen that doesn’t require drilling.
What’s the minimum space needed for a functional open plan kitchen dining layout?
You need roughly 10–12 square meters (108–130 square feet) combined. That allows a 60-cm-deep run of kitchen cabinets, a 75–90-cm aisle, and a table for two with 60 cm of clearance per chair. Below that, prioritize one function over the other.
How do you prevent cooking smells and steam from affecting a dining area in an open plan?
Install a range hood with at least 600 CFM (cubic feet per minute) and duct it outside, recirculating hoods are weaker. Add a ceiling fan for cross-ventilation, and use a solid, non-porous backsplash. For heavy frying, close windows near the dining zone and open one behind the cooktop.