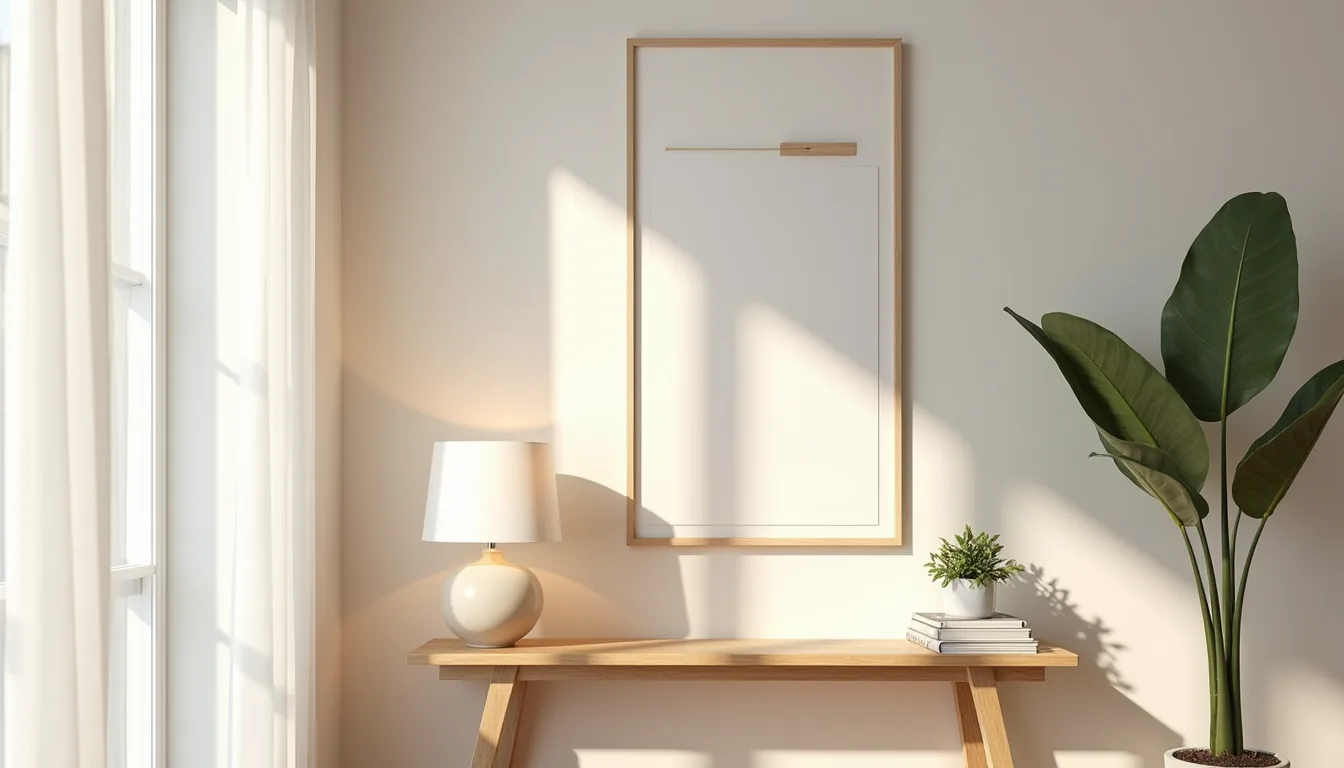
A console wall turns an underused stretch of vertical space into a working surface for storage, display, or daily drop-off, and the right approach depends less on square footage than on how you layer the table, art, and lighting above it. You can achieve this in six distinct ways, from a floating ledge that suits a narrow hallway to a full built-in that anchors a large living room. Each option carries specific trade-offs in cost, installation effort, and durability, and the next sections break down exactly which fits your space, budget, and renter status before you commit to a single screw.
Key takeaways
- A console wall works only when the console depth stays under 16 inches in narrow halls, leaving at least 36 inches of walkway clearance.
- The gallery approach suits medium and large walls best, requiring a console width of roughly two-thirds the wall length and art hung 6–8 inches above the piece.
- Renters get the most flexibility from a lamp-plus-mirror pairing and minimal styling, since both mount-free elements can be rearranged without patching holes.
- Budget and investment routes differ mainly in materials: thrifted pieces need sanding and refinishing every few years, while solid hardwood consoles with metal hardware last decades but cost two to four times more upfront.
The Gallery Console: Art Above Console as Your Focal Point
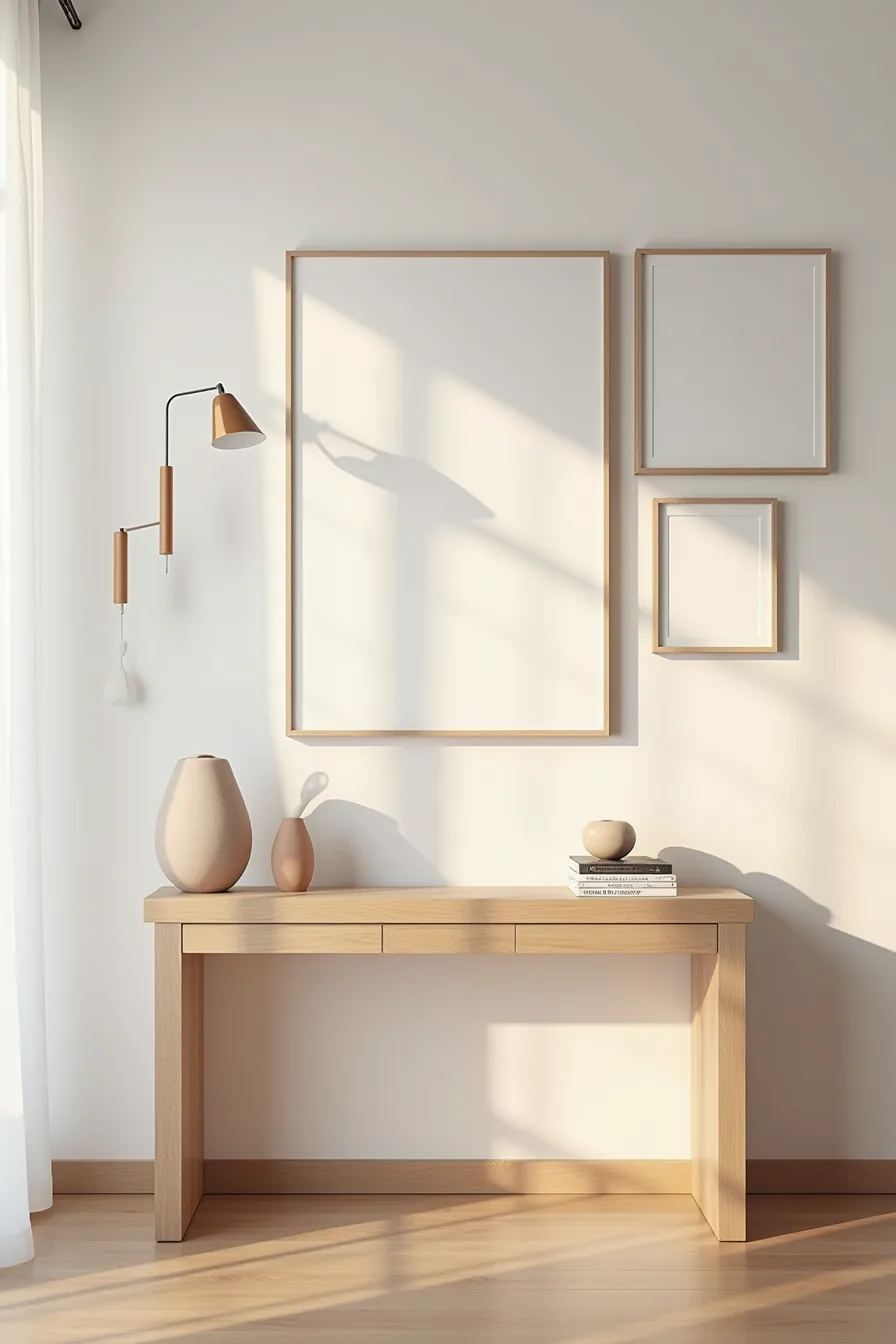
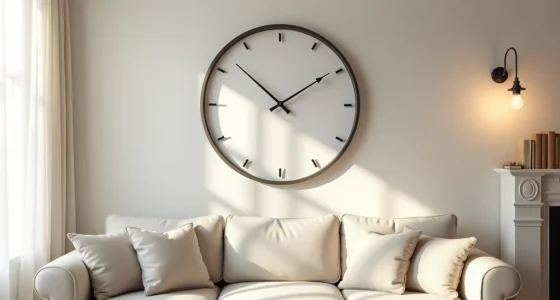
The Console Wall concept shines brightest when you treat the vertical space above the table as part of the composition. Five framed prints in varying sizes, arranged salon-style, transform a functional ledge into a curated focal point. For this to work, the table itself must stay visually quiet, a simple piece in a neutral finish lets the artwork carry the room.
Start with your largest frame at eye level, roughly 57–60 inches from the floor to its center, then build outward. Keep 2–3 inches between frames for a cohesive grid feel; anything wider reads as scattered. The sculptural vase and stacked books on the table surface should occupy no more than one-third of the table’s length, leaving breathing room so the eye travels upward.
This setup suits medium to large living rooms where a single oversized piece would feel lost. It anchors seating areas without blocking sightlines, provided the table depth stays under 14 inches in narrow traffic zones. Budget route: buy frames in mismatched sizes from thrift stores and spray them all the same matte black or white for instant cohesion.
Lamp Plus Mirror Pairing: Balance Light and Reflection
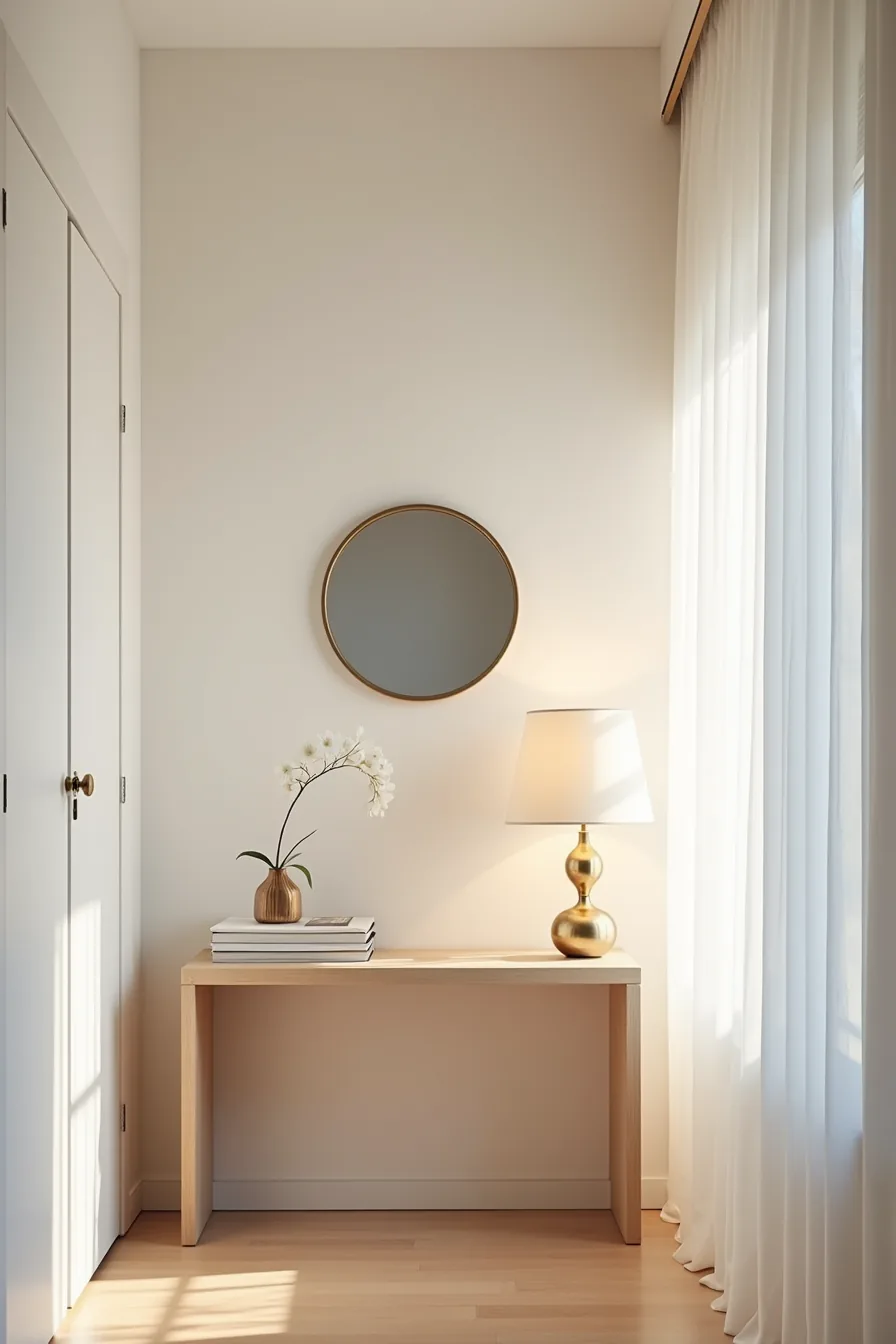
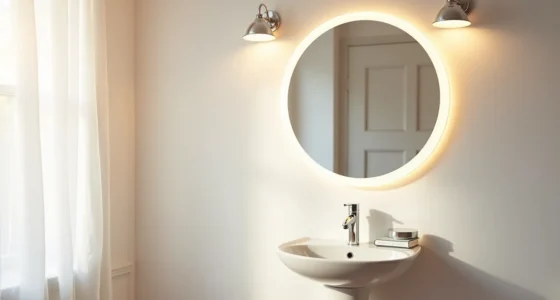
A round mirror centered above the console, with a brass table lamp set to one side, creates depth without crowding the surface. The mirror doubles the lamp’s glow and bounces natural light down a narrow hallway, making the space feel wider than its actual dimensions. This lamp plus mirror pairing works because it gives you a functional light source and a reflective focal point in one compact footprint.
Position the mirror so its center sits 54–60 inches from the floor, roughly eye level for most adults. Set the lamp on the opposite side of your primary traffic flow, so you never brush against the shade when passing. A scale rule: the mirror should measure two-thirds to three-quarters of the console’s width, not the full length.
This arrangement suits narrow hallways and small bedrooms where wall sconces would require hardwiring. The lamp’s cord remains visible, so tuck it along the back leg of the table or use a cord cover painted to match the wall. For renters, a leaning mirror instead of a wall-mounted one avoids patching holes, just ensure the base sits flush against the wall so it can’t topple.
Minimal Console Styling: Less-Is-More for Renters
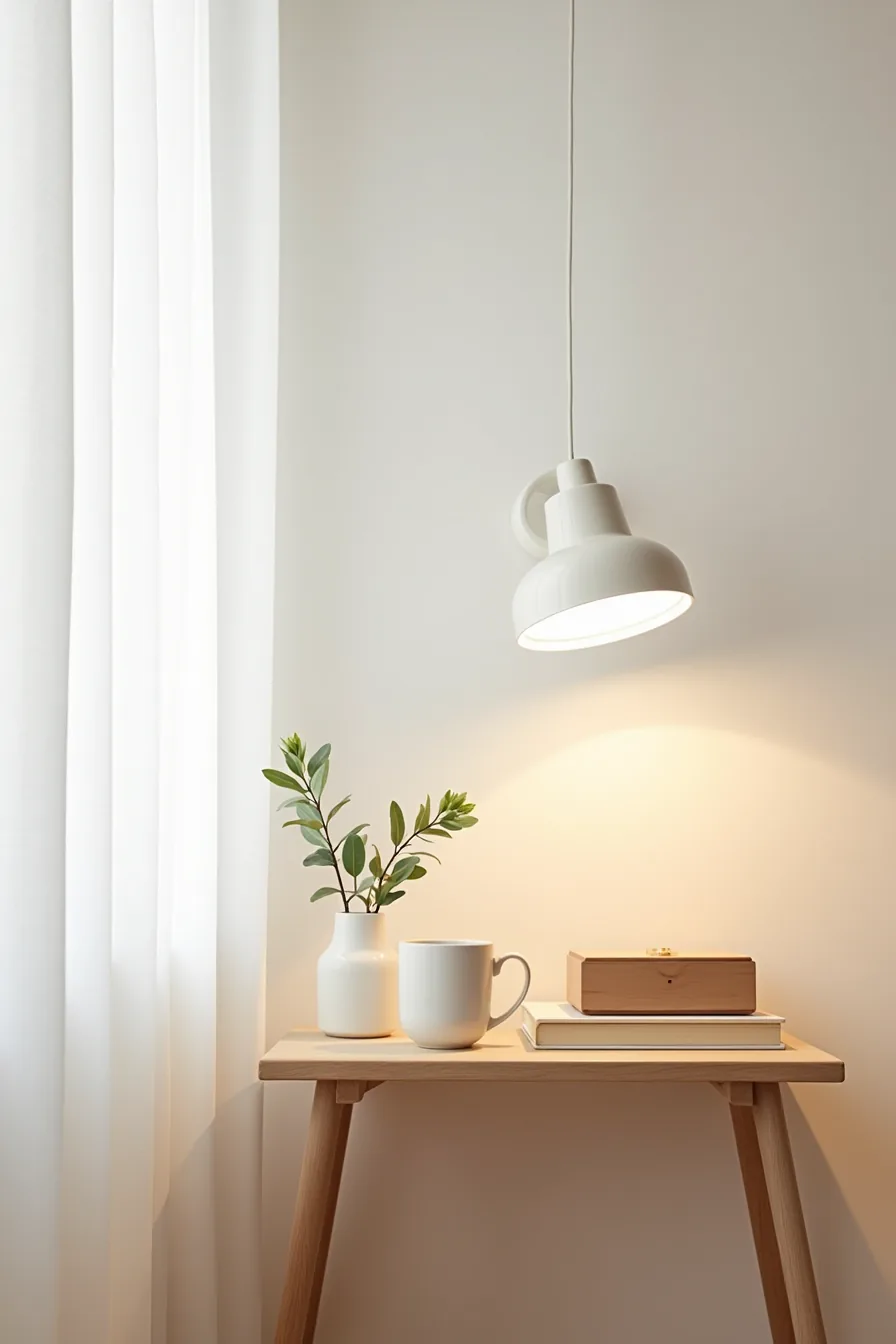
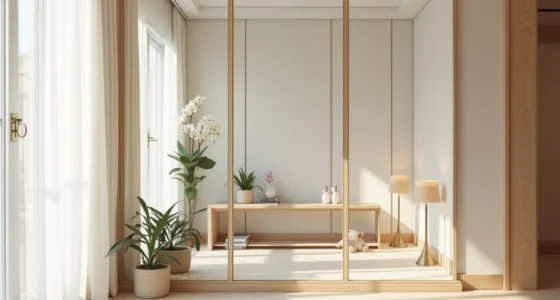
Three objects are all you need: a ceramic mug, a single stem in a bud vase, and a small wooden box. This exact arrangement works because each piece earns its place, the mug holds pens or keys, the vase adds verticality, and the box corrals loose change. Nothing on this console wall requires a wall anchor, so your deposit stays intact.
The plain wall behind the table is the point. You skip picture hooks and command strips entirely, which means you can rearrange the trio weekly without leaving a trace. Choose pieces with varied heights, a 6–10 inch vase next to a 3–4 inch box, to keep the eye moving across the surface.
This approach suits anyone renting short-term or living in a studio where every surface pulls double duty. Maintenance takes under a minute: wipe the table weekly and dust the objects monthly. When you move, everything fits in one tote bag.
Layered Depth: Tall Accessories and Floating Shelves
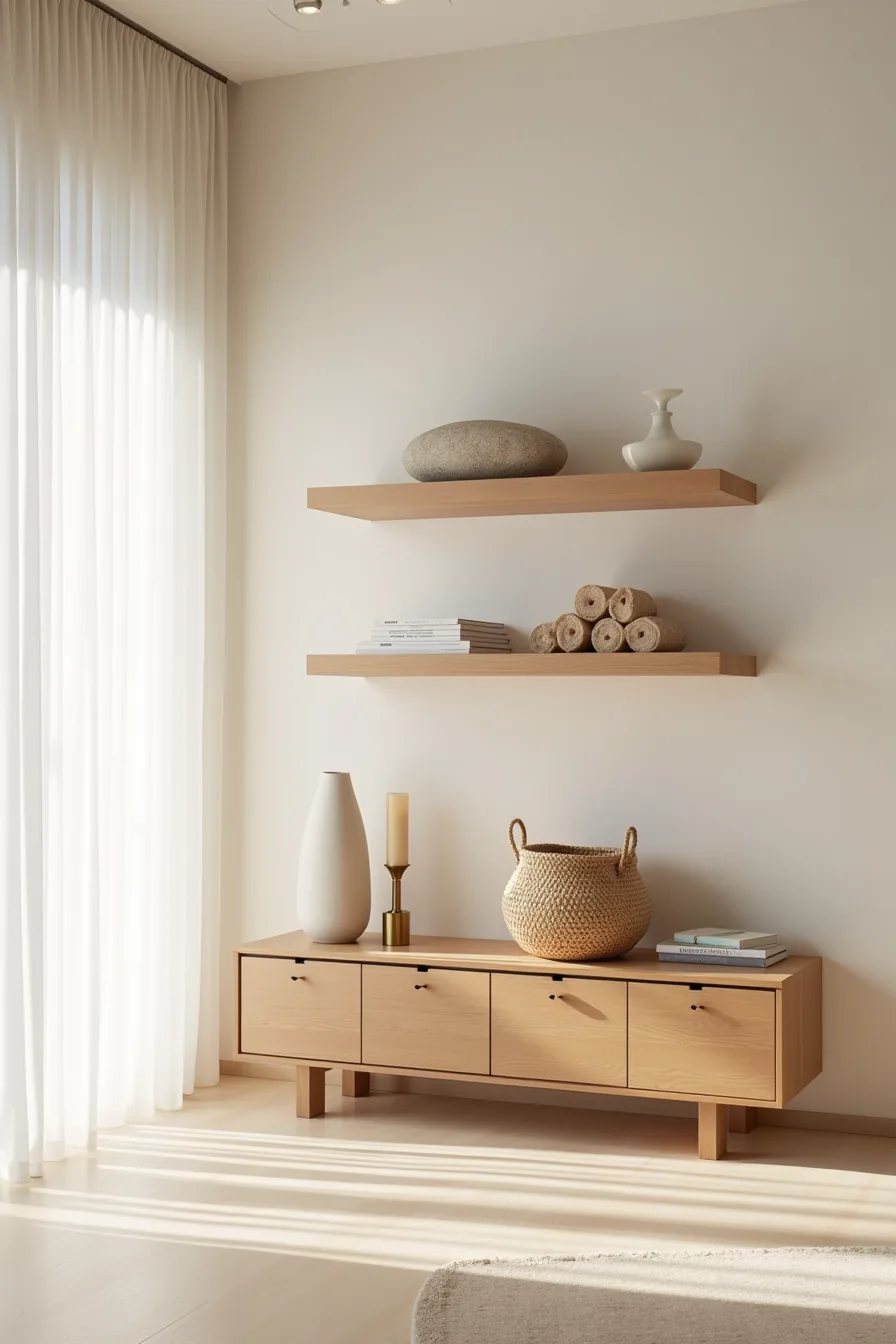
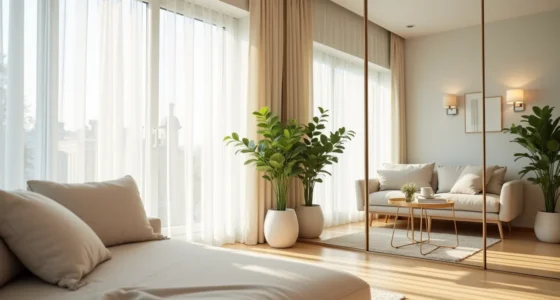
A console wall solves blank vertical space when you mount two floating shelves at staggered heights, 16 to 24 inches apart, directly above the table. The result works best in a large entryway or living room where a single low piece of furniture would leave the upper wall feeling vacant. The staggered placement matters more than the shelf style: varying the distance from the tabletop creates a rhythm that pulls the eye upward at a natural pace.
Load the surface with items of three distinct heights. A tall ceramic cylinder anchors the left end, a brass candlestick rises mid-line, and a woven basket grounds the right side for visual texture. The shelves carry a sculptural stone object and rolled textiles, which keep the eye moving without crowding the space.
Research from interior designers suggests the most comfortable viewing ratio is roughly one-tenth of the room’s width for table length, so an 6-foot wide table holds its own against a 24-inch floating shelf system.
You need a solid wall for this configuration; drywall alone requires toggle bolts rated for 15–25 lbs per shelf. The trade-off is worth it: the shelves let you rotate decor seasonally without committing to new hardware. Clean weekly with a dry microfiber cloth on the wood and metal, and dust the stone and textiles monthly with a soft brush.
This layered treatment suits anyone with at least 4 feet of wall width who wants entryway impact without a full built-in.
Budget Console Wall: Thrifted and DIY Styling
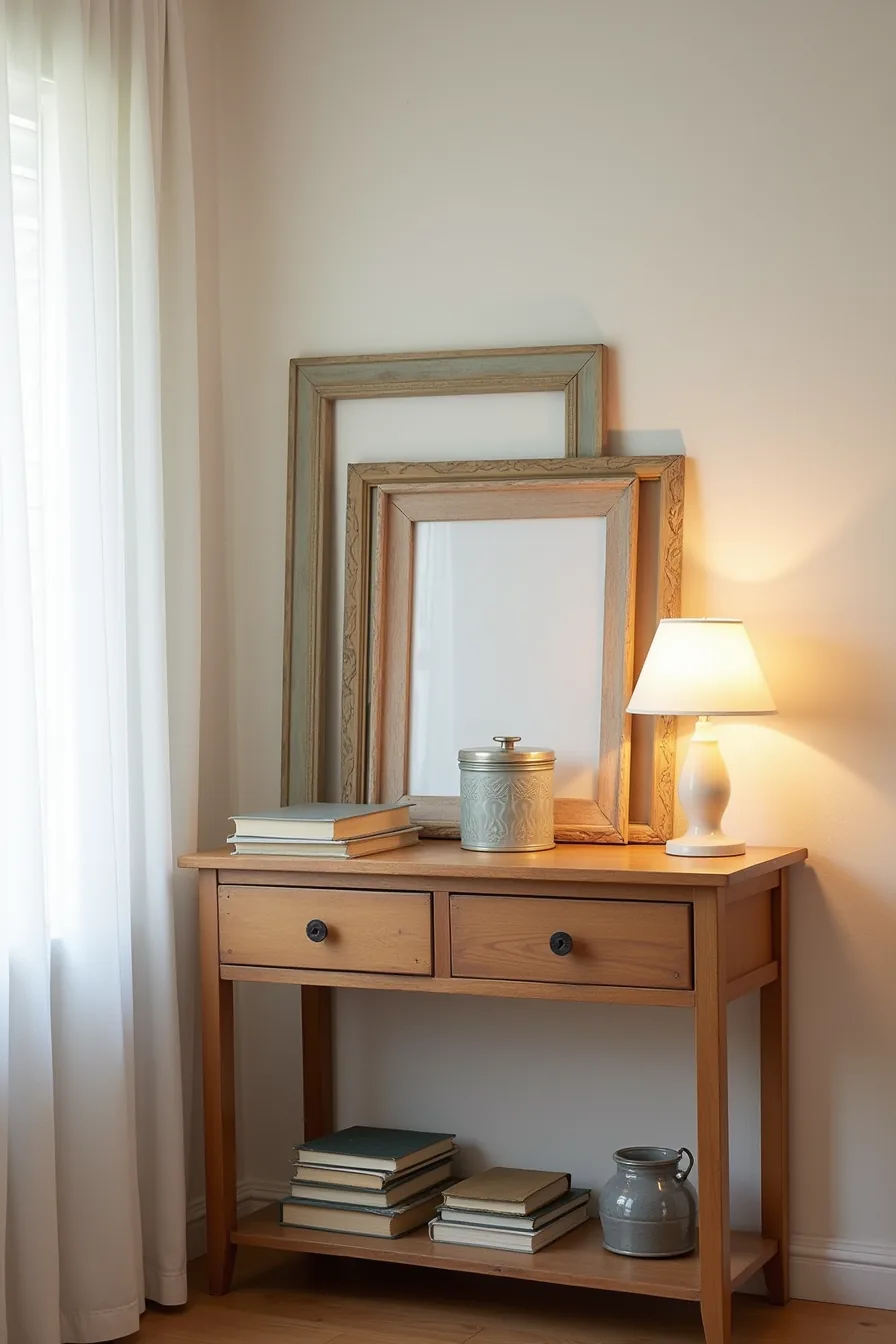
A console wall doesn’t require a designer budget. Source a vintage wooden console table from a flea market or Facebook Marketplace for $40–$80, and the patina of existing wear becomes the design centerpiece. The mismatched frames leaning against the wall above cost $5–$15 each at thrift stores, and their differing finishes, brass, blackened iron, raw wood, create an intentionally collected look that uniform frames would kill.
The styling trick is restraint in the accessories. Repurposed glass jars and vintage tins arranged on the table surface cost under $10 combined and read as curated rather than cluttered because they share a muted, aged palette. This route suits renters or anyone who wants maximum character for under $150 total, since every piece is portable and replaceable without regret.
Sand off peeling finish on the tabletop with 120-grit paper and apply furniture wax, an hour of work that costs $12 and turns a dirty find into a functional anchor.
Investment Console Wall: Premium Materials and Long-Term Design
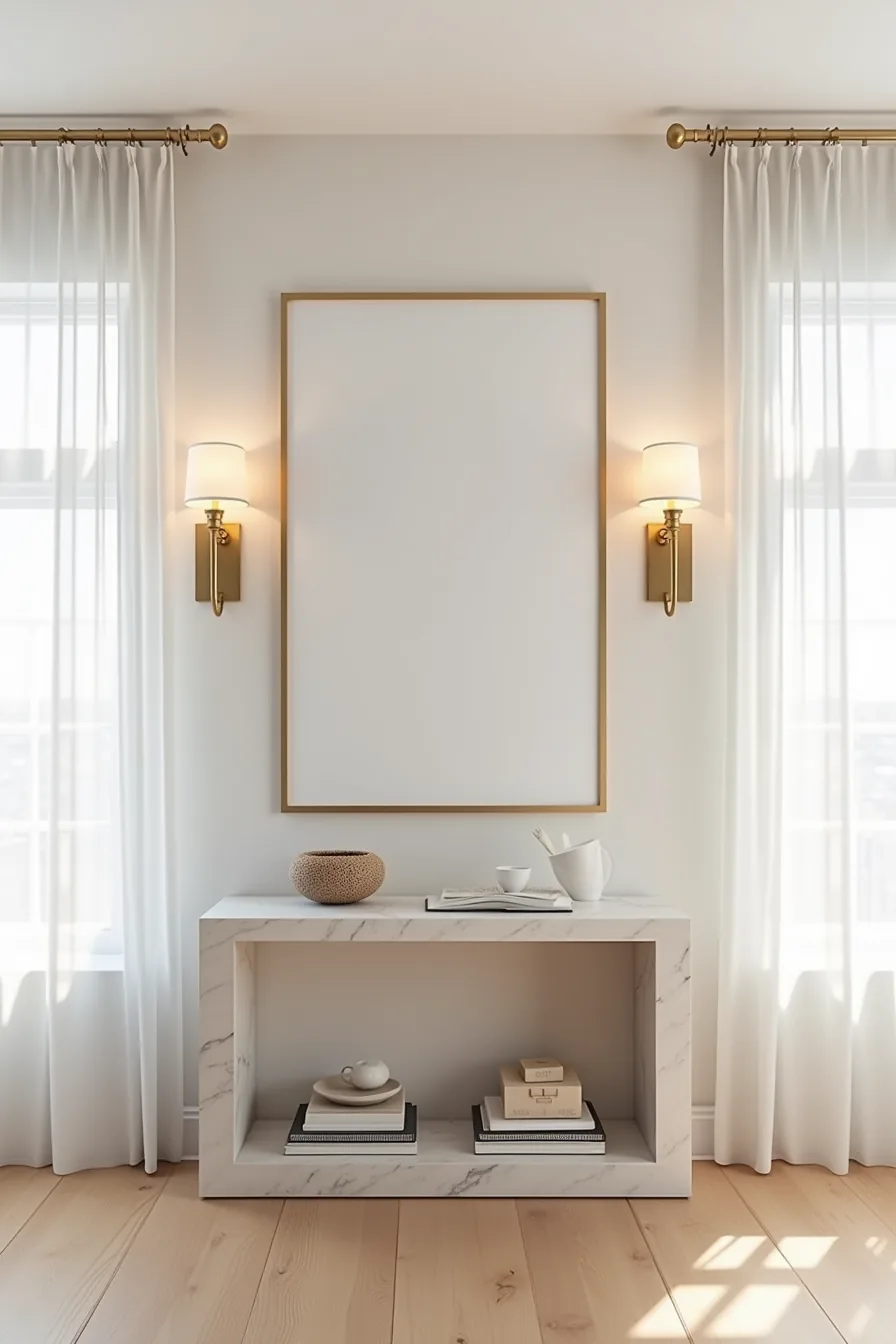
If you plan to keep a console wall intact for 5–10 years, shift your budget toward a natural marble tabletop, typically 1.5–2 inches thick and 36–48 inches wide, paired with a solid oak or steel base. Natural stone resists heat, scratches, and moisture that would ruin a veneer or laminate surface, and it develops a subtle character rather than visible wear. Custom framing that cost $80–$150 per piece pays off when it protects a museum-quality print with UV-filtering glass and acid-free matting, keeping the artwork lively a decade later.
The brass sconces flanking the frame should be hardwired or mounted on a dimmer switch; this turns a static display into evening ambient lighting that elevates the room without adding visual clutter. Choose a single ceramic vessel and one sculptural object on the marble surface, never more, so the negative space reads as intentional, not empty. This route suits homeowners or long-term renters with stable walls who want a timeless focal point; you’re spending $400–$800 upfront to avoid replacing cheap pieces every two years.
Your Next Move
You now have six distinct approaches to a console wall, each with its own trade-offs in cost, permanence, and visual weight. The common thread is proportion: leave 36–48 inches of walkway clearance, anchor the piece at 30–34 inches high, and keep the styling height within two-thirds of the wall’s total.
Start by measuring your wall and marking the ideal console depth and height with painter’s tape. That single step will tell you which of the six options fits before you spend a dollar.
Frequently Asked Questions
What is the ideal height to hang art above a console table?
Center the artwork 6–10 inches above the tabletop. This leaves breathing room for décor while keeping the piece visually connected to the surface. Adjust for tall vases or lamps.
Can you style a console wall in a small apartment without a dedicated hallway?
Yes. Use a narrow 8–12-inch-deep console in a living room corner or beside a doorway. Keep décor minimal, one lamp, one tray, so it functions without blocking foot traffic.
How do you prevent a console wall from looking cluttered?
Limit objects to three distinct layers: art, a central anchor, and one or two small accents. Group items in odd numbers. Leave at least 30% of the surface empty for visual rest.
What’s the difference between a console table and a narrow desk for wall styling?
A console table is purely decorative, shallow, no drawers, meant for display. A narrow desk adds function with a work surface, storage, and cable management. Choose a desk if you need daily utility; a console if style is the only goal.