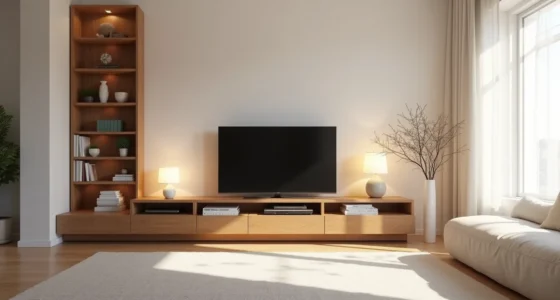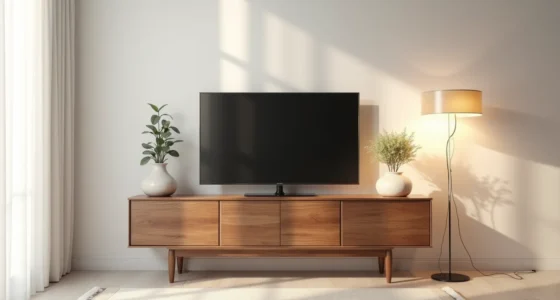

Your TV wall unit needs to do more than hold a screen, it must absorb cables, house media players, and anchor the room’s proportions without turning your living space into a showroom. Getting it right with IKEA comes down to matching a specific system to your wall size, viewing distance, and tolerance for visible wires. The six setups below range from a $150 floating shelf combo to a full-height custom frame, each with the exact trade-offs you need to decide before you buy.
Key takeaways
- Measure your wall before shopping: most IKEA TV units run 47–70 inches wide, so match the unit to your TV’s diagonal plus 4–6 inches of breathing room on each side.
- Use the modular frame (like the BESTÅ series) with wall-mounting brackets if you rent, it leaves no holes larger than screw anchors and disassembles into flat-packed panels for easy transport.
- Combine open shelves with two closed cabinets in a 60–80 inch span to hide cables and game consoles while displaying decor, and budget $150–$300 extra for a cable management kit and cord covers.
- Add LED strip lighting behind the unit’s top edge (not inside closed cabinets) to reduce eye strain in dark rooms, but keep the strips 2–3 inches from the wall to prevent heat buildup on MDF surfaces.
The Modular Frame Approach for Renters
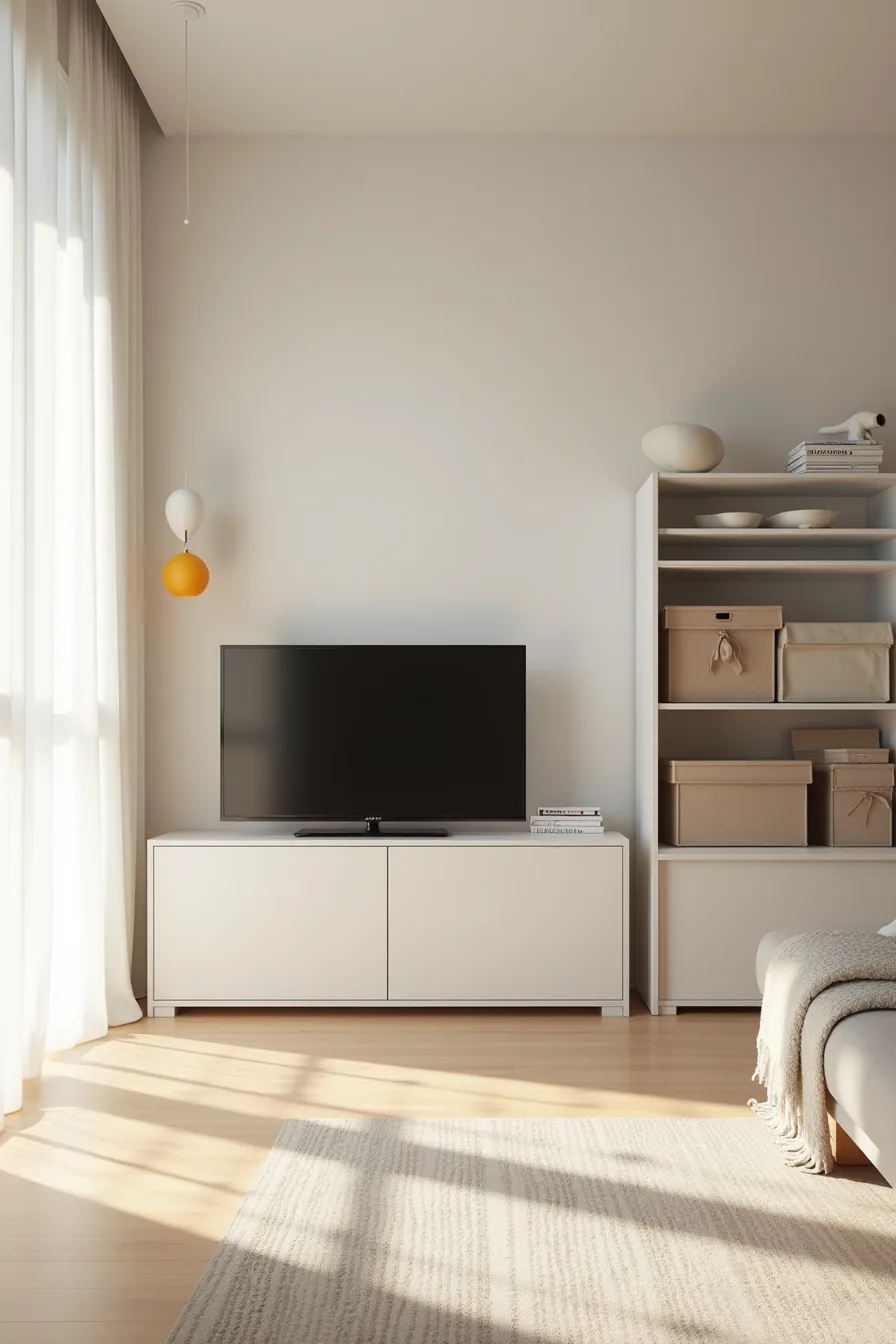
If you can’t drill into plaster or want your deposit back, build a freestanding wall unit from two BESTÅ frames placed side by side. The TV rests directly on the lower shelf between them, which keeps the screen at seated eye level without a mount. This setup suits renters, frequent movers, or anyone who wants a TV configuration they can reconfigure in under an hour using only a hex key.
Stacked fabric storage boxes and rolled textiles on the upper shelves mask the gaps between the frames while adding soft texture against the wood grain. The trade-off: BESTÅ frames are typically 23–24 inches deep and 15 inches tall per bay, so plan for a footprint roughly 48 inches wide and 15 inches deep, plus clearance for the TV base. Skip the wall anchors entirely, the combined weight of shelving and contents keeps the unit stable on a level floor.
This is a budget route that works best in medium rooms where the unit can act as a room divider rather than a wall-hugging console. For a tighter space, use one frame and place the TV on top; for a larger room, add a third frame and use the center bay for media components.
Floating Shelves with Integrated Cable Management
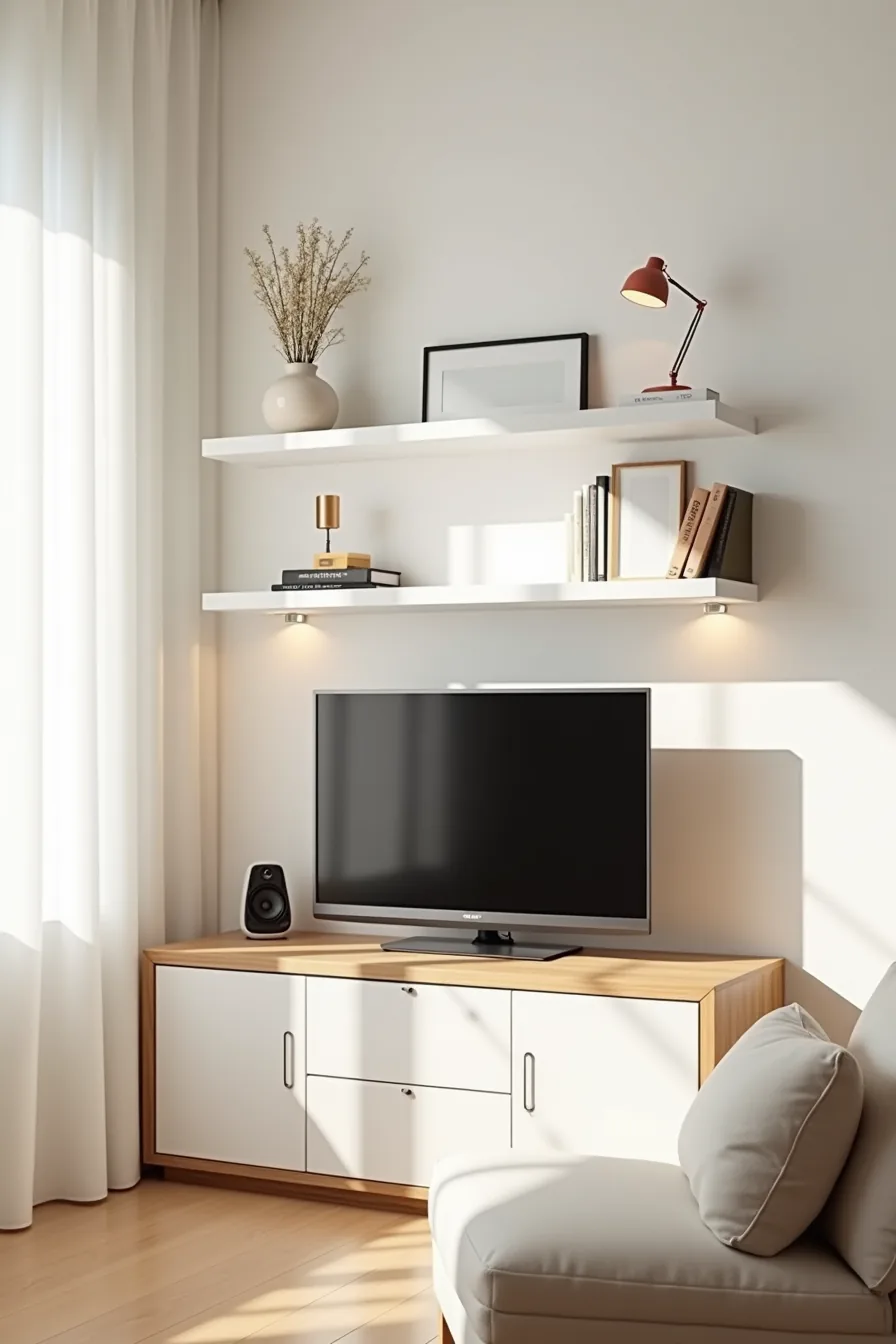
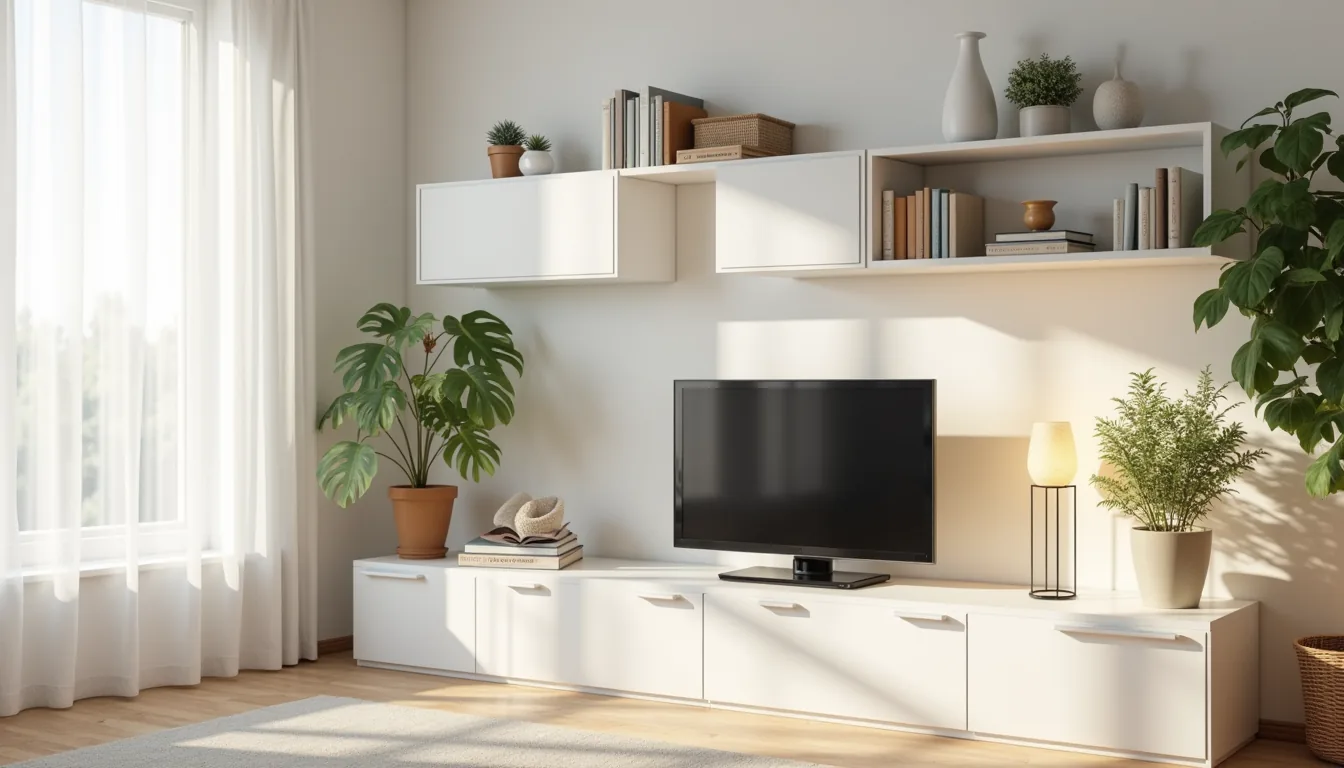
This configuration anchors three white wall-mounted shelves at staggered heights above a low console table, with the TV resting on the console rather than on the wall. It suits homeowners who want a permanent installation and are willing to patch and repaint when they move. The staggered shelf heights break up the vertical line of the wall and give you room to display a vase, framed art, and a small speaker at different visual levels.
The critical detail is the concealed cable channel running behind the shelves. You need a channel wide enough to hold the TV’s power cord and HDMI cables, typically 1.5–2 inches across. Run cables from the TV up to the shelves, then down through the channel to a power strip hidden behind the console.
This is a long-term investment route: expect to spend 2–3 hours on installation if you’re comfortable with a level and a stud finder, and budget for a cable channel kit plus drywall anchors rated for 30–50 pounds per shelf. The trade-off is that you lose the ability to reposition shelves without patching holes, but you gain a clean sightline from a seated viewing angle with zero visible wiring.
Corner TV Units for Compact Spaces
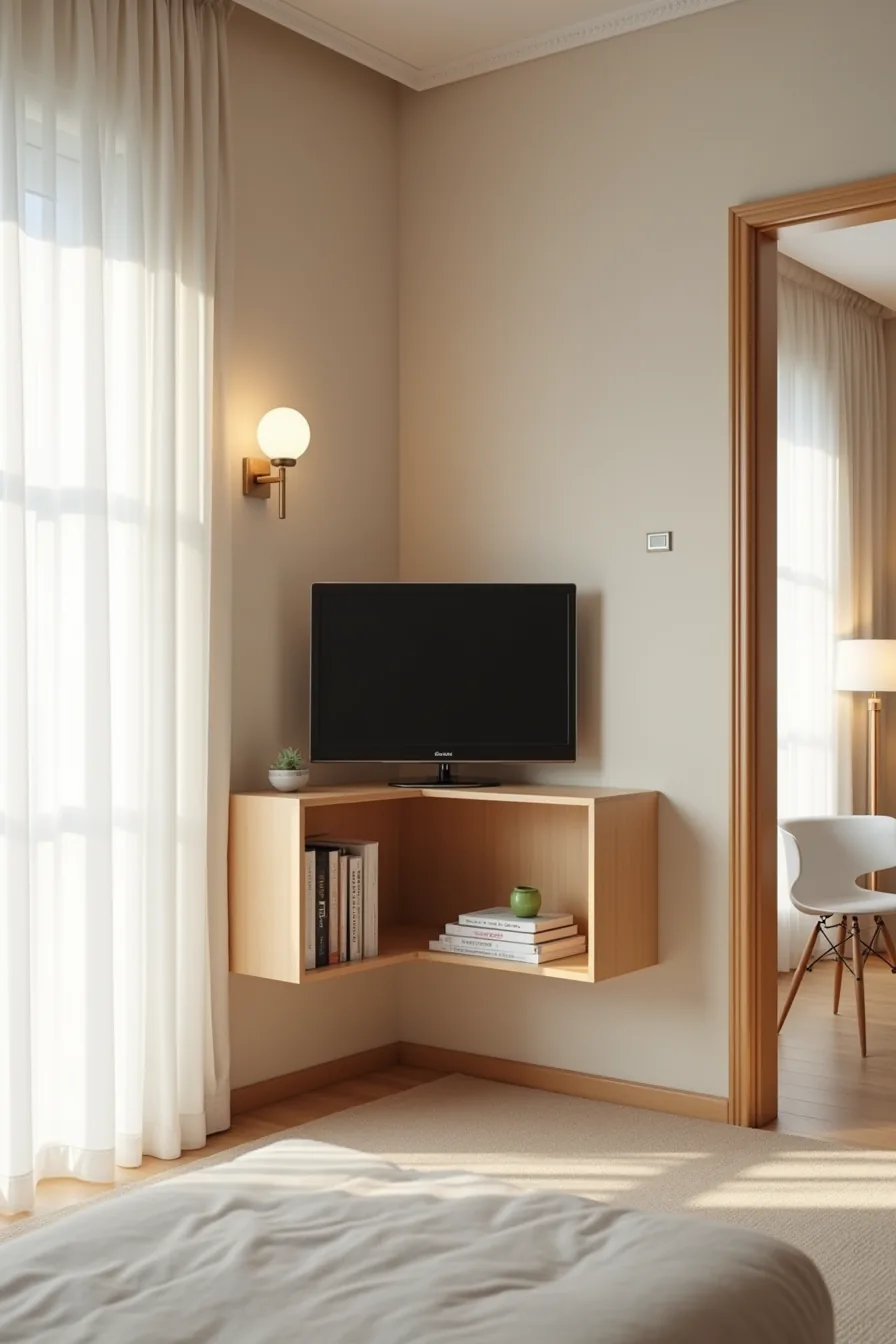
When a room is tight, the corner becomes prime real estate. An L-shaped arrangement of two KALLAX units meeting at a 90-degree angle turns an otherwise dead zone into a functional media wall. Place the TV on one of the corner shelves, angled slightly toward the room’s main seating area.
This setup suits small apartments or studio layouts where a dedicated TV wall simply doesn’t exist.
Before committing, measure both the corner depth and the clearance to any nearby doorway. You need at least 24–28 inches of open floor space in front of the units to avoid blocking traffic flow. The KALLAX’s 15-inch depth keeps the footprint compact, but the combined width of both units will span roughly 60–90 inches depending on which sizes you choose.
This is a renter-friendly route: the units stand freely, require no wall anchoring for stability on carpet, and disassemble cleanly for a move. The trade-off is that corner placement limits your TV size to roughly 40–50 inches, and you lose the ability to center the screen on a wall. For organized TV wall setups in small rooms, this configuration maximizes storage without sacrificing floor space.
Open Shelving with Closed Storage Hybrid

The BESTÅ system’s real strength is its modularity, you can pair open frames with closed cabinet doors in a single run to get display space without the visual clutter of everything on show. The configuration here uses upper shelves for books and decorative objects that you want within reach, while lower cabinets hide cables, game consoles, and everyday odds and ends.
For a medium-sized living room (roughly 12–16 feet wide), a single wall unit spanning 70–90 inches reads as intentional rather than imposing. The TV sits on a shelf at eye level, about 40–45 inches from the floor to the screen’s center for comfortable viewing from a standard sofa. This hybrid works best if you’ve a mix of items to store: some you want to showcase, some you don’t.
If everything is display-worthy, you’ll pay for cabinet doors you don’t need; if everything is clutter, the open shelves just give you more dusting surfaces. The combination also breaks up a long wall visually, which suits rooms that double as both living and dining space. This is a mid-budget route, expect to pay more than a single KALLAX row but less than custom joinery, and budget extra for the doors and interior drawers you choose.
Floor-to-Ceiling Built-In Effect on a Budget
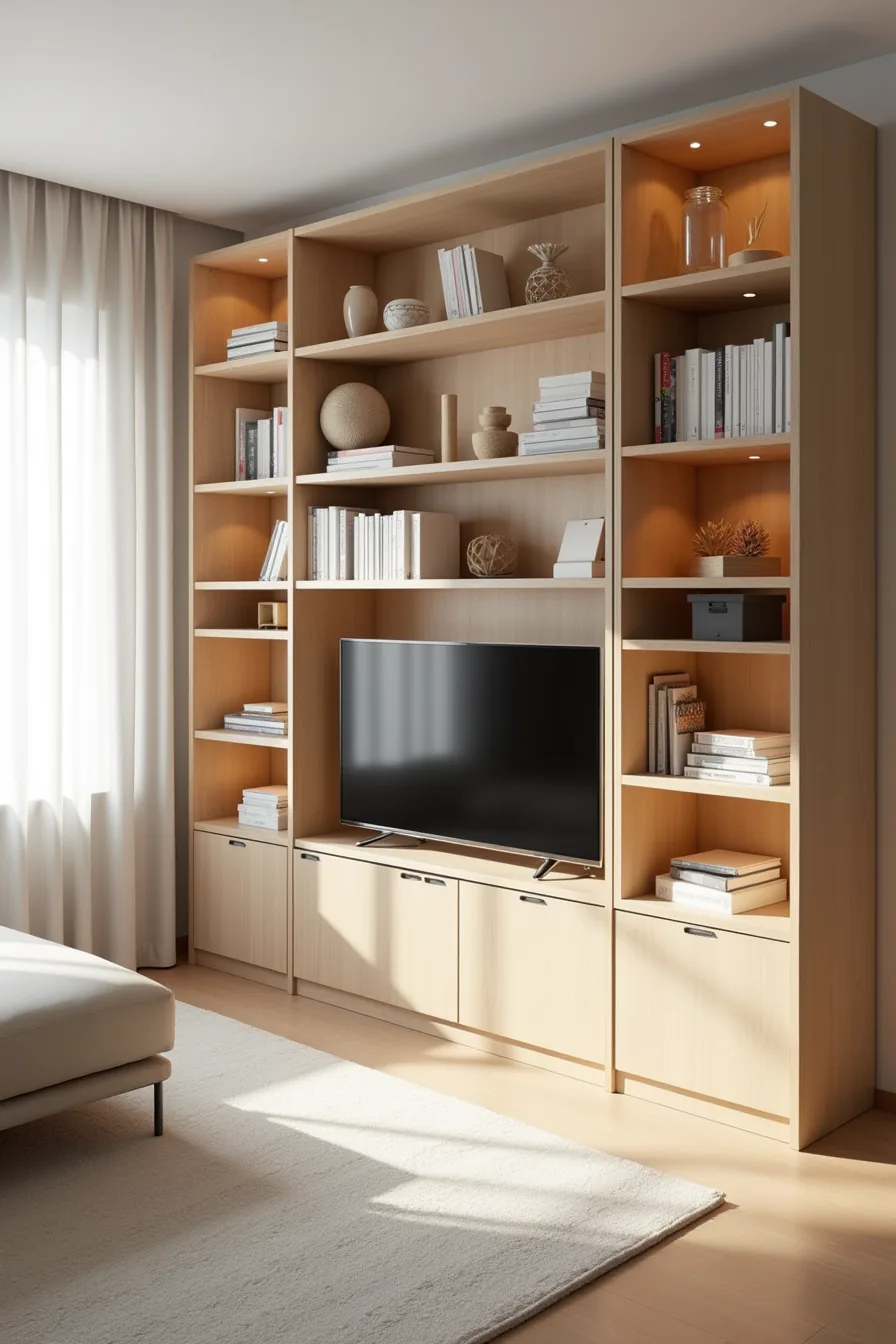
Stacking three KALLAX units vertically, two wide ones side by side atop a third, creates a full-height storage wall that mimics custom millwork for a fraction of the cost. The mounted TV sits centered on the middle unit, with storage boxes, books, and decorative items filling the cubes above and below to reinforce the built-in illusion.
This route suits renters and budget-conscious owners alike, but it demands proper preparation. A 3×3 KALLAX filled with books can weigh 150–200 pounds; anchor each unit to the wall studs with the included anti-tip brackets, and use furniture spacers between stacked units so the weight transfers through the frame, not the plastic cam locks. For TV mounting, either use a low-profile wall bracket that leaves a 1–2 inch gap for cable access, or rest the TV on the middle unit’s top surface, just confirm the combined height leaves the screen center at 40–45 inches from the floor.
The vertical stack reads best in rooms with 8-foot ceilings; if yours run taller, add a fourth unit or top the stack with molding to close the gap. This is the most budget-friendly of the built-in approaches, expect to spend $200–350 for the units alone, plus $30–60 for anti-tip hardware and brackets.
Entertainment Console with Integrated Lighting
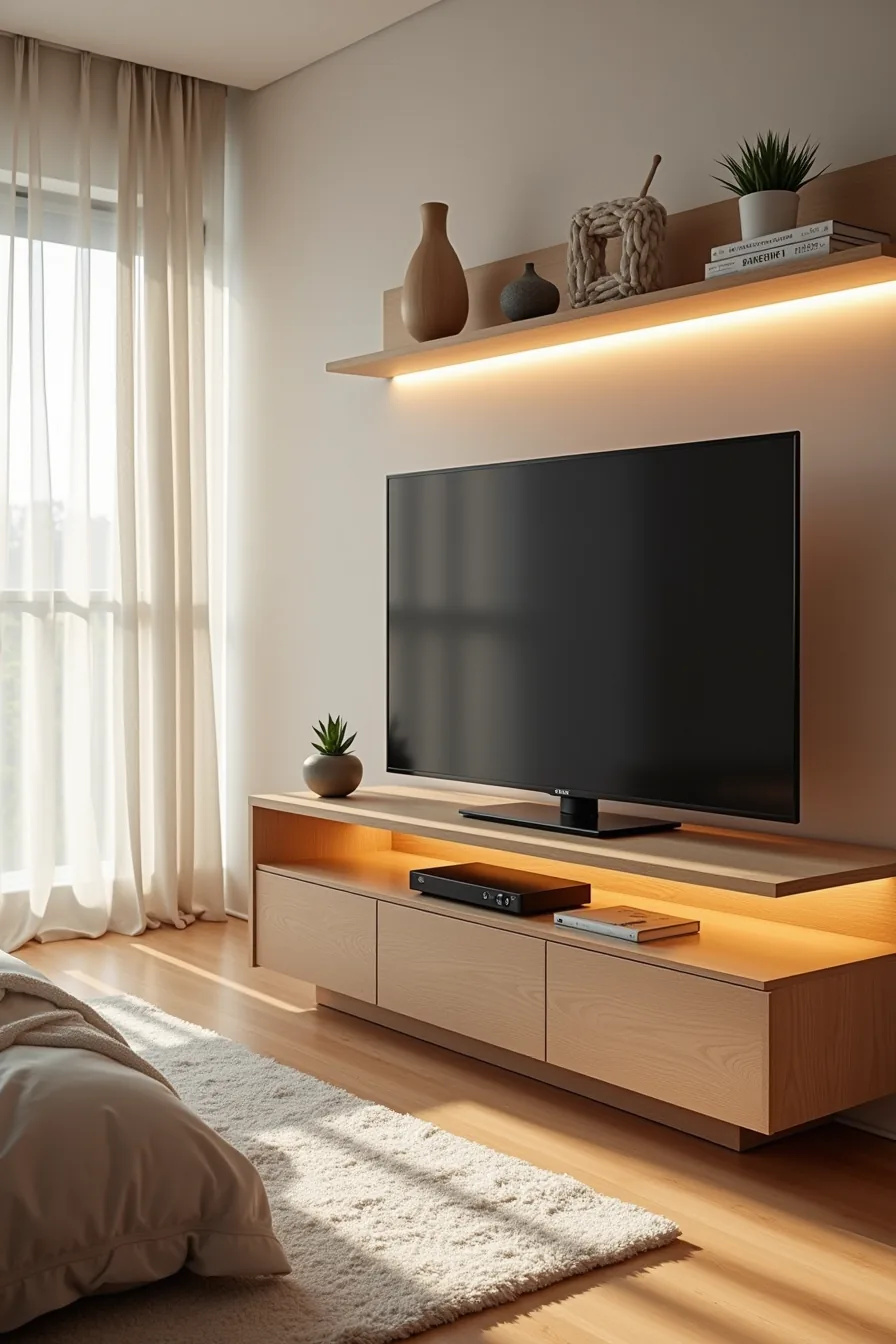
A low BESTÅ console with the TV resting on top becomes a different piece entirely when you add LED strip lighting. Run warm-white strips along the underside of the upper shelves, angled downward so the light washes over the media devices and decorative objects below instead of glaring into the room.
This setup works best in open-plan homes where the TV zone needs visual definition after dark. The downward glow creates a soft pool of light that separates the media area from dining or kitchen spaces without adding a floor lamp. Choose a strip with a color temperature around 2700–3000K for a warm, cozy effect; cooler 4000K light reads more clinical and suits daytime-heavy rooms.
The practical trade-off is cable management. LED strips need a power source at one end, so plan the run before sticking anything down, measure from the shelf edge to the nearest outlet, and use a cord cover that matches the console’s finish. Most IKEA LED strips come with adhesive backing, but they lose grip on textured surfaces; use small mounting clips for a permanent hold.
This route suits renters because nothing requires drilling into walls, and the strips peel off with minimal residue if you choose removable adhesive.
Your Decision Checklist
Choosing the right wall unit comes down to three questions: your wall space, your storage needs, and your lease or ownership status. Measure the width of your TV stand area first, most units span 47–70 inches, and confirm your TV’s VESA mount pattern if you plan to hang it.
If you rent, prioritize freestanding units with cable management over drilled installations. If you own and plan to stay put, a full wall system with integrated lighting and wall-mounted cabinets offers the best long-term value.
Start here: Grab a tape measure and mark your TV’s current width on the wall. That single number filters out half the options before you browse.
Frequently Asked Questions
What is the maximum TV size IKEA TV wall units can safely support?
Most IKEA wall-mounted TV units support TVs from 32 to 70 inches, depending on the model. Always check the product label, it lists the maximum weight and screen size, and never exceed it.
Can I mount an IKEA TV unit to drywall, or do I need studs?
You need studs for the main load-bearing bracket. Drywall alone can’t support the unit’s weight plus your TV. Use a stud finder, align the bracket to the studs, and follow IKEA’s included mounting instructions.
How do I hide cables and wires in an IKEA TV wall setup?
Use the unit’s built-in cable management channels or run wires through the back panel. For a cleaner look, install a cord cover along the wall, matching your paint color, and route cables down to the unit.
Are IKEA TV units suitable for renters, or do they require permanent installation?
Yes, many are renter-friendly. Choose freestanding units or wall-mount models with minimal screws. Drill into studs, then patch and paint when you leave. Avoid heavy wall units if your lease restricts mounting.