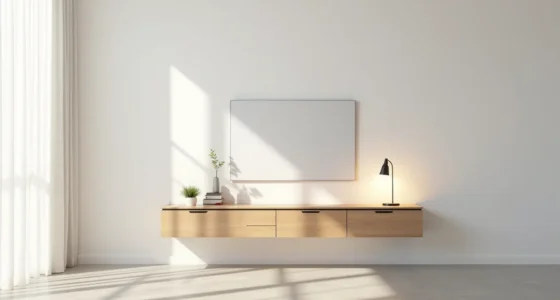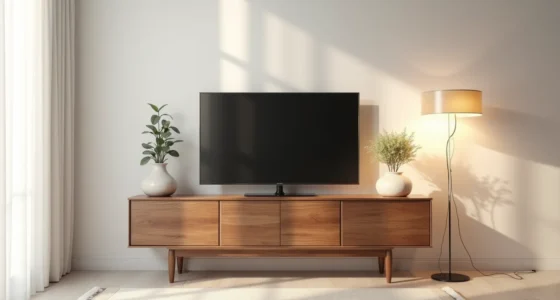
A vintage TV unit is simply any piece of cabinetry or furniture from a previous era, typically mid-century, Art Deco, or industrial, that you adapt to hold your modern television, and the right choice depends less on nostalgia and more on your room’s dimensions, your viewing habits, and your tolerance for retrofitting. Before you buy, you need to know whether you’ll hide cables, wall-mount the screen, or repurpose a sideboard with limited depth. The six approaches below range from a $75 thrift-store fix to a custom joinery investment, each with specific clearance, ventilation, and weight limits you’ll need to reconcile with your 55-inch flat screen.
Key takeaways
- Match the era of your vintage TV unit to your room’s dominant design style, a mid-century cabinet suits walnut and tapered legs, while a repurposed dresser works better in cottage or transitional spaces.
- Measure your TV’s width against the unit’s top surface, leaving at least 4-6 inches of clearance on each side for visual balance and heat dissipation.
- Skip wall-mounting if you rent; choose a standalone unit with a solid, level top and cable-management holes, which you can move without patching drywall or losing your deposit.
- Budget under $150 by thrifting a solid-wood dresser, sanding it lightly, and applying a single coat of matte polyurethane, avoid painting over veneer unless you’re prepared for peeling.
Mid-Century Cabinet with Modern Screen Mount
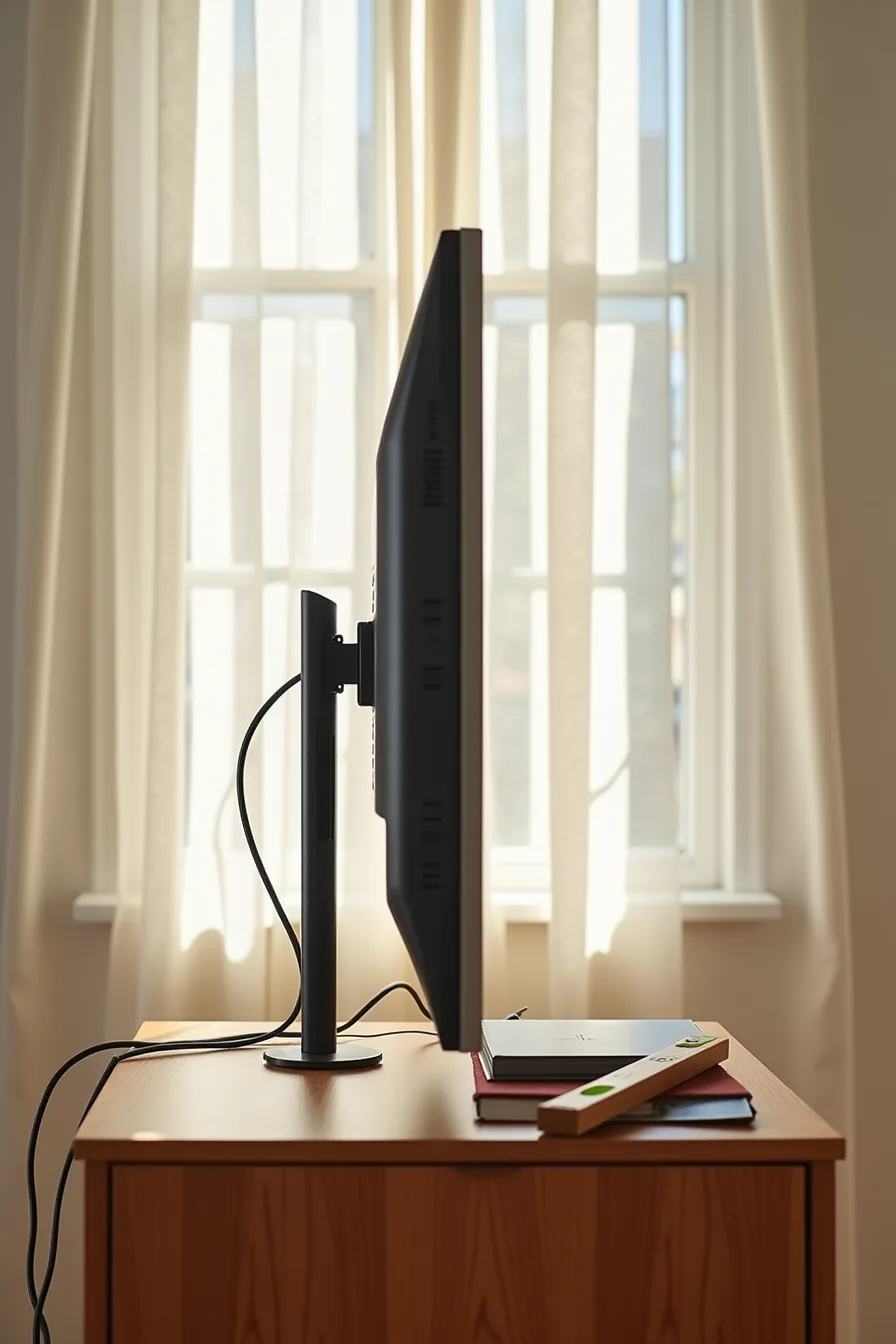
A genuine 1950s–1970s teak cabinet gives you the vintage Tv unit’s warm grain and tapered legs, but its flat top was never designed to hold a modern flat-screen safely. The solution is a VESA bracket bolted to the cabinet’s rear panel, not set on top. Most mid-century cabinets have rear panels of ½-inch plywood or particleboard, which can support a TV up to 50 pounds with 4–6 machine screws and washers; anything heavier requires a threaded insert kit or a secondary plywood backing board.
To wire this cleanly, drill a 1½–2-inch hole for a rubber grommet behind the TV’s lower edge, then route HDMI and power cables through it. Use a level tool on the cabinet top to check both the TV and the cabinet’s own alignment, many vintage pieces settle unevenly on original floors. This setup suits medium living rooms where you want the TV low (seated eye level at 42–48 inches from the floor to screen center) and can leave 4–6 inches of clearance above the cabinet for ventilation.
It’s a permanent solution: expect 2–3 hours of work with a drill, bracket, bolt, and spacers, and you’re committing to that cabinet’s position. Skip it if you’re renting, as drilling voids no lease but will leave visible holes.
Repurposed Dresser or Chest as TV Stand
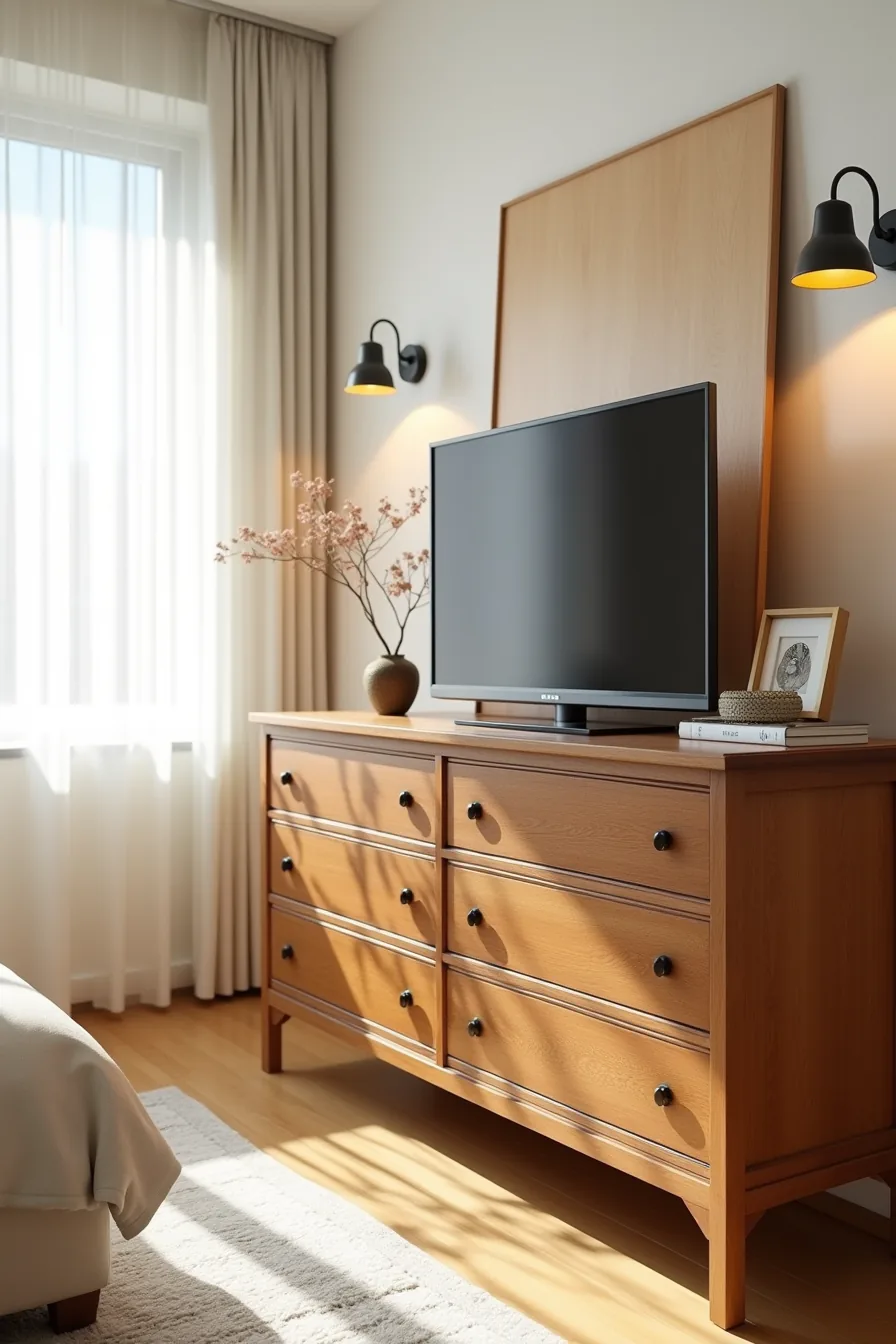
A vintage oak dresser with brass pulls is a natural candidate for a TV unit if you’re working with a small-to-medium room. The key is converting its flat top into a load-bearing surface rather than trusting the original wood alone. A ¾-inch plywood panel cut to the dresser’s full top dimensions, finished with edge banding, distributes weight across the full frame.
That setup supports a 32-inch flat-screen up to roughly 35 pounds without flex, but any TV heavier than that calls for a center support leg underneath.
Place the flat-screen directly on the plywood reinforcement, leaving 2–3 inches of clearance on each side for the dresser’s proportions to read visually. Lean a decorative mirror and a small framed item against the wall above the screen to draw the eye upward and balance the dresser’s mass. This approach suits renters because it requires no drilling into walls or furniture, the plywood panel sits loose.
Expect to spend around $40–60 on plywood and edge banding, plus an hour of cutting and finishing. Keep the dresser’s original pulls; they anchor the vintage character that makes the unit read as intentional rather than makeshift.
Vintage Storage Check: Shelving and Display Balance

A mid-century sideboard with upper open shelves and lower closed doors gives you the best of both storage worlds. The open shelves carry your curated objects, ceramic bowls and glass vases, while the closed cabinets below absorb the cables, remote controls, and gaming consoles that would otherwise clutter the visual field. This division of labor is what makes a vintage storage check work: roughly 40% of the piece stays open for display, and 60% stays closed for concealment.
Mount the flat-screen on the wall above the sideboard rather than on top of it, leaving 6–8 inches of breathing room between the TV’s bottom edge and the sideboard’s top. Flank the screen with a single sculptural object on each side, a tall vase on one end, a stack of books on the other, to keep the arrangement from feeling like a shrine to the television. In a small living room, this setup reads lighter than a full cabinet because the open shelves break up the mass; in a large room, it anchors the wall without overwhelming it.
Dust the open shelves weekly, and expect to re-style them every few months as you rotate pieces in and out.
Budget Route: Thrifted Cabinet Refresh
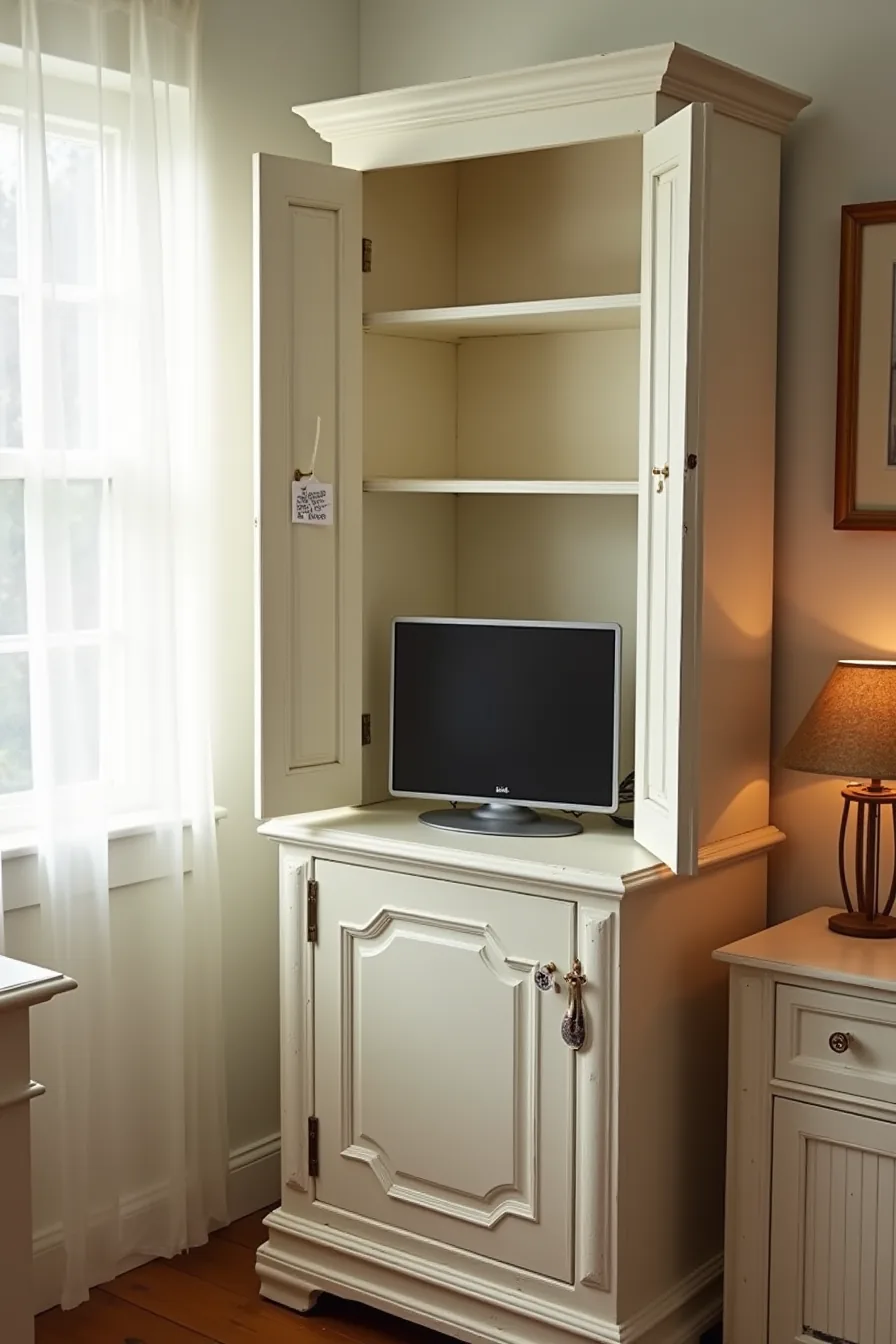
A thrifted cabinet with chipped edges and an open door showing empty shelves is the cheapest entry point into a Vintage Tv Unit, often under $150 at secondhand markets. Before you commit, open every drawer and door, check that the back panel is intact, and test for wobble by pushing on the corners. Structural integrity matters more than paint condition; loose joints are fixable, but water-damaged particleboard will crumble under a TV’s weight.
For a cosmetic refresh, sand the chipped edges, apply a matte chalk paint in a shade that complements your room, and replace the handles with brass pulls, a weekend project costing roughly $40 in materials. To fit a flat-screen without modifications, place the TV directly on the cabinet top if it’s less than 40 inches across, or lean the boxed TV against the side until you confirm the cabinet’s depth can support a wall-mounted bracket. This route suits renters on a short lease or anyone testing the vintage look before committing to a pricier piece; expect to re-glue joints or reinforce the top within two years if the cabinet was already worn.
Renter-Friendly: Standalone Unit Without Mounting
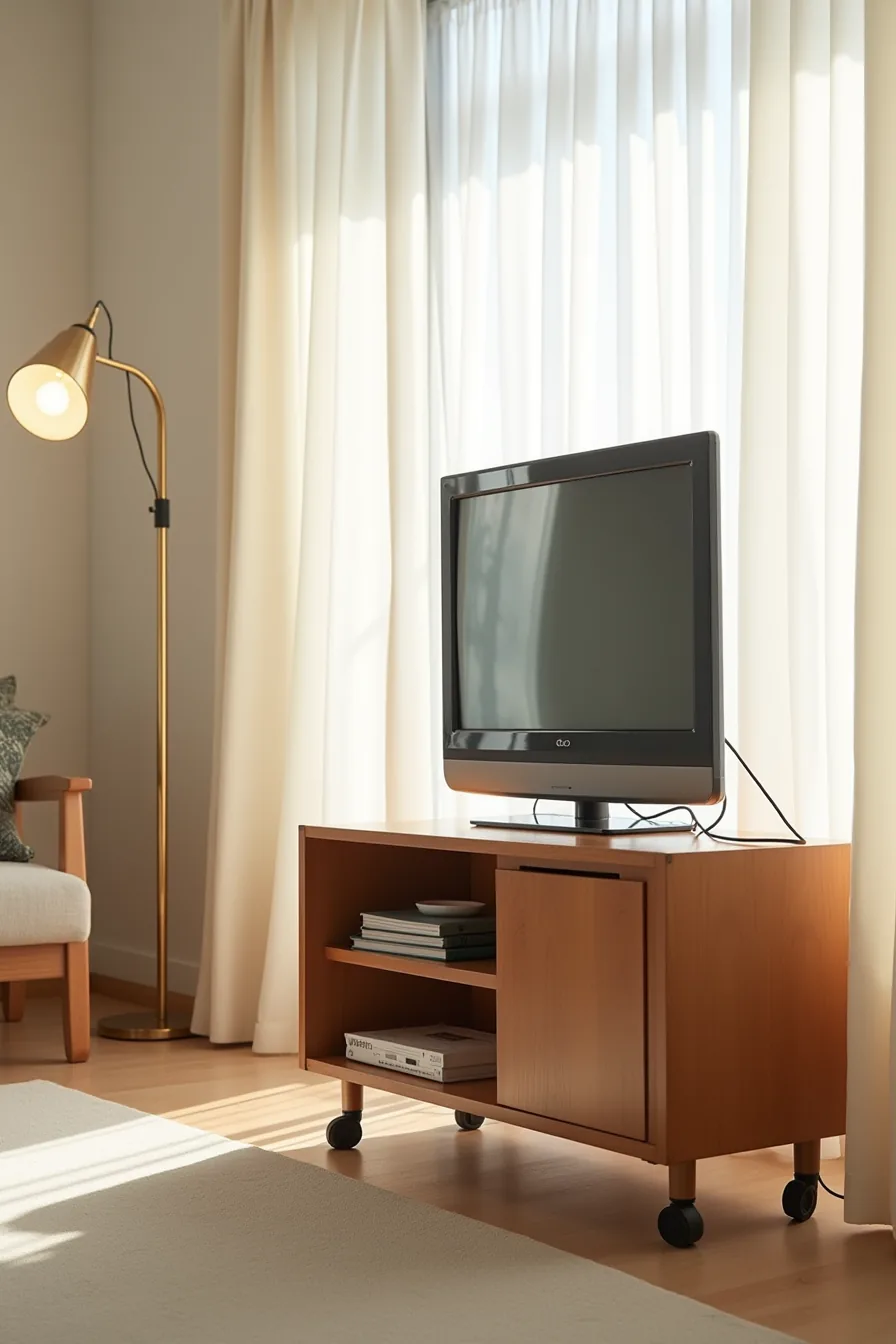
A standalone unit on casters solves the two biggest rental constraints: no wall drilling and easy relocation when your lease ends. Look for a wooden cabinet with factory-fitted wheels rated for at least 50 pounds total capacity, you’ll be placing a flat-screen TV directly on the surface using a tabletop TV stand, which distributes weight evenly across the cabinet top without requiring brackets or anchors.
Position the unit 4-6 inches away from the wall so cables drape down the back freely, avoiding any need for in-wall routing or adhesive cord covers that can damage paint upon removal. Casters let you pivot the setup for better glare control during daytime viewing, and they protect hardwood floors from scratches if you choose rubber-wheeled versions. This approach suits renters who move every 1-3 years, though verify the casters lock securely, an unlocked unit on a light-colored area rug can shift when you bump it while dusting.
Expect to tighten wheel hardware every few months, a five-minute task that prevents wobble as the TV’s weight settles.
Long-Term Investment: Authentic Restoration and Curation
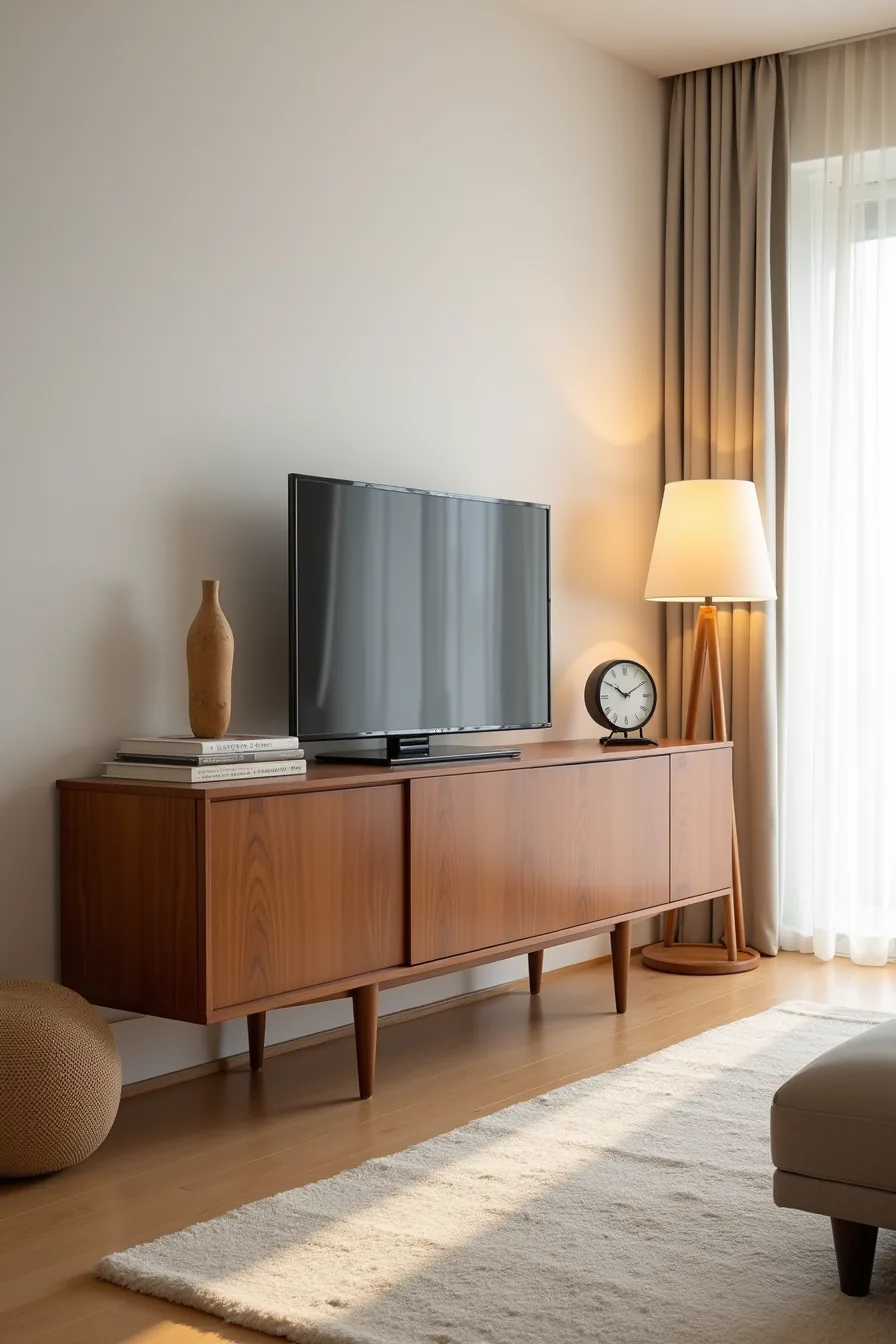
If you want a true collector’s piece, buy from a specialist dealer who documents provenance and restoration history, expect to pay a meaningful premium over thrift-store finds, and budget for professional refinishing if the piece hasn’t been touched in decades. A fully restored mid-century credenza in rich walnut, with original hardware intact and a hand-rubbed lacquer finish, becomes the room’s anchor rather than just TV furniture. The surface holds a sculptural wooden figure, a ceramic piece, and a vintage clock, each chosen to echo the credenza’s era, this curation strategy makes the setup feel intentional, not decorated.
For the TV itself, a custom VESA mount bolts through the back panel or sits on a low-profile stand, preserving the credenza’s clean lines. This route suits homeowners who plan to stay put for 5-10 years and want furniture that appreciates in value with care. Professional refinishing costs meaningfully more than DIY oiling, but it protects the walnut from heat damage and ring marks.
Dust the crevices weekly with a soft brush; avoid silicone polishes that build up a sticky film over time. While not a budget option, this approach delivers the most authentic interpretation of Vintage TV Units for cozy collected living rooms, and it pairs well with period-correct seating and wool rugs to complete the mood.
What to do first
Start by measuring your TV and the wall space around it, leave at least 6–8 inches of breathing room on each side for proportion and airflow. Then decide your non-negotiable: storage capacity, renter-safe installation, or heirloom quality. That single constraint will eliminate half your options before you shop.
Commit to one piece this weekend. Measure twice, check your wall material, and order or hunt for it with those numbers in hand. Your vintage TV unit should serve your space today, not wait for a renovation that never happens.
Frequently Asked Questions
How much weight can a vintage wooden TV unit safely hold?
Most vintage wooden TV units support 50–100 pounds, depending on joinery and wood condition. Older veneer or dovetailed pieces handle less, so test by pressing firmly on shelves before mounting a heavy modern television.
What is the ideal height for a vintage TV unit in a standard living room?
Aim for the screen’s center to sit 40–45 inches from the floor when seated. This usually means a unit 24–30 inches tall, matching your eye level from a typical sofa.
Can you put a modern flat-screen TV on an old mid-century cabinet?
Yes, if the cabinet’s top is flat, level, and rated for the TV’s weight. Use a non-slip pad underneath and keep the TV’s feet within the cabinet’s depth to avoid tipping hazards.
How do you hide cables and wires in a vintage TV unit?
Run cables through pre-drilled holes at the back, then secure them to the cabinet’s interior with adhesive clips. Use a cord cover along the wall, and consider a power strip with a surge protector tucked inside.