A TV cabinet design for living room spaces isn’t a single formula, it’s a set of trade-offs between depth, storage, and sightlines, and the right choice depends on your room’s square footage, your viewing distance, and how much gear you actually need to hide. Most living rooms measure between 12 and 20 feet across, which changes what cabinet depth you can tolerate. Before you buy, measure your seating position to the wall: that distance dictates whether a slim 12-inch profile or a deep 20-inch media console works without forcing you to squint.
The six setups below break down those trade-offs by room size, budget, and rental restrictions.
Key takeaways
Match your cabinet width to the TV’s diagonal by keeping it within 4–8 inches longer on each side, so a 55-inch screen pairs with a 63–71-inch cabinet. Choose a low unit (18–24 inches tall) for rooms under 150 square feet, reserving tall cabinets for spaces with at least 8-foot ceilings and no window behind the TV wall. Anchor a center-mounted cabinet at eye level (42–48 inches to the screen’s midpoint) in medium rooms, leaving 24–30 inches of walkway clearance on both sides. Spend 30–40% more on solid wood or plywood for a long-term investment, while MDF with laminate offers a budget route at roughly half the cost but requires edge sealing to avoid moisture damage.
Low Unit vs Tall Storage: Choosing Your Footprint

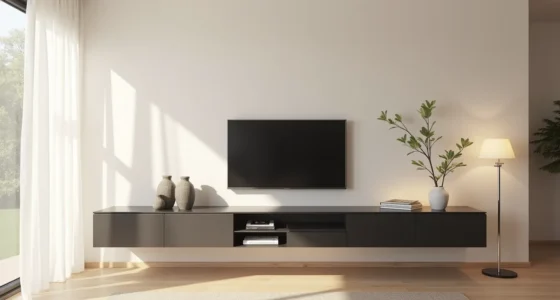
Your first decision is the cabinet’s vertical footprint, and it hinges on what you’re willing to sacrifice: floor space or wall space. A low floating cabinet, typically 18–24 inches tall with an open shelf below, keeps the sightline clear and makes a modest room feel larger. It suits minimalist setups where the TV is the focal point and you rarely need to stash bulky equipment, but it forces you to manage cables and a soundbar within that slim zone.
Floor-to-ceiling storage, running 84–96 inches, trades that visual lightness for serious capacity. Closed cabinet doors hide everything from gaming consoles to board games, which works best in family rooms or open-plan spaces where clutter accumulates fast. The trade-off is a heavier visual presence: in a small room, a tall unit can dominate the wall, whereas a low cabinet lets the wall breathe.
For most medium rooms, a hybrid, low unit for the TV, tall closed storage on one side, gives you both without committing to a full wall of cabinetry.
Matching Screen Scale to Cabinet Proportion

A TV cabinet and its screen need to read as one composed unit, not two unrelated objects. The fastest way to test this is to compare the screen width against the cabinet width: a proportional pairing means the TV is roughly equal to or slightly narrower than the cabinet, so a 55–65-inch screen sits naturally above a 60–70-inch cabinet. Mount a 32–40-inch screen on that same cabinet, and the unit dwarfs the TV, leaving dead space that makes the installation feel temporary.
Push a 75-inch screen over a 60-inch cabinet, and you get overhang that visually topples the piece below.
The cabinet frame and mounting brackets carry the real constraint: they must support the screen’s weight, and the width should still leave 6–10 inches of cabinet visible on each side of the TV. That margin is what anchors the composition, so measure your screen’s actual width, not the advertised diagonal, before you commit to a cabinet size.
Small-Space Media Walls: Vertical and Compact Solutions

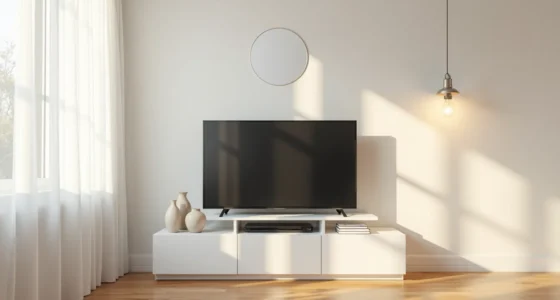
In rooms under 200 square feet, the TV cabinet must earn vertical space rather than consume floor area. A wall-mounted cabinet sized 30–36 inches wide fitted into a corner nook makes the screen the focal point without sacrificing the room’s walking path. Floating shelves above the cabinet draw the eye upward and store decorative objects that would otherwise clutter the console surface below.
The narrow console table beneath serves a dual purpose: it houses the streaming box and soundbar while creating a visual landing zone that grounds the wall composition. This setup suits studio apartments, bedrooms, or any room where a full-width media unit would block circulation. You gain roughly 12–18 inches of floor clearance compared to a floor-standing cabinet, and the corner placement frees the opposite wall for a desk or seating.
Keep the cabinet depth under 12 inches to avoid protruding into the walkway, and use a swivel mount if you need to angle the screen toward a bed or seating area. The trade-off is storage: you lose the deep shelving a larger unit provides, so reserve this route for spaces with alternative storage elsewhere. For a small vs large media wall, this compact vertical stack delivers function without demanding square footage.
Medium-Room Layouts: Anchored Center Placement

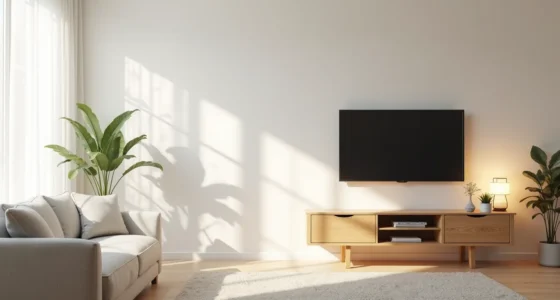
In living rooms spanning 200–400 square feet, a freestanding TV cabinet between 48–60 inches wide and 24–30 inches deep anchors the room when centered on the primary wall. This placement works because it naturally divides the space into distinct zones: the media area behind you and the conversation area ahead, with the sofa positioned 8–10 feet from the screen for comfortable viewing without dominating the room’s proportions.
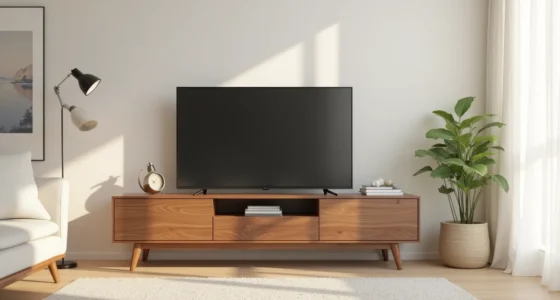
The cabinet’s base legs improve the unit 4–6 inches off the floor, creating a visual break that prevents the furniture from feeling monolithic in a mid-sized space. This gap also makes cleaning underneath straightforward and gives the room a lighter appearance than a solid-to-floor base would. Pair this setup with a walkway on at least one side, ideally both, measuring 36 inches or more to keep traffic flowing behind the sofa without squeezing past the media unit.
Choose a cabinet with closed lower doors for hiding game consoles and cables, since a centered position makes every visible wire a focal point. This layout suits families or households where the TV is a daily-use device rather than a decorative afterthought. For Living Room TV Cabinets for Family-Friendly Organization, prioritize units with adjustable shelves and cable-management cutouts in the back panel, they save you from drilling holes later.
Large-Space Media Walls: Statement Installations
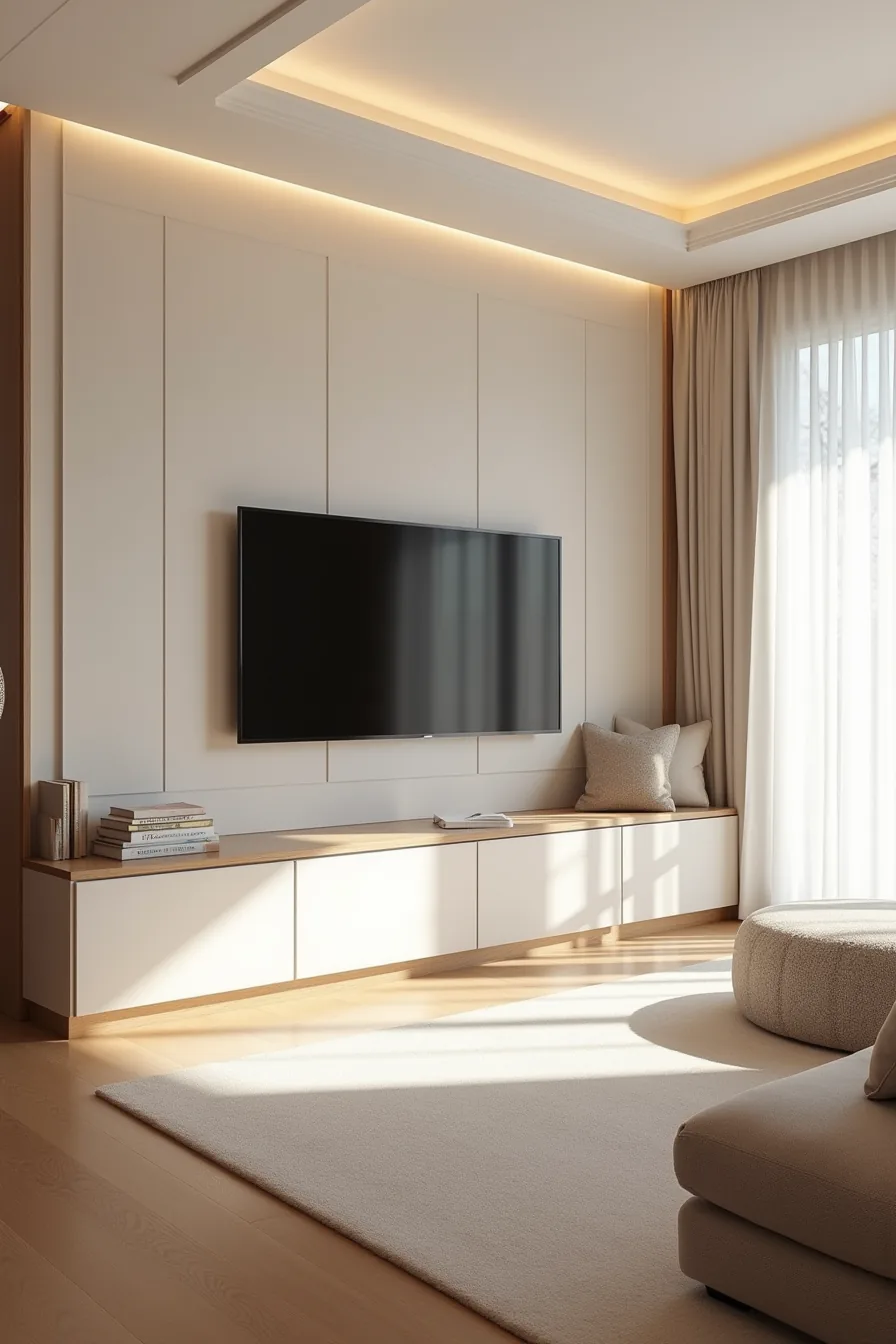
In rooms exceeding 400 square feet, a single freestanding cabinet reads as underscaled furniture floating in a void. The built-in media wall solves this by spanning 10–14 feet of wall width and running floor-to-ceiling, with the TV centered in the middle section and surrounding cabinetry flanking both sides. That continuous vertical mass anchors the entire seating arrangement, so the wall, not the sofa, becomes the room’s true focal point.
The integrated bench seating beneath the TV adds function without stealing floor space: it doubles as extra guest seating and a surface for decor, while keeping the lower third of the wall visually weighted. Accent paneling or a contrasting paint color on the wall behind the cabinetry prevents the installation from reading as a plain storage block, giving the millwork architectural presence. This setup suits open-plan great rooms or homes where the living area flows into dining and kitchen zones, because the continuous cabinetry visually ties those spaces together.
Plan for 18–24 inches of clearance between the media wall and the nearest seating row, and budget for custom millwork or modular systems, prefabricated built-ins rarely match exact wall dimensions without filler panels. Expect installation costs to run 2–3 times higher than a comparable freestanding cabinet, and factor in that painted MDF or plywood finishes require touch-ups every few years to hide wear at high-traffic corners.
Budget, Renter, and Investment Routes: Material and Assembly Choices

Your tv cabinet design for living room ultimately splits into three material paths, each with distinct costs and lifespans. The flat-pack particle-board unit with visible dowel holes and the Allen wrench beside it runs $80–$200, assembles in 2–3 hours, and lasts 3–5 years before edges chip or shelves sag under a 40–50 pound TV. It suits temporary setups, rentals, or rooms where the cabinet will likely move within half a decade.
The modular metal frame with removable fabric panels and adhesive strips on the wall costs $200–$450 and leaves zero damage when you leave: the strips peel off cleanly from painted drywall, and the frame disassembles into flat components that fit in a car trunk. That route works for frequent movers or anyone unwilling to forfeit a security deposit, though fabric panels show dust within weeks and need vacuuming monthly.
The solid walnut built-in with dovetail joints and a professional finish represents the long-term play at $1,500–$4,000 installed, lasting 20+ years with annual oiling. You gain custom dimensions and hardware that feels substantial, but you surrender flexibility, this cabinet stays put, so commit only if your room layout is settled.
What to Do First
Start by measuring your wall and seating distance. A TV cabinet should be roughly two-thirds the width of your TV stand’s footprint, not the screen size. For a 55-inch TV, most cabinets run 48–60 inches wide; for a 75-inch screen, plan on 65–80 inches.
Measure the height from floor to your seated eye level, then subtract half your TV’s height. That gives you the ideal cabinet top height, usually 42–48 inches. Write those two numbers down before you browse anything.
Your next step: sketch a simple floor plan with the cabinet’s width and depth (most run 15–18 inches deep) marked in. This 10-minute exercise prevents the most common mistake, buying a piece that overwhelms the room or blocks a walkway.
Frequently Asked Questions
What is the ideal distance between a TV cabinet and seating?
For a 55-inch TV, place seating 7 to 10 feet away. For a 65-inch screen, extend that to 8 to 12 feet. Adjust based on your room’s width and viewing angle.
Can I mount a TV on a cabinet that also holds a soundbar and gaming console?
Yes, but keep the TV’s VESA mount rated for your screen’s weight. Leave 4-6 inches clearance above the soundbar for airflow, and route console cables through rear cutouts.
How do I prevent a TV cabinet from looking cluttered in a small living room?
Limit visible items to three: the TV, one decorative object, and a small plant. Use closed lower drawers for remotes, cables, and consoles. Choose a cabinet with cable management channels.
What materials are easiest to maintain in a family-friendly TV cabinet?
High-pressure laminate or matte lacquer resists fingerprints and wipes clean. Solid oak with a sealed polyurethane finish handles scratches well. Avoid glossy black or raw MDF, they show dust and smudges quickly.