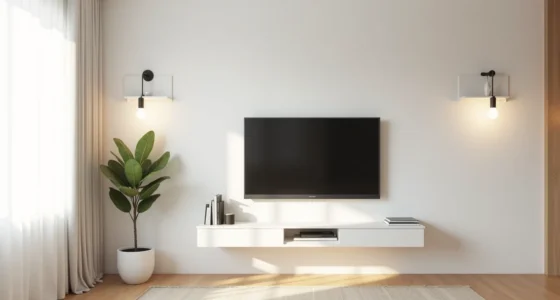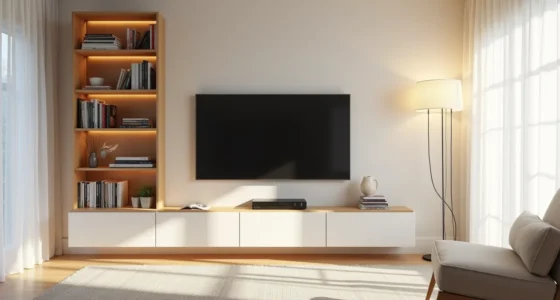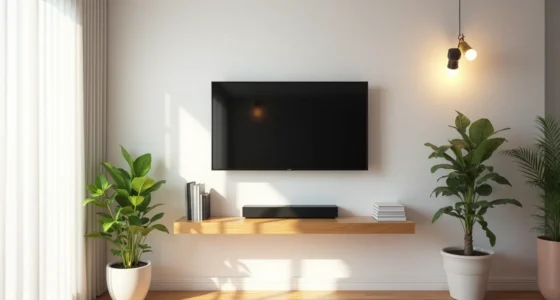
Before you buy a single shelf or cabinet, pull everything out from around your TV, cables, consoles, remotes, DVDs, and stray accessories, and sort it into keep, relocate, and discard piles, because the right TV unit with storage is defined less by its looks and more by how precisely its capacity matches what you actually own. That inventory dictates whether you need open cubbies for a game console’s ventilation or closed drawers to hide a tangle of chargers. The six approaches that follow break down by room size, renter status, and budget, so you can match a unit to your habits, not a catalog photo.
Key takeaways
- Audit first: Count every device, cable, and remote you own before choosing a unit, since a 55-inch TV with a soundbar and gaming console typically needs 8-12 cubic feet of storage.
- Fixed shelving wins for heavy media libraries, but adjustable tracks suit changing setups, measure your tallest component (often a receiver at 6-7 inches) to set minimum shelf spacing.
- Closed cabinets hide tangled cables and dust-prone gear, while open cubbies display decor but require you to route cords through rear cutouts to avoid a visual mess.
- Renter-friendly options like freestanding units with cable channels and peel-and-stick cord clips cost $150-$400, versus built-ins at $800-$2,000, and avoid drilling into walls.
Audit Your Media and Cables Before Buying

Before you compare a single Tv Unit With Storage, count every device you own, not just the ones you see daily. A typical household runs a streaming box, game console, soundbar, and modem, four components that each need a shelf and a power outlet, plus room for your cable box if you’ve one.
Gather everything into one flat-lay pile: streaming device, coiled HDMI cables, remote control, power cables bundled with velcro straps, and an external hard drive. Measure the longest power cable you find, then double it, most runs need 6–8 feet to reach a socket comfortably. Also count surplus items you rarely use, like backup cords and old streaming sticks.
If those consume 20 percent of your stack, they get a closed drawer, not prime open shelving.
Audit your daily devices versus storage-only items to right-size depth (most units run 16–20 inches deep for AV components) and prevent an oversized cabinet eating your floor space or an undersized one leaving mess in sight. For related layout guidance, keep your checklist nearby as you read through the rest of this guide.
Fixed vs. Adjustable Shelving: Trade-Offs and Fit

Fixed wooden shelves look clean, but you pay for that simplicity in rigidity. Once you mount them, a soundbar too tall for the gap means unscrewing the whole bracket and patching the wall, a 30-minute job that becomes a weekend project when you own a stud finder and a level but no patience. Install difficulty is low to moderate for a DIYer, but the permanence locks you into today’s device sizes.
Adjustable metal brackets cost roughly 15–30 percent more per shelf and take about the same time to install, yet they let you shift shelf heights by 1-inch increments without tools. That flexibility matters most for the wall-anchored system in view: a wooden shelf holds a speaker at eye level, while an empty adjacent shelf sits ready for a taller component you haven’t bought yet. Weight capacity typically ranges 40–60 pounds per bracket pair, enough for a center-channel speaker but not a heavy AV receiver.
Modular systems with vertical tracks split the difference, more hardware visible, but you can add or remove shelves as your media stack changes. Suitability comes down to whether you prioritize visual simplicity (fixed) or future-proofing (adjustable).
Hidden vs. Open Storage for Media Clutter Control

The split between closed cabinet doors on one side and exposed shelving on the other is a deliberate trade-off between dust protection and speed. Those wood-grain doors conceal the media boxes you touch once a week, while the open shelves keep your gaming console within arm’s reach, no hinge to pull, no door to hold open while you swap a disc. If you watch physical media daily, open access saves you roughly five to ten seconds per interaction, which adds up to over an hour a year.
Hidden storage wins the visual-weight battle: closed fronts create a solid, quieter line across the room and hide the tangle of power bricks behind them. Open shelves, by contrast, make the console and media boxes part of the decor, which works only if you keep those items uniform in height and color, mismatched black and silver boxes read as noise, not style. For most living rooms, a 70/30 split toward closed storage reduces perceived clutter while still giving you one fast-access zone for the device you use most.
Drawer Layout Options and Cable Management

Drawer layout options come down to three zones: the front strip for the remote, the middle for batteries and small accessories, and the back for cables you rarely touch. The felt divider keeps the remote from sliding into the cable pile, while the rubber organizer anchors coiled cords, use the kind with individual slots, not a single open tray, or the cables will tangle by week two. A label maker costs $20–30 and pays off in minutes: label each battery box by size (AA, AAA, CR2032) and mark the cable slots by device, so you stop fishing for the HDMI you swapped last month.
For maintenance, pull every drawer out completely once a quarter, wipe the interior with a dry microfiber cloth, and re-coil any cable that has loosened. Skip drawer dividers that require tools to reposition, magnetic or spring-loaded ones adjust in seconds when you add a streaming stick or retire an old console.
Make TV Storage Feel Lighter in Small Rooms
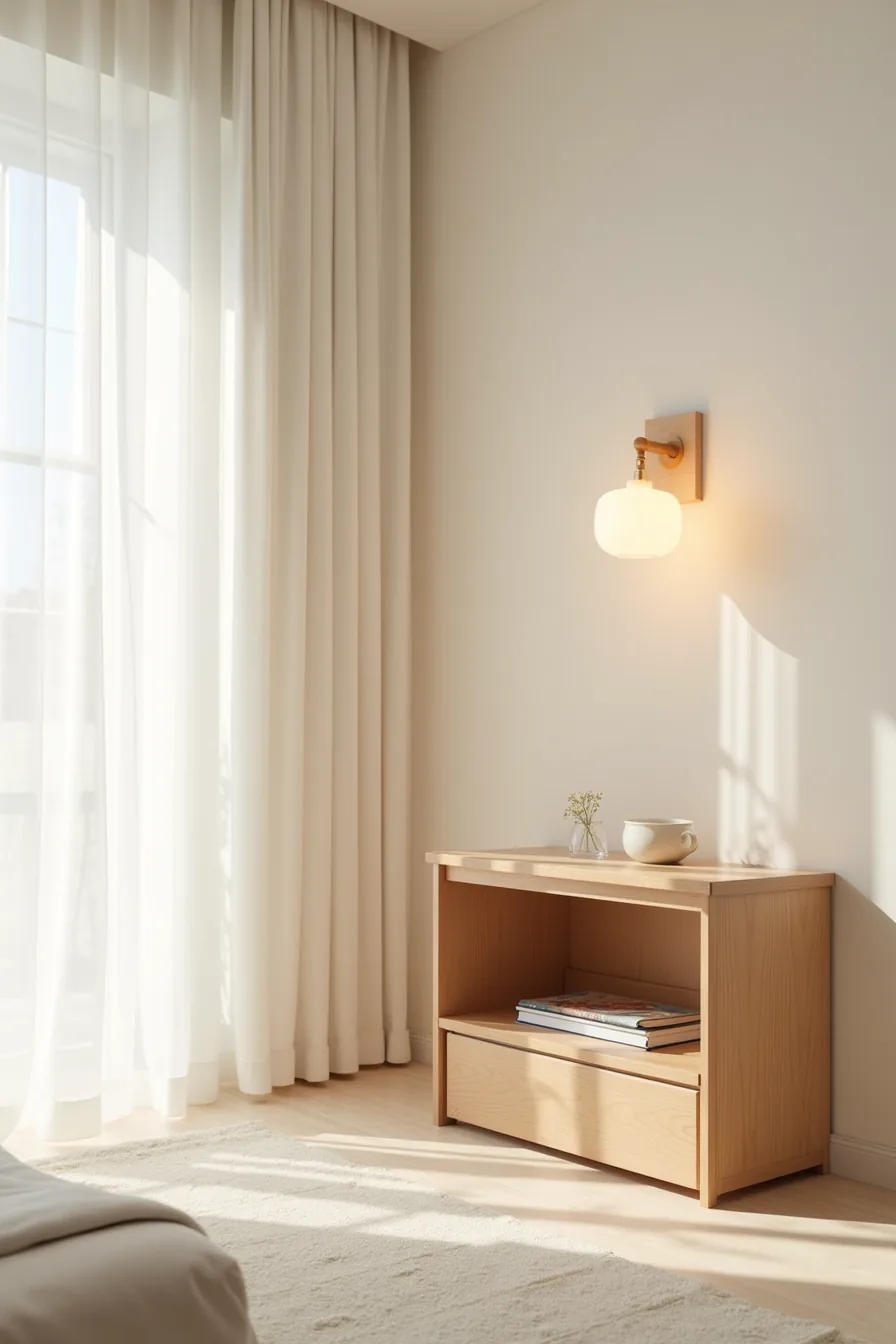
The fastest way to reduce visual bulk is to raise the unit off the floor. Legs with 6 or more inches of clearance let light pass underneath, which makes the entire piece read as furniture rather than a wall of cabinetry, even when the unit itself is substantial. In a compact room, pair that height with an open base: skip the bottom panel entirely so the floor continues visually beneath the frame.
A tall, narrow profile with vertical dividers draws the eye upward and uses wall height instead of floor area. Choose a light wood finish and mount it on a light wall, the tonal match blurs the edges of the unit, so it feels like part of the architecture rather than an added object. Keep the depth minimal, around 12–14 inches, and store only what you use weekly; anything deeper turns a light silhouette back into a bulky block.
Renter-Friendly and Budget-Conscious Setups

A freestanding metal frame stand gives you the storage silhouette of a built-in without a single screw in the wall. The open design, paired with removable fabric baskets, keeps cables, consoles, and controllers hidden while letting air circulate behind the electronics. You can pack the entire unit into a car when the lease ends, and the baskets collapse flat for moving.
Adhesive-backed cable clips on the frame manage the inevitable tangle of HDMI and power cords without drilling, and they peel off cleanly when you leave. For the baskets themselves, look for ones with a rigid internal liner; soft-sided versions sag under heavy streaming boxes. Expect to spend roughly $80–$150 for a comparable metal frame with four baskets, versus $300-plus for a fixed wood console of similar capacity.
The trade-off is visible structure, cables are hidden, but the frame and baskets remain part of the design, so keep the contents of each basket uniform in color to maintain a tidy line.
Your Next Move
You now have the framework to choose a TV unit with storage that actually fits your viewing habits and floor plan. Skip the inspiration scrolling and measure your wall width, note your console depth limit, and count the devices needing a home.
That single measurement session takes fifteen minutes and eliminates half the options you’ll see online. Start there, then match your shortlist against the checklist above. The right unit exists, you just need the numbers to recognize it.
Frequently Asked Questions
How much weight can a typical TV unit shelf hold, and how do I know if my setup is safe?
Most particleboard shelves support 30–50 pounds; solid wood handles 75–100. Check the manufacturer’s spec label inside the cabinet. Test by pressing down firmly, if you hear creaking or see sagging, redistribute weight or reinforce with L-brackets.
What’s the best way to hide cables in a TV unit with storage without blocking ventilation?
Use a slim cable raceway routed through a pre-drilled rear grommet hole. Keep power strips outside enclosed cabinets, heat buildup is a fire risk. If your unit lacks grommets, drill a 1.5-inch hole near the back edge and fit a rubber gasket.
Can I convert an open-shelf TV unit to closed storage later, or do I need to buy a new one?
Yes, you can retrofit. Measure the opening width and depth, then install custom cabinet doors with soft-close hinges. Use ¾-inch plywood for doors to prevent warping.
Budget $40–$80 per door in materials plus hardware.
How do I keep dust out of a TV unit with storage without making it feel cramped or dark?
Add frosted glass sliding panels or fabric-covered tension rods with curtains, they block dust while letting light through. Alternatively, use clear acrylic bins with lids on open shelves. Vacuum interiors monthly with a brush attachment to minimize buildup.