
A stylish TV unit is a functional anchor for your living room, not a decorative afterthought, and choosing the right one comes down to scale, material, and how you actually use the space. Six distinct approaches follow, ranging from a floating shelf system that suits a renter to a solid-wood credenza built for decades. Each option comes with its specific spatial requirements, a realistic budget range, and the maintenance trade-offs you need to weigh before committing.
Key takeaways
- Floating TV units suit rooms under 150 square feet by lifting the visual base off the floor, but you must confirm your wall can hold 40–80 pounds of weight before installation.
- Curved fronts soften a narrow hallway or open-plan sightline, while straight fronts maximize storage depth, choose straight if you need drawers deeper than 16 inches.
- Painted MDF costs roughly 30–50% less than solid wood and resists scratches better for rental homes, but solid oak is the long-term pick since it can be re-sanded every 5–10 years.
- Open shelving works best when you cap display items at 20% of shelf space and use closed cabinets for the rest, otherwise, you’ll spend weekly dusting instead of enjoying the setup.
Floating TV Units: Space and Visual Lightness
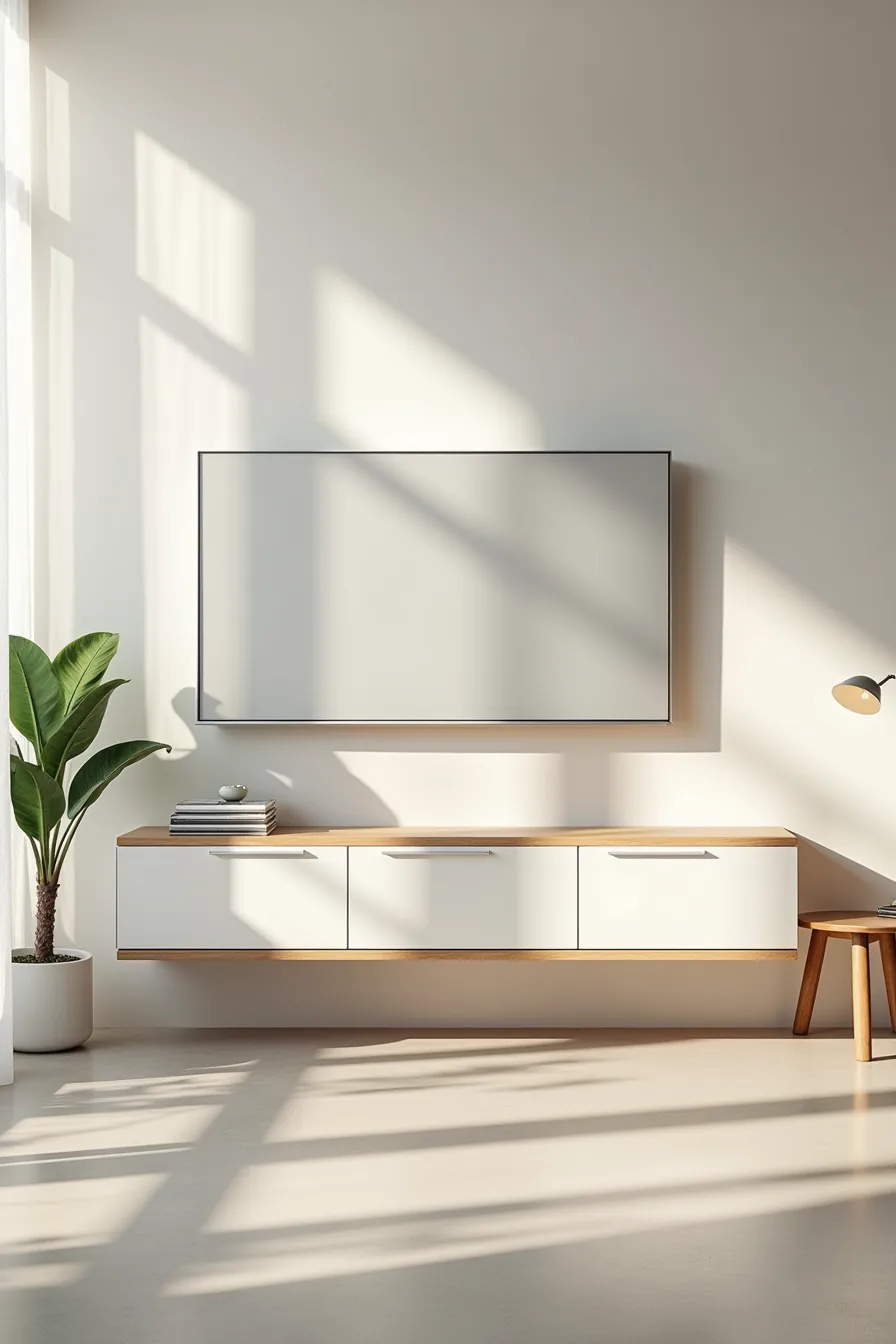
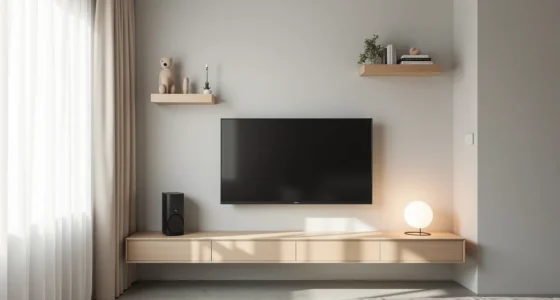
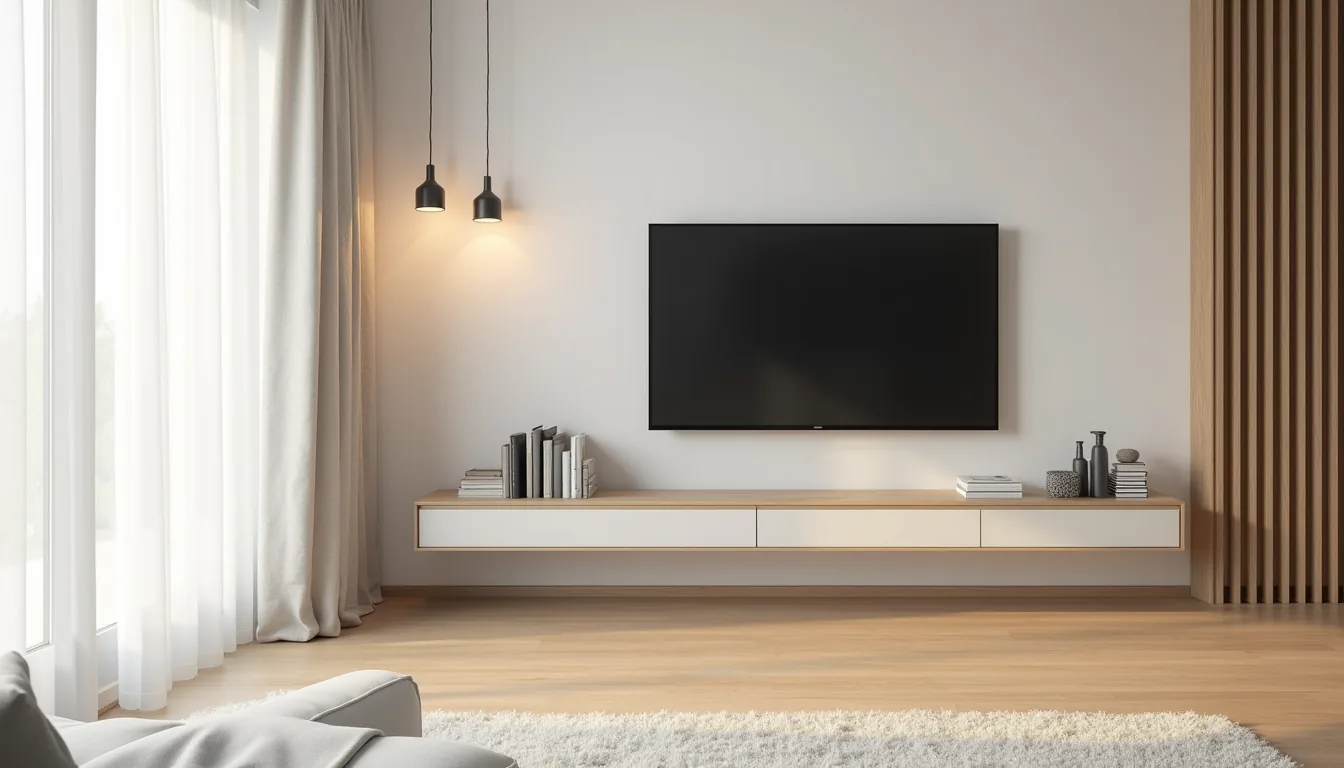
A wall-mounted unit trades bulky legs for clean air, which is why it dominates small and medium living rooms. The matte white example here sits roughly 20 inches above a polished concrete floor, leaving clearance for a potted plant and a slim side table beneath, a trick that visually doubles your floor area without moving a single wall.
You’ll need solid backing to make this work: studs at 16-inch centers, or a plywood backing panel if you’re dealing with drywall alone. Most floating units rated for 40-60 pound TVs handle standard sets comfortably, but heavier screens above 70 inches demand a reinforced bracket system. The exposed bracket hardware at the edges is a deliberate choice, it signals structural honesty rather than hiding it, which suits industrial or minimalist interiors.
For renters, this is the least reversible option, as you’ll leave anchor holes behind; patch and repaint costs run 15-30 dollars per hole. Cable management is non-negotiable: plan a conduit chase before mounting, or you’ll trade floor clutter for a visible wire tangle at eye level.
Curved vs Straight Fronts: Form and Function
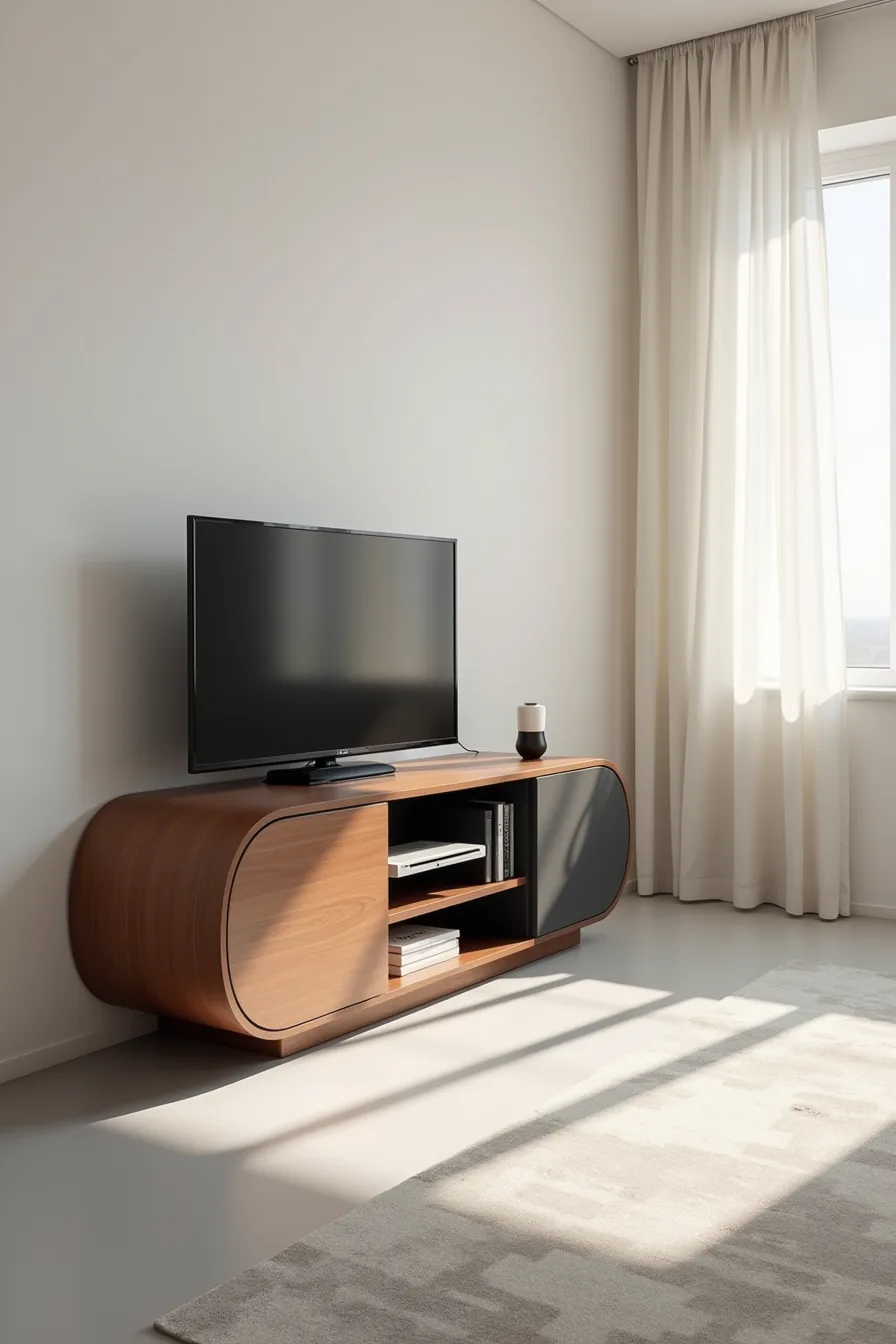
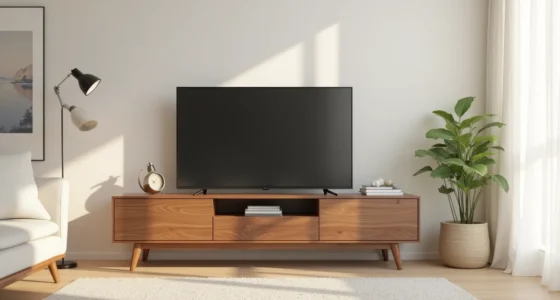
The silhouette of your unit dictates how the room flows around it. A curved convex front in walnut veneer, like the one on the left, softens traffic patterns by guiding movement around its edges, ideal for narrow walkways where a sharp corner would feel like an obstacle. This profile also reduces perceived mass, making a large unit read as lighter than its footprint suggests.
Curved fronts do complicate cable routing, though: you’ll need flexible conduit or a rear-access cutout, since rigid channels won’t follow the arc cleanly.
A straight-front unit in matte charcoal, by contrast, projects visual authority. Its sharp edges define a clean horizontal line that anchors the layout, which suits open-plan rooms where you want the TV zone to feel deliberate. The flat face simplifies installation, standard cable raceways run flush, and wall-mounting brackets align perfectly against the back panel.
The trade-off is circulation: you need at least 30 inches of clearance in front to avoid brushing corners in high-traffic areas. Choose curved for organic, compact spaces; choose straight for architectural precision and easier upkeep.
Wood or Painted Finish: Durability and Aesthetic Impact
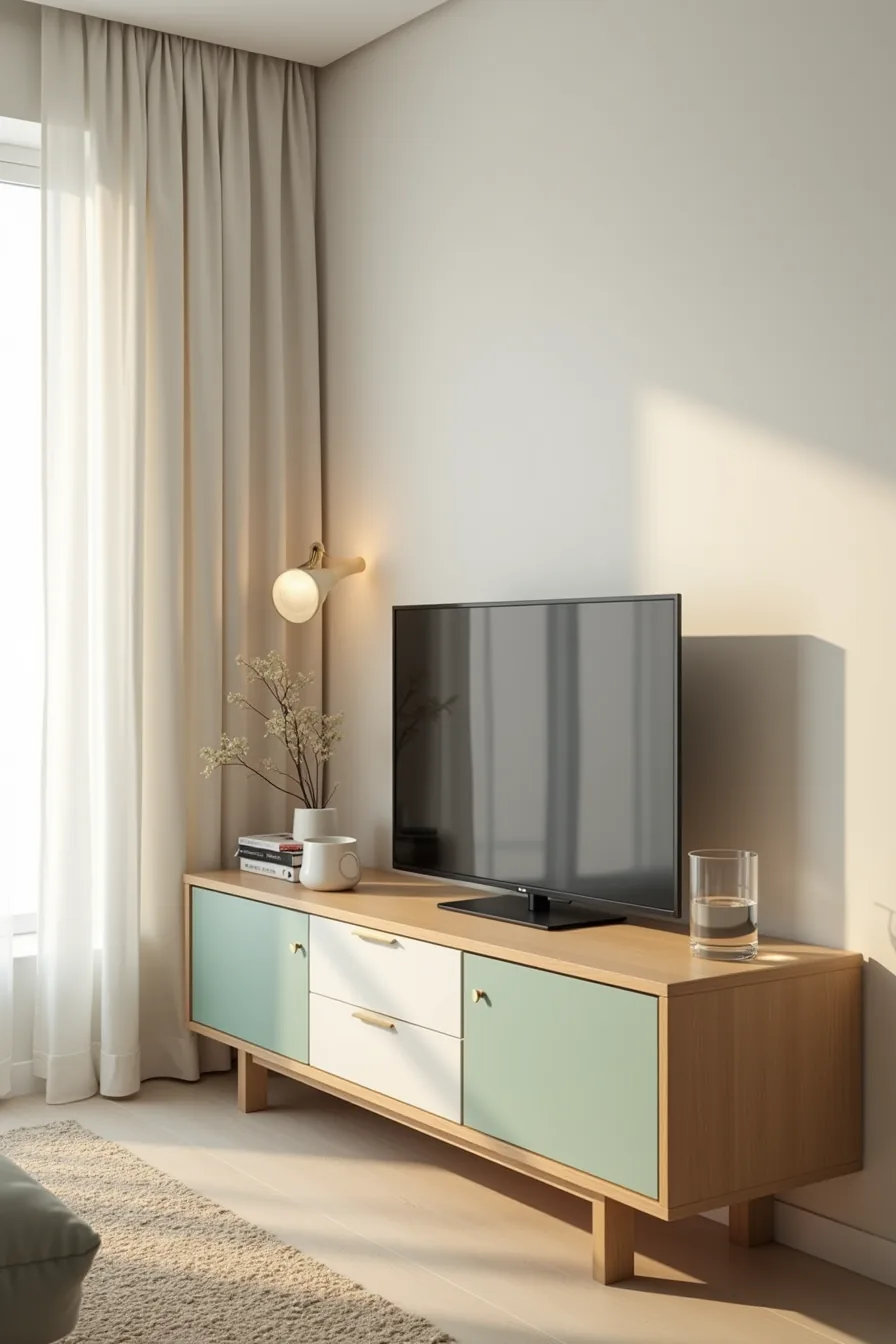
The split finish on this unit, natural ash on one side, matte sage-green paint on the other, isn’t decorative whimsy; it’s a pragmatic answer to two different wear patterns. The wood side shrugs off the occasional ceramic mug ring and hides light scuffs with its visible grain, making it the smarter surface for daily coffee. The painted side, holding the water glass, demands more discipline: matte paint will show oily fingerprints and needs a damp microfiber cloth weekly, and it will chip if you slide metal objects across it.
Your household routine should dictate the finish. Solid ash veneer, not solid timber, costs roughly 30–40% less and resists warping in humid climates, but it limits refinishing to one or two sanding passes. Painted MDF offers unlimited color matching but scratches down to the white underlayer, so budget for touch-up paint from day one.
Choose wood if you want forgiving maintenance; choose paint if you want the unit to recede into the wall and your décor to carry the visual load.
Open Shelving for Style Without Clutter
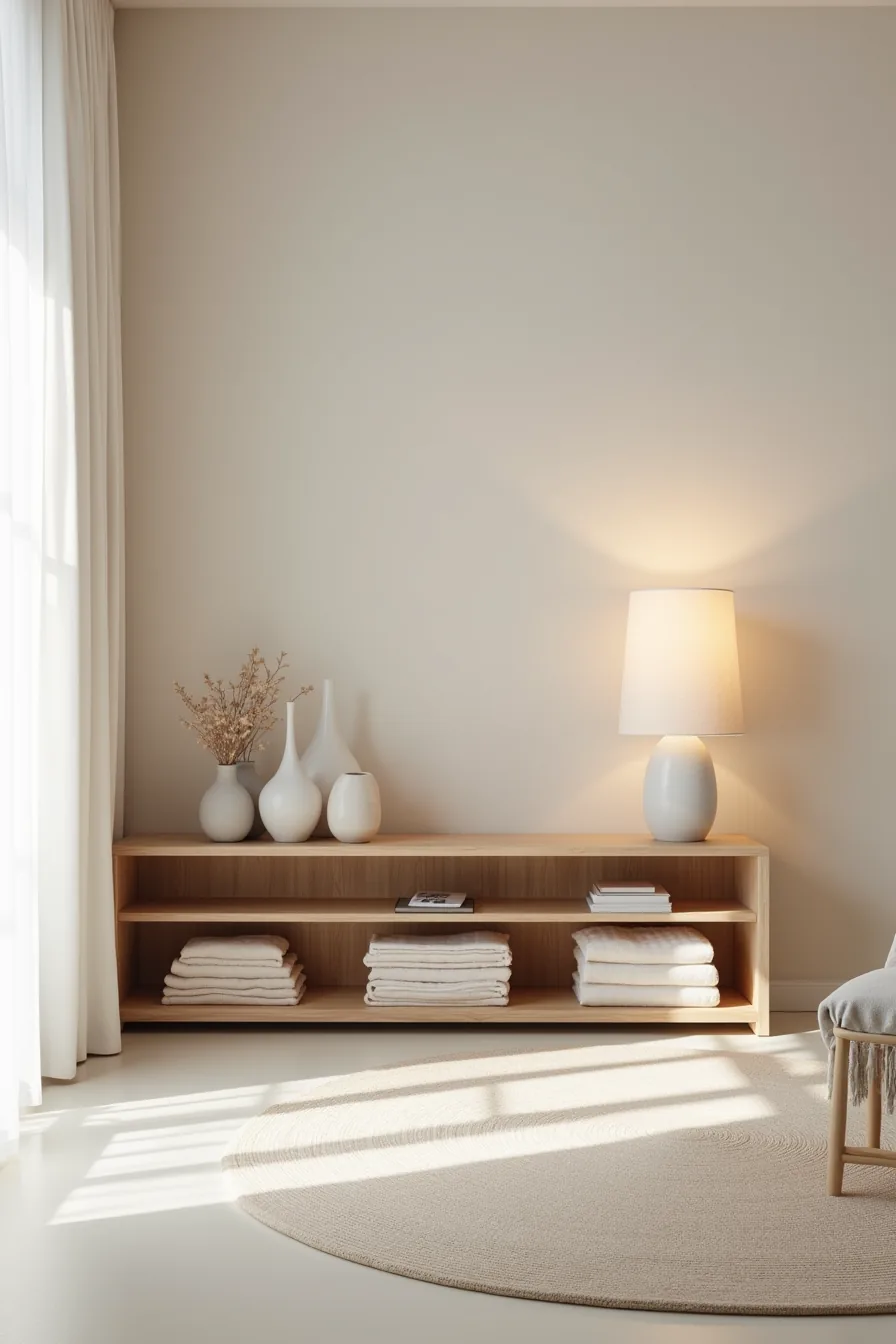
Three open shelves create a deliberate rhythm: ceramic vessels on the left, folded linen stacked mid-height, and a few decorative objects spaced with enough air between them to read as intentional. The rule of thirds applies here, fill roughly two-thirds of each shelf and leave the rest empty, or the eye has nowhere to rest. “Style without clutter” is achieved by limiting what you display to items you actually use or truly love, not by buying more organizers.
This setup suits living rooms with low foot traffic. In homes with young children or heavy dust exposure, open shelving becomes a weekly chore: expect to wipe each surface every seven to ten days, and skip it entirely if your HVAC kicks up visible particles. For the display itself, group in odd numbers and vary heights, the folded linen breaks the verticality of the ceramics, which keeps the composition from feeling museum-stiff.
Media Walls: Integrated Storage and Viewing
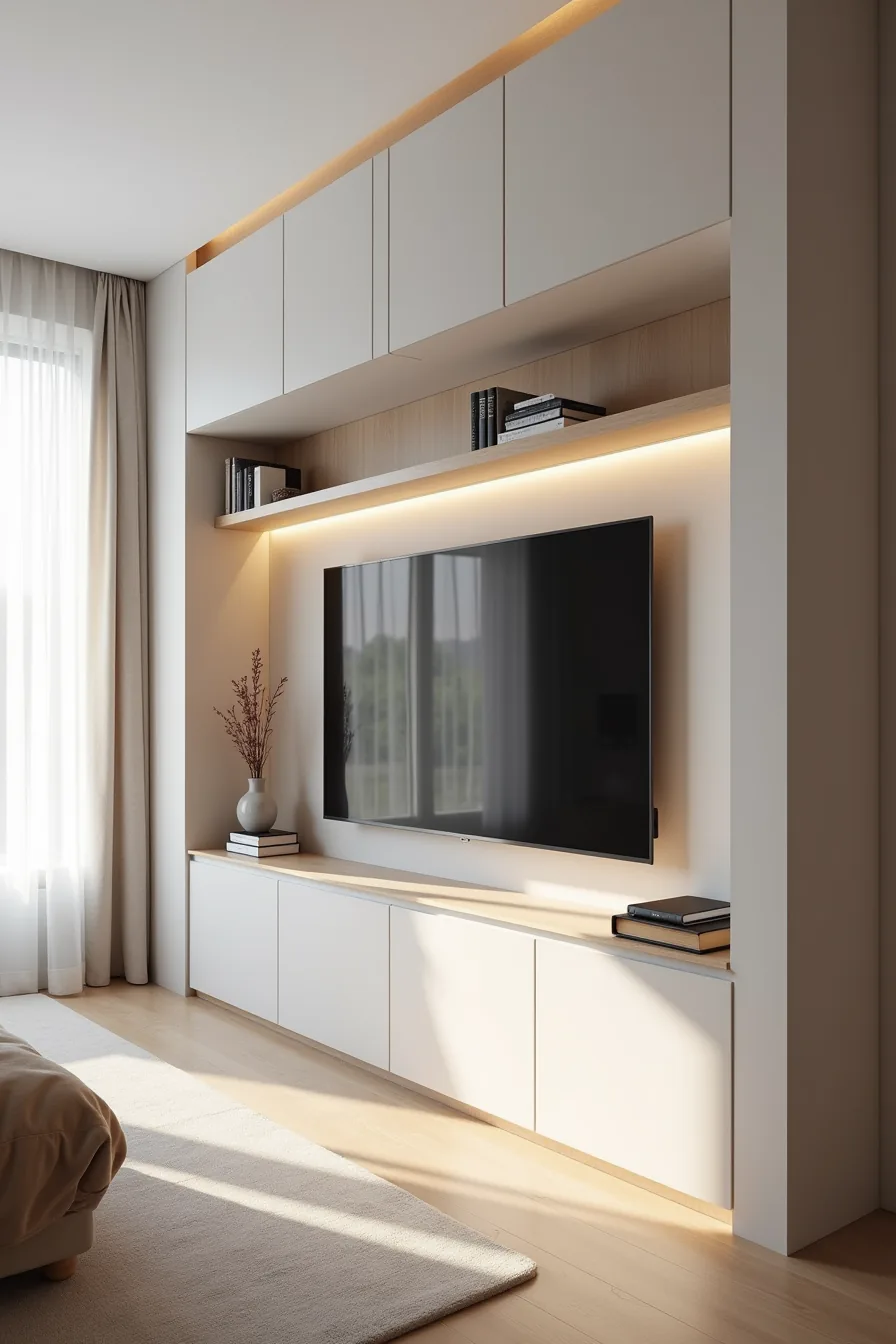
A floor-to-ceiling media wall turns your television into one component of a larger architectural composition, not the room’s singular focal point. The light gray plasterboard finish here creates a recess for the TV that sits flush with the surrounding surface, while open shelving units break up the vertical mass and closed cabinetry below anchors the structure visually. This approach works best when you’ve at least 12 inches of clearance on either side of the TV alcove, so the recess doesn’t crowd the screen against the shelving.
Expect to budget 30-50% more than a freestanding console for materials and installation, since you’re paying for carpentry, finishing, and electrical relocation. You’ll also need to plan for ventilation, a recessed TV requires a gap of at least 2 inches around the unit to prevent heat buildup, and your installer should confirm your specific model’s clearance requirements. This suits homeowners with permanent walls to modify; renters should skip it, as the structure is difficult to remove without patching and repainting.
In apartments, consider a partial-height version that stops at 7 feet rather than extending to the ceiling, which preserves the integrated look without overwhelming a smaller floor plan.
Compact TV Units for Small Spaces
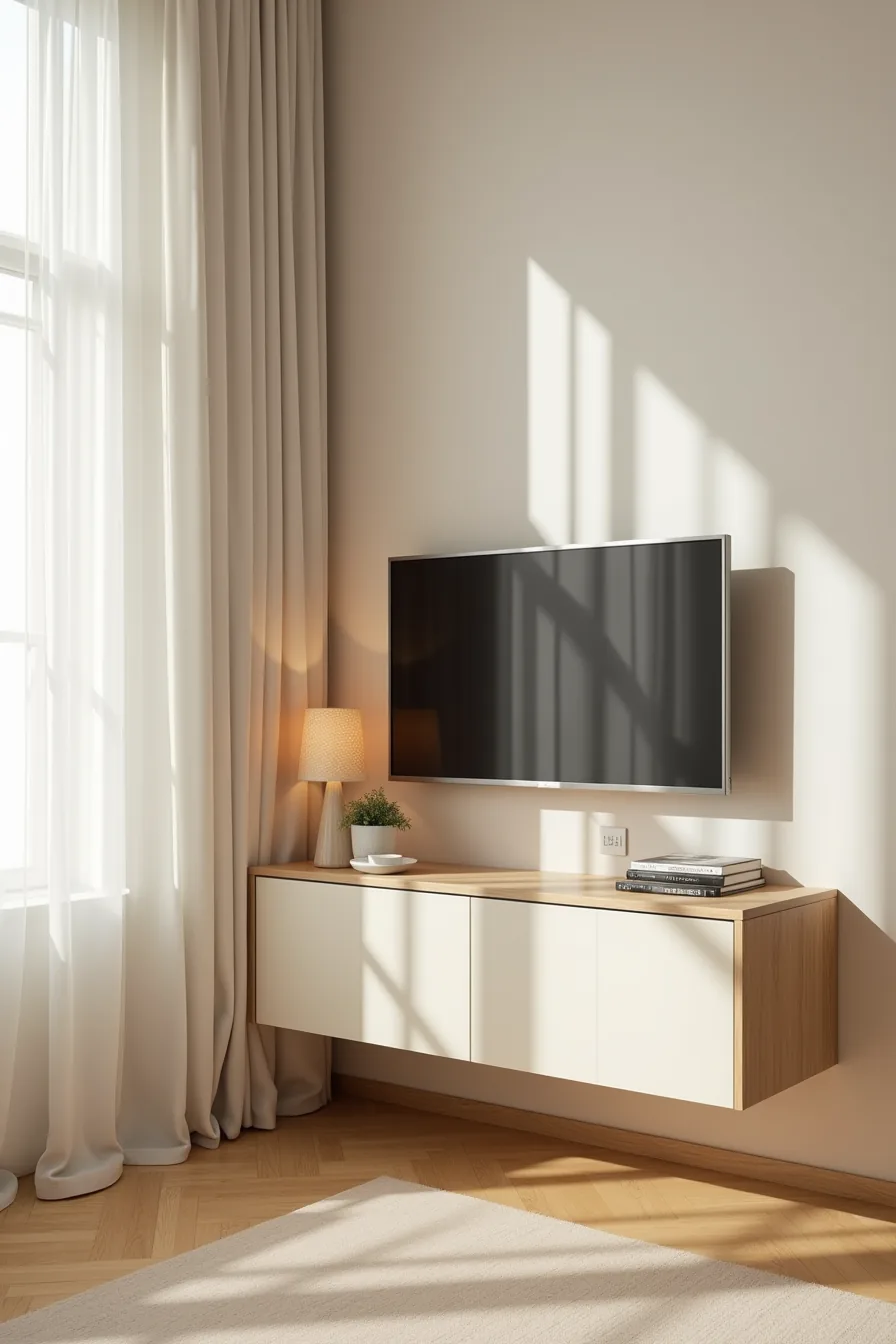
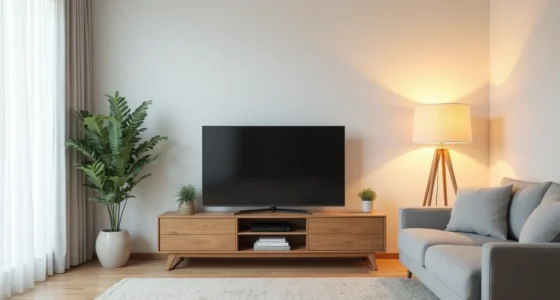
In a 120-square-foot studio corner, a narrow compact TV unit at 48 inches wide proves that proportion beats size. The cream lacquer finish mirrors the window trim height, which visually ties the furniture to the architecture instead of competing with it. Matching the unit’s top edge to existing trim lines is the single most effective trick for making a small space feel intentional.
Keep surface clutter to two or three minimal accessories, a table lamp and a small planter, so the unit reads as storage, not a display stage. For rooms under 150 square feet, depth matters more than width: look for units between 12 and 16 inches deep to preserve walking clearance. Wall-mounted versions free floor space entirely, though you’ll need to confirm your wall can support the bracket load.
This setup suits renters and minimalists alike, since a freestanding compact unit requires no permanent modifications and can move with you.
For a fast refresh, swap the existing console for a lighter-toned unit, lighter finishes recede visually and make a tight corner feel larger. You can also pair the unit with a low-profile soundbar placed directly beneath the screen to avoid adding another furniture piece. These Stylish TV Unit Ideas for a Fast Living Room Refresh prioritize function per square inch, which is exactly what a compact space demands.
Your 5-Minute Decision Checklist
Before you buy anything, measure your wall width and viewing distance. That single step eliminates half the options you’re considering.
Then match the style to your real habits: if you stream daily, prioritize cable management and ventilation over aesthetics. If the unit is a showpiece for guests, invest in materials that photograph well.
Your next move: take a photo of your current setup, print it, and sketch three different layouts on it. You’ll spot the right solution in under ten minutes.
Frequently Asked Questions
What size TV unit should I choose for a room that’s 12 feet wide?
For a 12-foot-wide room, choose a unit 60–72 inches wide, roughly two-thirds of the wall. Depth should stay under 16–18 inches to keep walkways clear and avoid visual crowding.
Can I install a floating TV unit on drywall, or do I need studs?
You need studs. Drywall alone can’t support the weight of a floating unit, typical shakes or tears occur under 20–40 pounds. Anchor to at least two studs with heavy-duty lag bolts or use a reinforced backing board installed into studs.
How do I keep open shelving on a TV unit from looking cluttered?
Limit objects to one-third of shelf space, group in odd numbers, and stick to two or three colors. Use closed baskets for cables and remotes, and leave vertical breathing room around each item.
Is a painted TV unit harder to maintain than a wood finish?
Yes, painted units show chips, scratches, and fingerprints more readily, especially on high-touch edges. Wood finishes hide minor marks better but require periodic oil or polish. Matte paint hides smudges better than gloss but chips more easily.