
A media wall isn’t a single look but a set of spatial decisions, placement, depth, material, and cable strategy, that determine how your TV, storage, and room flow work together. Before you buy a single panel or bracket, you need to settle on a functional priority: concealment, display, or integration with existing furniture. The wrong choice here leads to a wall that looks impressive in a photo but fails you daily, whether through glare, blocked access, or a heat-trapped console.
The six approaches below break down exactly what each demands in space, budget, and upkeep, so you can match the concept to your actual room rather than an aspirational one.
Key takeaways
- Built-in shelving works best in medium-to-large rooms because it adds 12–16 inches of depth, so you need at least 3 feet of clear floor space in front for comfortable viewing.
- Accent walls with floating surfaces suit small spaces since they keep the profile under 6 inches deep, but you must reinforce drywall with studs or toggle bolts rated for at least 50 pounds per shelf.
- Modular furniture systems are the renter-friendly route, they avoid permanent wall damage, cost roughly 30–50% less than custom joinery, and can be reconfigured when you move.
- Stone or brick feature walls demand professional installation due to weight (often 8–15 pounds per square foot) and require a ventilated air gap behind the TV to prevent heat buildup.
Built-In Shelving with Integrated TV Mounting

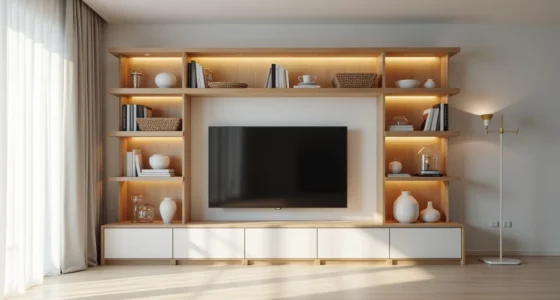
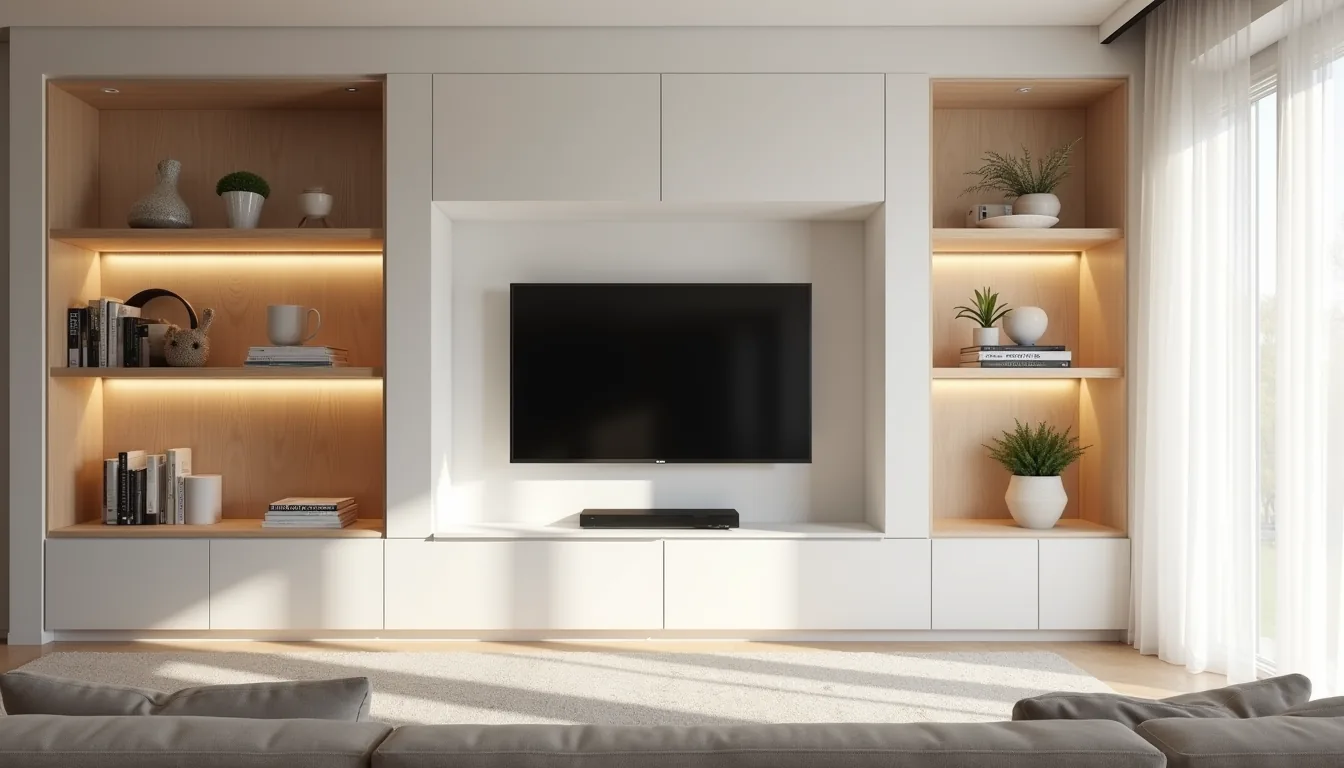
The most reliable way to get the built-in look without structural work is to anchor floor-to-ceiling shelving around your TV. In the setup you see here, a 50-inch screen sits recessed into a custom wooden frame flanked by adjustable shelves holding speakers, small plants, and framed prints. That shelving unit extends 8-10 feet wide, which is the sweet spot for balancing a large screen against the weight of the wall behind it.
For most living rooms, you want the shelving width to be at least half your room’s total wall length; any narrower and the TV dominates the composition rather than anchoring it.
This approach suits medium-to-large rooms where you need storage and display space but want to avoid the cost of a full plasterboard renovation. Budget-wise, semi-custom modular units from big-box retailers deliver the same visual rhythm for a fraction of bespoke carpentry, though you sacrifice the flush, recessed finish. The critical trade-off is depth: you need at least 4-6 inches of clearance behind the TV for ventilation and cable routing, so confirm your shelving’s back panel has a cutout before committing.
This is one of the most effective media wall ideas for keeping your organized living room layouts feeling intentional rather than cluttered.
Accent Wall with Floating Surfaces
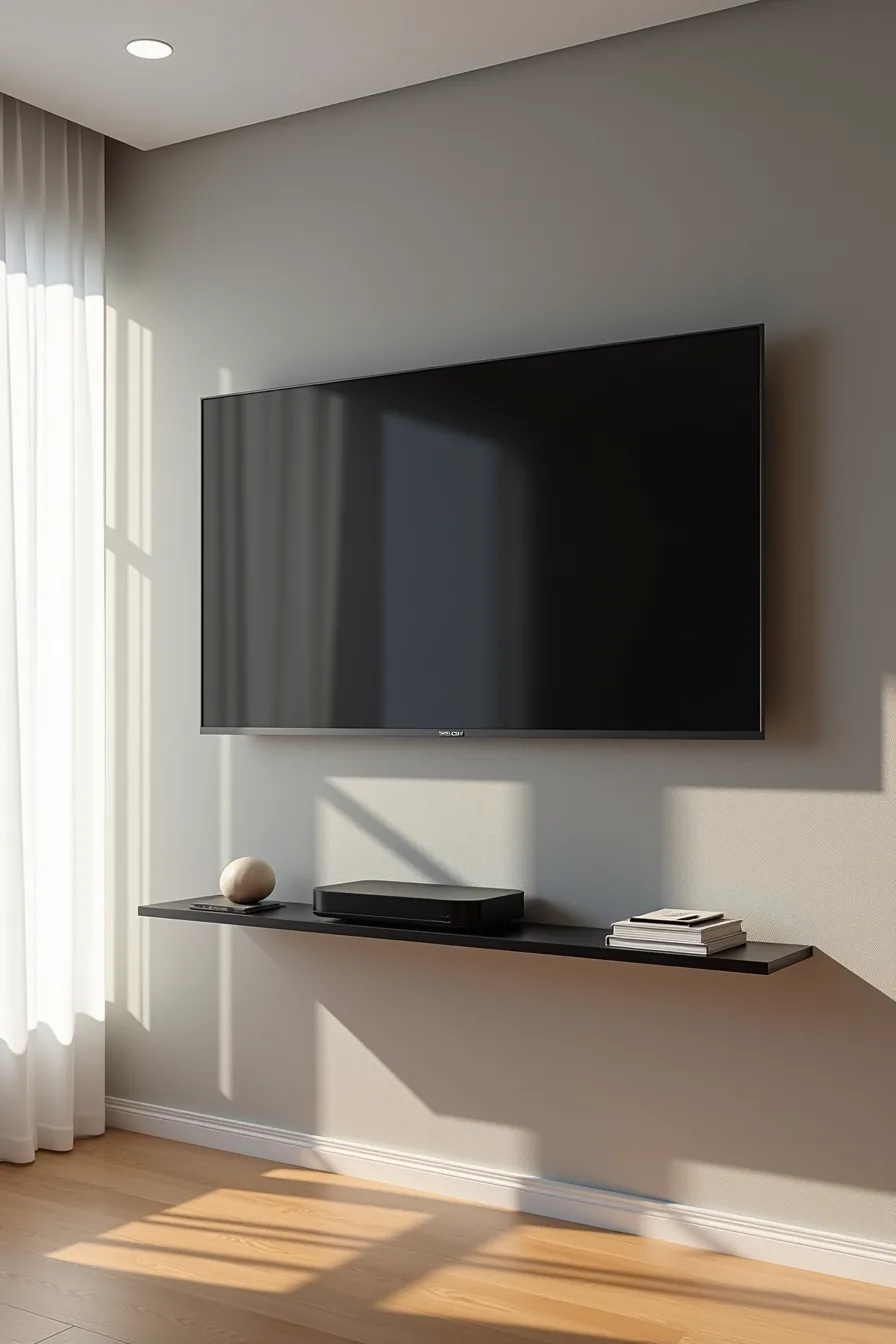
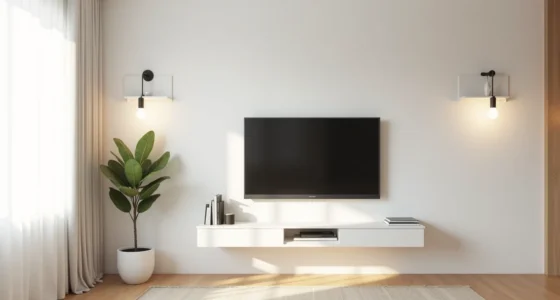
A textured or boldly painted backing panel creates a distinct focal point without relying on furniture to do the heavy lifting. On the front view of this setup, a 55-inch TV is mounted directly onto a charcoal accent wall with a pronounced texture, while two thin black floating shelves sit asymmetrically below the screen, holding a cable box and a single decorative object. The bare drywall on either side keeps the composition intentionally sparse, which is precisely why it works: the contrast between the textured panel and the smooth surrounding wall gives the TV zone depth without adding visual noise.
This interpretation of Stylish TV focal points suits small-to-medium living rooms or open-plan spaces where floor space is at a premium. You can reproduce it with a ½-inch textured wall panel adhered over drywall, painted in a matte finish to minimize glare, then mount the TV 48-54 inches from floor to screen center. Use floating shelves with a 10-12 inch depth to keep the cable box accessible, and budget roughly $200-$400 for materials if you DIY.
The trade-off is storage: you get minimal shelf surface, so this route only works if you can stash media accessories elsewhere. Clean the textured panel monthly with a soft brush attachment, since raised surfaces collect dust faster than flat paint.
Modular Furniture Systems for Renters
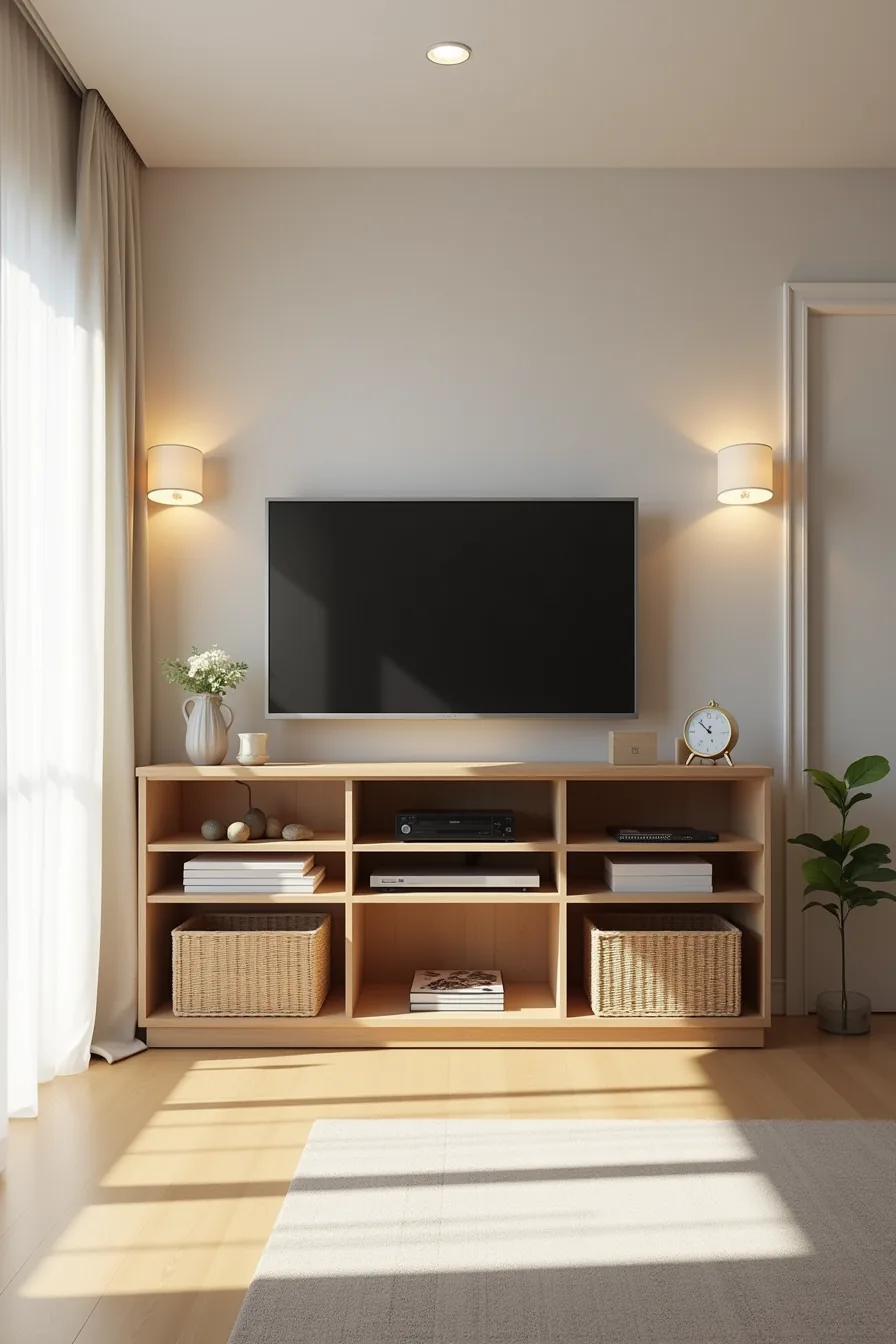
When you can’t anchor a TV into drywall, a freestanding modular media unit delivers the same visual weight as a built-in wall without a single screw touching the plaster. Stacked wooden boxes and open cubbies in varied heights form a deliberate composition, with the 48-inch TV mounted on the center section. This setup suits renters, frequent movers, or anyone who wants to rearrange their living room layout on a whim.
You’ll need a unit with a center bay rated for at least 60 pounds to hold the TV safely, and the whole assembly should sit 4-6 inches off the floor for easy cleaning access.
Surrounding compartments hold media devices and storage baskets, which keeps cables hidden within reach rather than buried behind a wall. Budget $300-$600 for a quality modular system, and expect assembly time of 45-90 minutes depending on the number of boxes. The trade-off is depth: freestanding units typically extend 15-18 inches into the room, so measure your clearance before committing.
Dust the cubbies weekly and rotate basket contents seasonally to prevent clutter from eroding the curated look. This approach works best in medium spaces where you can leave 30 inches of walking clearance in front of the unit.
Stone or Brick Feature Wall
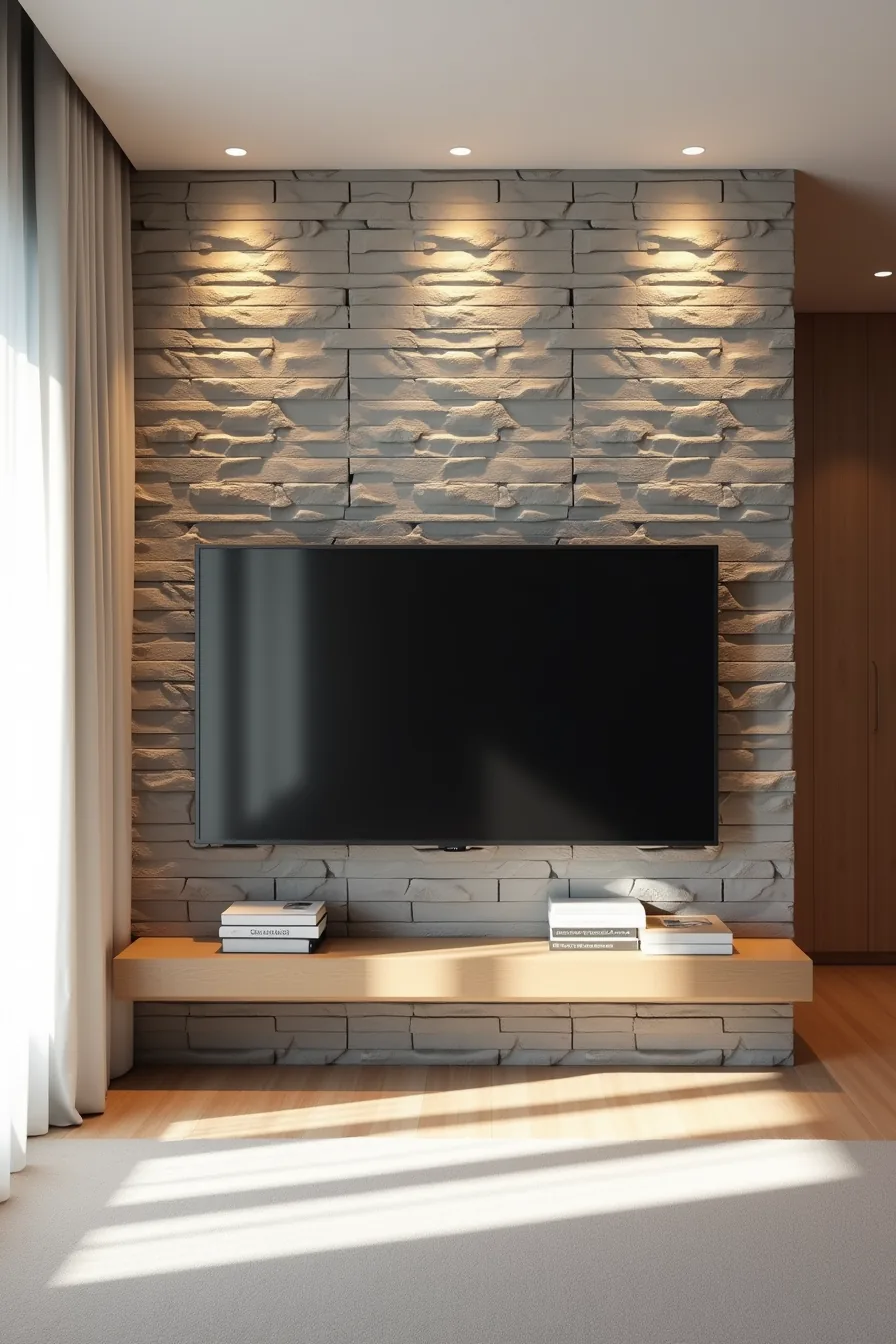
A stone-clad media wall transforms the TV from a black rectangle into the centerpiece of a deliberately textured composition. The 55-inch screen mounted on stacked slate-gray panels works because the cool, matte stone absorbs glare while the irregular surface adds depth that flat paint can’t match. Recessed lighting angled downward from above creates shadow lines across the panels, giving the wall a sculptural quality that shifts throughout the day.
This approach suits homeowners planning a long-term finish, real stone veneer runs $9-$15 per square foot installed, while quality faux panels cost $4-$8 and weigh 70% less. Weight matters: a full 10-foot wall in real stone can exceed 800 pounds, which typically requires structural reinforcement. Faux polyurethane panels install directly onto drywall with construction adhesive and finish in a weekend.
You’ll need a masonry drill bit for the TV bracket and a stud finder rated for dense surfaces. Maintenance is straightforward: dust monthly with a soft brush attachment, and avoid pressure washing or abrasive cleaners that strip the protective sealant. The minimal shelf below the TV keeps sightlines clean, but ensure it extends at least 6 inches deeper than your soundbar to prevent acoustic reflection off the stone.
Cable Management and Hidden Storage
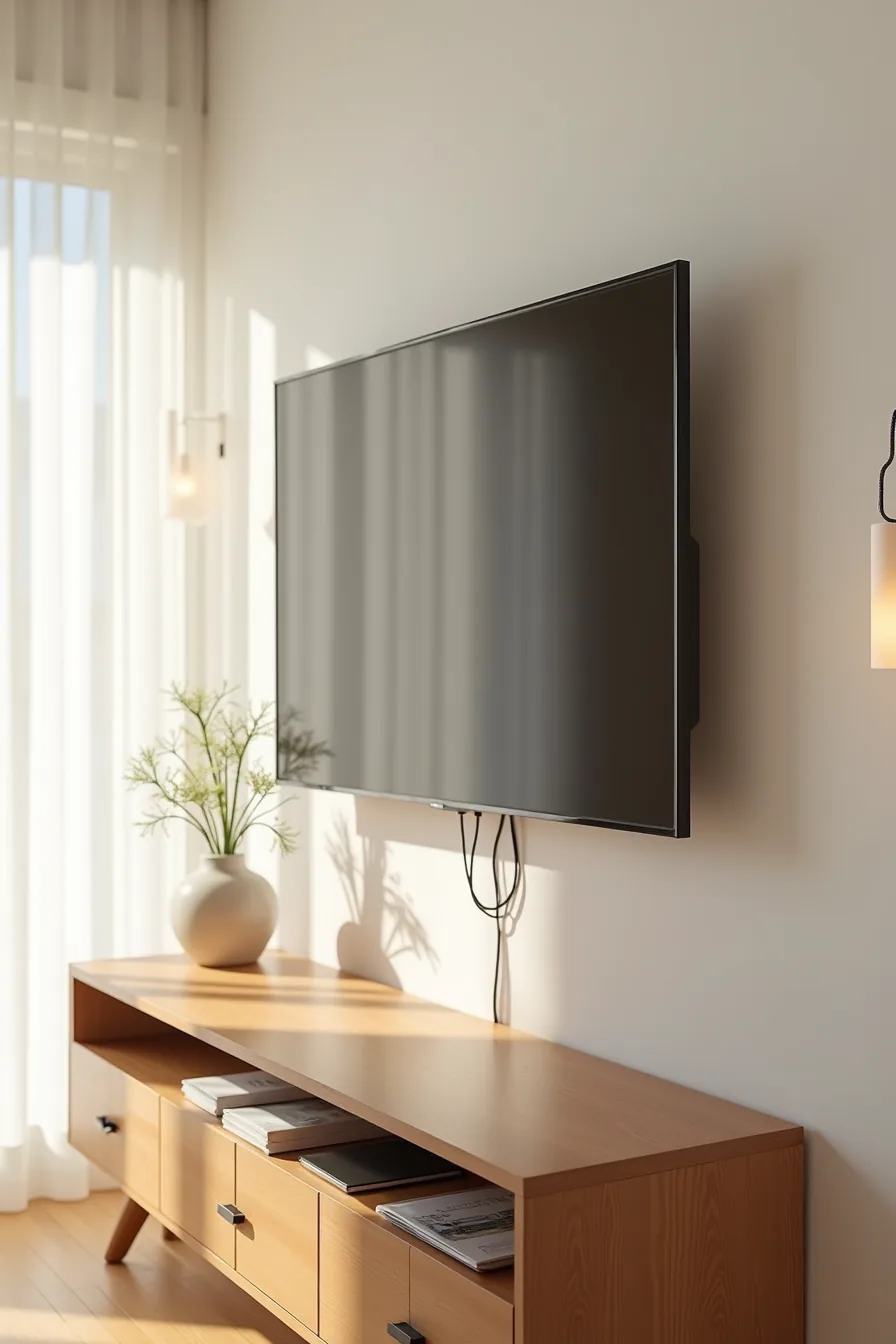
The cleanest media walls hide everything except the screen, and that starts with a vertical raceway. A 2-inch paintable channel running from behind the TV down to the console carries HDMI, power, and ethernet in one bundle; you cut it to length, clip the wires inside, and paint it to match the wall so it disappears entirely. For a 55-inch TV mounted at standard height, plan on a 6-8 foot raceway run, and always verify your local electrical code, most regions require a licensed electrician to install an in-wall power kit, while surface-mounted raceways are DIY-friendly.
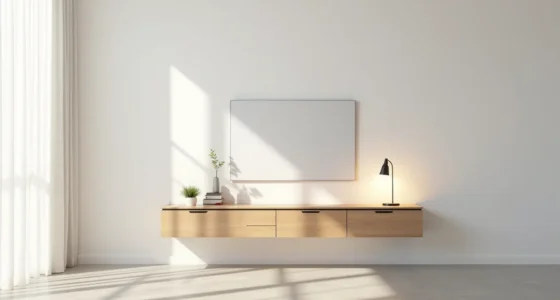
The wooden console in this setup earns its place through depth and drawer count. Choose a unit at least 18 inches deep to accommodate a soundbar, streaming devices, and a game console without crowding, and route each device’s cables through a grommet hole in the back panel before they enter the raceway. Drawers with soft-close slides hide the cable box and router, but leave 2-3 inches of slack behind each device so you can pull it forward for access without disconnecting everything.
Ventilation matters: closed cabinets trap heat, so pick a console with slatted doors or cut a 2-inch circular vent in the back panel behind any device that runs warm. This practical media wall design keeps the visual noise at zero while preserving full functionality, you lose nothing behind closed doors except the clutter.
Scaling Media Walls for Your Room Size
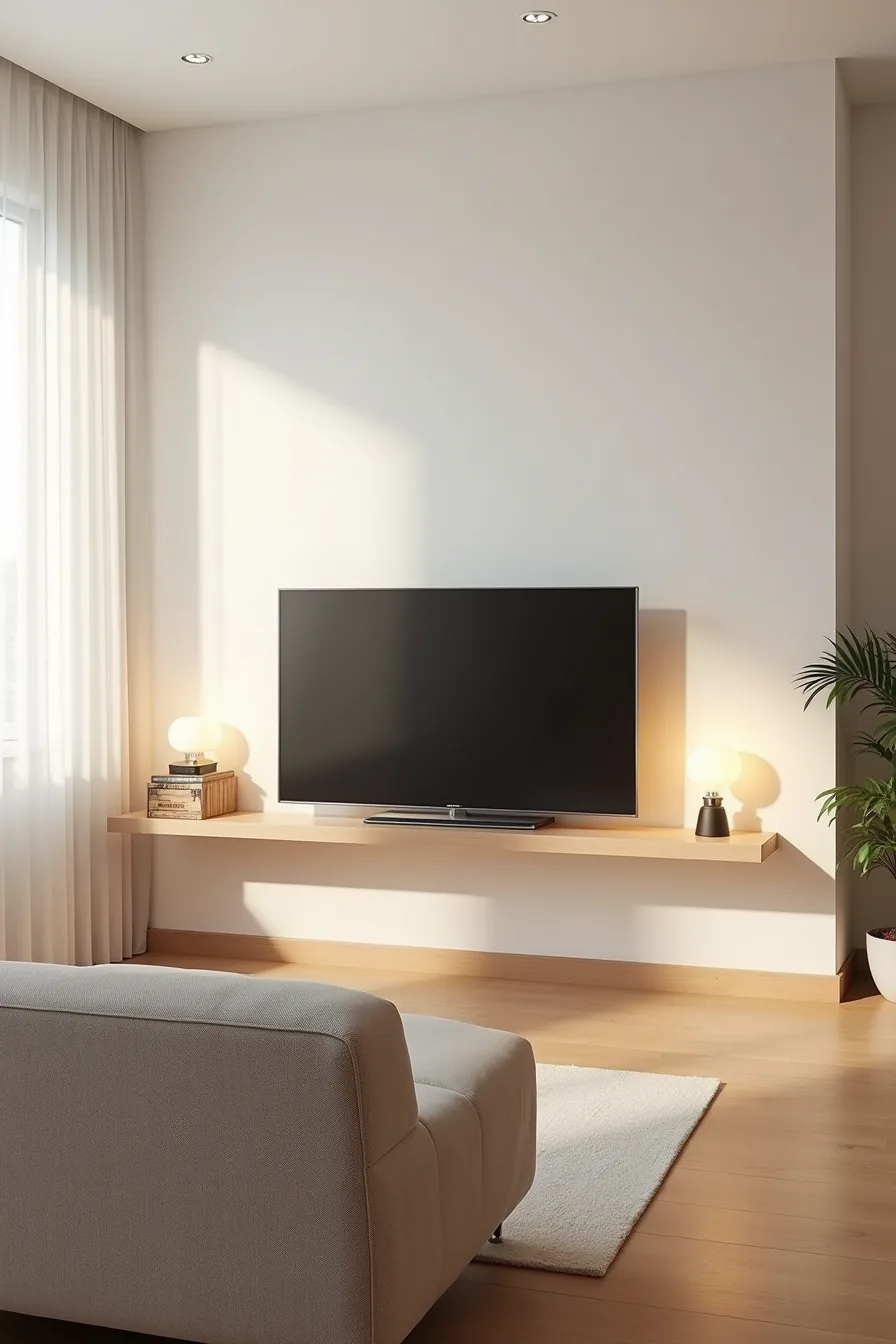
Your wall-mounted TV should sit at roughly 42 inches from floor to screen center, regardless of room size; what changes is the supporting cast around it. In a small apartment, a 43-inch TV on a simple wall shelf with two narrow floating shelves flanking it keeps the footprint minimal while still framing the screen. Measure your seating distance first, about 7 feet suits a 43-inch display, and let that distance dictate whether you need the flanking shelves at all or just one slim console beneath.
Medium living rooms (roughly 12 by 14 feet) can handle a 55- to 65-inch screen with shelves that extend 12-18 inches beyond each side of the TV, keeping the composition balanced without overwhelming the wall. For large open-plan spaces, scale up deliberately: a 75-inch TV warrants a full-width media unit with deep shelving (16-20 inches) and substantial cabinetry to anchor the visual weight, otherwise the screen floats awkwardly against empty wall. Whatever your room size, leave 6-8 inches of negative space between the TV and any shelving, crowding the screen with décor reads as clutter, not design.
These media wall ideas scale because the TV stays at eye level and the surrounding elements shrink or grow in proportion to the screen, not the room.
Where to start
Before you buy a single panel or paint swatch, map your room. Measure the wall, note the viewing distance from your sofa, and check where sockets and vents sit. That five-minute audit decides which of the six approaches fits your budget, tenancy, and lifestyle.
Then pick the one option that solves your biggest pain point, hiding cables, upgrading a rental, or anchoring a large open-plan space. Start with that single decision. Everything else follows.
Frequently Asked Questions
How high should a TV be mounted on a media wall?
Center the TV at eye level when seated, typically 42–48 inches from floor to screen center. For bedrooms, raise it slightly, around 50–55 inches, to account for reclined viewing.
What’s the difference between a media wall and a TV stand?
A media wall is a built-in or full-wall treatment that integrates the TV, storage, and lighting into the structure itself. A TV stand is freestanding furniture you place beneath the screen. Media walls maximize space and hide wires; stands offer portability.
Can you install a media wall in a rental apartment?
Yes, but use renter-friendly methods: freestanding modular panels, tension rods, or adhesive cable clips. Avoid drilling into load-bearing walls. For a permanent look, opt for a large, lightweight wall-mounted frame that rests on the floor and secures with minimal screws.
How do you hide cables and wires behind a media wall?
Install an in-wall cable pass-through kit (two low-voltage boxes connected by conduit) for a clean, fire-code-compliant run. Alternatively, use a surface-mounted raceway that paints to match the wall. Always leave slack at both ends for easy device connection.