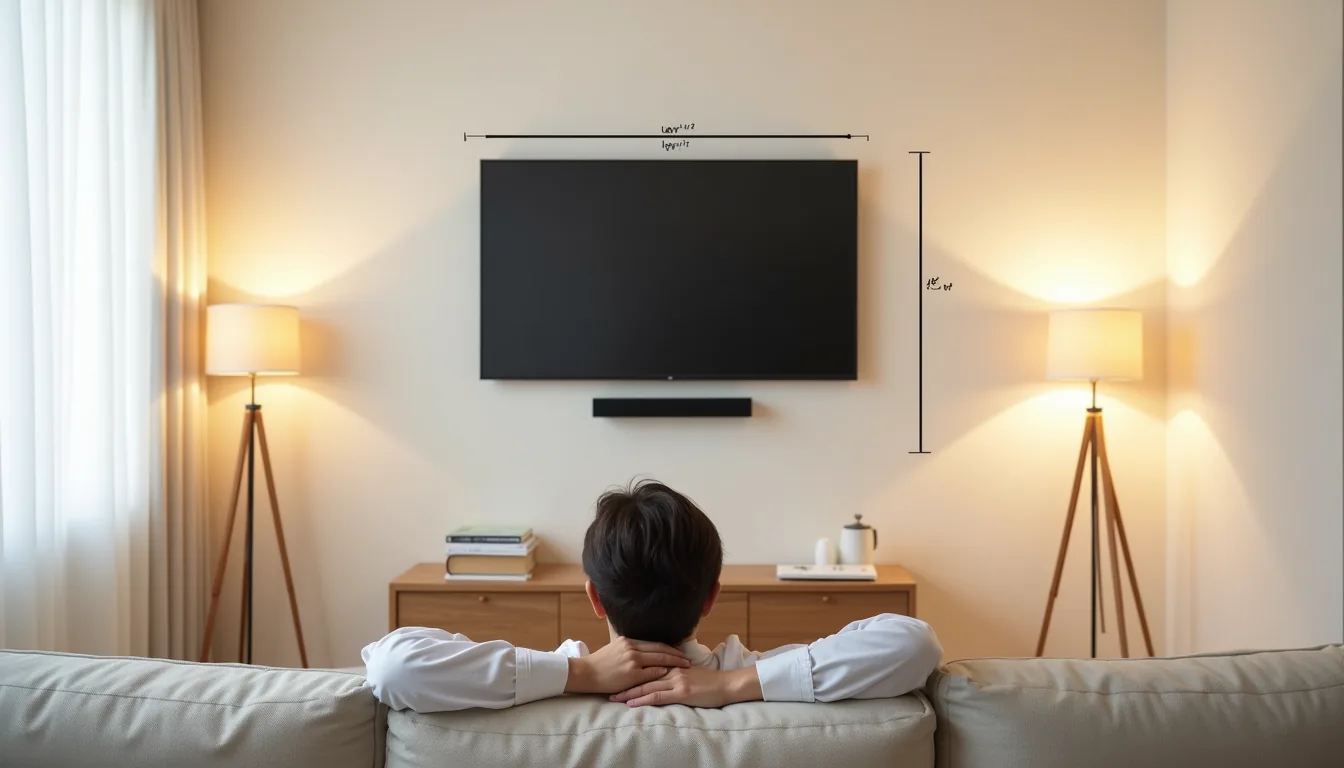
A TV wall design is a functional decision about sightlines, storage, and wiring before it’s a style statement, and getting those three things right determines whether your setup works daily or becomes a source of frustration. The six approaches below range from renter-friendly tension rods to fully built-in cabinetry, each with specific size limits, cost trade-offs, and maintenance demands. You’ll know exactly which option fits your room dimensions, viewing distance, and budget by the end.
Key takeaways
Viewing height first: Center the TV at eye level when seated, typically 42-48 inches from floor to screen center, before choosing any wall treatment, as this determines cabinet and mount placement. Painted walls win on budget and renter appeal (under $150 for paint and supplies), while full-panel systems cost $800-$2,500 but hide wires and add acoustic backing. Floating mounts save 6-10 inches of depth versus console setups, ideal for tight rooms, but require solid studs and leave no space for a soundbar unless you add a separate shelf. Scale by room size: In small spaces (under 150 sq ft), keep the TV under 55 inches and use a light matte finish; in large rooms, a full media wall with built-in storage prevents the screen from looking lost.
Start with Viewing Height, Not Screen Size
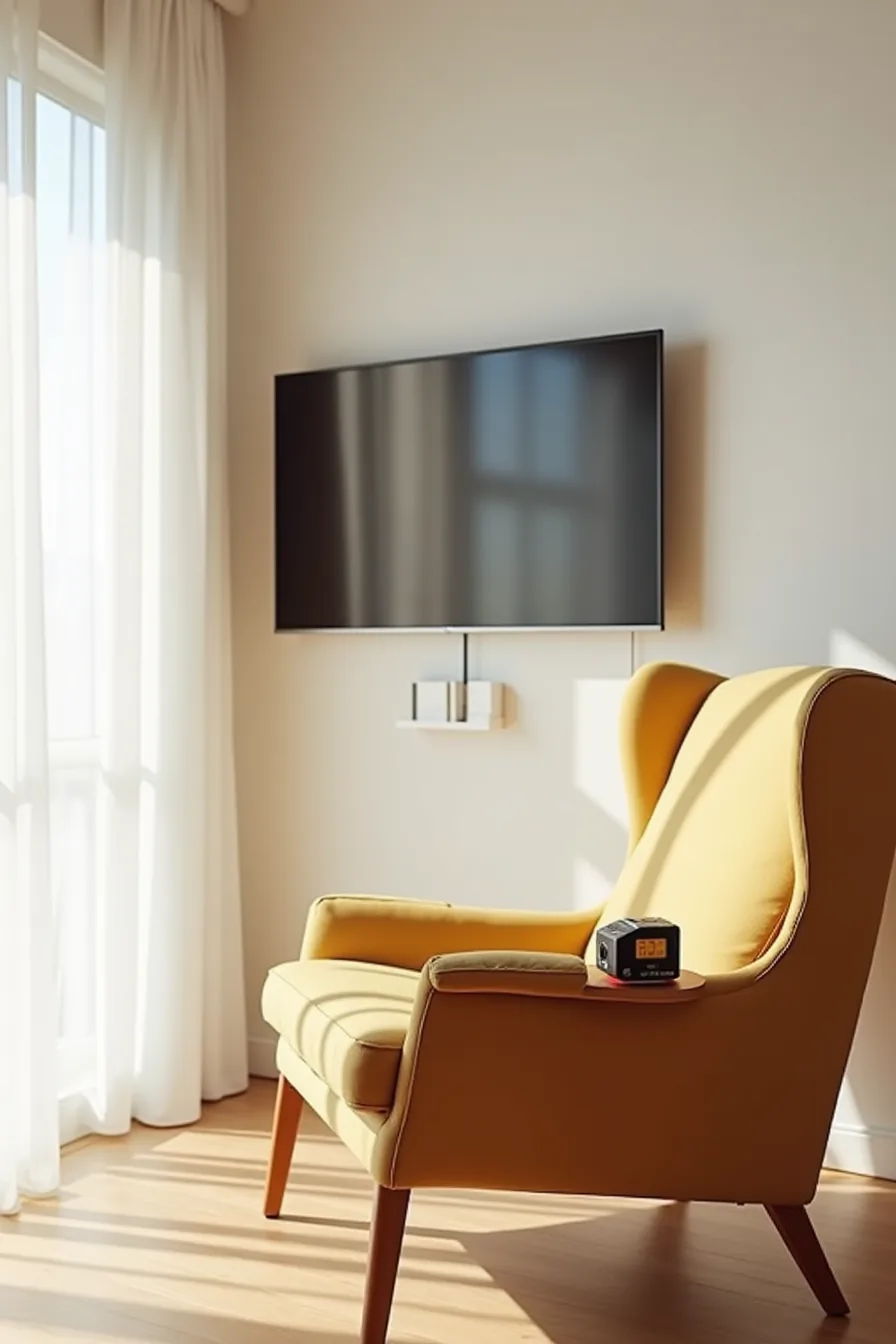
Your eye level when seated, not the size of the screen, should dictate the TV mount position. Sit in your primary viewing spot, close your eyes, relax your neck, and open them: where your gaze naturally lands is your target. That point should sit roughly one-third up from the bottom of the screen, which for most seated adults lands the center of the TV 42 to 48 inches from the floor.
Mounting higher forces constant upward neck strain, especially during movies or gaming sessions.
To translate that into your wall layout, rest a laser level on the armchair’s armrest and project a horizontal line across the wall. That line marks your viewing plane. Position the TV mount so the screen’s center aligns with it, leaving generous empty wall above and below.
This approach works in any room size because it’s determined by your body, not the wall’s dimensions. Measure twice before drilling, the mount’s bracket height will differ from the TV’s center by a few inches depending on your model’s VESA pattern.
Panel vs Painted Wall: Trade-Offs and Installation
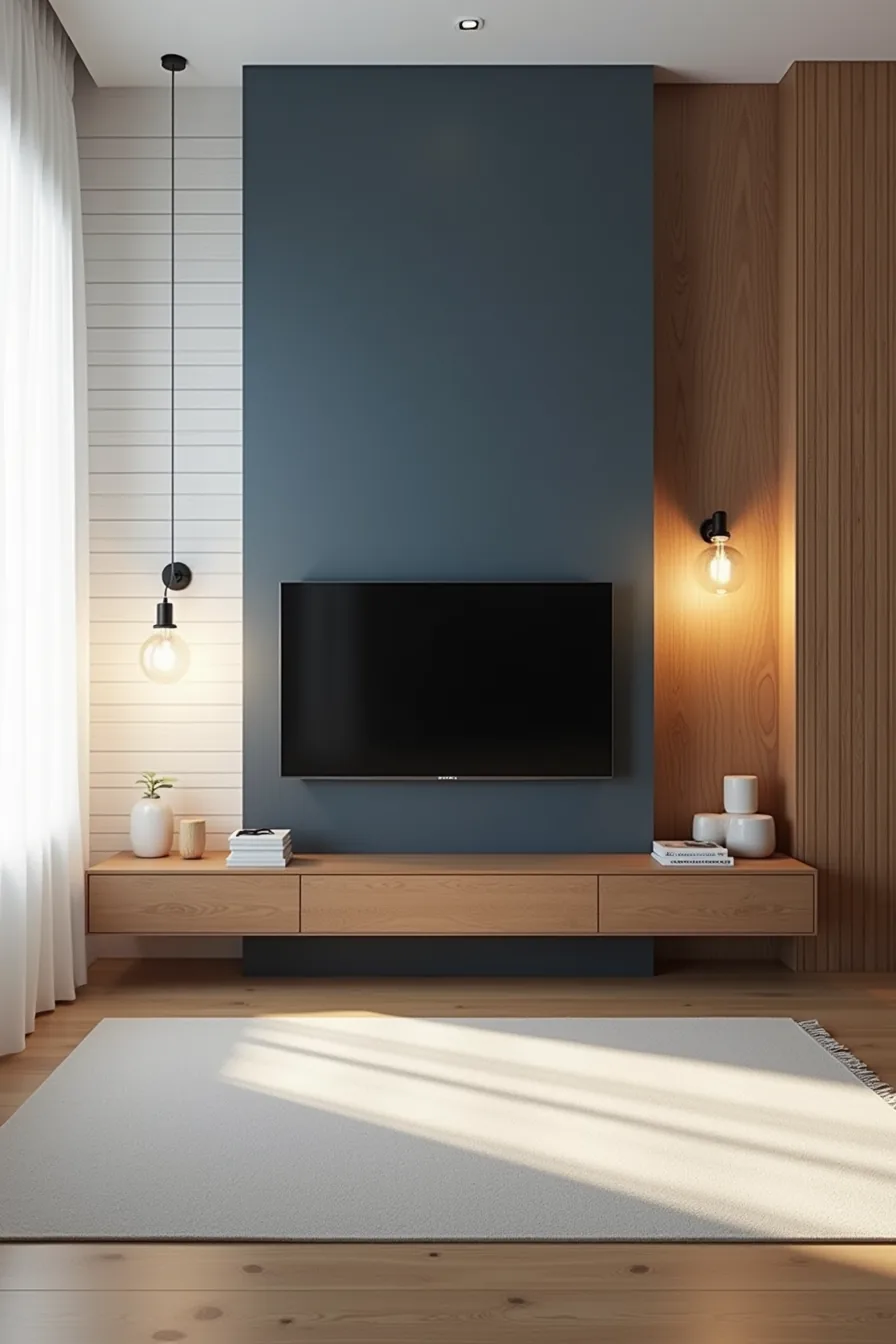
The three-way split, white shiplap on the left, deep navy paint across the center, medium-brown vertical paneling on the right, isn’t decorative chaos. It’s a functional comparison of three backdrop systems. Painted drywall, like that navy center, costs the least: roughly $50–$150 in materials for an 8-foot wall, and you can refresh it in an afternoon.
It’s the most renter-friendly option, as long as you patch and repaint before moving out.
Shiplap and vertical paneling demand more commitment. Expect to spend $200–$500 on materials for the same span, plus a weekend of cutting and fastening. Shiplap’s horizontal lines visually widen a narrow wall, while vertical paneling adds perceived height, choose based on which dimension your room lacks.
Both hide minor wall imperfections and hold up to scuffs better than paint, but they complicate future TV repositioning: every stud finder reading changes once you add furring strips. If you rent, skip permanent paneling and use peel-and-stick wood-look planks instead, which remove cleanly with a hairdryer and a putty knife.
The Architectural Media Wall for Long-Term Investment
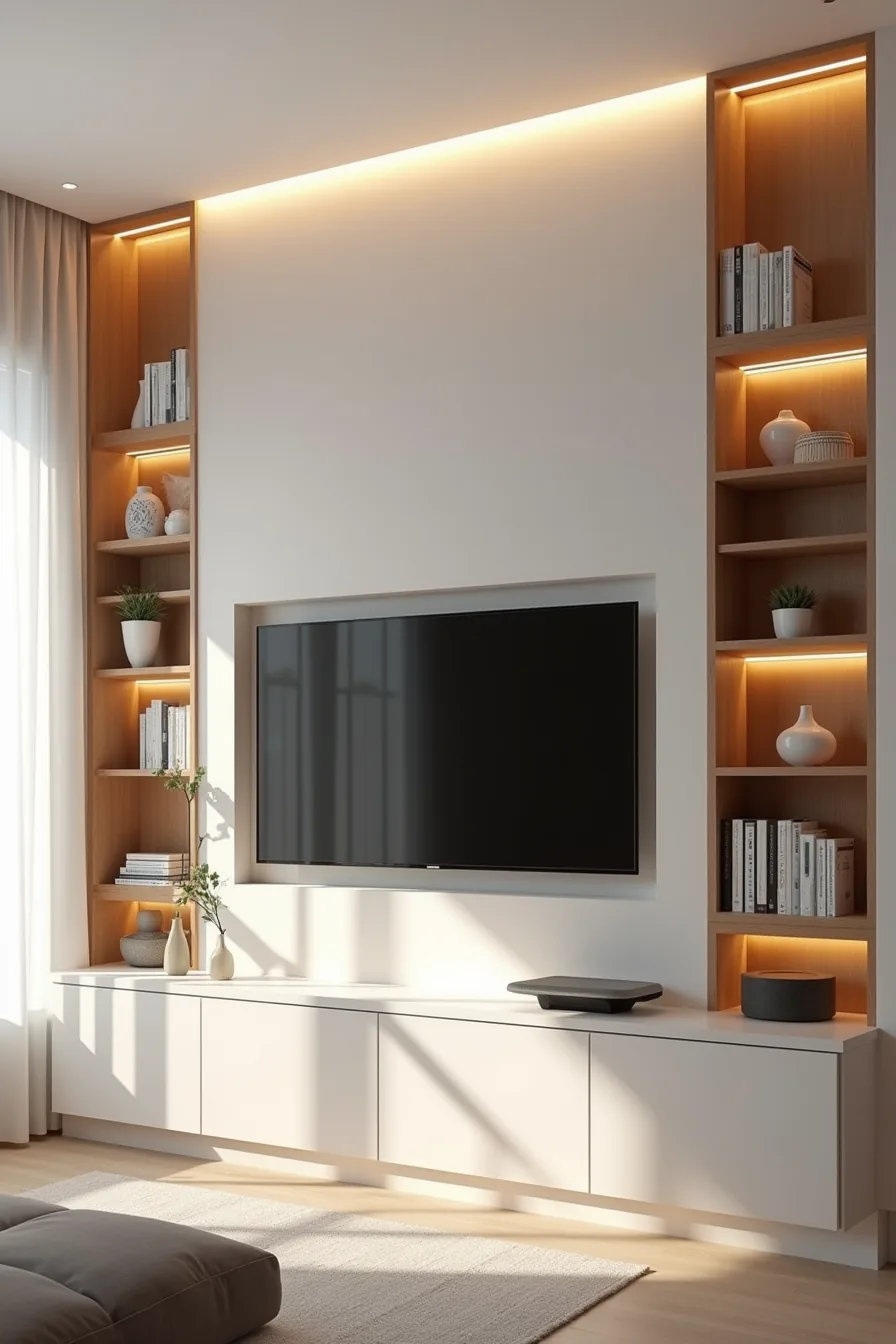
This is the route for a homeowner who plans to stay put for a decade or more. An architectural media wall treats the TV as a structural element, not an accessory. By recessing the screen flush with the surrounding built-in shelving, you eliminate the visual bulk of a protruding monitor and create a smooth, library-like focal point.
The recessed LED strip lighting above and below the TV opening adds a soft ambient glow that reduces eye strain in dark viewing conditions, while the floating shelves at varying heights provide display space that breaks up the vertical mass of the unit.
The built-in shelving on both sides does double duty: it frames the screen to anchor it within the wall’s proportions, and it offers concealed channels to route cables horizontally behind the shelving, keeping power and HDMI cords entirely out of sight. This integration is the primary cost driver. A custom-built media wall with shelving, recessed lighting, and cable management typically runs $1,500–$4,000 depending on materials and carpenter rates, and it requires professional installation to ensure proper ventilation behind the TV and load-bearing support for the shelving.
It suits a medium to large living room where the wall is wide enough (at least 10 feet) to accommodate shelving on both sides without crowding the screen. If you plan to upgrade your TV within five years, ensure the recessed opening is sized to fit a larger panel later, modifying the cavity after installation is a costly redo.
TV Wall Design Tricks for a More Spacious Room
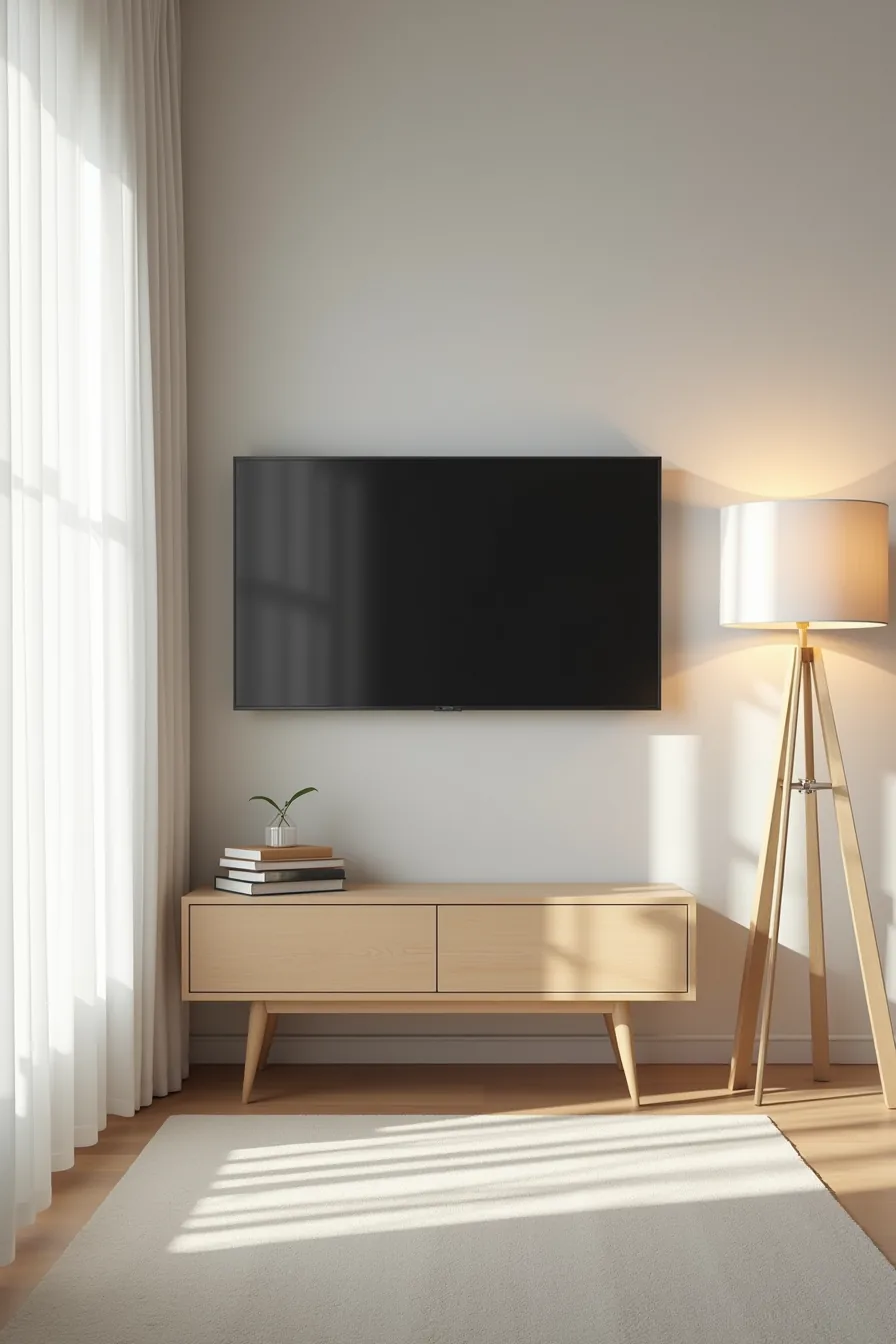
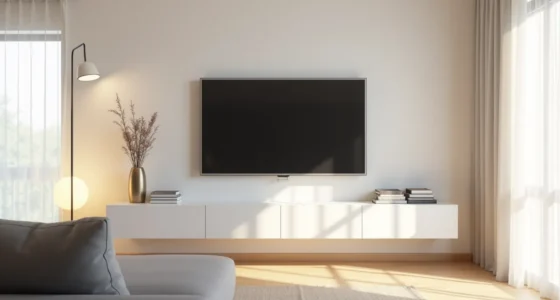
The simplest trick for opening up a compact living area is to let the wall breathe. Mount the TV directly on a light gray wall, the pale tone recedes visually, making the screen read as part of the architecture rather than a dominant black slab. Keep the surrounding wall completely bare, and position a single tall floor lamp with a white shade to the right of the TV.
The lamp draws the eye upward and outward, balancing the screen’s horizontal mass while casting diffused light that reduces contrast strain during evening viewing.
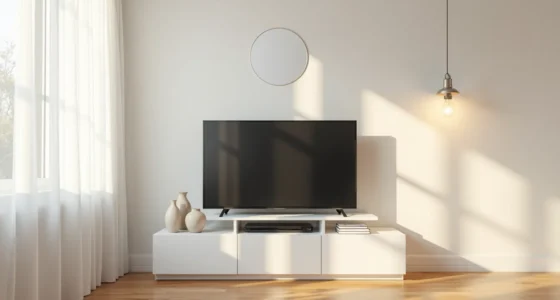
Below the TV, choose a low-profile console table rather than a deep media unit. The exposed floor on either side creates a negative-space buffer that tricks the eye into perceiving more square footage. Match the console’s finish to the wall tone, white, pale oak, or matte gray, so it blends rather than anchors the corner.
Cable management is non-negotiable here: run HDMI and power lines through an in-wall kit or a slim cord cover painted to match, because visible wiring breaks the clean vertical line that makes this trick work. Budget-wise, this route costs $150–$400 total, making it the most renter-friendly interpretation of TV wall design when you use a removable cord cover instead of cutting into drywall.
Floating Mount vs Wall-Mounted Console: Practical Differences
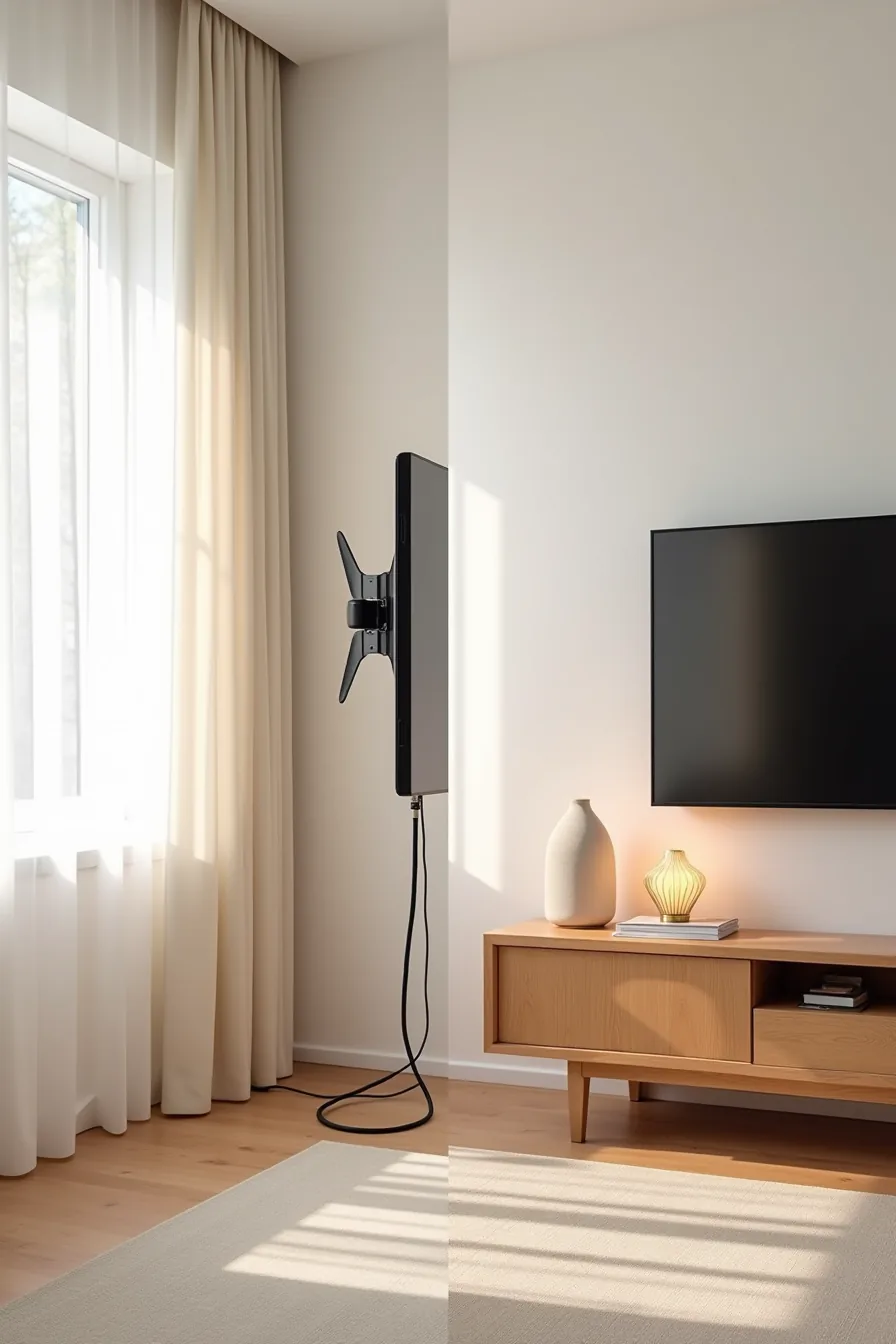
The split-view setup illustrates two distinct philosophies. On the left, a floating arm mount pulls the screen 6–12 inches off the wall, letting you angle it toward a sofa placed diagonally in a corner. Cable channels run openly down the wall to a floor outlet, a straightforward route that costs $50–$120 for the chase and outlet, but leaves the wall visually busy.
Accessing ports behind a floating TV means pulling the arm back and reaching around the panel, which is awkward if you swap inputs regularly.
On the right, a solid wooden media console sits beneath the TV, hiding all cables behind its back panel. This route costs $300–$800 for a quality piece, but maintenance is effortless: you reach ports from the front or back without touching the screen. The console adds 18–24 inches of visual weight to the wall, making it the better choice for medium-to-large rooms where a floating TV alone would look sparse.
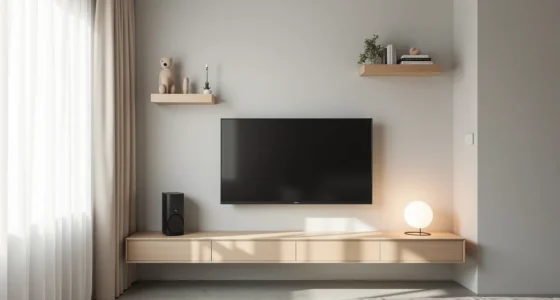
In small spaces, the floating mount wins on footprint, but it demands a floor outlet, renters without one must settle for a surface-mounted channel that stays visible.
Adapting TV Wall Design to Room Size and Layout
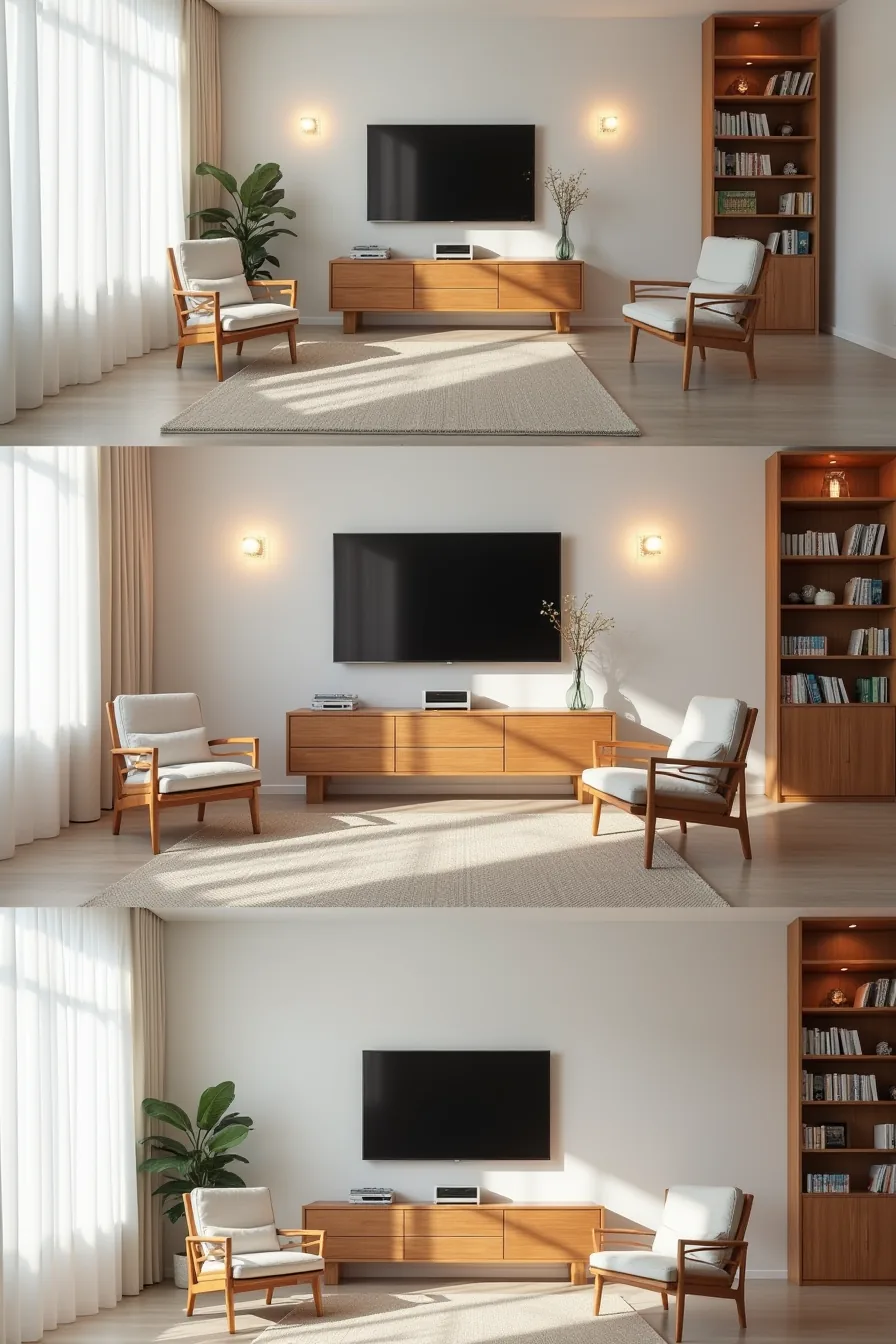
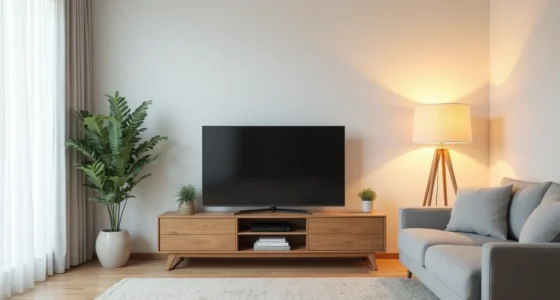
Your room’s dimensions dictate the TV wall’s proportions before you choose a single component. In a small studio, a 40–50 inch TV on a narrow wall works best with a compact stand no wider than the screen itself, leaving 12–18 inches of breathing room on each side. Skip the accent color here, a matte black or deep gray panel keeps visual weight low, and mounting the TV 4–6 inches above the stand prevents the setup from eating floor space.
A medium living room (roughly 250–400 square feet) calls for a console that spans 60–75% of the wall width, with the TV centered above it and flanked by armchairs that mirror the screen’s height. This balances the wall without dominating it, and a light oak or whitewashed finish reflects more light than a dark slab.
In a large open-plan space, the TV wall becomes a structural anchor. Built-in shelving units extending full width on both sides of the screen, not just the TV, turn the setup into a room divider, with the TV mounted flush to avoid casting shadows on books or decor. Use a matte screen finish to reduce glare from distant windows, and keep the TV’s center line at eye level when seated, roughly 42–48 inches from the floor across all three layouts.
Where to start
Measure your viewing distance first, that single number dictates your TV size, mounting height, and console depth. From there, choose your route: a floating shelf under $150, a full built-in for long-term resale value, or a renter-friendly picture rail that leaves zero holes.
Your next step: sketch your wall’s proportions on graph paper, then tape a cardboard mockup of the TV’s footprint to the wall. Live with it for 48 hours before you buy anything.
Frequently Asked Questions
What is the ideal viewing distance from a TV wall?
For a 55-inch screen, sit 7–9 feet away; for 65-inch, 8–10 feet. Measure from your eyes to the screen, not the wall. Adjust for 4K resolution, closer is fine.
Can I install a TV wall design in a rental apartment?
Yes, if you use renter-friendly methods: peel-and-stick mounting brackets, adhesive cable clips, and no-drill floating shelves. Avoid drywall anchors that leave holes. Confirm your lease allows wall mounts; many do with written permission.
How do I hide cables and wires on a TV wall?
Use a recessed in-wall cable kit (requires cutting drywall) or a surface raceway that paints to match. For rentals, run cables behind a removable fabric panel or use adhesive cord covers. Keep power cords accessible, never pinch them behind the TV.
What color works best behind a TV to reduce glare?
Matte, dark colors, charcoal, deep navy, or forest green, absorb ambient light. Avoid white, gloss, or metallic finishes, which reflect. If your room has strong windows, pair the dark wall with blackout blinds; a matte black panel also works.