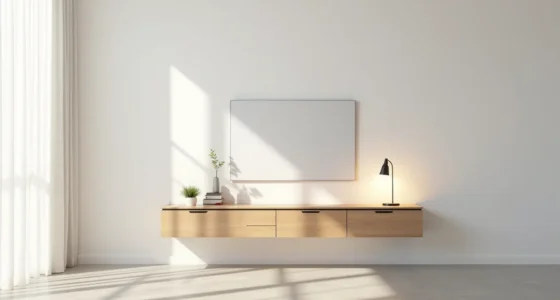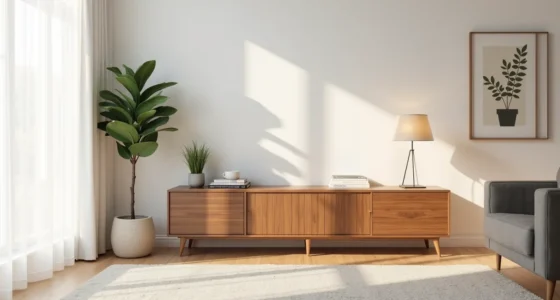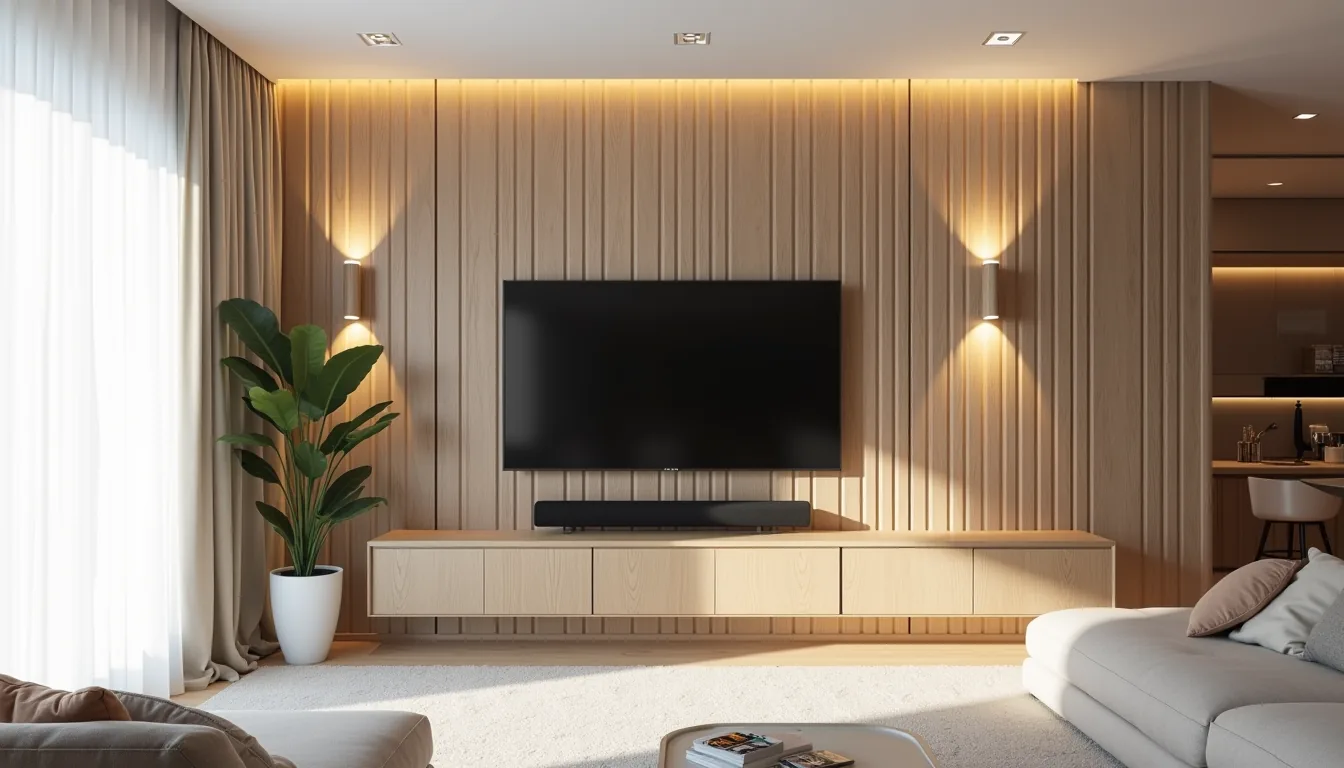
A TV wall panel is the structural backbone of a modern entertainment setup, it dictates sightlines, conceals or exposes cabling, and sets the visual weight of your entire wall, so choosing the right one hinges on your room’s dimensions and your tolerance for visible wires. It isn’t a single product but a category spanning flush-mounted plywood grids, floating slat systems, and full-height cabinetry. The six approaches below range from a $150 renter-friendly peel-and-stick solution to a custom joinery investment exceeding $2,000, each matched to a specific room size and viewing distance.
You’ll learn which panel suits a 10-foot sofa-to-screen gap versus a compact apartment, and how to avoid the common mistake of building a feature that blocks your media console’s ventilation.
Key takeaways
- Choose slats for acoustic softening and visual rhythm in living rooms, but pick smooth panels if your TV is under 55 inches and you want a cleaner, less busy backdrop.
- Match panel width to your TV’s diagonal: for a 55–65 inch screen, a 70–80 inch panel creates balanced proportion, while smaller rooms should cap the panel at 1.5 times the TV width to avoid overwhelming the wall.
- Use peel-and-stick panels (typically 2–4 mm thick) as a renter-friendly route, they remove cleanly with a hairdryer, but require a perfectly flat, dust-free wall or they’ll bubble within 6 months.
- Hide cables with a built-in channel behind a smooth MDF panel, budget 2–3 inches of depth for power and HDMI runs, and always install a cutout for ventilation if your TV mounts flush.
Slats vs Smooth Panel: Which Suits Your Space
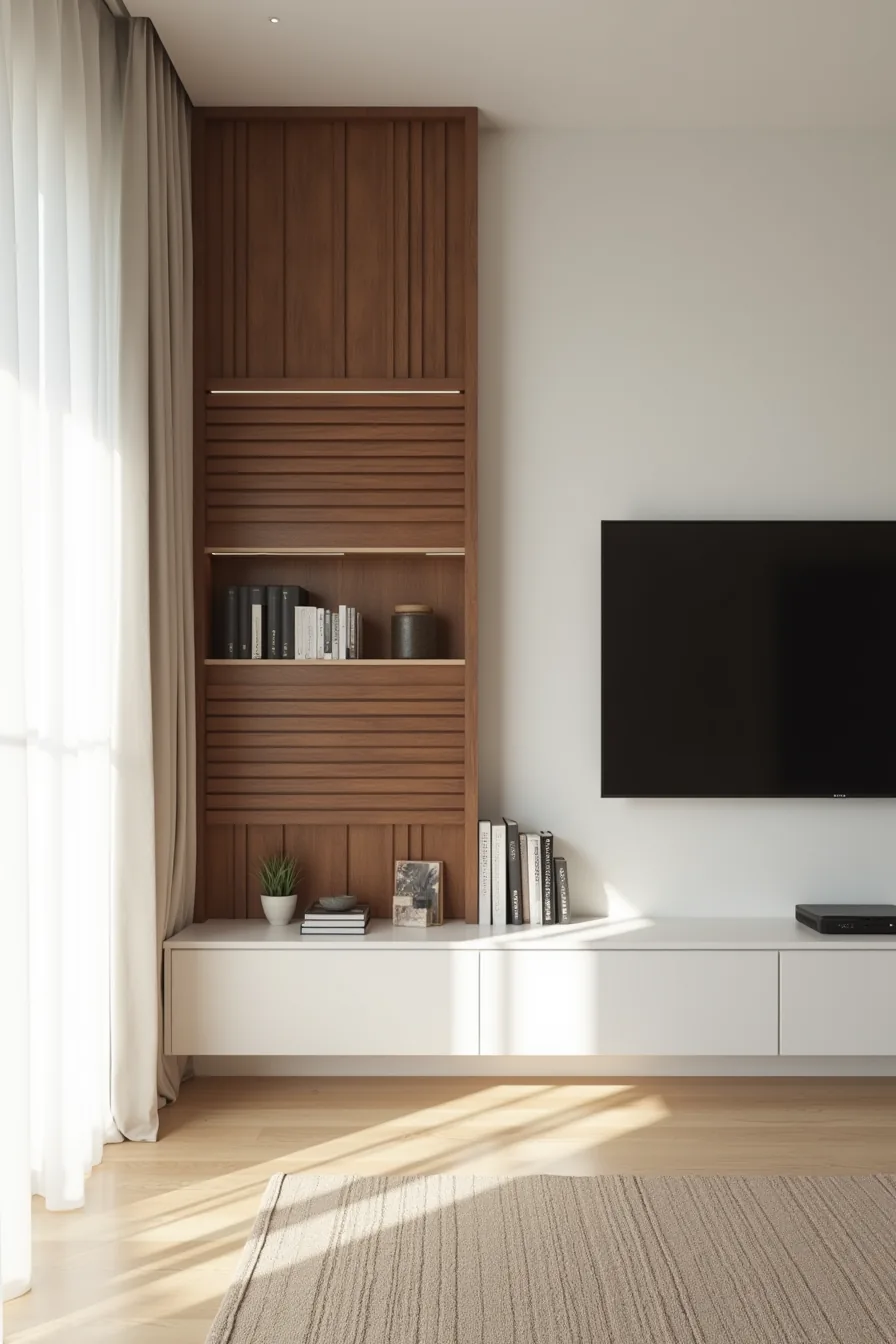
The split between horizontal walnut slats and a flat white plaster panel comes down to two distinct jobs. Slats with 2-inch spacing break up sound reflections and add texture, making them ideal for open-plan living areas where you want some acoustic softening without heavy fabric. The gaps also hide uneven wall surfaces, so you can skip extensive drywall prep.
You’ll pay more for the material and need to dust the recesses every few weeks.
A smooth panel reads as architectural and minimal, suiting smaller rooms where visual noise competes with the TV. It reflects more sound, so pair it with a rug or curtains in a dedicated media room. Flat plaster demands a perfectly level substrate; any imperfection becomes obvious under direct light.
For a rental or temporary setup, slats win because they mount with fewer anchors. For a permanent, smooth look in a formal space, choose the plaster.
Determining the Right Panel Width for Your Room
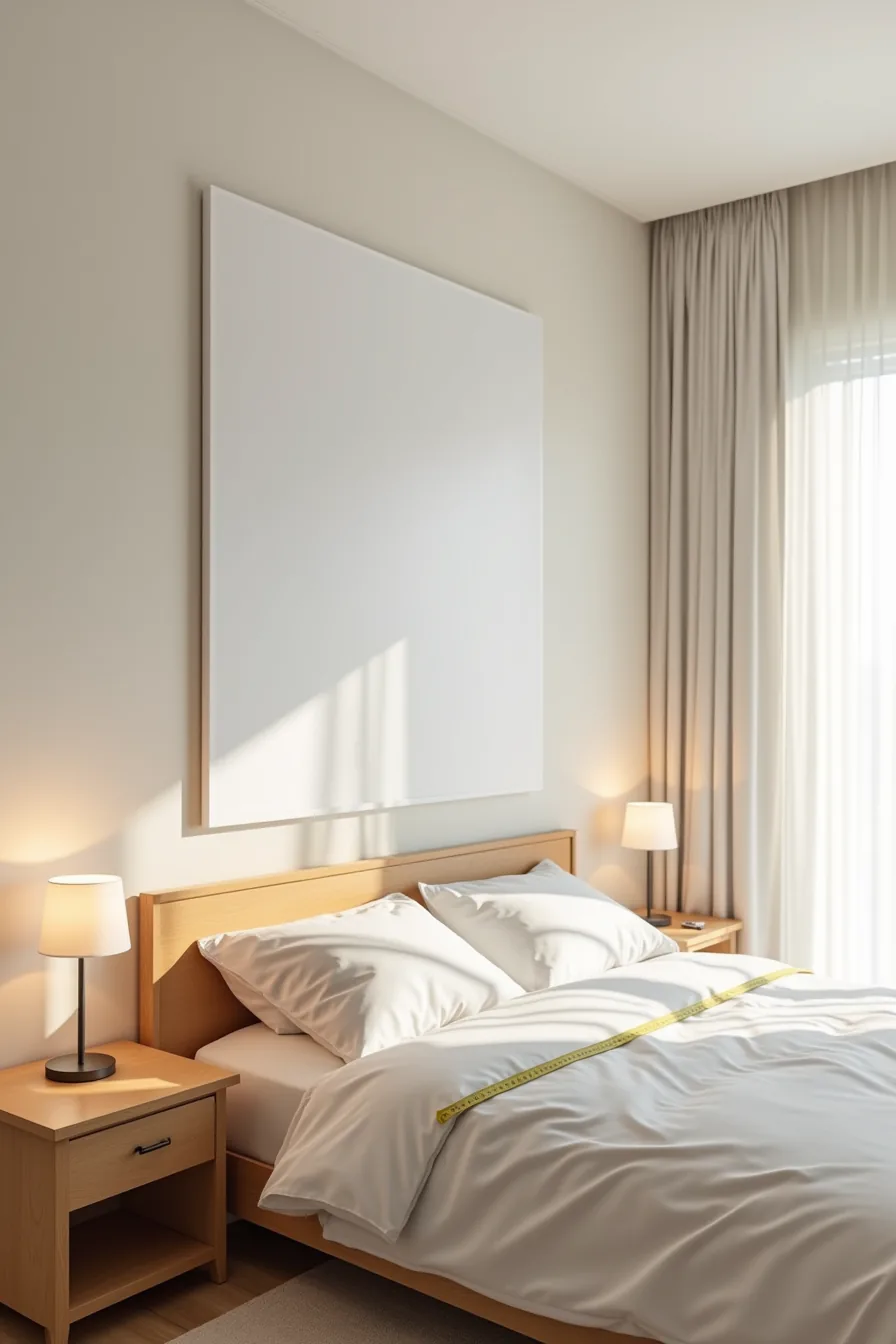
The panel-width question resolves with a simple rule: your panel should span roughly half your wall length, not your TV width. In a 12-foot bedroom wall, a 6-foot panel centers the screen while leaving breathing room for the nightstands flanking its base. That proportion keeps the TV from dominating the wall while still giving the panel enough mass to feel intentional.
For a small room under 10 feet wide, cap the panel at 4–5 feet and mount the TV so its edges sit 4–6 inches inside the panel boundaries. In a large space over 14 feet, you can push the panel to 60–70 percent of wall length, but stop short of the corners to preserve a sense of openness. Measure your viewing distance first: sit where you normally watch, then confirm the TV occupies no more than 30 degrees of your field of view.
Lay a measuring tape horizontally across the wall at the proposed panel height and step back 8 feet to sanity-check the scale before committing.
Budget-Friendly Peel-and-Stick Panel Solution
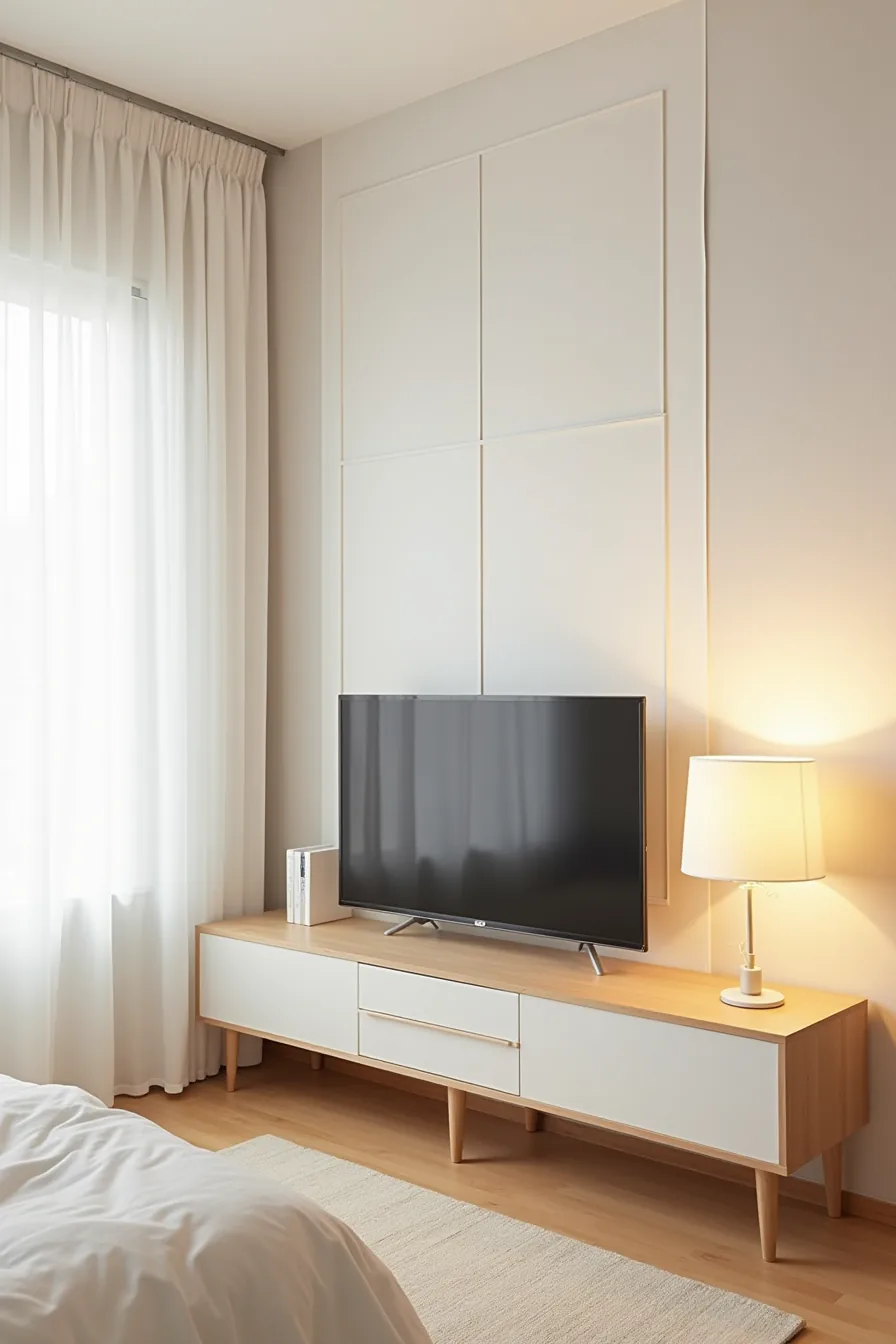
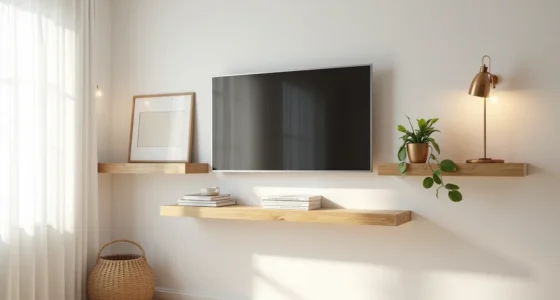
Peel-and-stick foam panels give you the fluted-wood TV wall panel look for roughly $2–4 per square foot, with zero stud-finding or sawdust. You’ll pay a fraction of custom millwork, and the entire install takes an afternoon: measure your wall, cut panels with a box cutter, and press them onto a clean surface after peeling the adhesive backing.
In the rental setup beside you, foam panels cover a 4-foot section behind a mounted TV, with portable shelving and no wall anchors anywhere in sight, that’s the point. The panels stick firmly to smooth drywall but stop behaving well on textured or heavily painted surfaces; clean the wall with rubbing alcohol first and expect the adhesive to hold its bond for several years under moderate heat.
Because they’re foam, these panels muffle and absorb room echo, which helps mid-size spaces feel less boxy. Keep the panels 4–6 inches wider than your TV on each side, and if you ever move, warm the panel with a hair dryer, peel slowly from a corner, and scrape off any residue with isopropyl alcohol. You trade lifespan for flexibility here, panel corners can dent if furniture bumps them, but a spare panel cuts cleanly to patch the damage.
Built-In Cable-Hiding Backdrop for a Polished Finish
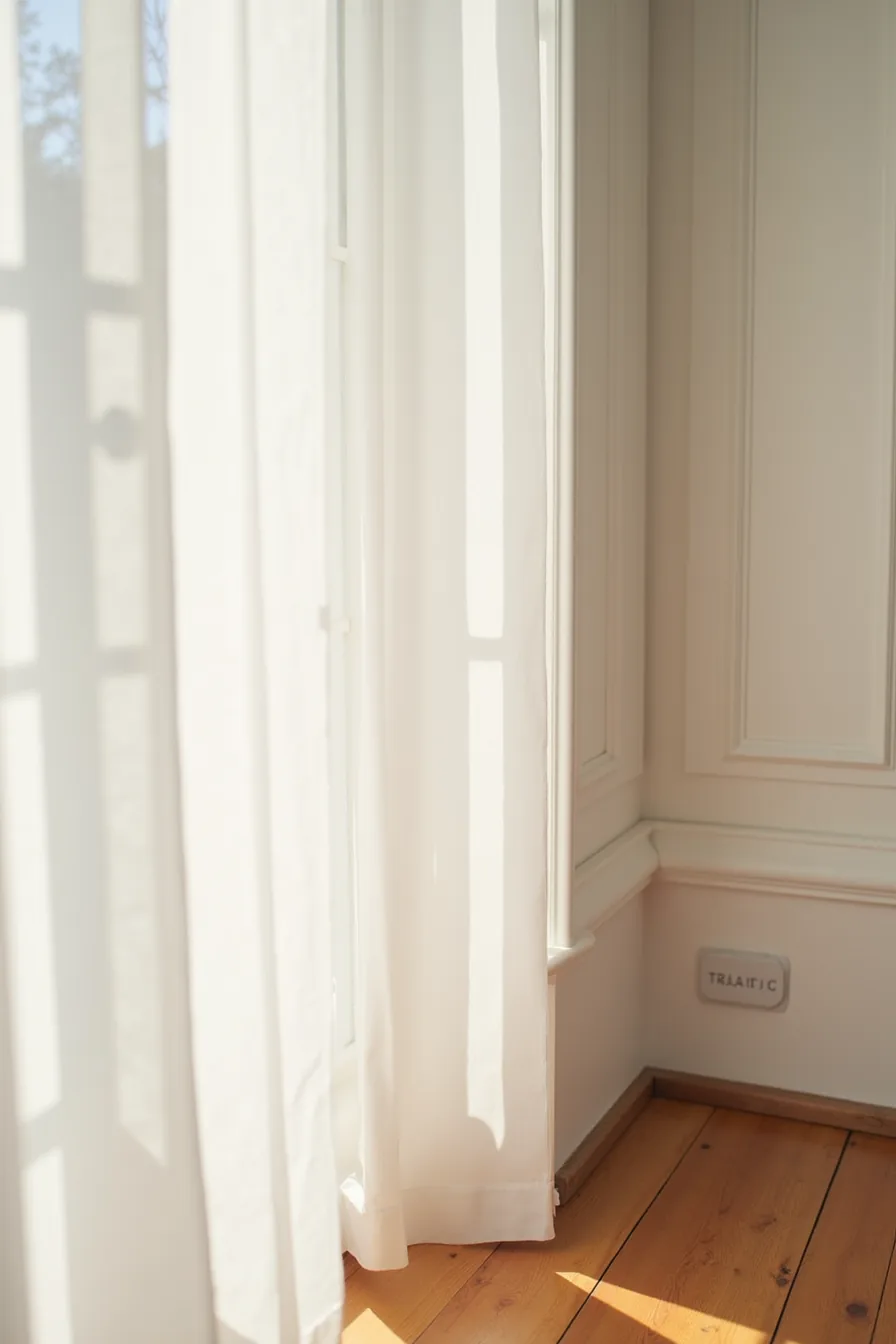
A built-in cable-hiding backdrop eliminates the visual clutter that ruins an otherwise clean TV wall panel installation. The setup here uses a 1.5-inch-wide integrated channel routed horizontally through the panel base, with threaded cords exiting at a floor-level outlet, a configuration that keeps every wire out of sight without requiring an electrician.
This approach works best for medium-to-large living rooms where the TV sits on a low console or stands independently, because the horizontal channel aligns naturally with eye level from a seated position. The removable trim piece lifts away for maintenance access, so you can swap an HDMI cable or add a streaming stick without dismantling the entire panel, a critical detail if you upgrade electronics every few years.
In-wall conduit behind the panel costs more upfront and demands drywall cutting, while panel-integrated channels suit DIYers comfortable with a router. For rental spaces, use a surface-mounted plastic raceway painted to match the panel instead of cutting into the wall; you sacrifice some flush appearance but gain full reversibility. Keep the channel width generous, 1.5 to 2 inches, to accommodate future thick cables and angled connectors that refuse sharp bends.
Wood Paneling: Long-Term Investment Approach
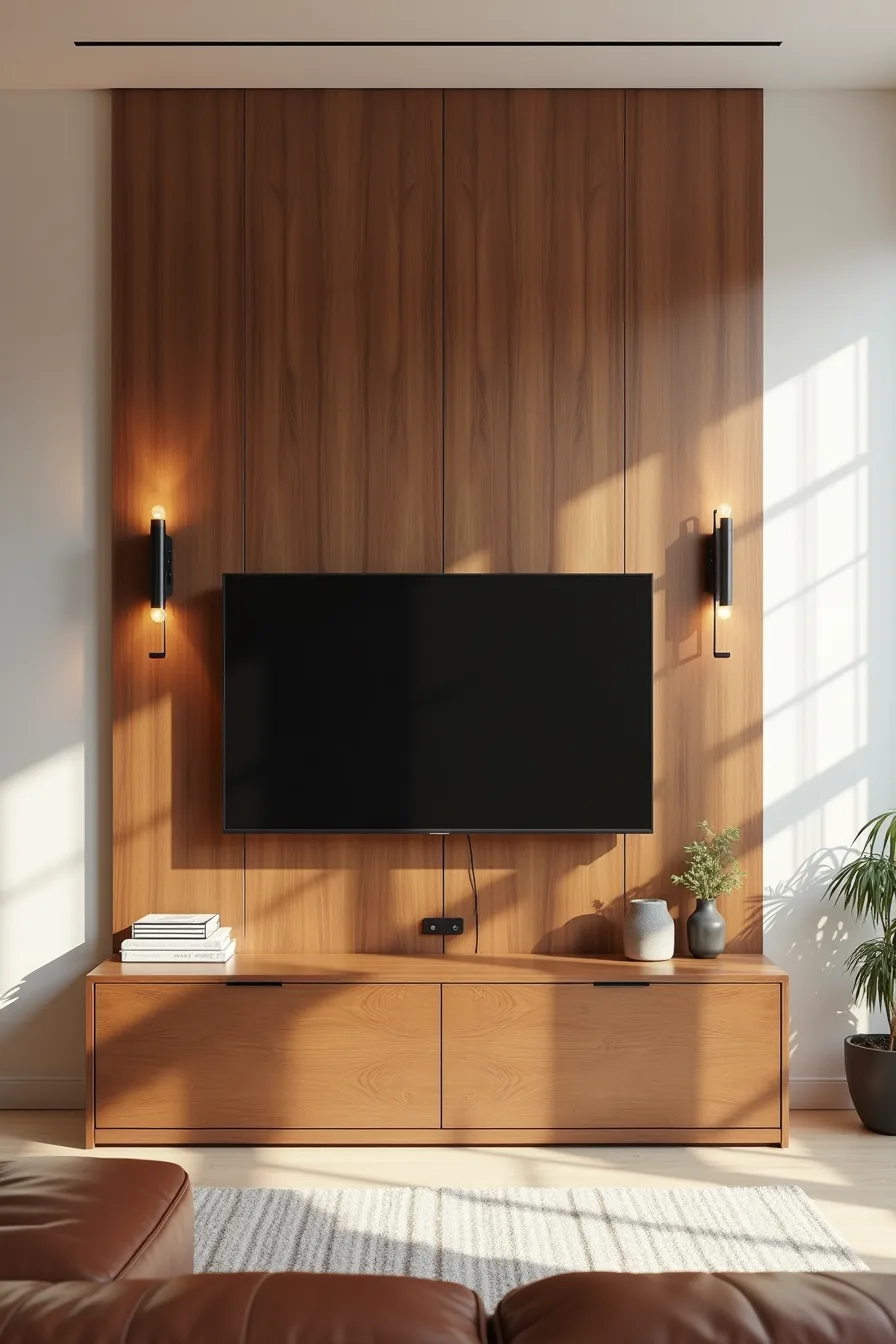
Floor-to-ceiling solid walnut paneling transforms a TV wall into a permanent architectural feature rather than a temporary fixture. The matte finish lets natural grain variation and color depth carry the design, while warm incandescent sconces on either side cast light across the wood surface to create texture that changes throughout the day. Leather seating below reinforces the material palette, tying the paneling to the room’s furniture rather than leaving it isolated.
This route suits homeowners who plan to stay put for a decade or more, solid wood costs roughly three to five times more than MDF or plywood alternatives, and installation demands a professional carpenter for proper acclimation, nailing, and seam alignment. Expect to reapply matte oil or hardwax annually to protect against UV fading and finger smudges near the TV. The payoff arrives at resale: architectural wood paneling reads as a premium upgrade, often recouping a meaningful portion of its cost, whereas a painted drywall accent wall adds almost nothing to a home’s valuation.
Make Your TV Wall Panel Feel More Expensive on Any Budget
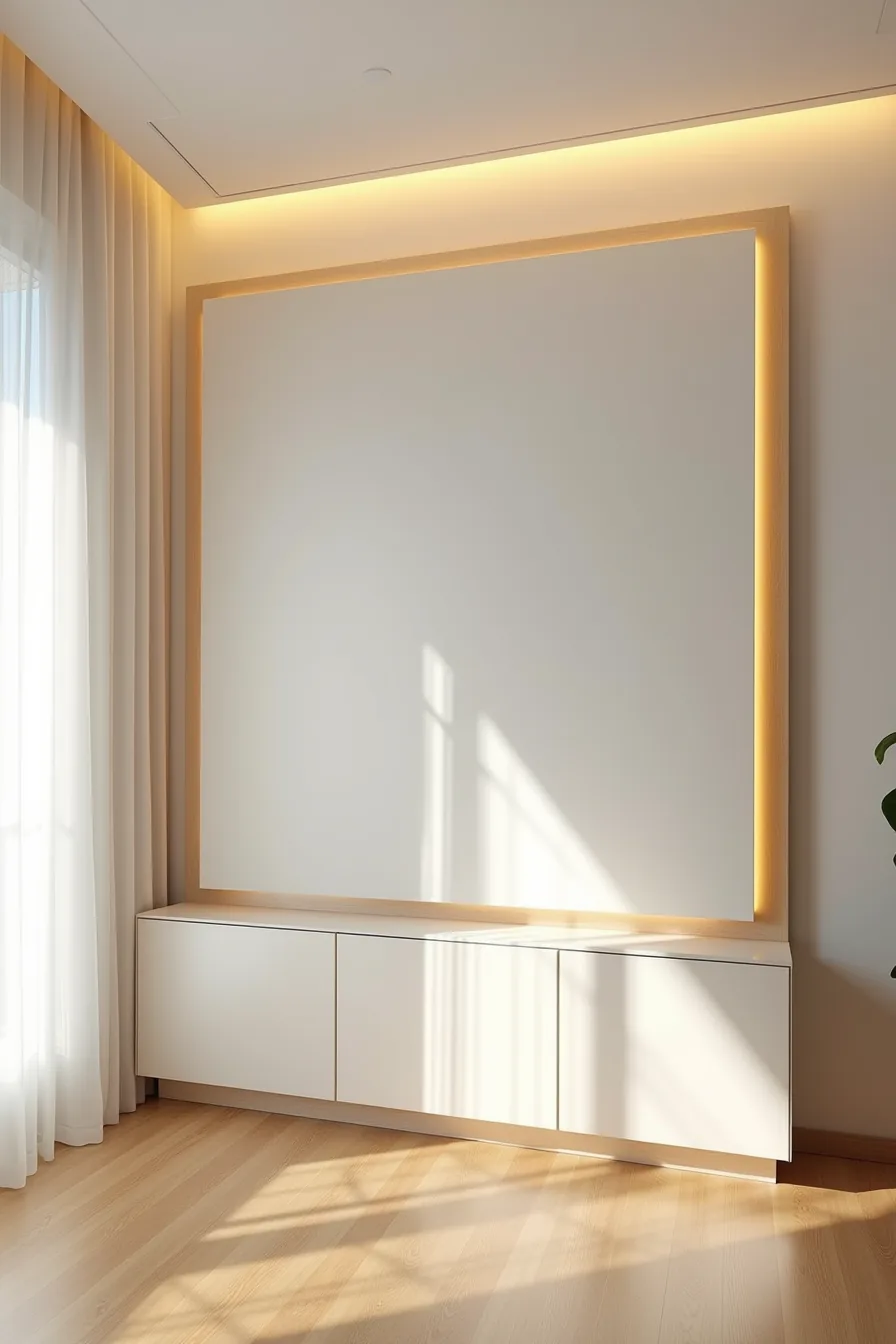
A painted MDF panel reads as high-end when you layer three inexpensive finishing details. Mount a brass picture rail 6-8 inches above the panel’s top edge, the metal catches light and draws the eye upward, adding architectural interest for under $50. Recess a warm LED strip (2700K, not cool white) into the panel’s top edge; the soft glow creates depth that mimics a floating wall.
Stack three pieces of trim molding at the base, ranging 2-4 inches each, to form a stepped plinth effect. This simple addition costs around $30 in materials and instantly grounds the panel visually, making it feel built-in rather than applied. The combination works because it introduces contrast, metal against matte paint, shadow against flat surface, which is exactly what signals intentional design over a basic painted rectangle.
Where to Start
You now have six distinct routes, from a painted media wall to a full joinery build. The right choice comes down to three factors: your lease terms, your budget, and how long you plan to stay.
Start by measuring your TV and the wall it will occupy. Note the viewing distance and any door swings or heating vents that could interfere. Then pick the one option that fits your constraints, not your dream aesthetic.
Your first concrete step: sketch your wall to scale on graph paper, marking the TV footprint, furniture line, and clearance zones. That single drawing will eliminate half the options and make the final decision obvious.
Frequently Asked Questions
Should I use slats or a smooth panel for a small bedroom?
Choose slats only if your bed sits at least 3 feet from the wall; they add visual depth that can overwhelm tight rooms. A smooth, matte panel in a light tone keeps sightlines clean and makes a 10×12-foot space feel larger.
How do I hide cables behind a TV wall panel without removing drywall?
Install a surface-mounted cord raceway behind the panel, running from the TV mount down to the outlet. Use a two-piece raceway that clips open, allowing you to add or swap cables without ever touching the drywall.
What’s the typical cost difference between peel-and-stick and installed wood paneling?
Peel-and-stick MDF panels run $2–$4 per square foot, while a professional-installed hardwood slat wall starts around $8–$15 per square foot, including materials and labor. Add $100–$300 for a custom-cut panel if your wall has outlets or corners.
Can I install a TV wall unit myself, or do I need a professional?
You can handle the job yourself if your wall is flat, drywall is unmounted, and you use a stud-finder for the TV bracket. Leave it to a pro if the panel covers conduit, the wall is plaster, or you want a flush, smooth finish without seams.