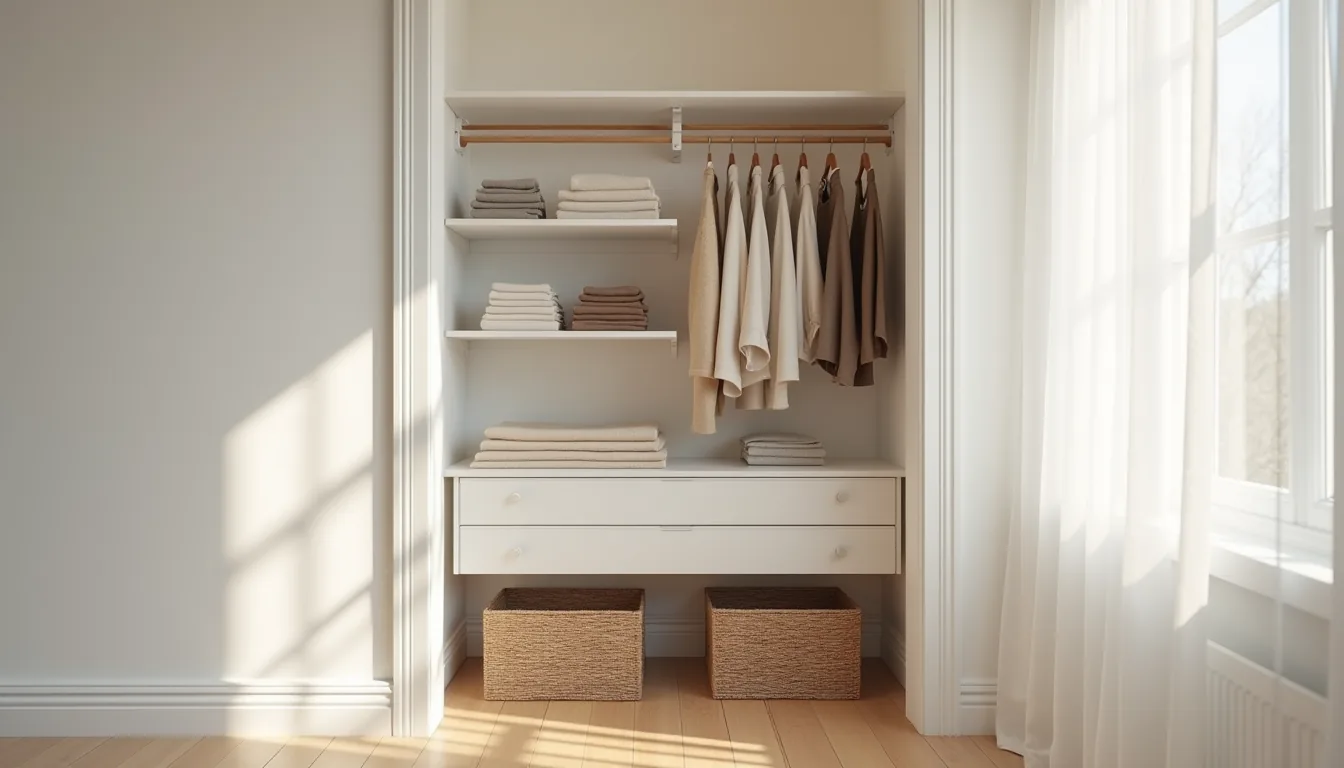
Your bedroom closet is the single most-used storage zone in your home, yet most designs fail because they ignore your actual morning routine in favor of a generic template. A closet that works for a capsule-wardrobe minimalist will suffocate a collector of vintage coats, and a walk-in with a center island is useless in a 9-by-10-foot room. The fix isn’t more shelving, it’s matching the layout to how you move, dress, and store.
Below are six distinct interpretations, each with the exact scale, materials, and maintenance requirements you need to decide if it fits your space, budget, and habits.
Key takeaways
- Measure before you shop: Most reach-in closets run 24–28 inches deep, while walk-ins need at least 4 feet of clear floor space to move comfortably.
- Zone by frequency: Keep daily-wear items at eye level (30–60 inches) and reserve upper and lower shelves for seasonal or occasional pieces.
- Budget for hardware: A tiered shelving system costs $150–$400 in materials, but a custom built-in wardrobe wall typically runs $2,000–$5,000 installed.
- Rotate twice a year: Swap heavy outerwear and summer linens in spring and fall, and store off-season items in labeled bins above the rod to cut clutter by about a third.
Reach-In Closet with Tiered Shelving
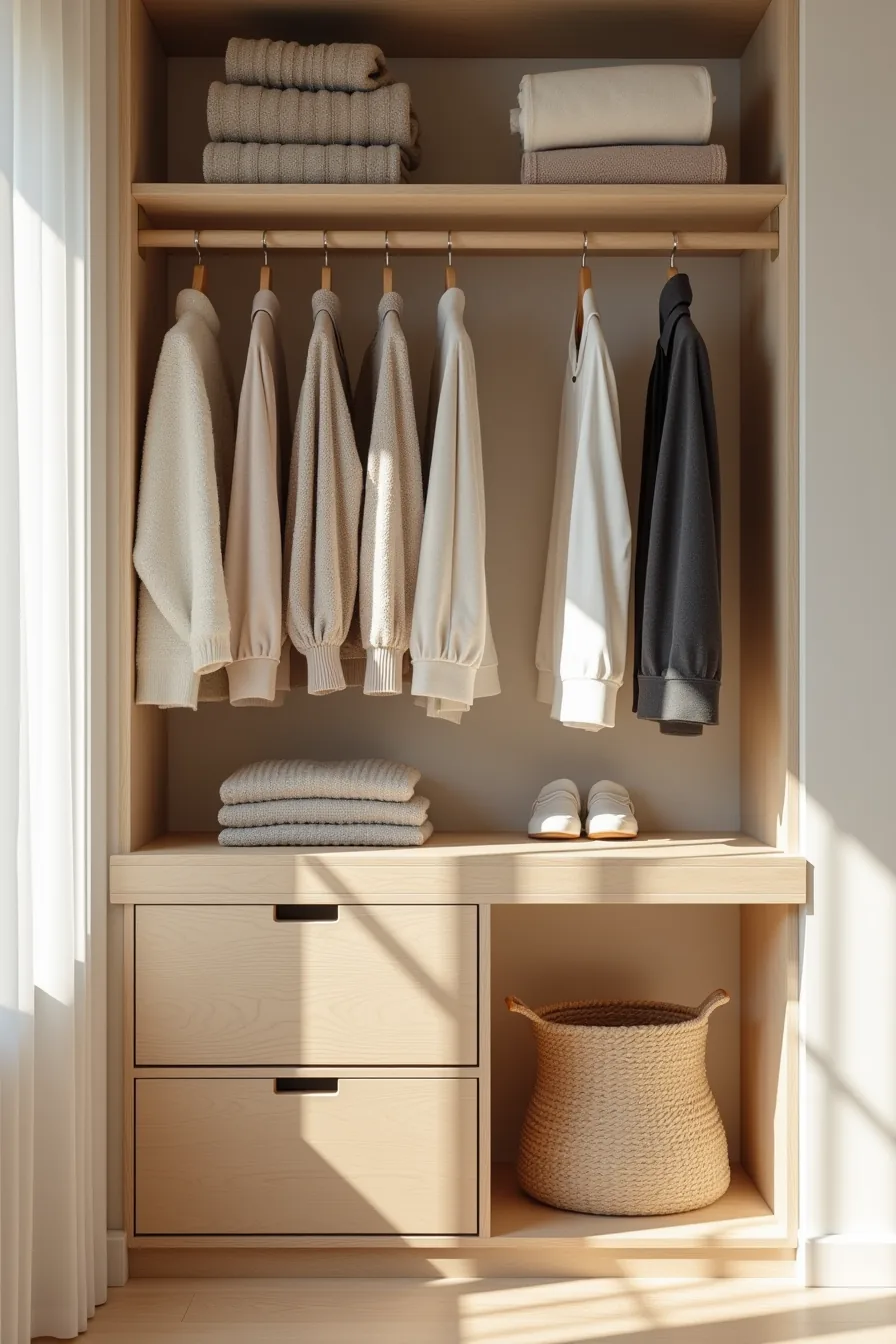
If your bedroom closet is a standard 3–5 foot wide reach-in, tiered shelving turns dead vertical space into a high-capacity storage system. The setup that performs best uses two hanging rods stacked at 40–42 inches and 80–84 inches from the floor, leaving a 12–14 inch gap between them. Above the upper rod, install a fixed shelf 12–16 inches deep for stacked sweaters and accessories you rotate seasonally.
This layout suits renters because adjustable shelving and tension-mounted rods install without drilling into studs or altering the frame, you can reverse everything in under an hour. A middle shelf at waist height works as a landing zone for folded shirts within arm’s reach, while the lower section holds divided drawer organizers for undergarments and socks. Those dividers keep small items from migrating into a single tangled pile, which means you’ll actually maintain the system past week two.
For a 4-foot wide closet, pair the double rods with a single stack of three to four wire or laminate shelves rather than a full built-in. This is a budget route: you can complete it for $80–$150 using adjustable shelving brackets, a second rod kit, and drawer dividers. If you own the home and want permanence, upgrade to solid wood shelving and custom drawer banks, expect to pay $600–$1,200 for a carpenter to build the same footprint.
Walk-In Closet with Zoned Sections
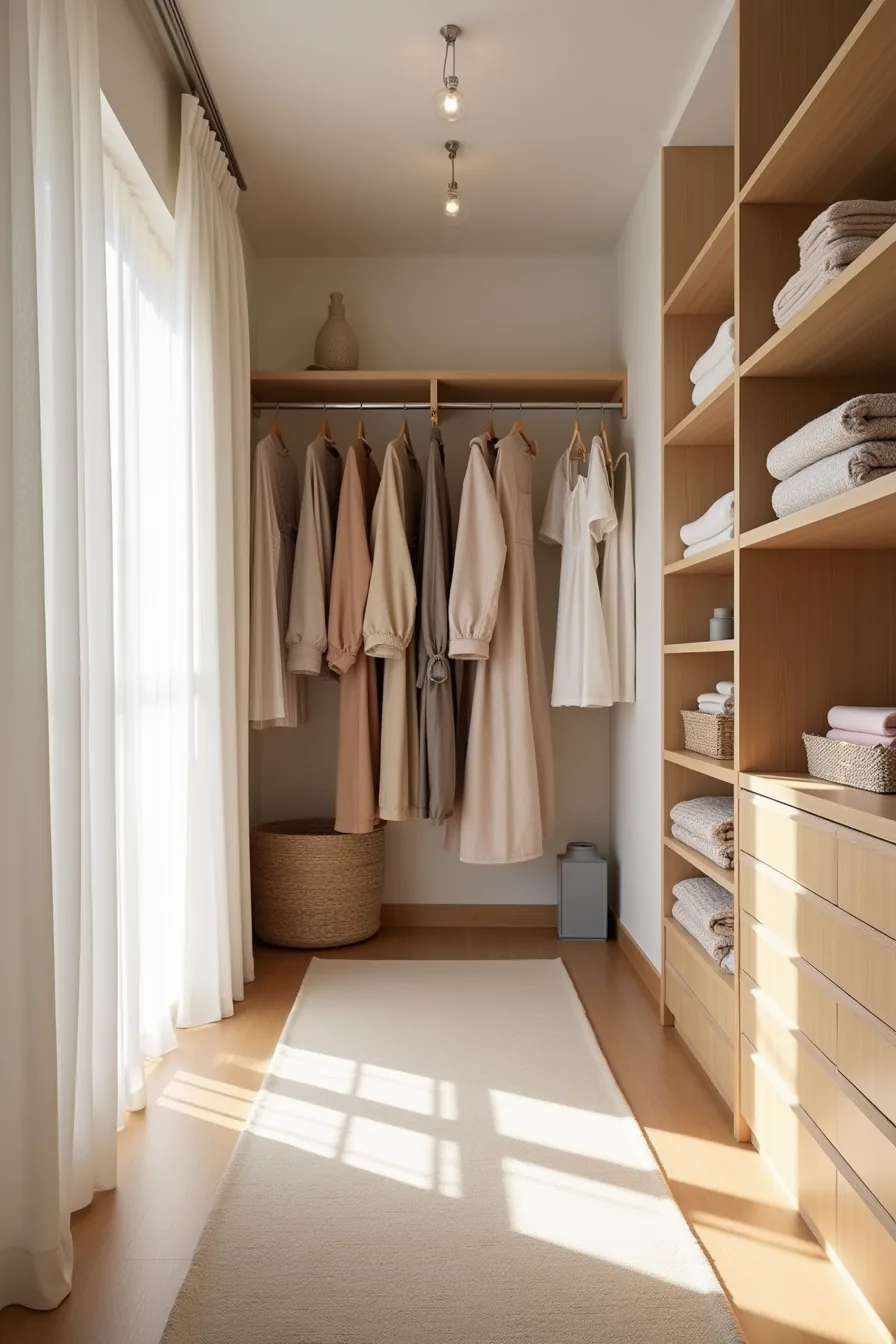
A 7–10 foot walk-in earns its space only when you assign each wall a distinct job. Zone the left wall for hanging dresses and long coats on a single rod set 65–70 inches high, the center wall for folded tops and stacked bottoms on 14–16 inch deep shelves, and the right corner for low shoe racks with accessory baskets above. This division cuts your getting-ready flow from rummaging to a straight line: dress, shoes, accessories, out the door.
This layout suits medium to large bedrooms where you can spare roughly 7×7 feet of floor space without pinching the bed clearance. The trade-off is cost, custom shelving for this footprint runs $1,500–$3,000, so it’s the long-term investment route. To reproduce it, keep the center shelves at eye-to-waist height (36–54 inches) and reserve the top tier for off-season items you access monthly, not daily.
Built-In Wardrobe Wall
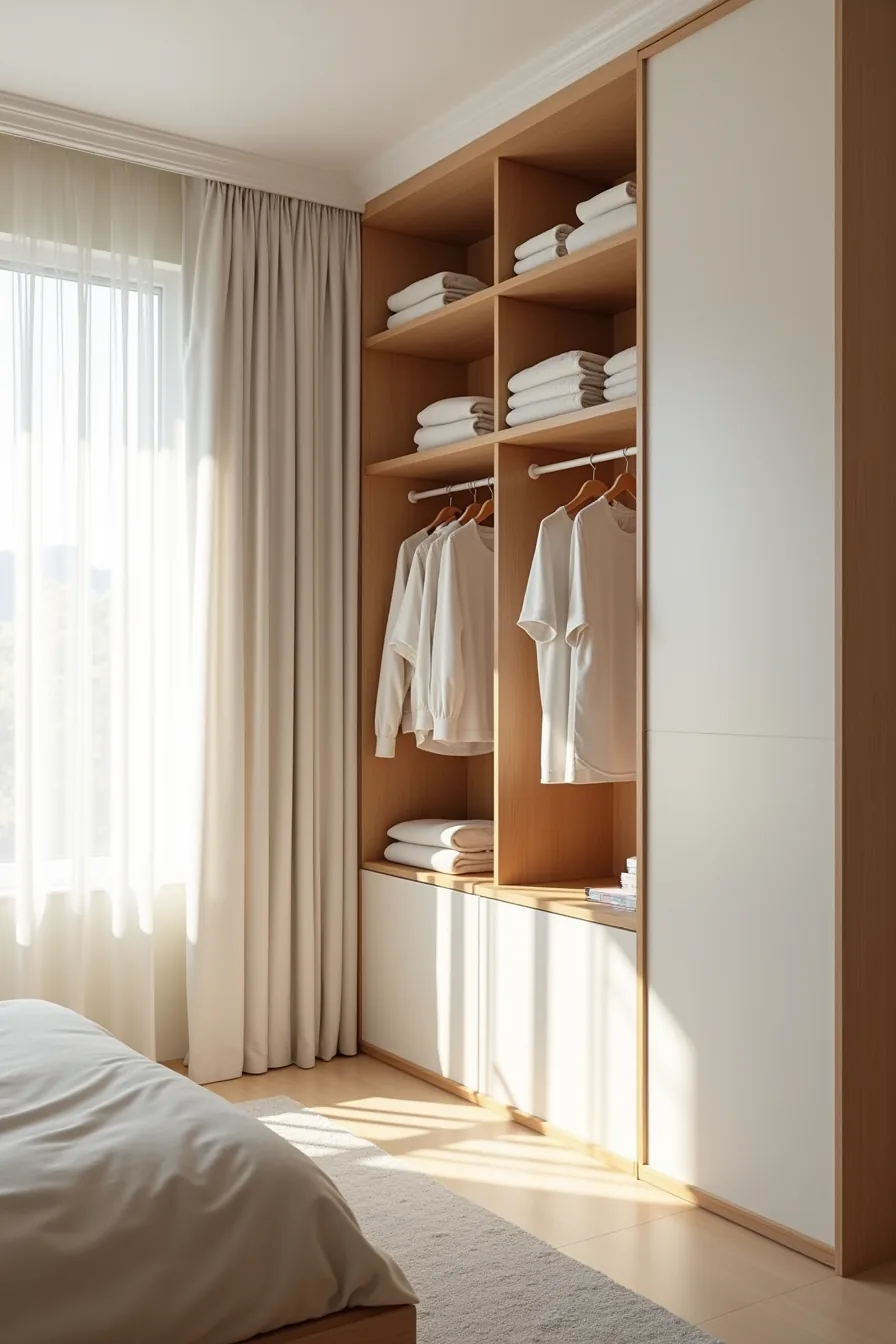
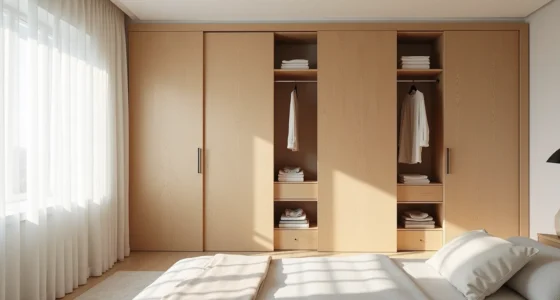
A floor-to-ceiling built-in transforms an entire wall into the room’s visual anchor, merging storage with architecture. The setup pictured pairs closed cabinet doors on the lower half, ideal for shoes, bags, and linens you want out of sight, with open shelving above for folded garments you reach for daily. A built-in hanging rail runs between the two zones, keeping shirts and jackets on display without adding a single piece of freestanding furniture.
This is the built-in vs reach-in decision made concrete: a reach-in is a 24-inch-deep closet hole, while this wardrobe consumes the full wall depth but returns far more usable square footage. It suits medium to large bedrooms where you can dedicate 8–12 feet of wall length and want a permanent, custom finish. Expect $2,500–$6,000 installed, making it the long-term investment route, you’re paying for carpentry, not just storage.
Reproduce it by painting the wooden frame to match your wall color, which makes the mass recede visually, and keep the open shelves between 12–16 inches deep so folded stacks don’t slouch. Closed lower doors hide clutter but require hinges that clear your baseboard, so specify a 1-inch toe-kick recess during templating.
Open Rail System with Styling Station
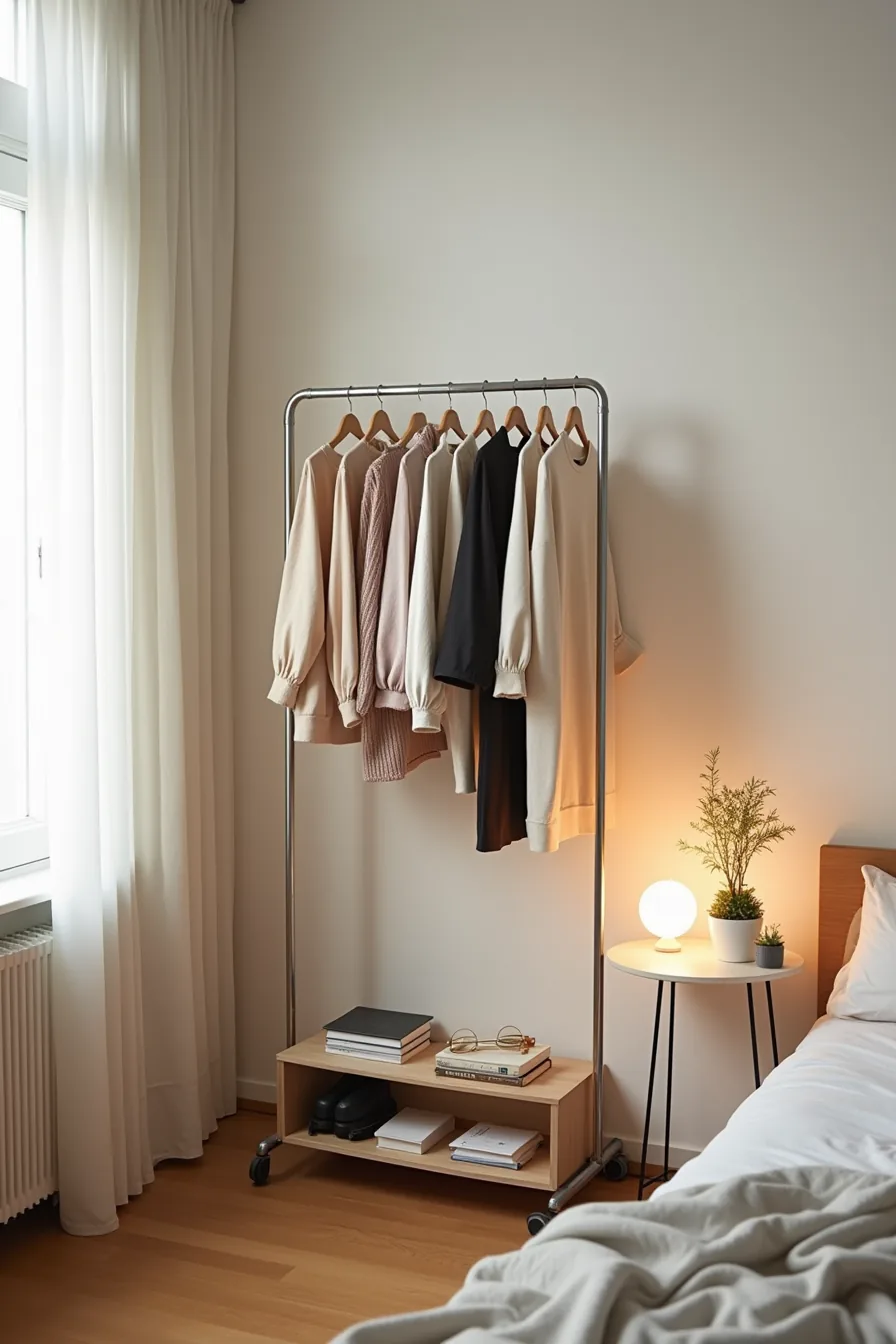
A freestanding metal clothing rack turns your daily outfit selection into a deliberate ritual rather than a rummage through a dark closet. The setup pairs a slim rolling rack against the wall with a small round table beside it, where a standing mirror, potted plant, and styling accessories like scarves and jewelry live within arm’s reach. You see every hanging option at once, which cuts decision time and keeps worn-but-not-dirty pieces visibly separated from fresh ones.
This is the most renter-friendly route in this guide: nothing touches the walls, the entire system moves in an afternoon, and you can disassemble it when you relocate. It suits small bedrooms where a built-in would overwhelm the space, but you need at least 4–6 feet of clear wall for the rack plus 2 feet of floor in front for the mirror and table. A 30–36-inch-wide rack holds roughly 20–30 garments; budget $80–$200 for the rack, mirror, and table combined.
Use velvet hangers to prevent shoulder bumps and dedicate the bottom shelf to shoes so the rail stays uncompromised.
Closet and Bed Clearance: Layout Principles
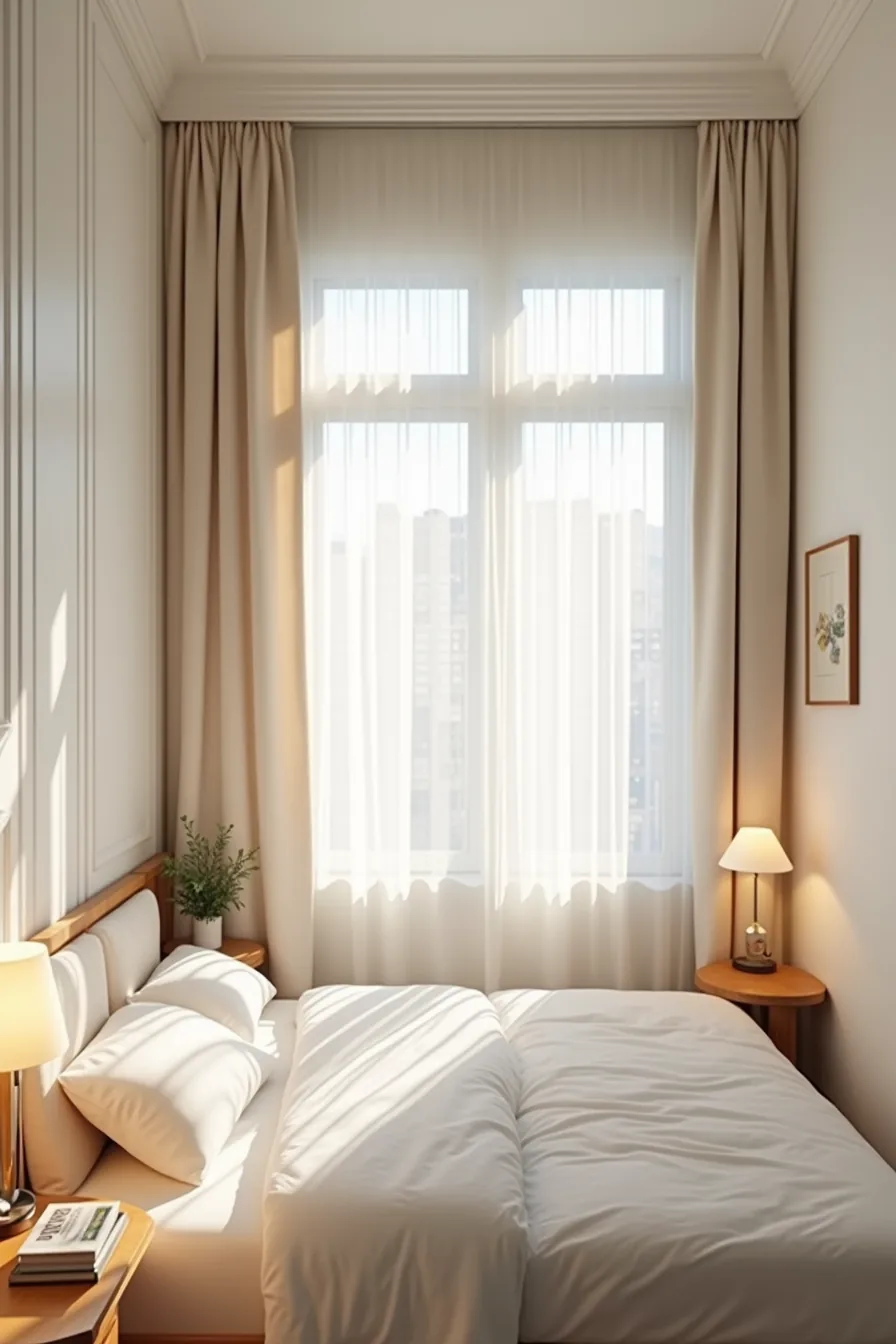
Closet and bed clearance determine whether your morning routine flows or frustrates. The overhead floor plan captures the non-negotiables: a door swing path that stays clear of the bed frame, a walking lane between the closet and bed, and a minimum 24-inch gap at the foot of the bed. Without that gap, you’ll shuffle sideways every single day, and the closet door becomes a daily obstacle rather than an access point.
Position the bed so its foot doesn’t intrude into the closet door’s arc. A standard hinged door needs roughly 24–30 inches of clear swing space; a sliding door needs none but requires a 24-inch-wide path along its track. In a medium room (10 × 12 feet), place the bed against the wall opposite the closet, leaving a 28–32-inch walking lane between the bed’s side and the closet face.
This arrangement keeps the doorway threshold unobstructed and lets you open the closet fully without turning sideways. For small rooms under 100 square feet, prioritize the 24-inch foot clearance over nightstand depth, a narrower 10-inch table beats blocking the circulation path.
Maintenance and Seasonal Rotation
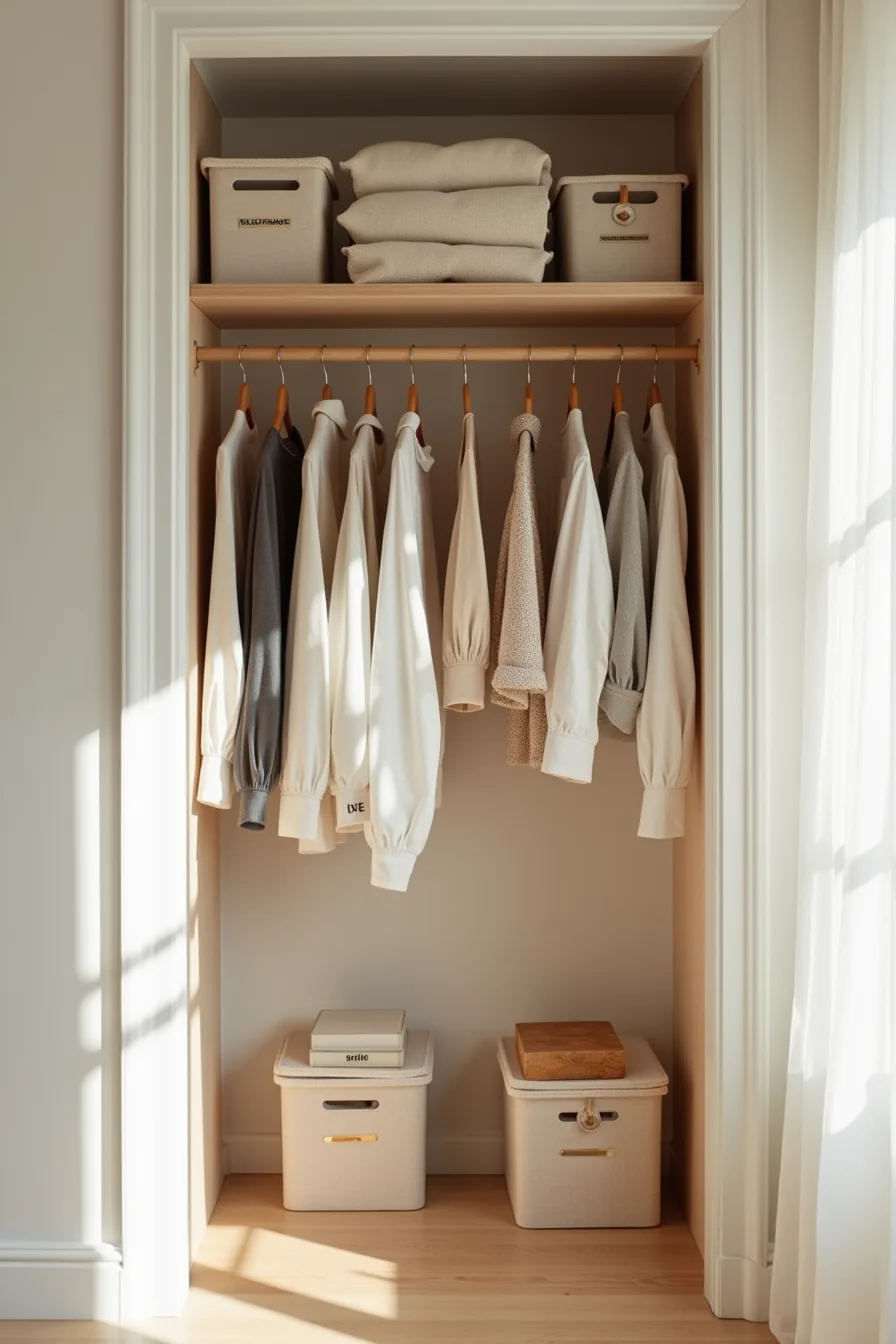
A bedroom closet that works year-round depends on a seasonal rotation, not constant reorganizing. Twice a year, when the thermostat crosses 60°F in spring and drops below it in fall, swap your hanging sections so the current season sits at waist-to-eye level. Out-of-season items move to the upper shelf, where labeled storage bins keep them identifiable without pulling everything down to search.
Prevention beats remediation in a closet that shares wall space with a bathroom or exterior wall. Cedar blocks on the shelf deter moths without the chemical smell of naphthalene, while a moisture-absorbing container on the floor pulls ambient humidity from the air. Replace the absorbent unit every 60–90 days, and check the cedar blocks annually, their oils fade, and re-sanding them with fine grit restores the scent.
Shelf dividers stop stacked sweaters and linens from avalanching into a single pile, which keeps your rotation predictable. Tie this maintenance rhythm into your routine by pairing it with daylight saving time changes; two 20-minute sessions per year cost less time than a monthly full redo. For more storage capacity and organization strategies, see the other ideas in this bedroom closet guide.
Where to start
Pick the one idea that solves your biggest pain point first, whether that’s reclaiming floor space, hiding clutter, or working around a rental’s fixed fixtures. Measure your wall and floor clearance before buying anything, and confirm you’ve at least 30 inches of walking space in front of any door or drawer.
Your next step: take photos of your current closet, note the dimensions, and compare them against the two or three options you shortlisted here. That 10-minute audit will tell you which solution fits without a single purchase.
Frequently Asked Questions
What’s the minimum width needed for a functional walk-in closet?
A minimum of 4 feet (48 inches) wide works for a single-sided layout. For double-sided hanging with a center aisle, plan on 6 to 7 feet. Less than 4 feet forces awkward sideways movement.
Can I install a built-in closet system as a renter?
Yes, if you use freestanding or tension-mounted systems, no drilling required. Avoid permanent wall-anchored units unless your lease explicitly allows modifications. Look for adjustable shelving units with rubber feet or pressure rods that leave walls intact.
How much clearance should I leave between a closet door and the foot of a bed?
Leave at least 24 to 30 inches for hinged doors to swing fully open. If space is tight, opt for sliding or bifold doors, which need only 6 to 12 inches of clearance. Less than 24 inches with hinged doors blocks access and risks damage.
What’s the best way to organize a small reach-in closet for a faster morning routine?
Use vertical double rods, upper rod for shirts, lower for pants, and add pull-out baskets for accessories. Keep daily-wear items at eye level, and store out-of-season pieces on the top shelf. Group by outfit type, not color, to cut decision time.