
A shoe cabinet with seating solves two entryway problems at once, where shoes go and where you sit to put them on, but the right version for your home depends on your floor plan, household size, and whether you plan to stay put. The practical range runs from a narrow 12-inch bench with flip-up storage for a compact apartment to a full 40-inch-wide unit with a cushioned top for a busy family. Before you buy or build, you need to know which configuration actually fits your daily traffic, your wall space, and your tolerance for maintenance.
The six interpretations ahead break down the trade-offs in scale, cost, and material so you can skip the guesswork and land on a solution that works from day one.
Key takeaways
- Flip-down cabinets save up to 12 inches of floor depth versus a bench, but require a clear 30-inch swing radius and wall studs for secure mounting.
- Multi-tier benches handle heavy daily use best when the seat sits 18-19 inches high and each cubby is sized for the largest household shoe, typically 13-14 inches deep.
- Renter-friendly options like freestanding benches with separate shoe racks cost $80-$200 and can be moved without patching walls, while built-ins run $500-$1,500 but add permanent home value.
- DIY combinations using a flat-pack bench and an over-door shoe organizer cost under $100 total, but expect 2-4 hours of assembly and lower weight limits than solid-wood units.
Bench vs Flip-Down Cabinet: Which Storage Type Fits Your Space
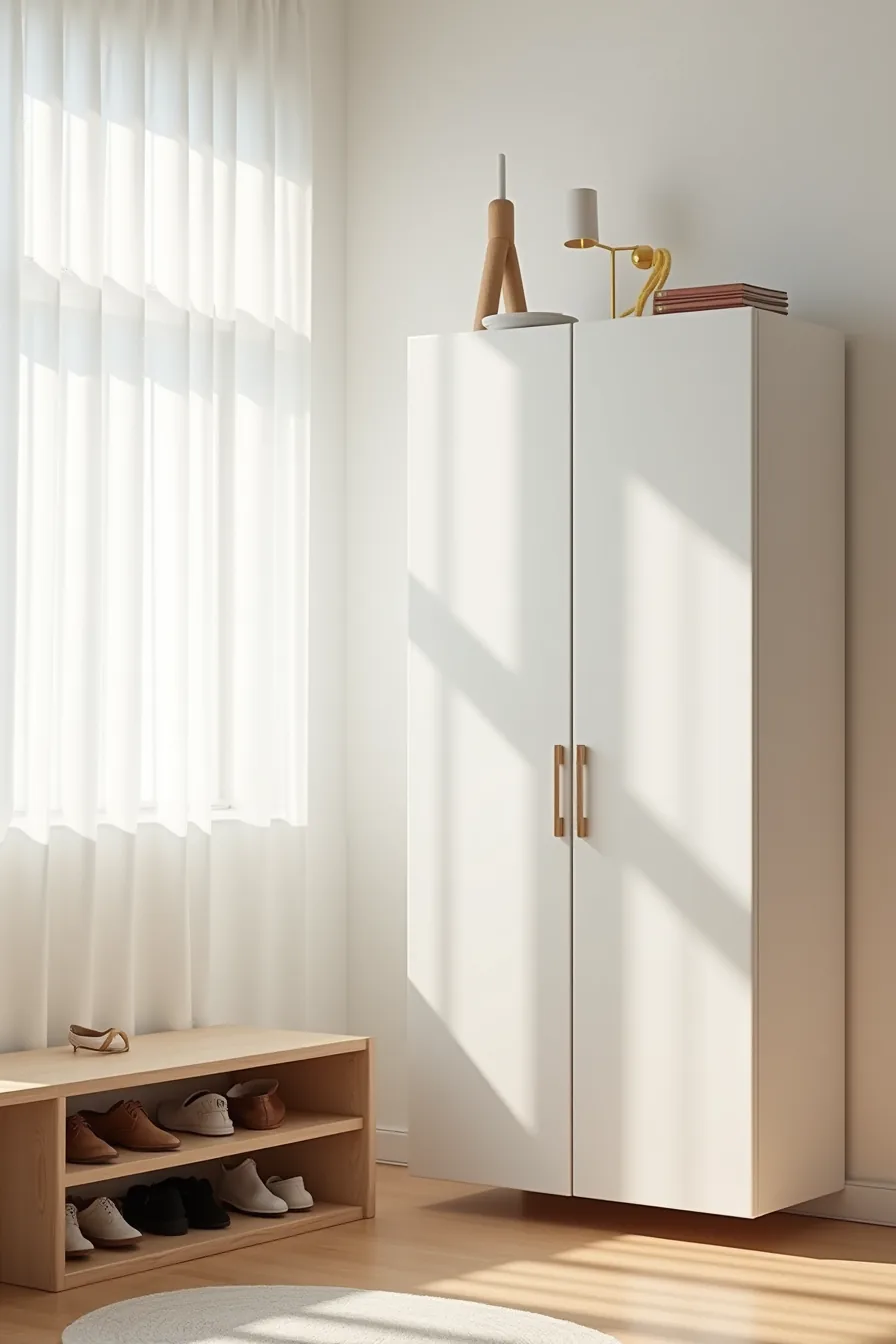
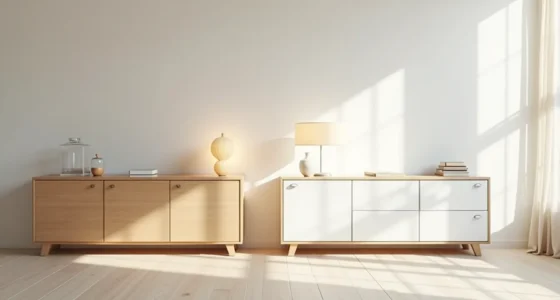
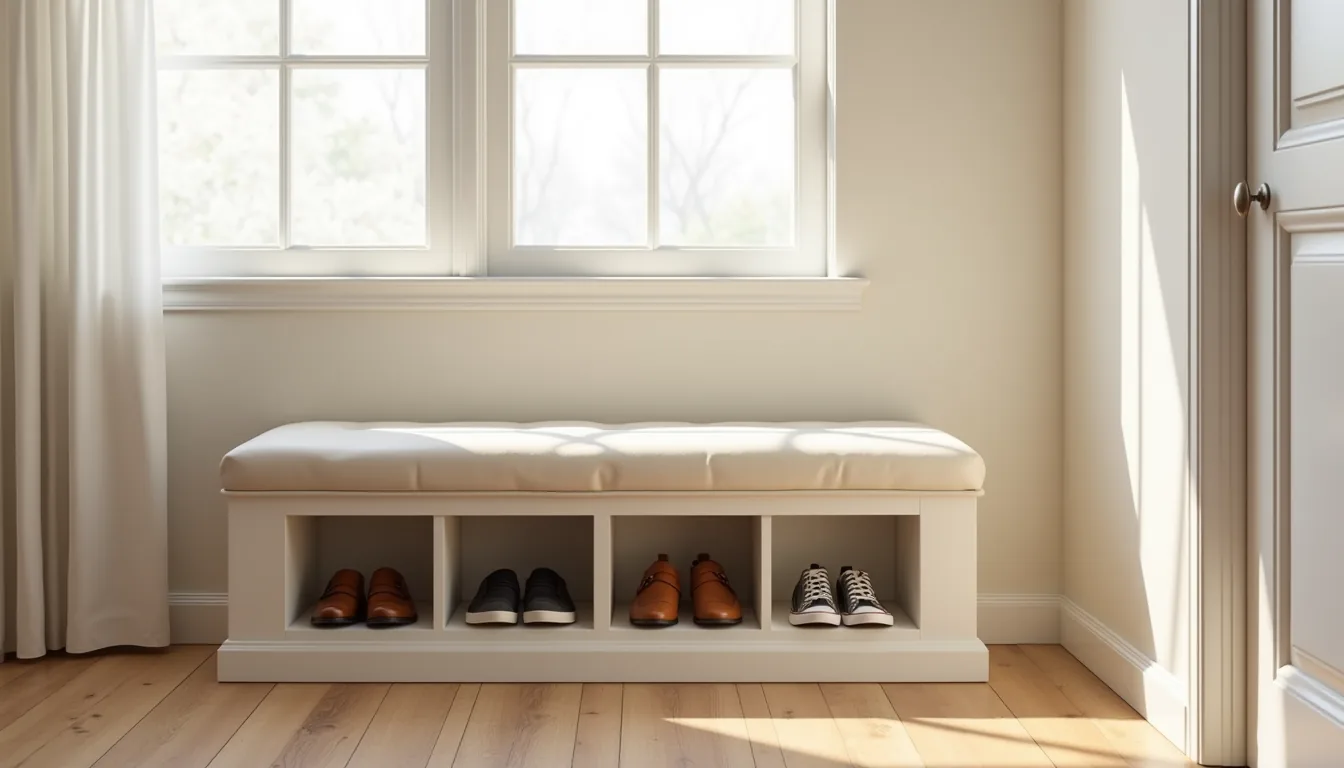
The core trade-off comes down to footprint versus access speed. A low wooden bench with shoes stored underneath on a shelf gives you a permanent spot to sit while tying laces, but it demands roughly 18–24 inches of floor depth and keeps every pair visible. A wall-mounted white flip-down cabinet with the door hanging open changes the game: it occupies only 8–12 inches of depth when closed, yet you lose the seating surface unless the door locks in a horizontal position.
For a narrow hallway under 36 inches wide, the flip-down cabinet wins because it keeps the walking path clear. In a wider entry with room to spare, the bench suits you better, you can leave shoes out for daily rotation without opening and closing a door each time. Think about your routine: if you rush out daily, flip-down access adds a step; if you come home and kick off shoes in one motion, the bench streamlines that habit.
Narrow Entry Solution: Vertical Shoe Cabinets With Integrated Seating
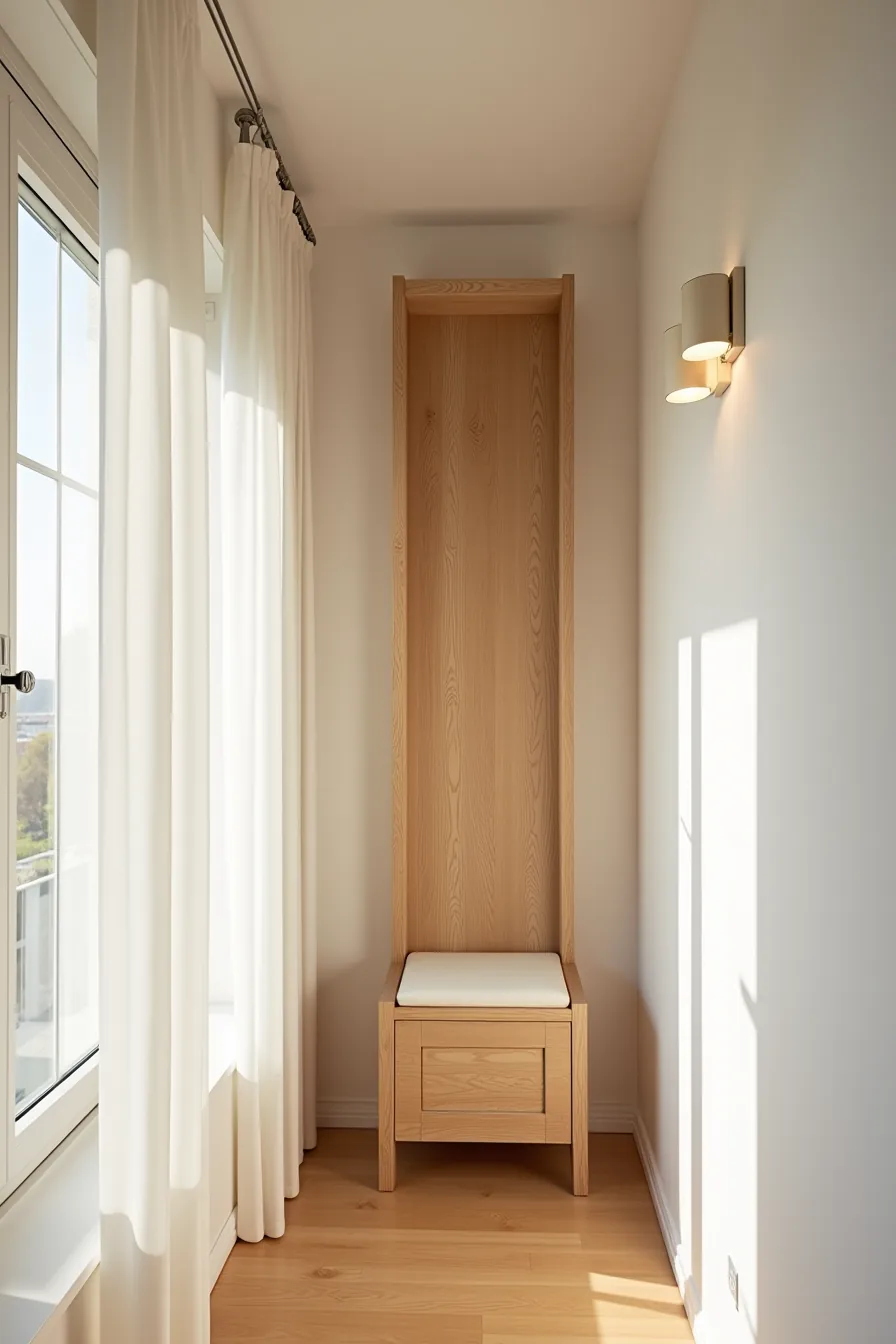
When your hallway runs under 40 inches wide, you can’t sacrifice floor depth for a bench. A tall, narrow cabinet in natural oak solves this by stacking storage vertically: expect a footprint of 15–18 inches deep and 24–30 inches wide, with the cabinet body rising 70–80 inches to use dead wall space above head height. The cushioned seat built into the base adds a 16–18-inch perch without extending the cabinet’s depth, so you get a place to sit that still leaves a clear walking path.
Position the unit in a hallway corner to tuck the depth out of the main traffic line. The wooden floorboards running lengthwise visually elongate the space, which makes the vertical silhouette feel intentional rather than imposing. You lose the open-shelf convenience of a bench, so reserve this narrow entry solution for households that store only current-season footwear, typically 6–8 pairs, and keep off-season shoes elsewhere.
The closed door hides clutter, and the oak finish requires only occasional dusting; apply a furniture polish twice a year to prevent the wood from drying near exterior doors.
Family Shoe Zone: Multi-Tier Storage Benches for Busy Households
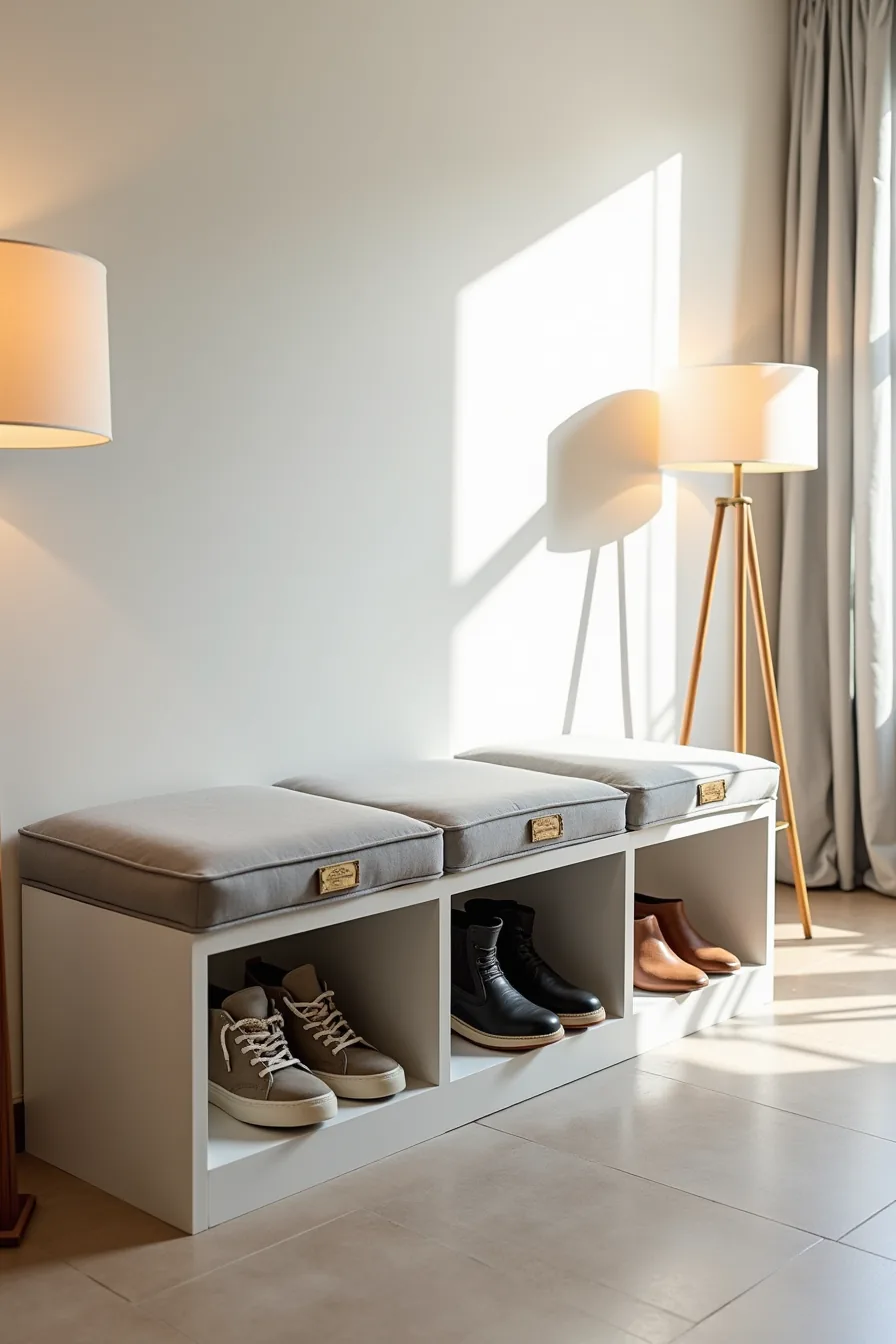
A centralized family shoe zone works best when everyone’s footwear lives in one place. A long, gray upholstered bench with three distinct compartments divided by internal separators solves the morning bottleneck: each section becomes a personal zone for a different shoe type, sneakers for school and errands, boots for wet weather, and flats for work or evenings out. This layout suits households with 3–4 members who need visual order without relying on individual closets.
To keep the system functional, add small woven labels perched on the front edge of each compartment. Assign each divider to a person or a category, depending on your family’s habits, and reset the zones every season. The bench itself should run 60–72 inches long and 16–18 inches deep to seat two people comfortably while still leaving 30 inches of walkway clearance in front.
Choose a wipeable upholstery fabric rated for high traffic, and expect to vacuum the seat monthly plus spot-clean spills immediately to prevent staining from muddy soles.
Budget-Friendly Route: DIY and Flat-Pack Combinations
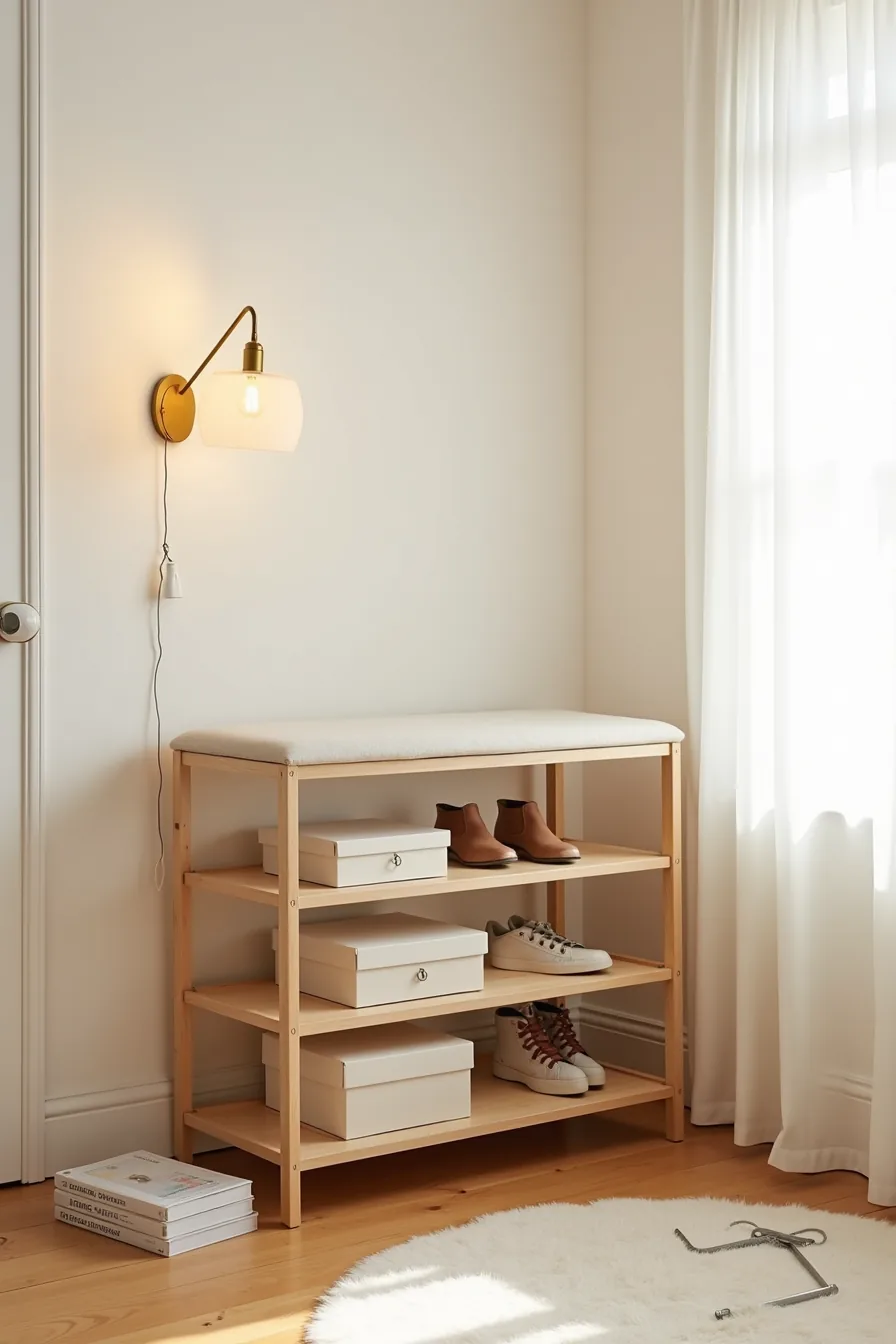
You can piece together a functional shoe cabinet with seating for $80–$150 using ready-to-assemble furniture and a few hardware-store tweaks. Start with a simple pine shoe rack with four horizontal shelves, typically 30 inches wide and 40 inches tall, and top it with a flat cushion cut to match the frame’s dimensions. Stack shoe boxes on the lower two shelves to keep seasonal pairs dust-free, and use rolled fabric storage bins on the upper shelves for daily sneakers or flip-flops you grab in a hurry.
Assembly takes 45–60 minutes with the included hex wrench, but budget another 30 minutes to reinforce the joints with wood glue before tightening the bolts. The cushion needs a non-slip pad underneath to prevent shifting when you sit; expect to replace it every 2–3 years if the foam is standard 2-inch density. Paint the pine with a water-based primer and two topcoats if you want a custom color, this adds roughly $25 and one weekend of drying time, but it protects the wood from moisture tracked in on wet soles.
Renter-Friendly Route: Freestanding and Removable Options
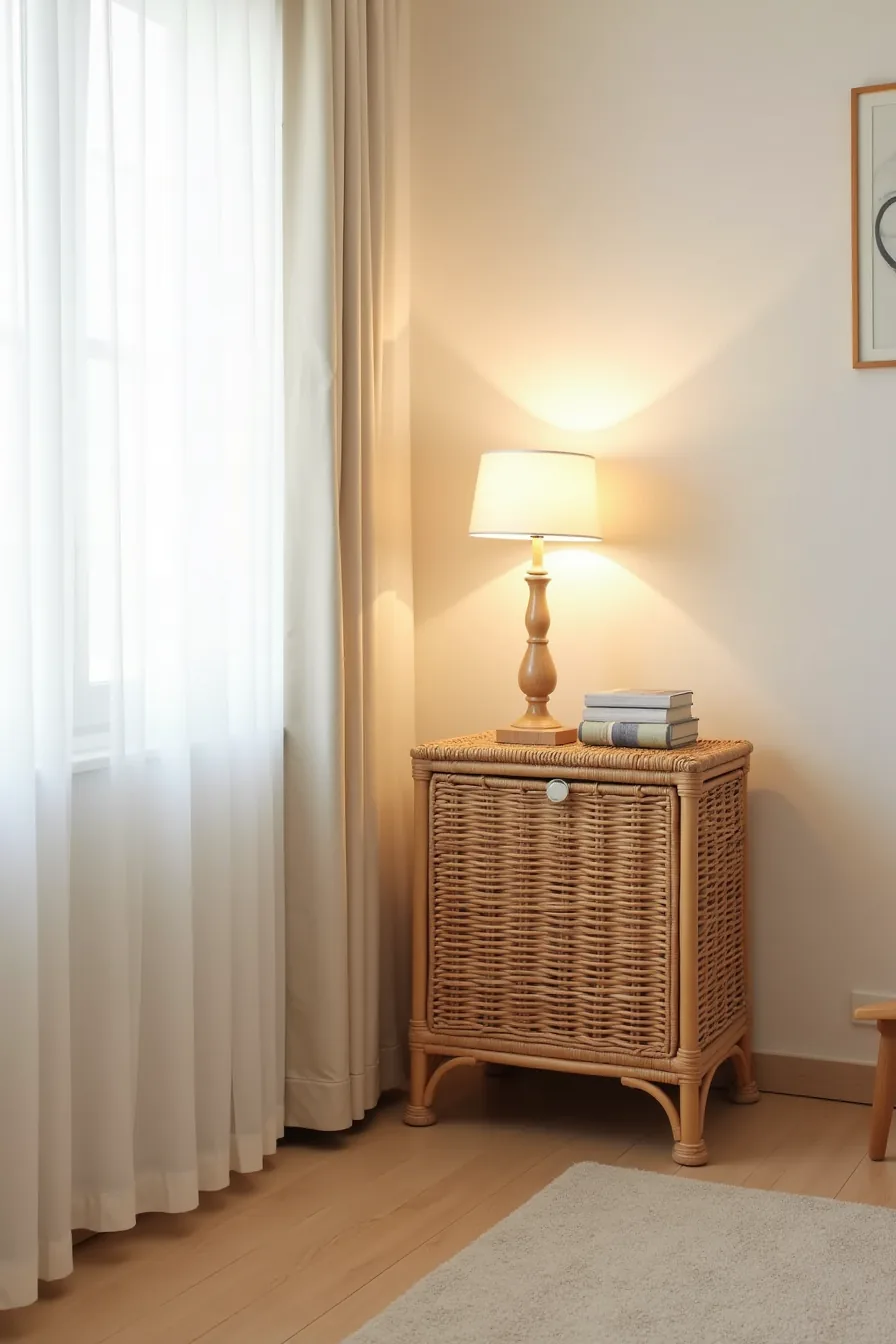
A freestanding rattan shoe cabinet topped with a removable woven cushion gives you the full shoe cabinet with seating experience without a single screw entering your walls. The cushion sits independently on the frame, so you can lift it off for cleaning or move the entire unit to another room in under two minutes. Adhesive felt pads on the cabinet feet protect apartment flooring and compensate for minor unevenness in older buildings.
Look for a rattan piece with interior shelves that hold 8–12 pairs, depending on whether you store shoes flat or angled. Assembly is typically tool-free, with the frame arriving pre-woven and the legs screwing in by hand. Expect the rattan to require annual conditioning with a light furniture oil; without it, the weave dries and cracks within 3–4 years in heated apartments.
For a true zero-drill setup, add an adhesive wall anchor strap behind the unit if you’ve small children or pets that might climb. This route suits renters who move every 1–3 years and want the unit to look intentional in a living room or hallway rather than tucked into a closet.
Long-Term Investment: Custom Built-In Cabinets With Upholstered Seating
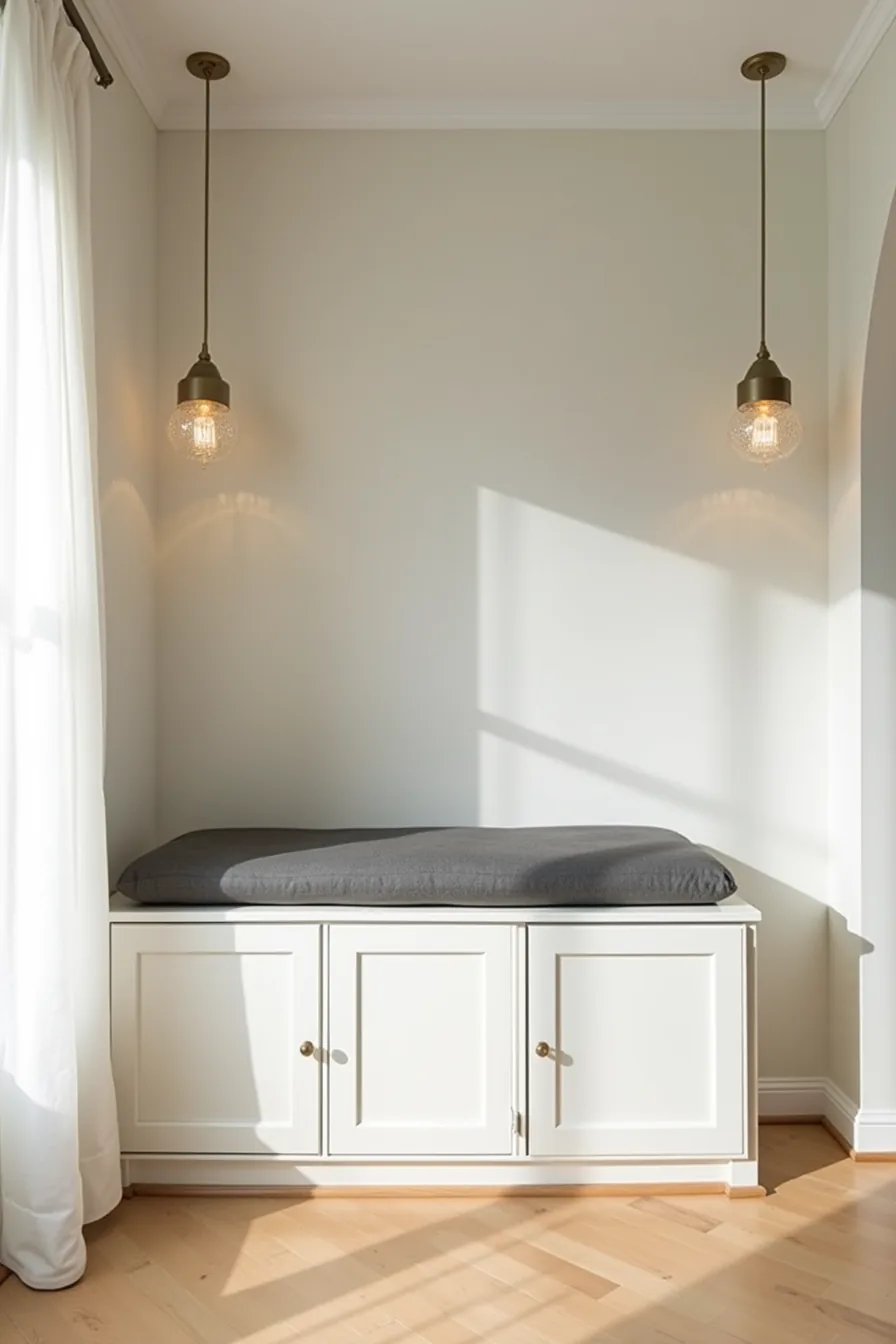
A floor-to-knee custom built-in with white painted doors turns your entryway into permanent architecture. The deep charcoal linen cushion on top provides a firm, inviting seat for pulling on boots, while the cabinet body extends the full width of your wall to maximize shoe storage. You choose the interior shelving configuration, angled tiers for flats, vertical dividers for tall boots, and the hardware finish, so the piece matches your home exactly rather than compromising with a store-bought unit.
This route suits homeowners planning to stay put for 7–10 years or more. Expect to pay roughly three to five times what a premium freestanding unit costs, with most custom installations landing in the $1,200–$3,500 range depending on width, wood grade, and labor in your region. The trade-off is durability: white painted doors resist scuffs when finished with a catalyzed lacquer, and the linen cushion cover unzips for machine washing.
Plan to repaint every 5–8 years in high-traffic households, and treat the cushion with a fabric protector annually to repel dirt from shoes and bags.
Your 10-minute action plan
Start by measuring your entry zone and counting your largest shoe pair. That single number determines whether you need a 30-inch bench or a 40-inch cabinet with flip-down seating.
Walk through your space with a tape measure and mark where a seated cabinet would sit. Check that the door swings freely and the seat leaves 36 inches of walking clearance.
Decide your budget ceiling before browsing. A solid-wood investment piece runs $300–$800; a laminate build runs $100–$250; a DIY plywood version costs $60–$120 in materials. Pick one route and stick to it.
Then measure your tallest boot, your widest sneaker, and your most-used pair’s daily-access frequency. That’s your spec sheet.
Your next step: sketch three layouts, left-side seating, right-side seating, and centered, then order the one that leaves the most wall space visible.
Frequently Asked Questions
How much shoe storage capacity do I need for a family of four?
Plan for 8–12 pairs per person, totaling 32–48 pairs. That means a cabinet with 4–6 tiers or roughly 60–80 inches of combined shelf width. Seasonal rotation lets you store off-season footwear elsewhere.
Can I add a cushion to a shoe cabinet bench to make it more comfortable?
Yes, attach a 2–3 inch foam cushion with a washable cover using Velcro strips or non-slip gripper pads. Keep the cushion removable so you can clean it and access the storage below without obstruction.
What’s the minimum width needed for a shoe cabinet with seating in a hallway?
Allow at least 24 inches of clear seat width for one person. For a comfortable sit-and-tie experience, aim for 30–36 inches. Hallways narrower than 36 inches total will feel cramped, so measure your traffic path first.
How do I prevent a shoe cabinet from smelling musty or trapping odors?
Choose a cabinet with slatted or louvered doors and a 1–2 inch gap between the back panel and wall for airflow. Add silica gel packets or a cedar block inside, and wipe soles before storing. Never seal damp shoes in enclosed compartments.