A bedroom built in wardrobe turns a room’s storage problem into its most polished design feature, but only when you match the cabinetry’s scale, finish, and placement to the space you actually have. The difference between a smooth, hotel-quality wall and a bulky eyesore comes down to a few hard rules about proportion and clearance. You’ll need to decide between a full-height run, a corner unit, or a low-line dresser system, each with distinct costs and spatial demands.
Before you pay for custom joinery, you need to know which configuration suits your room’s dimensions, your ceiling height, and your tolerance for maintenance. The six approaches below break down exactly what each requires, who it fits best, and what it will realistically set you back.
Key takeaways
- Wall-to-wall wardrobes maximize storage by using full ceiling height and one entire wall, but require at least 12 inches of depth for hanging clothes and leave 30 inches of clear floor space for opening doors.
- Flush fronts with hidden handles create a smooth, calmer look by eliminating visual clutter, but they cost 15-20% more than standard handles and demand soft-close hinges to avoid finger smudges.
- Matching wardrobe fronts to your wall color visually expands small bedrooms, yet requires a flat, matte paint finish on both surfaces to prevent sheen mismatch that highlights the join.
- For renters, freestanding wardrobes with tension rods or modular cube systems mimic built-ins without permanent fixes, but expect to lose 4-6 inches of depth compared to true custom joinery.
Wall-to-Wall Wardrobe: Maximum Storage in Any Bedroom Size
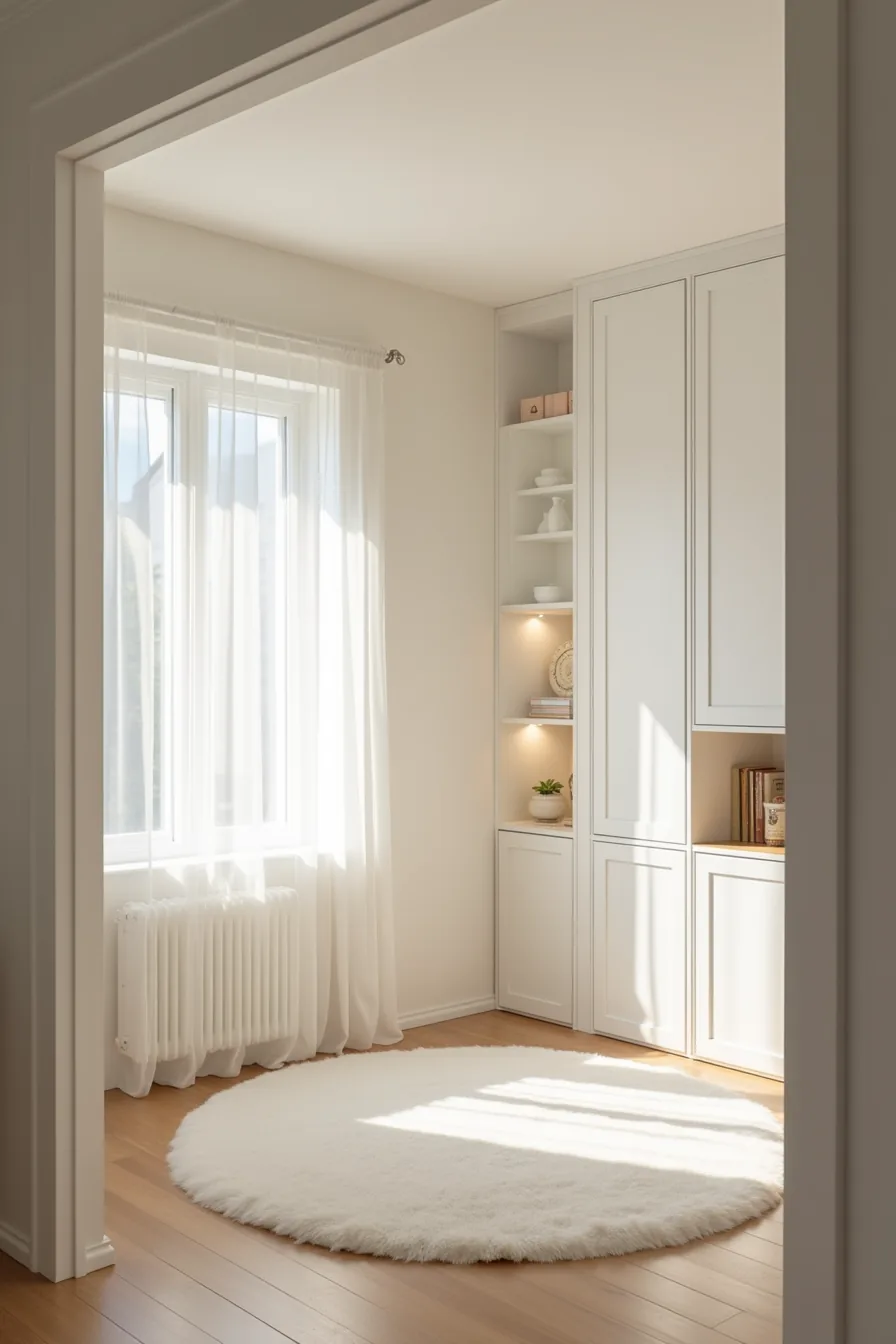
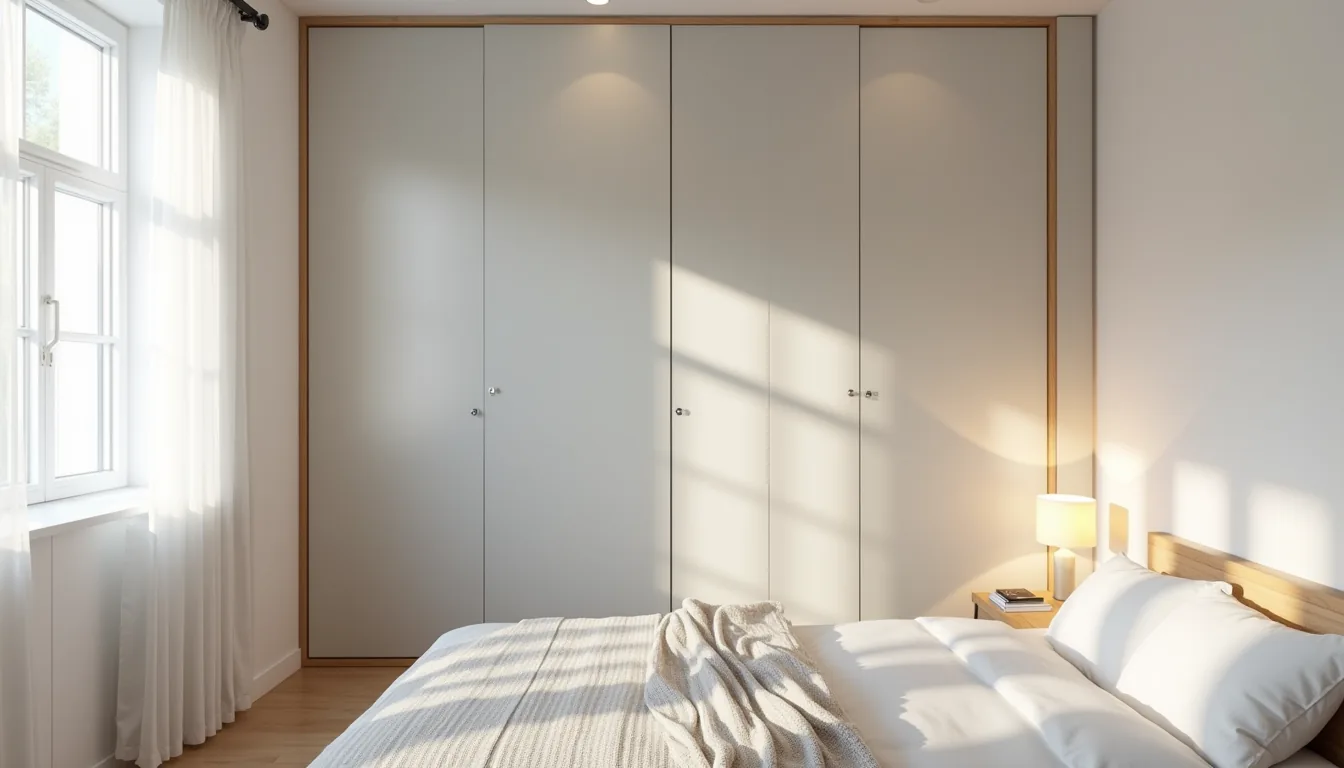
A wall-to-wall wardrobe converts the entire length of a wall into storage, eliminating the dead corners and awkward gaps that freestanding units leave behind. In a compact bedroom, this approach often doubles your hanging space compared to a standard 24-inch-deep wardrobe. Floor-to-ceiling cabinetry in a bright white finish keeps the installation visually light, so the room doesn’t feel boxed in.
The open wardrobe door reveals interior shelving that you can configure to match your actual clothing volume, double hanging rails for shirts and trousers, or deeper shelves for folded knitwear. Positioning the cabinetry against the wall opposite the bed leaves the window frame unobstructed, preserving natural light and ventilation. For a small room, keep the cabinet depth to 22-24 inches and run it corner to corner; in a larger space, you can add a central dressing area without compromising the smooth look.
Hidden Handles and Flush Fronts: The Smooth Look Explained
Hidden handles do more than remove visual clutter, they let the wardrobe disappear into the wall surface. A push-catch mechanism at the door edge lets you press lightly to release the latch, while recessed aluminum channels offer a slightly more tactile option that costs less to install. For bedrooms under 120 square feet, flush fronts painted to match the surrounding wall color prevent the cabinetry from reading as a bulky object, which keeps the room feeling larger.
You face a practical trade-off between the two systems. Push-catches operate smoothly but require precise alignment over years of use; a recessed handle costs roughly 20-30% less to fit and stays reliable with zero moving parts. Dust and fingerprints show more readily on flat matte surfaces, so budget for a microfibre wipe-down every two to three weeks if you choose this route.
Match the Wall Color for a Calmer Bedroom Aesthetic
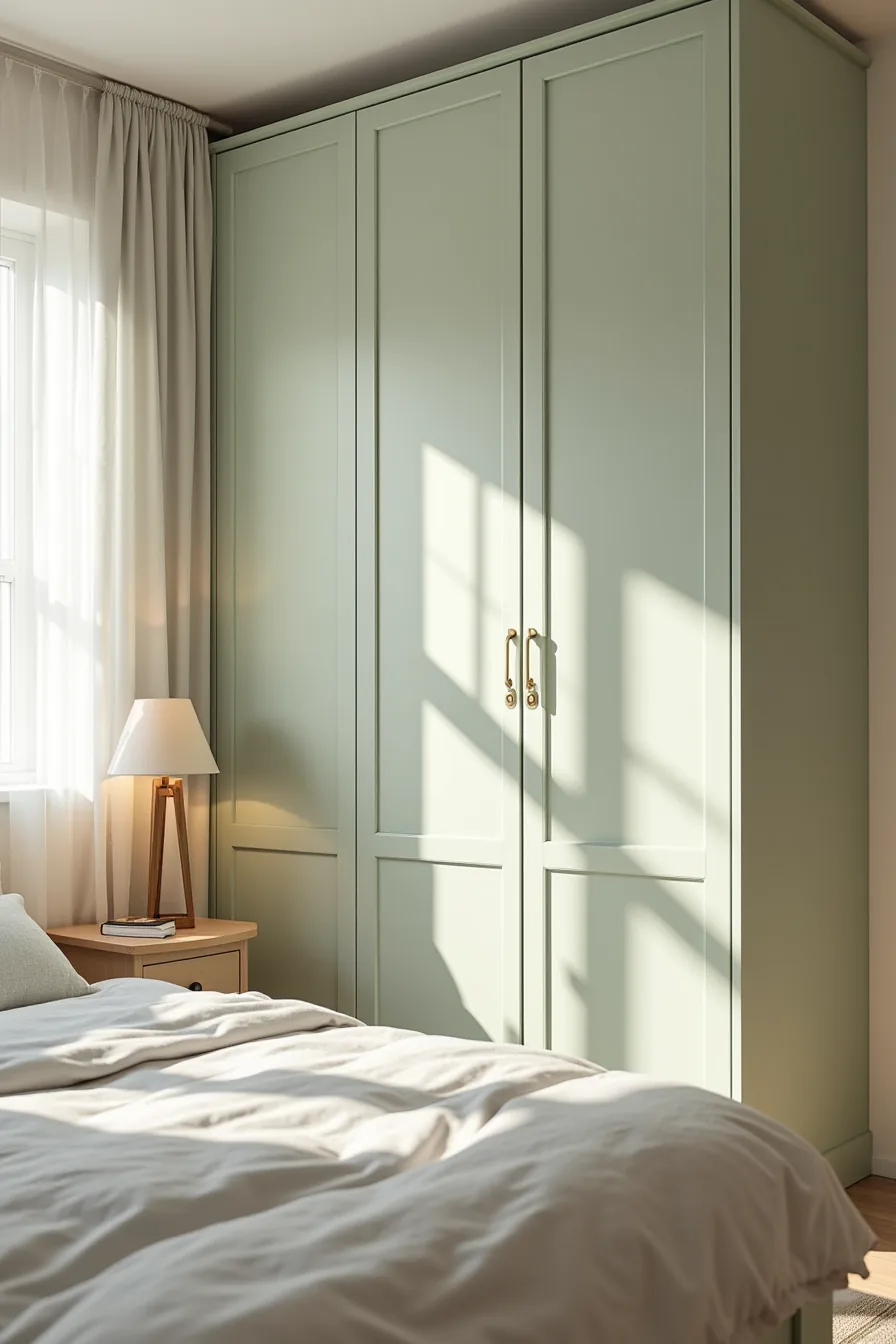
Painting wardrobe doors to match the wall color erases the cabinetry’s visual weight, making a large storage block read as architectural paneling rather than furniture. A soft sage finish on both the walls and the doors creates a continuous field of color that visually recedes, which makes the ceiling feel higher and the floor area larger. Map the exact paint code across wall and doors, off-the-shelf whites rarely match, so request a custom tint in a durable satinwood or acrylic eggshell that withstands daily door contact.
The visual payoff depends on contrast elsewhere. With the sage wardrobe and matching walls, anchor the room with a bed positioned opposite, letting the headboard introduce a complementary texture like upholstered linen or dark oak. Keep wall art minimal or omit it entirely on the wardrobe wall; any framed piece will draw the eye to the join between door and wall, breaking the illusion.
The finish you choose also dictates upkeep, flat matte hides surface imperfections but marks easily, while a low-sheen option takes minor scuffs without showing every fingerprint. If you’re color-matching an existing wall, paint a sample directly on one door and view it in morning and evening light before committing.
Strategic Placement: Above Bed, Beside Windows, or Across One Wall
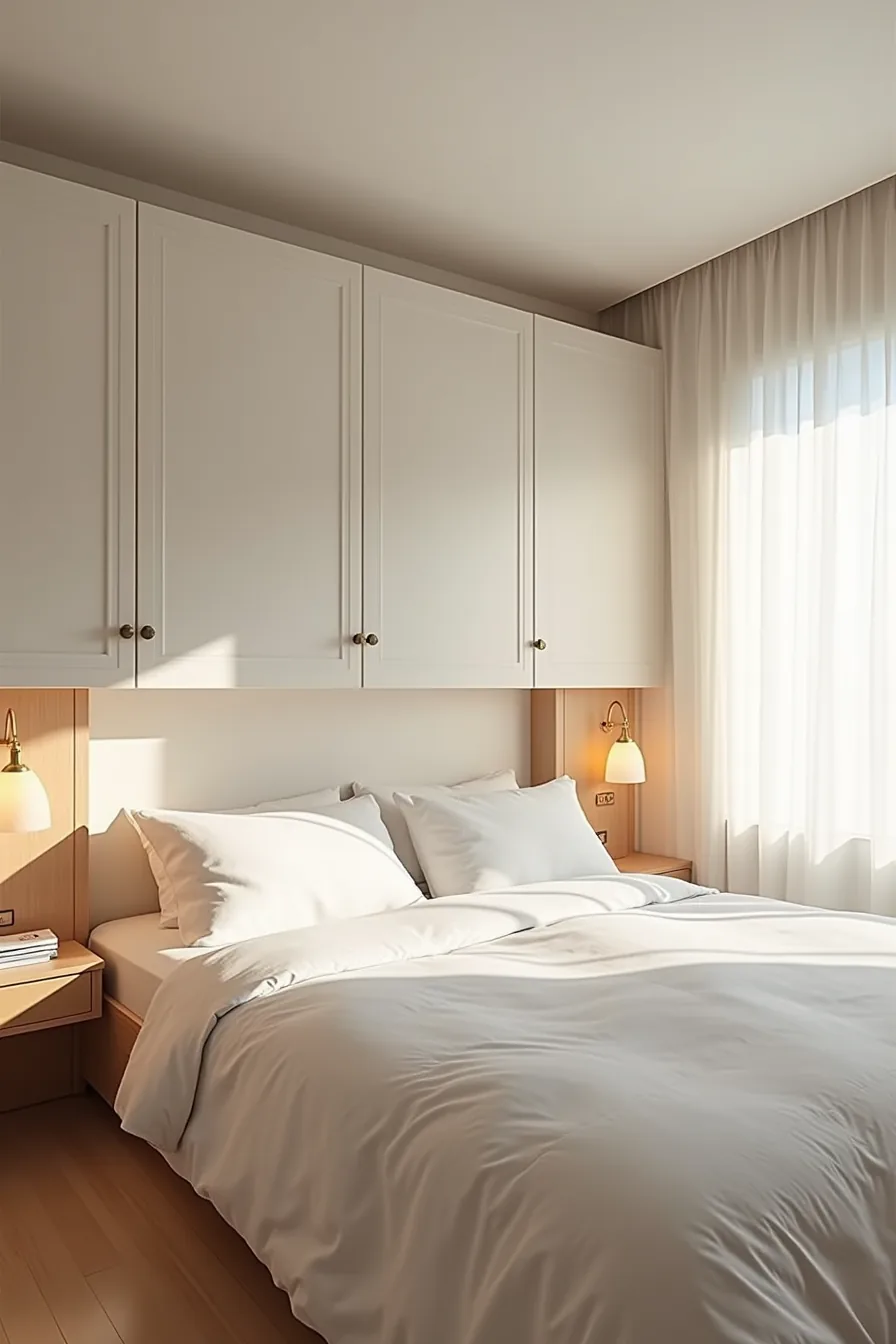
The placement above the headboard uses the wall’s full width at ceiling height, spanning the room end-to-end with the bed frame directly below and nightstands flanking on either side. This configuration works when you’ve limited floor space but generous wall width, you gain deep storage without sacrificing a single square foot of walking area. The trade-off is access: you’ll need a step stool to reach upper shelves, so reserve this position for seasonal items, luggage, and bedding rather than daily essentials.
Positioning wardrobes beside windows preserves the view and natural light while using the wall segments that typically sit unused. Leave at least 12–18 inches of clearance between the wardrobe edge and the window frame to avoid blocking curtains and to keep ventilation routes open. A full-height run across one entire wall suits medium to large bedrooms best, giving you 24–30 inches of depth for hanging garments; in a narrow room, reduce depth to 20–22 inches and use half-depth shelving to keep the circulation path above 30 inches.
Choose placement based on how you move through the room each morning, the wardrobe should never force you to sidestep around an open door to reach the bathroom or dresser.
Budget, Renter, and Investment Routes to Built-In Wardrobe Storage
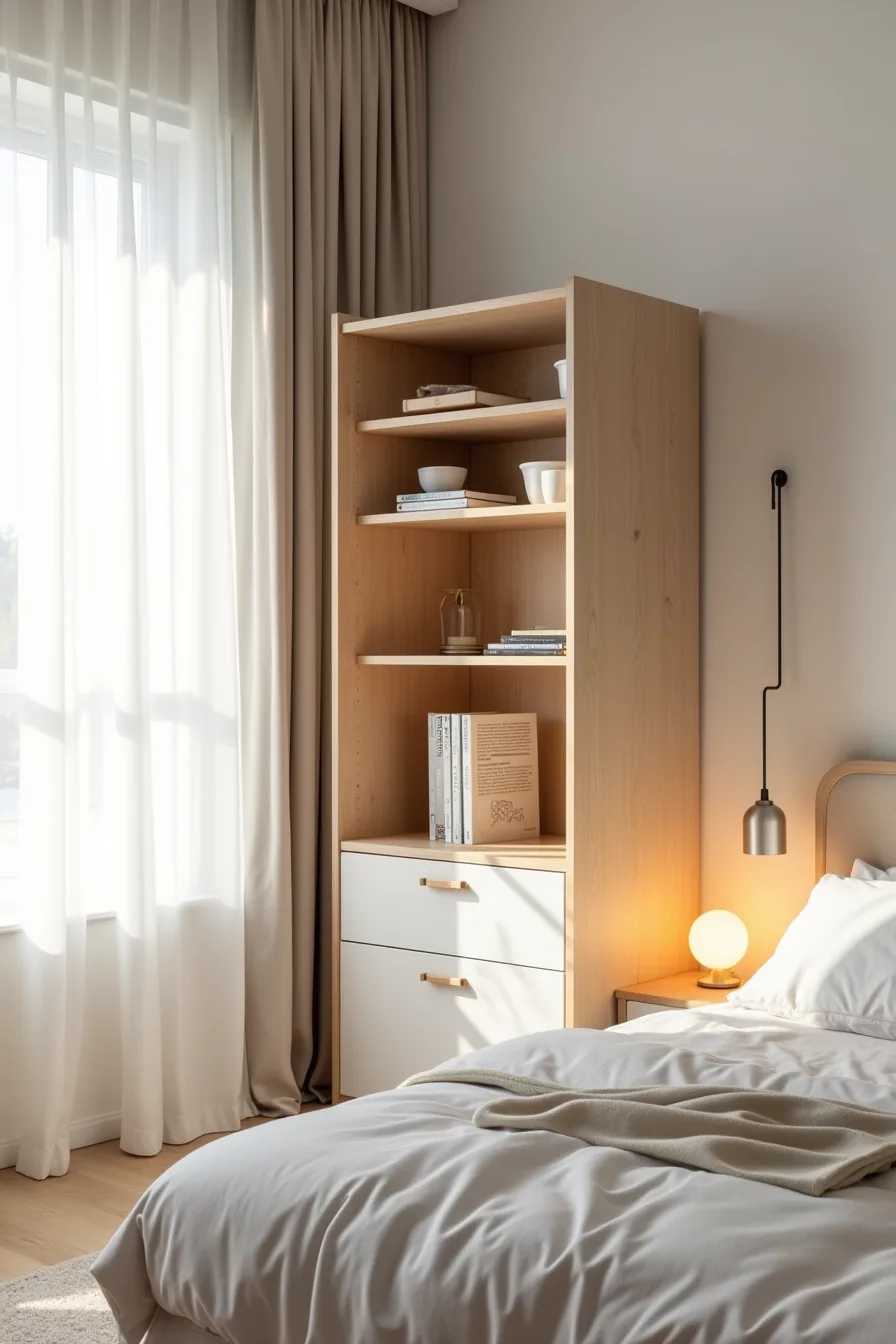
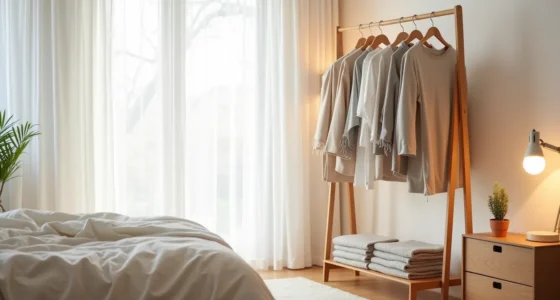
The freestanding modular tall cabinet is your built-in look without the commitment. It anchors to the wall with two brackets, and the removable backing panels let you disguise an uneven wall or an old radiator pipe behind the unit. Adjustable shelves give you the same interior flexibility as a custom fit, and you can move the whole thing to a guest room when you relocate.
Expect to pay $300–$800 for a solid particleboard version with soft-close hinges, and plan a two-hour assembly session with a friend.
For renters, tall freestanding cabinets in a matching finish read as built-ins when you run them floor-to-ceiling and add a simple crown molding strip along the top seam. You skip the permanent installation and restore the wall with spackle when you leave. On the investment end, custom cabinetry starts around $3,000–$6,000 for a 10-foot run with soft-close drawers and interior lighting, worth it only if you plan to stay five-plus years.
The modular route suits anyone who wants built-in aesthetics on a timeline, not a mortgage.
Maintenance, Ventilation, and Long-Term Durability Considerations
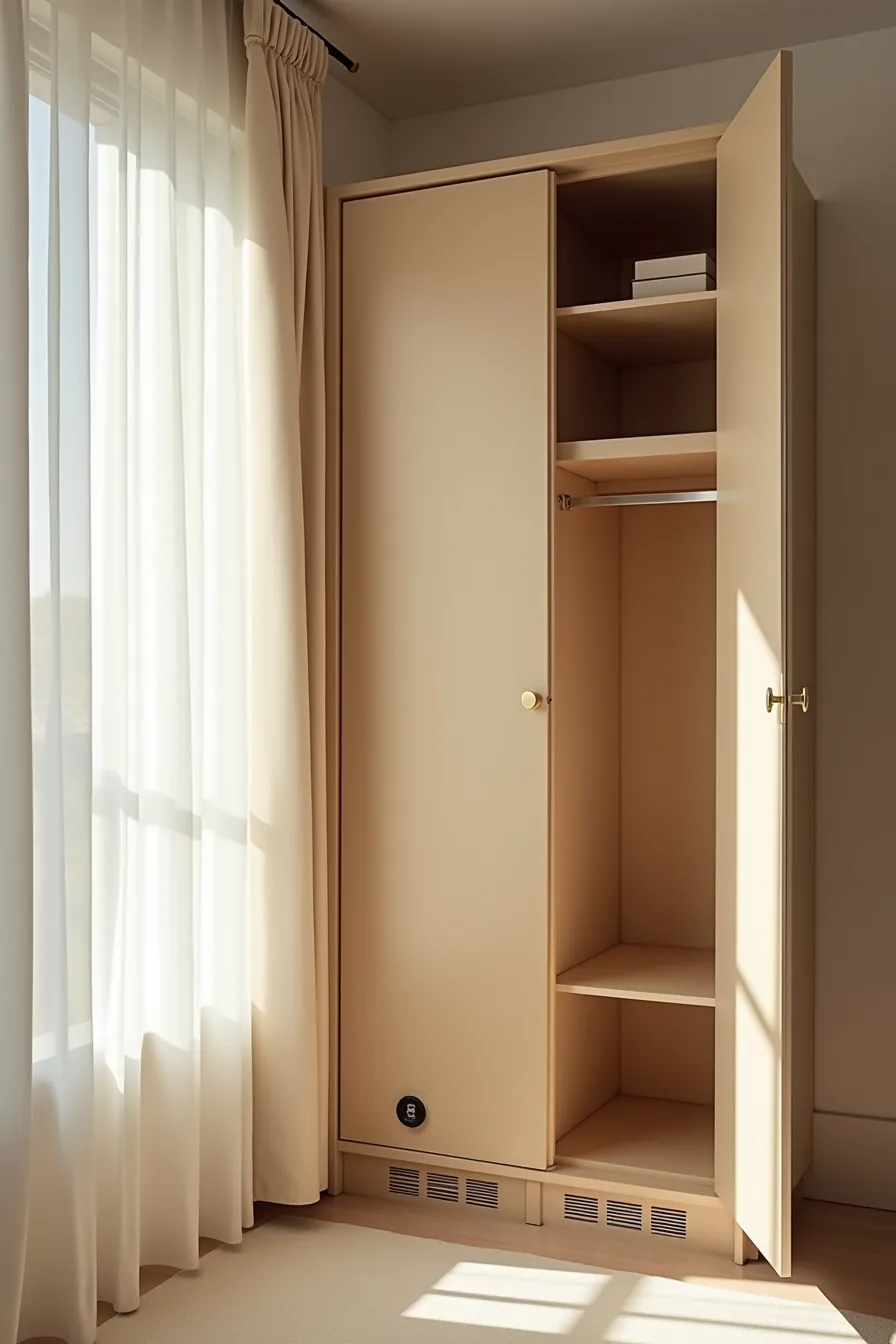
A hinged-door interior with a visible ventilation gap at the base is your first defense against moisture buildup. Bedrooms generate humidity from breathing and perspiration overnight, so seal the cabinet completely and you invite mold on leather goods and musty odors in knits. Leave the bottom 1–2 inches open across the full width, or fit a louvered plinth, and use a small humidity gauge on an interior side panel to alert you when levels exceed 60%.
Expect to wipe down internal surfaces every quarter and re-coat them annually, especially if you store woolens or delicates.
Door alignment is your primary long-term maintenance point. Panel or MDF doors typically settle within the first year as the building shifts, so budget 20 minutes every 6 months to adjust the hinge cam screws, a single screwdriver turn usually fixes a gap at the top or bottom corner. For high-use bedrooms, select doors with 110-degree hinges and soft-close dampers rated for 60,000 cycles rather than standard hardware; the mechanism costs $10–$15 per hinge upfront but prevents a bowed, scraping door within three years.
Materials that wear best are moisture-resistant melamine with sealed edging or a laminate-faced MDF, both of which resist edge peel and hinge screw pull-out. A solid wood face frame looks premium but expands and contracts with seasonal humidity, so budget for an annual touch-up with furniture oil, particularly near the top and bottom panels where gaps appear most.
Where to start
Before you price a single panel, measure your wall and note the ceiling height. Standard wardrobes run 60–70 inches tall, but a built-in should reach within 6–12 inches of the ceiling to eliminate dust gaps and add storage overhead. Decide your budget first: a renter-friendly freestanding unit with fitted-look trim costs $300–$800; a true custom build starts around $2,000 and lasts decades.
Your next step is simple. Sketch your floor plan, mark the door swing and bed clearance, then book one consultation with a local carpenter or closet company. Bring your measurements and a photo of the room, that single meeting will tell you whether a custom build or a clever retrofit makes sense for your space and your lease.
Frequently Asked Questions
What is the difference between a bedroom built in wardrobe and a freestanding wardrobe?
A built-in wardrobe is custom-fitted to your wall, floor, and ceiling, maximizing every inch of space. A freestanding wardrobe is a moveable unit with gaps around it, offering flexibility but wasting vertical and side space.
Can you install a built-in wardrobe in a rental bedroom without damaging walls?
Yes, use a modular system with tension rods or freestanding frames that touch walls without fixing. Alternatively, install a wardrobe inside a recess or alcove, using pressure-mounted poles and shelving that leave no holes.
How much does a wall-to-wall bedroom built in wardrobe typically cost?
Costs vary widely: a basic flat-pack wall-to-wall unit ranges from $500–$1,500, a semi-custom with sliding doors runs $1,500–$4,000, and a fully bespoke carpenter-built wardrobe starts around $4,000–$10,000. Materials, hardware, and installation drive the final price.
What color should a bedroom built in wardrobe be if I want a calm, smooth look?
Choose a shade that matches your wall color, white, warm off-white, or soft greige, so the wardrobe visually disappears. Use matte finishes to reduce glare and avoid high-contrast trim, which breaks the smooth effect.