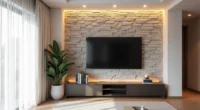
The IKEA Besta system is less a single TV unit and more a modular grid of cabinets, doors, and legs that you can assemble into a media wall tailored to your room’s exact dimensions and your viewing habits. Because the frames share a standard depth and height, you can mix open shelves, drawers, and solid doors to control visual weight, hide cables, or display decor. The real challenge isn’t picking a cabinet, it’s deciding which of six distinct configurations fits your space, budget, and lifestyle.
Each of the following setups solves a different problem, from cramped rentals to dedicated home theaters, so you can match the system to your actual room rather than forcing a trend.
Key takeaways
Wall-mounted floating setups save floor space but require solid-wall mounting and leave cable management visible unless you route wires through the wall. Modular Besta frames let you add or remove cabinets over time, so start with a 2-bay base and expand vertically or sideways as your storage needs grow. Custom fronts are the cheapest way to change the look, replace the standard doors with panel or high-gloss options for under $100 per door, without touching the frame. Corner configurations work best in rooms over 12 feet wide, but you’ll need to measure the depth clearance (most Besta units run 15–16 inches deep) to avoid blocking walkways.
Wall-Mounted Floating Besta Setup for Small Rooms
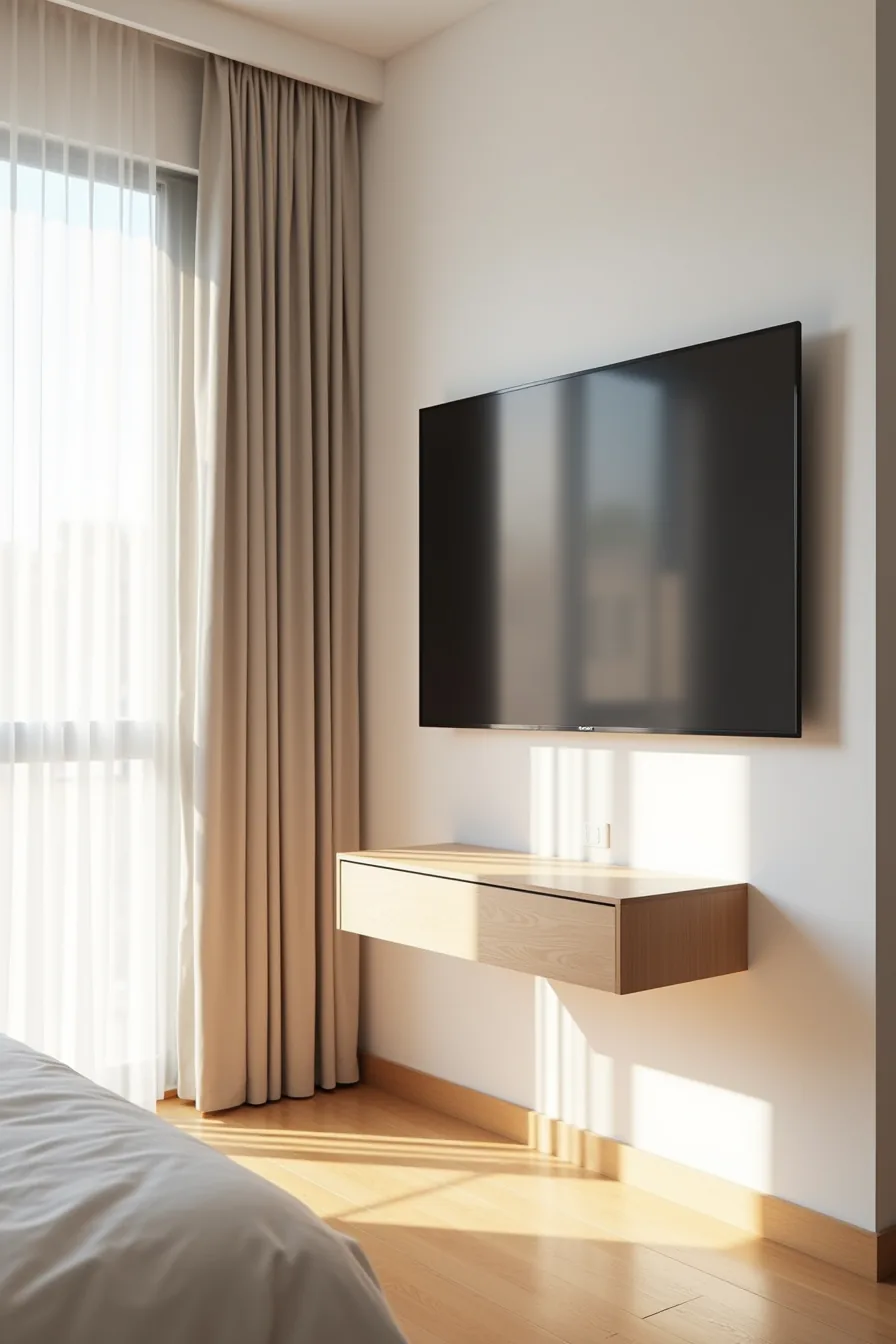
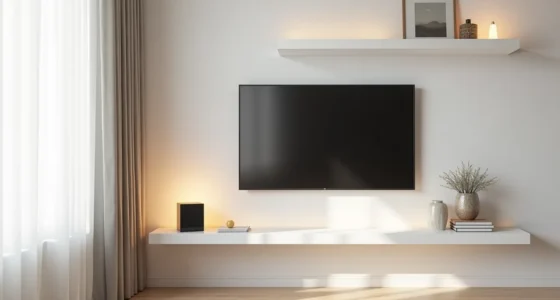
If your room dips below 120 square feet, a floor-standing unit eats into precious walking space. Mounting a single Besta frame directly to the wall reclaims that footprint entirely. In a studio corner, this setup clears the floor for a rug, seating, or simply breathing room.
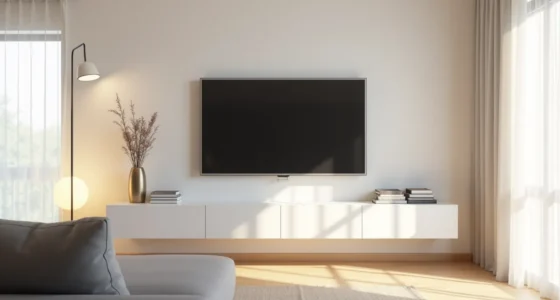
You’ll need a wall with solid studs or concrete backing, drywall alone won’t safely hold the frame and a 42-inch TV. Use heavy-duty anchors rated for at least 75 pounds, and leave an 18-inch gap between the floor and the unit’s underside. That clearance lets you tuck a low basket or soundbar beneath, while the floating effect visually lightens the whole wall.
Cable management matters more here than in larger rooms. Run HDMI and power cords through a channel behind the unit, then down the wall to the outlet. Without this, the setup looks cluttered from every angle, the one drawback of a floating design.
Wall anchors remain visible from a low vantage point, so opt for matte black or white hardware that blends with the frame.
This approach suits renters only if your lease permits drilling. For homeowners, it’s a straightforward weekend project that makes a compact space feel twice as open.
Modular Configuration for Growing Storage Needs

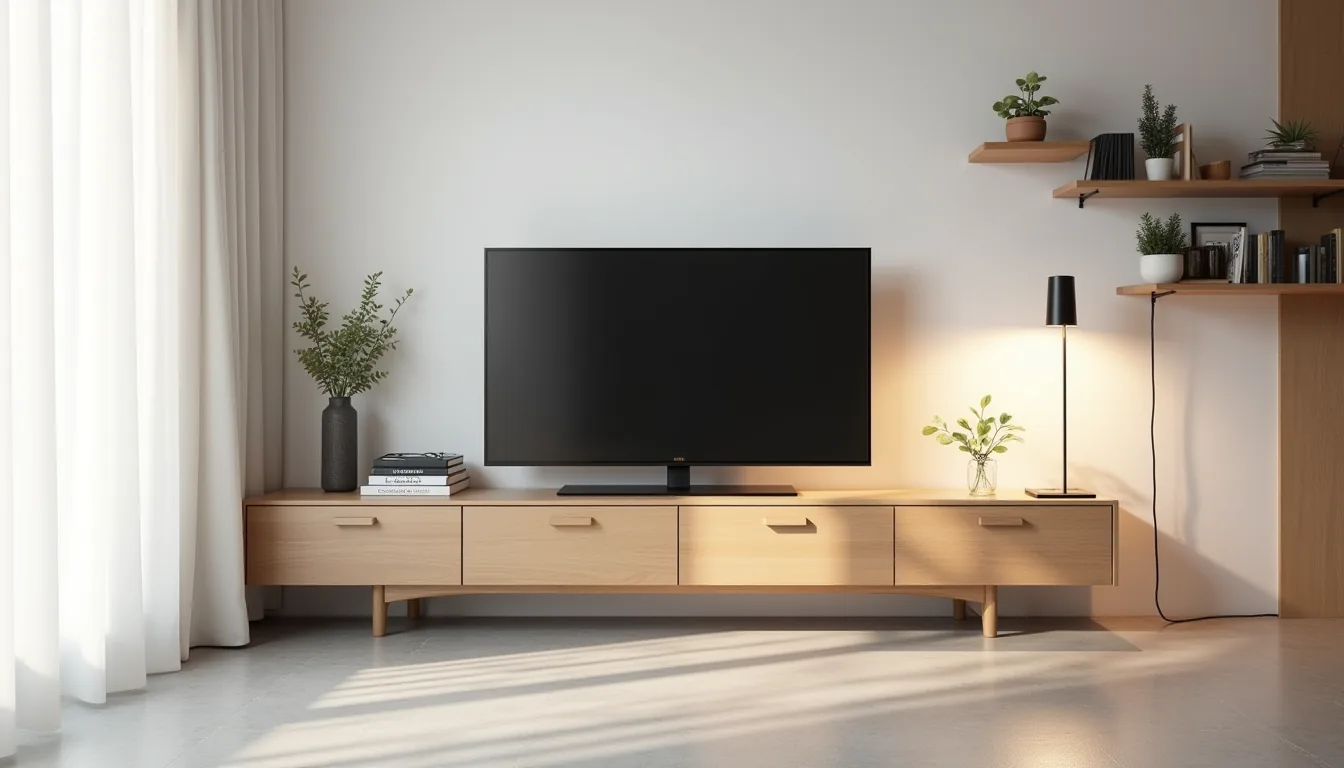
A modular configuration lets your TV unit expand alongside your collection. Start with two base frames side-by-side, each typically 23-24 inches deep and holding 60-80 pounds per shelf, then add a third frame vertically above them once you outgrow the initial footprint. The stacked arrangement in this setup places the television on the lower left, speakers on the right, and storage boxes filling the upper compartments, distributing weight evenly across all three frames.
Alignment brackets are non-negotiable here. Without them, a top-mounted unit can shift over time, especially if you load heavier items on one side. Secure each bracket through the top panel of the lower frame into the bottom of the upper one, using the included hardware rather than improvised screws.
Keep the heaviest components, receivers, game consoles, vinyl, on the lower shelves to respect the load limit of the upper frame’s base panel.
This suits growing households or anyone who buys media faster than furniture. The modular configuration beats a single large unit because you add only the capacity you need, when you need it, without discarding existing pieces.
Custom-Look Fronts Without Replacing the Frame

Peel-and-stick wood-grain veneer transforms standard glossy white Besta doors into convincing walnut or oak without touching the frame. Cut each sheet slightly oversized, press from the center outward with a felt squeegee to expel air pockets, then trim flush with a sharp utility knife. Expect to spend 2-3 hours for a five-door unit, and budget roughly $40-60 for enough veneer to cover it twice, mistakes happen on your first attempt.
Painted matte black doors deliver a heavier, more grounded contrast that suits rooms with dark floors or leather seating. Use a bonding primer designed for laminate, then two thin coats of cabinet paint; skip the brush in favor of a 4-inch foam roller to avoid streaks. Touch-ups with a microfiber cloth and mild soap keep both finishes clean, abrasive sprays will dull the veneer’s sheen within months.
This route costs 5-10% of replacing all doors, and every layer peels or paints over without drilling holes, so your security deposit stays intact. Renters get the designer aesthetic; owners get a low-stakes test before committing to solid fronts.
Open Shelving Hybrid for Display and Function
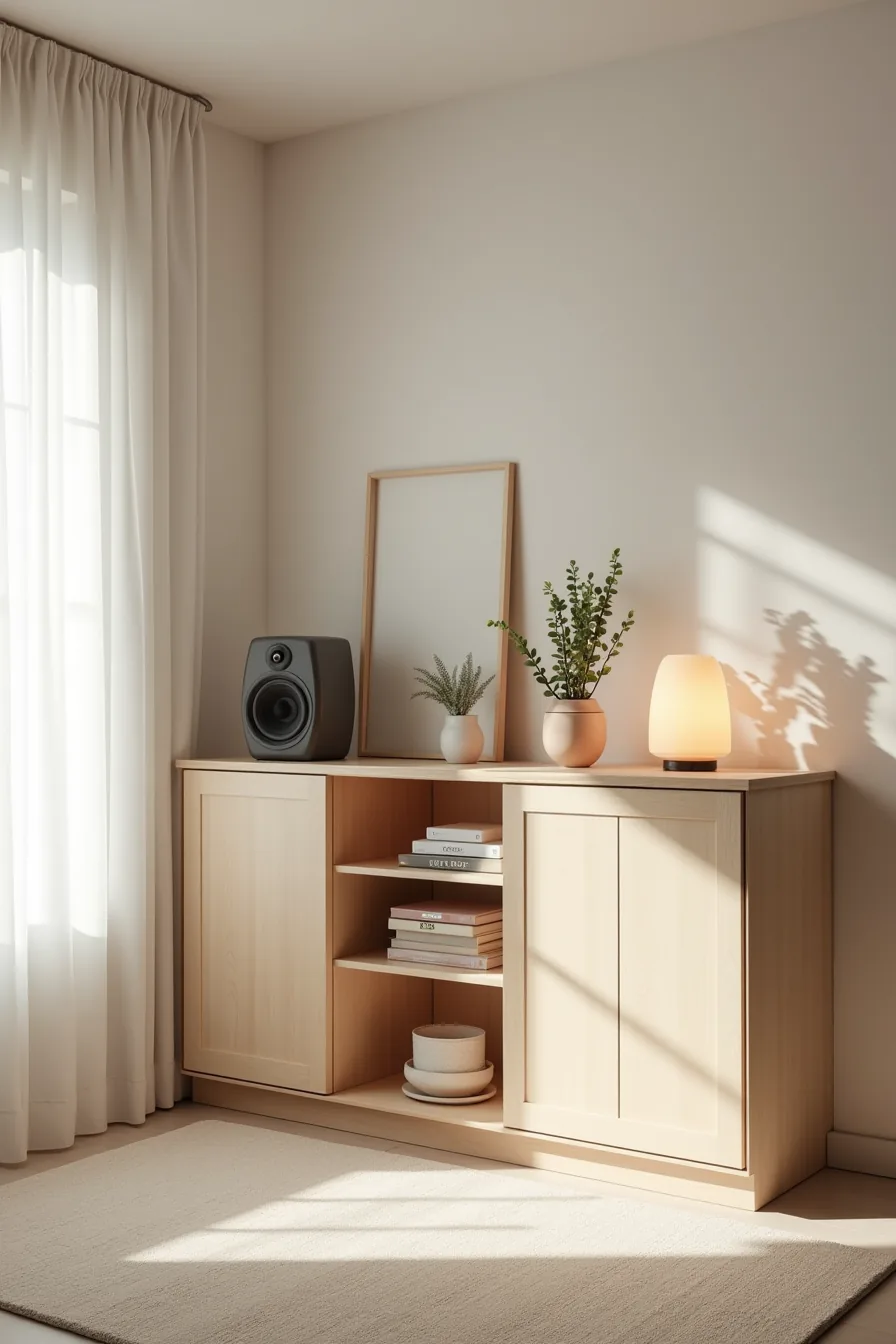
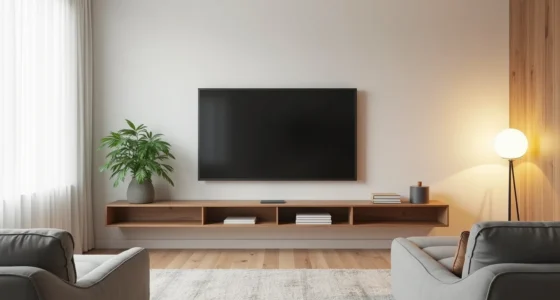
Removing every other door from a Besta frame gives you alternating rhythms of open and closed storage, and the mix solves two problems at once. In this setup, the center section stays open to display a speaker and potted plant, while the flanking closed cabinets absorb the visual clutter of game controllers, DVD cases, and power strips. You get the personality of a styled shelf without surrendering your entire unit to dust and visual noise.
Choose this hybrid when your media components are low-profile enough to fit beside the speaker without blocking airflow, measure the depth of your equipment against the Besta’s roughly 15-inch interior before committing. Leave at least 6 inches of clearance above any amplifier or receiver that requires ventilation. A single 18-volt drill with a screwdriver bit removes or reattaches each hinge in under five minutes, so you can shift which sections stay open whenever your display priorities change.
Corner and Angled Room Adaptations
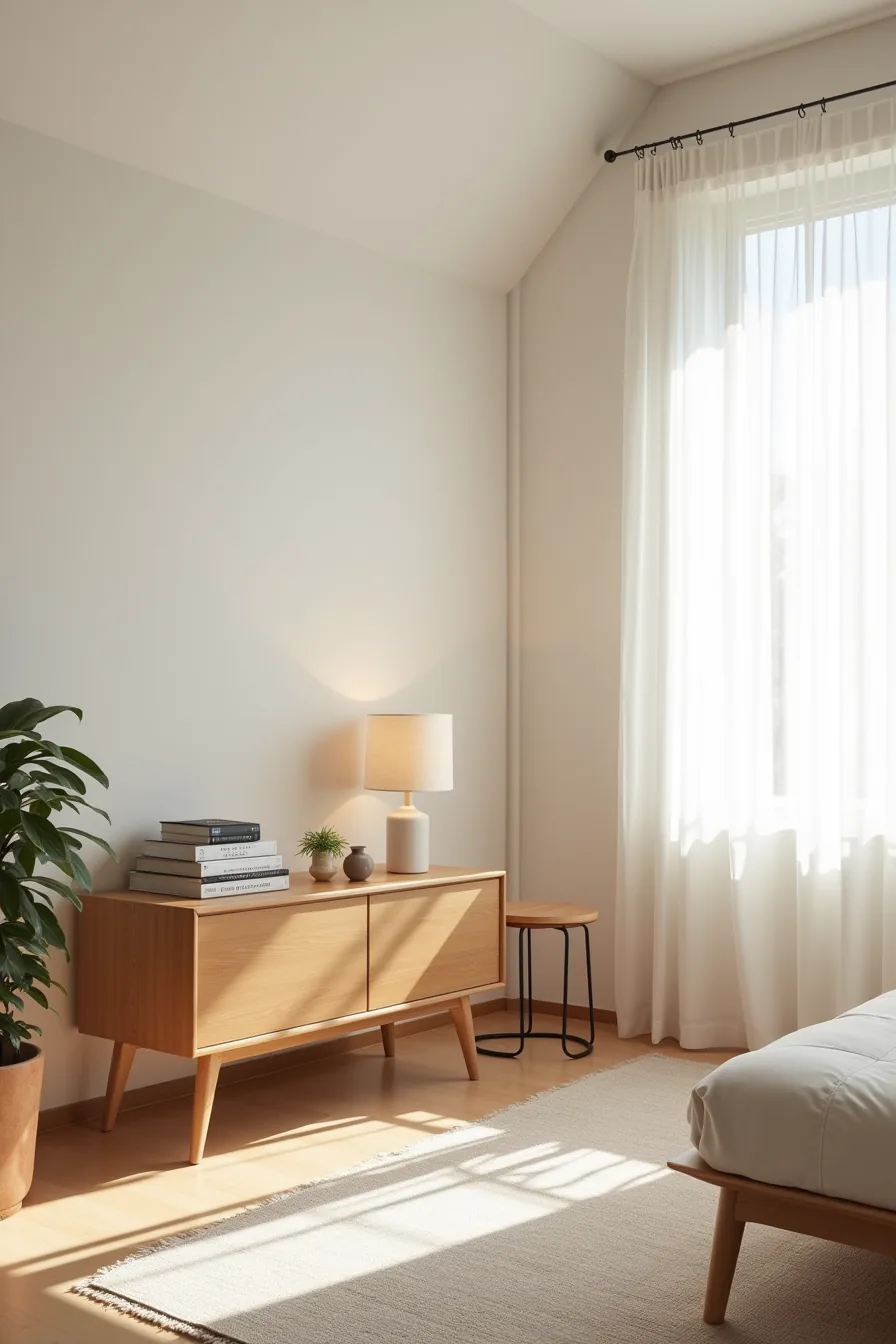
When wall space is scarce, a Besta unit works as a corner anchor rather than a wall-centerpiece. Position the frame perpendicular to the sloped ceiling line, letting the unit’s flat top meet the angle naturally, leave 4–6 inches of clearance between the cabinet top and the lowest ceiling point so you can still access the surface for styling. The corner junction becomes the cable-routing spine: tuck power cords and HDMI leads into adhesive raceways that follow the wall seam, then drop them behind the adjacent side table to reach the outlet.
This placement suits living rooms where the TV must face a diagonal seating arrangement, or where an open corner would otherwise collect empty floor space. Pair the unit with a slim side table on the open flank to balance the composition and give remotes a landing spot. For angled walls, shim the Besta’s adjustable feet until the frame sits level; most models accept a 1–2 degree tilt without visible gaps.
Keep the unit’s depth, roughly 15 inches, in mind when routing cables, and use a power strip with a right-angle plug to avoid pushing the frame away from the wall.
Long-Term Investment: Integrated Built-In Look

To make a Besta unit read as custom millwork, you commit to surrounding it with permanent elements. Crown molding runs along the ceiling and terminates directly into the unit’s top edge, while side trim panels, cut from the same MDF and painted to match, extend from the cabinet flanks to the adjacent wall. This eliminates the floating-furniture look entirely and creates a single, deliberate mass.
Recessed lighting installed overhead washes the unit’s front face with even light, highlighting the cabinet doors’ texture and giving the TV zone the same visual weight as a fireplace surround.
This approach suits owners who plan to stay put for five-plus years, or landlords with tenants willing to approve structural additions. The investment is real: expect to spend 30–50% more on materials and labor than the unit itself costs, and budget for a carpenter if you lack finish-work experience. Matching cabinetry flanking the Besta, tall units or shelving at the same depth, extends the built-in line and provides closed storage for media, board games, or display pieces.
Because you’re permanently affixing trim and molding, this route is effectively irreversible; it delivers maximum polish but zero portability if you move.
Your decision checklist
Before you buy, measure your TV span and the wall width. Decide first whether you need closed storage, open display, or both, this determines the frame style and door count. Confirm your mounting choice: floating requires solid wall anchors; legs suit rentals since they leave no bracket holes.
Set a realistic budget, remembering that drawer fronts, lighting, and hardware add 20-40% to the base cabinet cost.
Start by measuring your TV’s width and the distance from floor to eye level. That single measurement will tell you which configuration, single unit, double, or wall-mounted combo, fits your space without guesswork.
Frequently Asked Questions
What is the maximum weight a standard Besta TV unit can hold, and how do I reinforce it for heavier TVs?
Most Besta units support 40–55 pounds on top. For heavier TVs, mount the TV to wall studs behind the unit, or add a center support leg beneath the frame to reduce sagging.
Can I use a Besta unit in a rental apartment, and what modifications are renter-friendly?
Yes. Use freestanding Besta frames without wall anchoring, and opt for adhesive cable clips instead of screws. Avoid drilling by using tension rods inside cabinets for cable management.
All changes are reversible.
How do I hide cables and wires in a Besta setup without drilling into walls?
Run cables through the unit’s pre-cut back holes, then along the floor under a cord cover. Use adhesive cable clips on the wall and a power strip with a flat plug to keep everything flush and hidden.
What is the typical cost difference between a basic Besta unit and one with custom fronts or integrated lighting?
A basic Besta frame with doors runs $150–$300. Custom fronts add $100–$400 per door, and integrated LED lighting adds $50–$150. Expect $300–$850 total for a fully upgraded setup versus $150–$300 for stock.