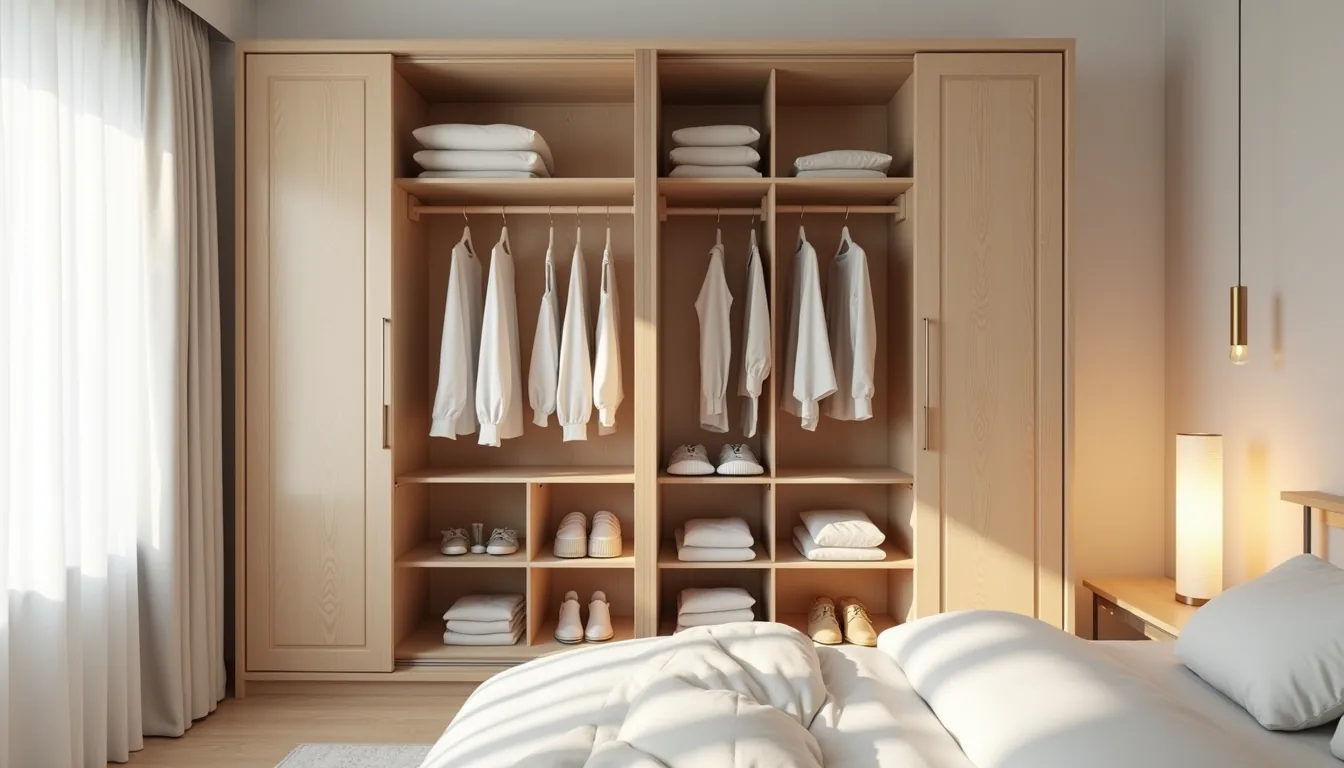
Kids bedroom wardrobe design comes down to one practical question: can your child reach, open, and put things away without your help, and will that still be true in three years. The answer shapes every decision, from hanging rod height to whether you even need doors. Six tested configurations follow, each matched to a specific room size, budget, and child’s age.
You’ll find the one that fits your floor plan and your patience.
Key takeaways
- Child-height storage cuts morning friction: hanging rods at 40–48 inches and shelves at 24–30 inches let kids aged 3–7 retrieve and put away clothes without your help, reducing tantrums and teaching independence.
- A modular wardrobe with adjustable shelves and removable hanging rods adapts from toddler to teen, expect to reconfigure the interior every 2–3 years as your child grows, rather than buying a new unit.
- For small rooms, prioritize a 60–70% hanging-to-folding ratio and use sliding doors or open cubbies to avoid clearance issues; a 24-inch-deep wardrobe fits most standard bedrooms without blocking circulation.
- Renter-friendly routes rely on freestanding units with tension rods and adhesive hooks, these cost $150–$400, install in under an hour, and leave zero wall damage, while investment pieces like built-ins run $1,500–$4,000 but last 10–15 years.
Child-Height Storage: Why Low Access Matters
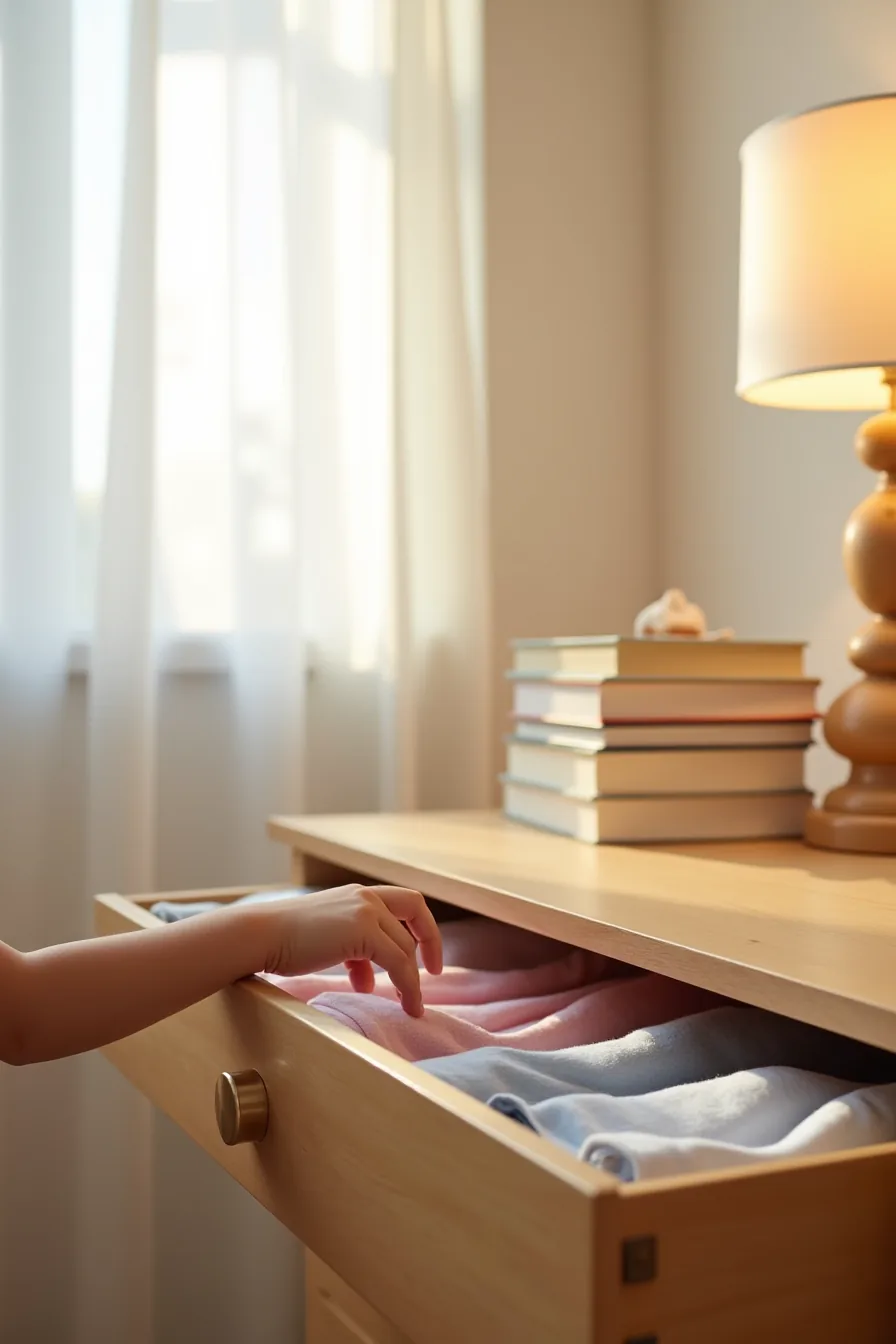
The single highest-impact change you can make in kids bedroom wardrobe design is lowering the reach point. Positioning rods, shelves, and drawers between 24 and 48 inches from the floor puts daily essentials exactly where small hands can grab them. You eliminate the morning chorus of “I can’t find my shirt” because your child can actually see what’s available.
A low dresser base with natural wood grain and a drawer pull mounted at roughly 28 inches achieves this without custom cabinetry. Store rolled t-shirts upright inside the drawer so each one is visible at a glance. This arrangement suits toddlers and early elementary ages best, and it typically costs less than a full-height wardrobe because the carcass uses less material.
The trade-off is floor footprint: a 30–40 inch wide dresser will occupy wall space you might otherwise reserve for play areas. Pair it with a single high rod for out-of-season clothes, and you’ve a two-tier system that works until your child outgrows the 48-inch threshold.
Grow-With-Them Layout: Designing for Size Changes
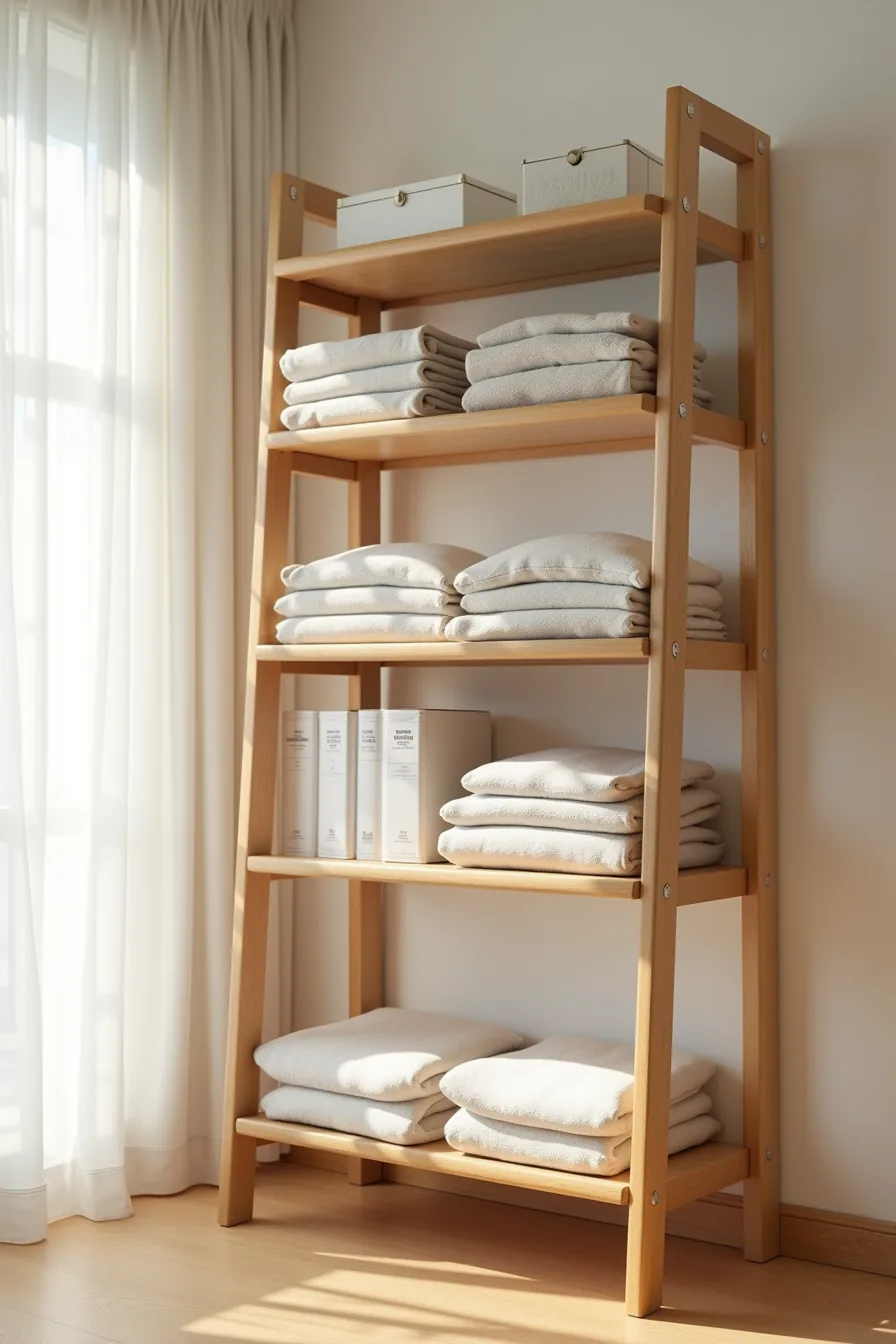
A grow-with-them layout treats the wardrobe as a system you adjust, not a piece you replace. You achieve this with adjustable shelf pegs and metal brackets that let you reposition wooden shelves as your child’s needs shift, say, lowering a shelf from 48 inches to 18 inches when folded garments replace hanging toddler dresses. The setup you see here uses three shelves at staggered heights, which gives you a working template: dedicate the lowest 18-inch tier to shoes or bins, the middle tier to daily folded items, and the highest 48-inch tier to off-season storage.
This approach suits families who plan to stay in the same home for five or more years and want one wardrobe to survive the transition from picture books to school uniforms. The practical cost is setup time, re-pinning shelves takes about ten minutes per change, and the structural requirement of a sturdy backing panel to keep brackets secure under heavy loads. You’ll also need to reassess rod height twice: once around age six and again around age ten, as hanging clothes take over from folded stacks.
The payoff is a wardrobe that costs roughly the same as a fixed unit but avoids the full replacement cycle most families hit at the tween years.
Playful vs Timeless Finish: Balancing Style and Longevity
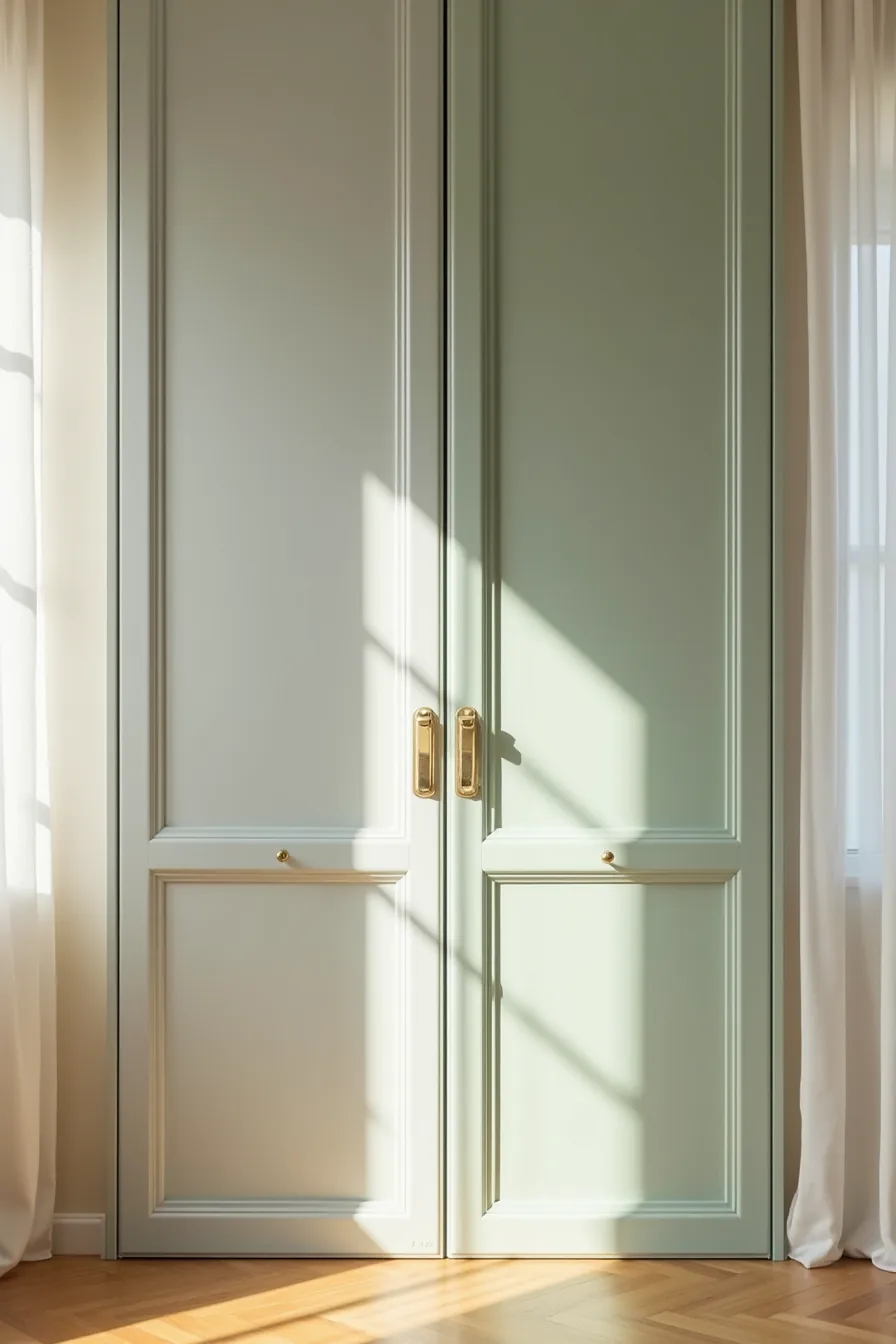
The core trade-off in kids bedroom wardrobe design comes down to finish. A soft gray lacquer door, the kind you see on the left side of the setup here, resists scratches, wipes clean with a damp cloth, and still looks current when your child hits fifteen. A sage green painted wood door, like the one on the right, brings warmth and personality, but the visible wear marks and scuffs along its lower edge tell the real story: painted surfaces show every bump from toy trucks and laundry baskets.
You can buy time with a clear matte polyurethane overcoat on any painted door, which delays repainting from roughly two years to four. If your child has strong opinions, compromise by painting only the interior or a single accent panel, leaving the main doors neutral. Metallics and high-gloss finishes show fingerprints within days, while matte and satin sheens hide daily use far better.
Expect to repaint a bold color every 18–24 months; a neutral base can last the full childhood without a refresh.
Fitting Kids Wardrobe Storage in Small Rooms
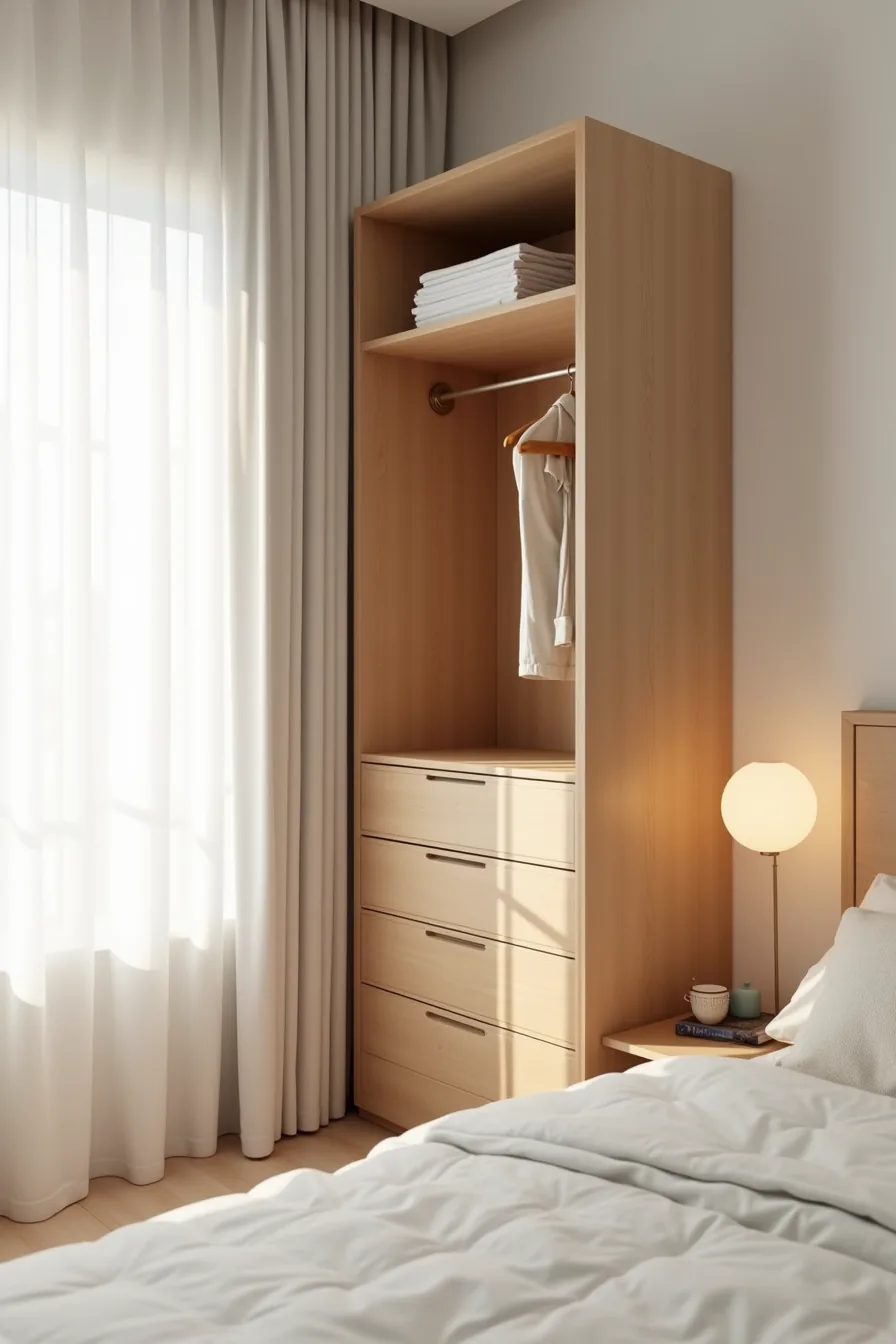
Under 100 square feet, floor space is the constraint that dictates every decision. A 30-inch-wide corner wardrobe built into the meeting point of two walls reclaims dead space while keeping the center of the room open for play and movement. The corner footprint works because it tucks the unit flush against both walls, eliminating the awkward gap a standard straight-front wardrobe leaves behind.
Inside, a vertical hanging rod doubles the usable storage per square foot by letting you hang two tiers of clothing, shorter items like shirts on top, longer pieces like dresses below. The 8-inch-deep shelves above the rod handle folded pajamas, seasonal hats, and small toys without eating into the hanging zone. A drawer base at the bottom catches socks, underwear, and accessories, keeping daily essentials at a child’s reach level so they can dress themselves without your help.
Measure your corner depth before buying; most units need at least 24 inches of clearance on either wall to swing the doors fully. For rooms under 80 square feet, skip the doors entirely and use a tension rod with fabric curtains instead, this saves roughly 6 inches of swing clearance and costs a fraction of the price. Keep the top shelf shallow (never more than 10 inches deep) so items don’t get lost in the shadows, and anchor the unit to the wall studs regardless of size, since a top-heavy kid’s wardrobe is a tipping hazard.
Design a Kids Wardrobe for Easier Daily Routines
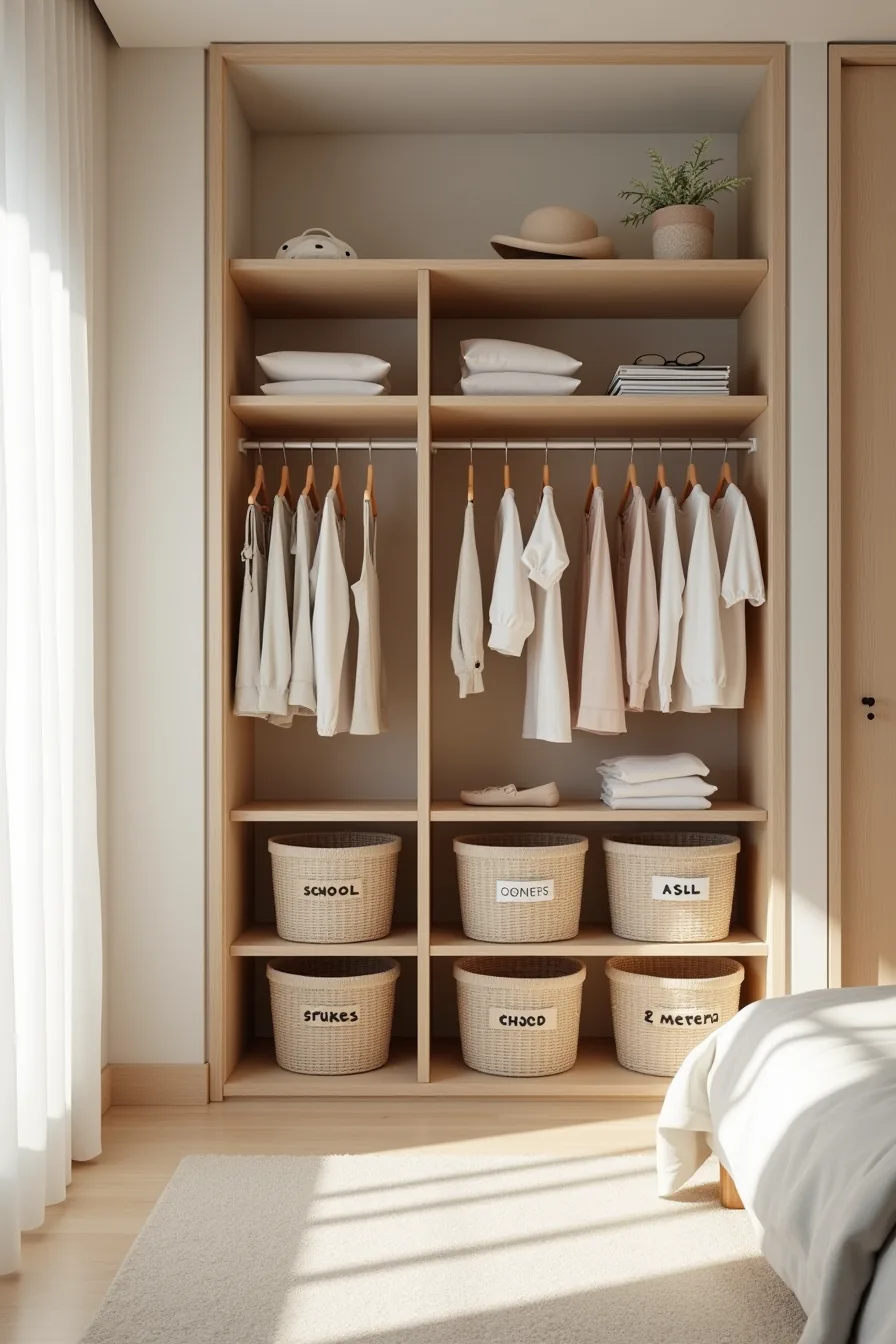
The fastest way to cut morning friction is to divide the wardrobe by frequency of use, not by garment type alone. The most effective layout uses three zones: a hanging section for school outfits arranged in complete sets, a folded shelf for weekend clothes, and labeled baskets for socks and undergarments. When every zone holds only what belongs there, a child can locate a full outfit without rummaging or calling for help.
Hang school outfits as complete units, shirt and pants on the same hanger, so grabbing one hanger equals one ready-to-wear outfit. Reserve the folded shelf for weekend and play clothes, which tolerate a looser standard of neatness. Label the baskets with words and pictures; children who can’t read yet still match the icon to the item, which keeps them independent and keeps you out of the process.
Color-code the hangers by season if your climate demands seasonal rotation, but keep the current season within arm’s reach and store off-season pieces on the top shelf or in a separate bin. Reassess the zones every three months, because growth spurts change which items are worn daily. A wardrobe that organizes by routine rather than by category adapts as your child’s schedule changes, which is the entire point of designing for daily use.
Budget, Rental, and Investment Routes
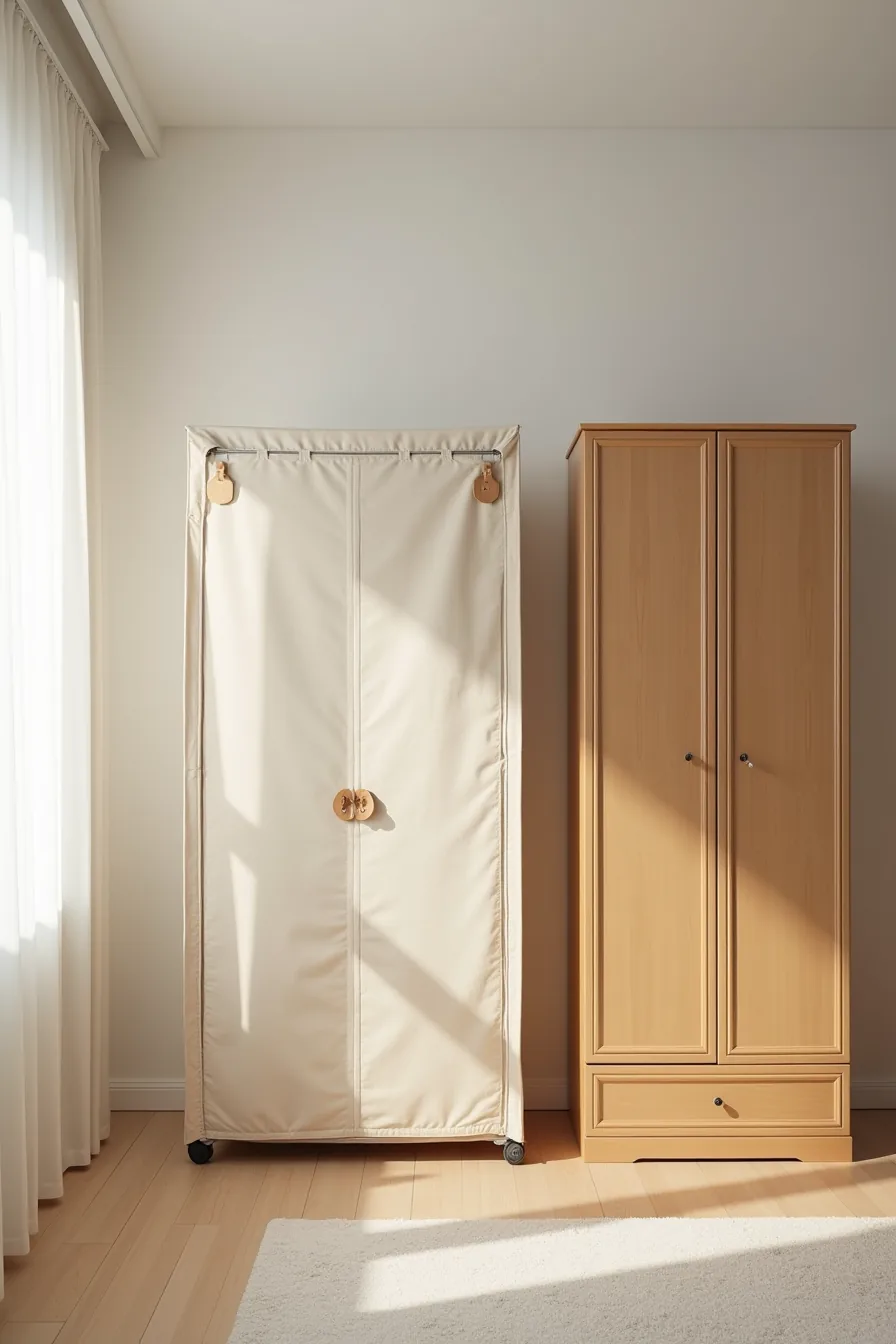
Your budget tier should start with a portable canvas wardrobe. Most models in this range run 120–160 cm wide, assemble without tools in roughly 20 minutes, and fold flat for moving, which makes them a practical first wardrobe for a toddler’s room or a temporary setup. Expect the hanging bar to hold lighter items only, around 10–15 kg, and plan to replace the cover within two to three years of daily use.
For renters, a metal rail system with a fabric cover gives you full-height hanging without committing to wall anchors. The rail spans 150–180 cm, supports 30–40 kg on a level floor, and the cover zips off for washing. You lose drawer space with this route, so pair it with stackable fabric bins underneath to handle folded clothes.
The investment route is a solid wood wardrobe with dovetail joinery at the drawer corners. Expect to pay three to five times the budget option, but the carcass will last through multiple children if you choose a neutral finish. Look for adjustable internal shelving and soft-close hinges; those two features extend usable life more than any exterior design detail.
Before You Buy Anything
You now have six distinct approaches, from freestanding wardrobes to built-in systems. Each solves a different problem: space, budget, rental restrictions, or long-term flexibility. The right choice depends on your child’s age, your lease terms, and how long you plan to stay in the home.
Measure your room’s floor-to-ceiling height and wall width first. This single step eliminates half your options before you start shopping. Then, pick one constraint, budget, rental rules, or permanence, and let that guide your final decision.
Your next step: Grab a tape measure and sketch your room’s dimensions on paper tonight. This five-minute task turns every future decision from guesswork into a clear checklist.
Frequently Asked Questions
At what age can kids start using a wardrobe independently?
Most children can manage a low rod and open shelves by age 4–5. Add labeled bins or picture cues, and expect full independence, choosing outfits and returning items, around ages 6–7.
How do I prevent a kids bedroom wardrobe from becoming cluttered?
Limit hanging space to current-season items only. Install one shelf per child for “favorites,” and rotate outgrown or off-season clothes twice a year. A weekly 10-minute tidy-up keeps the system sustainable.
What’s the best rod height for a child to hang clothes without help?
Set the rod 36–42 inches from the floor for ages 4–7, and 48–54 inches for ages 8–12. Your child’s outstretched hand should reach the hook easily, test before fixing permanently.
Can I use a kids bedroom wardrobe design in a shared bedroom?
Yes, assign each child a dedicated zone, separate rods, shelves, or drawers, with distinct colors or labels. Use a double-rod unit or split a wide wardrobe with a central divider to prevent mix-ups and arguments.