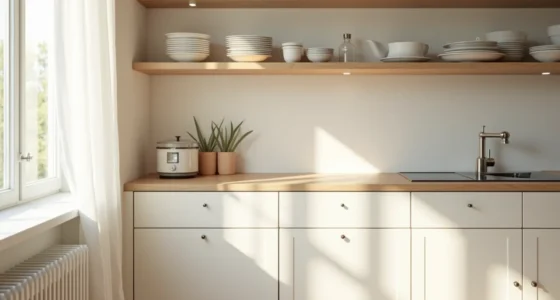

Choosing the right kitchen cabinet handles is a decision about ergonomics, durability, and visual scale, not just a finishing touch. The hardware you select dictates how comfortably you grip a drawer on a busy morning and whether a 12-inch cabinet feels balanced or top-heavy. With six distinct approaches ahead, you’ll find the option that matches your kitchen’s layout, your budget, and your daily routine.
Key takeaways
- Match handle length to cabinet depth: pulls longer than 4 inches on 12-inch-deep upper cabinets create visual clutter, while 3-5 inch pulls suit standard base cabinets.
- Choose knobs for drawers under 18 inches wide and pulls for drawers wider than 18 inches, this prevents finger pinching and keeps proportions balanced.
- Prioritize black matte finishes in high-traffic kitchens since they hide smudges better than brass, which requires weekly polishing to avoid tarnishing.
- Install handles 2.5-3 inches from the cabinet edge for comfortable grip, but increase that to 4 inches if you’ve large hands or arthritis.
Knobs vs Pulls: Which Suits Your Layout
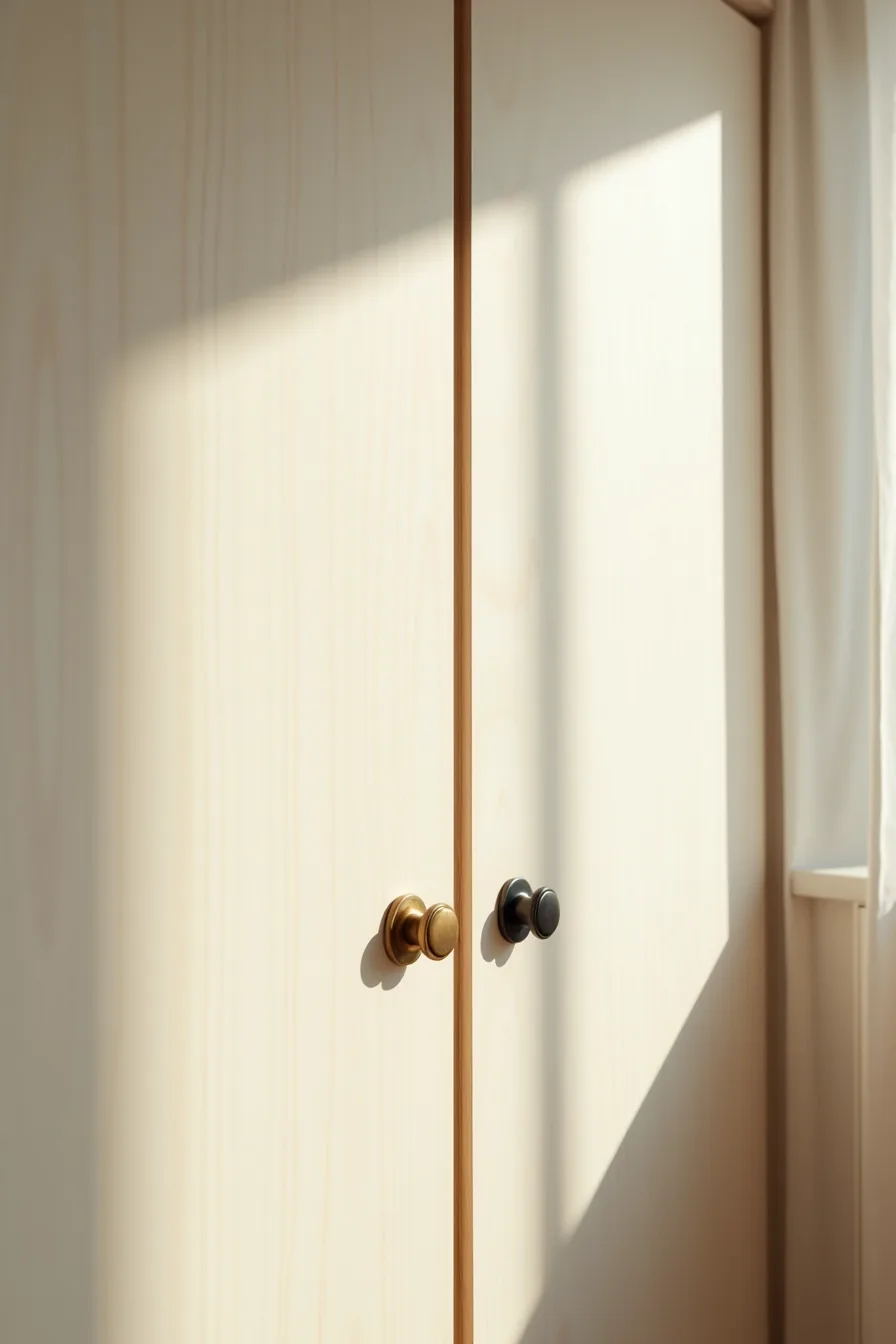
A round brass knob on the left door and a horizontal black bar pull on the right door represent your two core options. Knobs require a fingertip grip, so they suit narrow drawers and upper cabinets where a pull would extend past the door frame. Bar pulls need three to four inches of clearance below the handle, which makes them better for lower cabinets and wide drawers where you can use your full palm.
For a small kitchen, stick with knobs on upper cabinets to reduce visual clutter and keep aisles feeling open. In a medium or large layout, use bar pulls on lower drawers and knobs above, this mixed approach gives your hand the right grip height without making the upper cabinets look heavy. The black pull visually anchors the lower half, while the brass knob adds a reflective accent at eye level.
If your cabinet doors are under 14 inches wide, a pull will likely overhang the edge; reserve them for doors 15 inches or wider.
Brass vs Black: Material and Finish Trade-Offs

That flat lay of four samples, polished brass pull, brushed brass pull, matte black knob, and glossy black pull on a neutral linen surface, captures the two finish families you’ll actually choose between. Brass reads warm and traditional, but its reflective quality means it shows fingerprints and water spots daily, so expect to wipe it down weekly if you cook often. Brushed brass softens that maintenance burden, hiding smudges far better than its polished counterpart while retaining the same warm tone.
Black hardware, by contrast, disappears visually against dark cabinets and creates a crisp anchor on light ones, but matte black is the lower-maintenance pick, glossy black will highlight every streak from greasy hands. On cost, brass runs roughly 1.5 to 2 times the price of black for comparable quality, with solid brass pieces landing at the higher end of most hardware budgets. If you want the warm look without the premium, opt for brass-toned zinc alloy; it costs near black’s price but wears faster, so reserve it for rentals or short-term use.
Hardware Scale Check: Matching Handle Size to Cabinet Depth

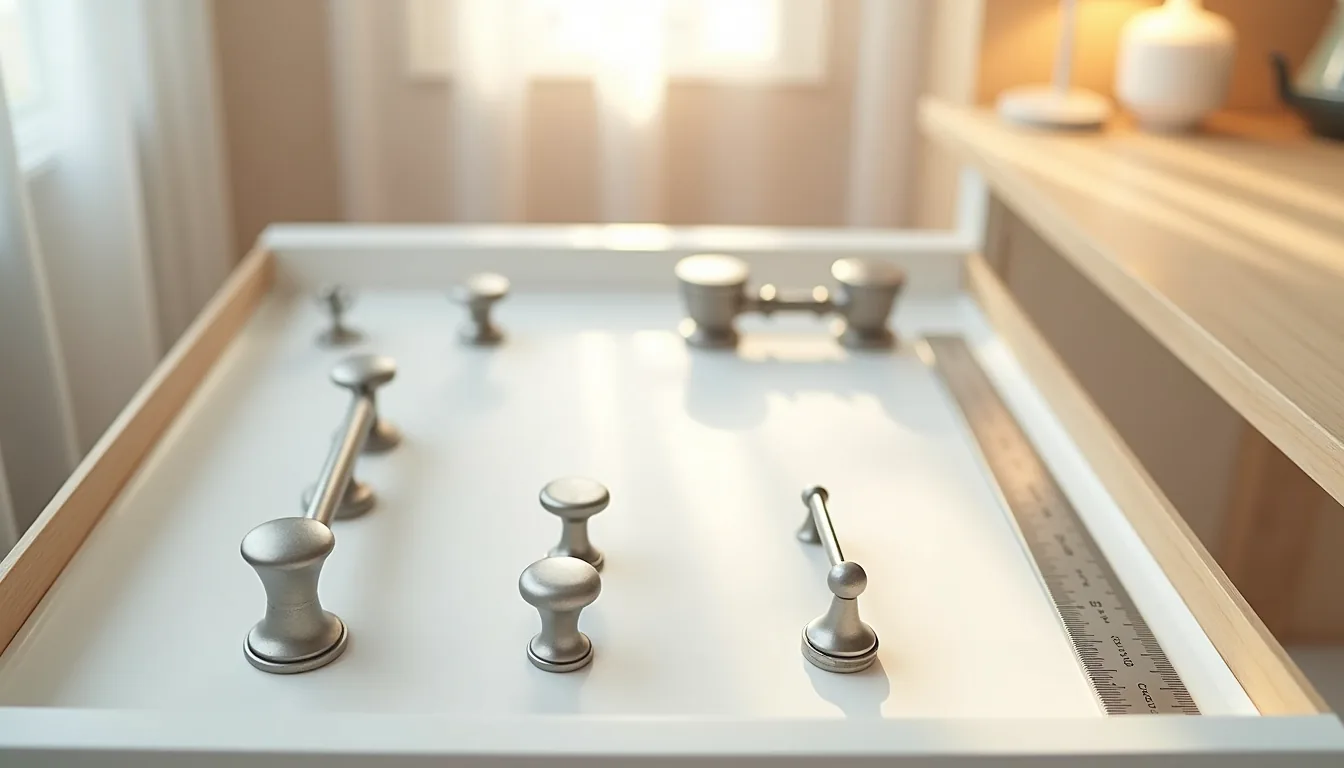
The measuring tape in the setup tells the real story: a shallow frame gets a small knob, a medium frame a medium bar pull, and a deep frame a large cup pull. The rule of thumb is to keep your handle’s projection, the distance it sticks out from the face, under half your cabinet’s depth. A shallow 12–14 inch cabinet can take a 1-inch knob, while a standard 24-inch base cabinet handles a 4–6 inch bar pull without looking cluttered.
Measure the face frame’s width, not just the overall box. A 3-inch pull on a 15-inch wide door will crowd the edges; you want roughly one-quarter to one-third of the width as hardware length. For deep pantry cabinets at 30 inches or more, a cup pull gives your fingers clearance and matches the visual mass.
When in doubt, hold the handle against the frame before drilling, the gap between pull ends and frame edges should feel balanced, not pinched or floating.
Update Kitchen Cabinets With Handles That Feel Current
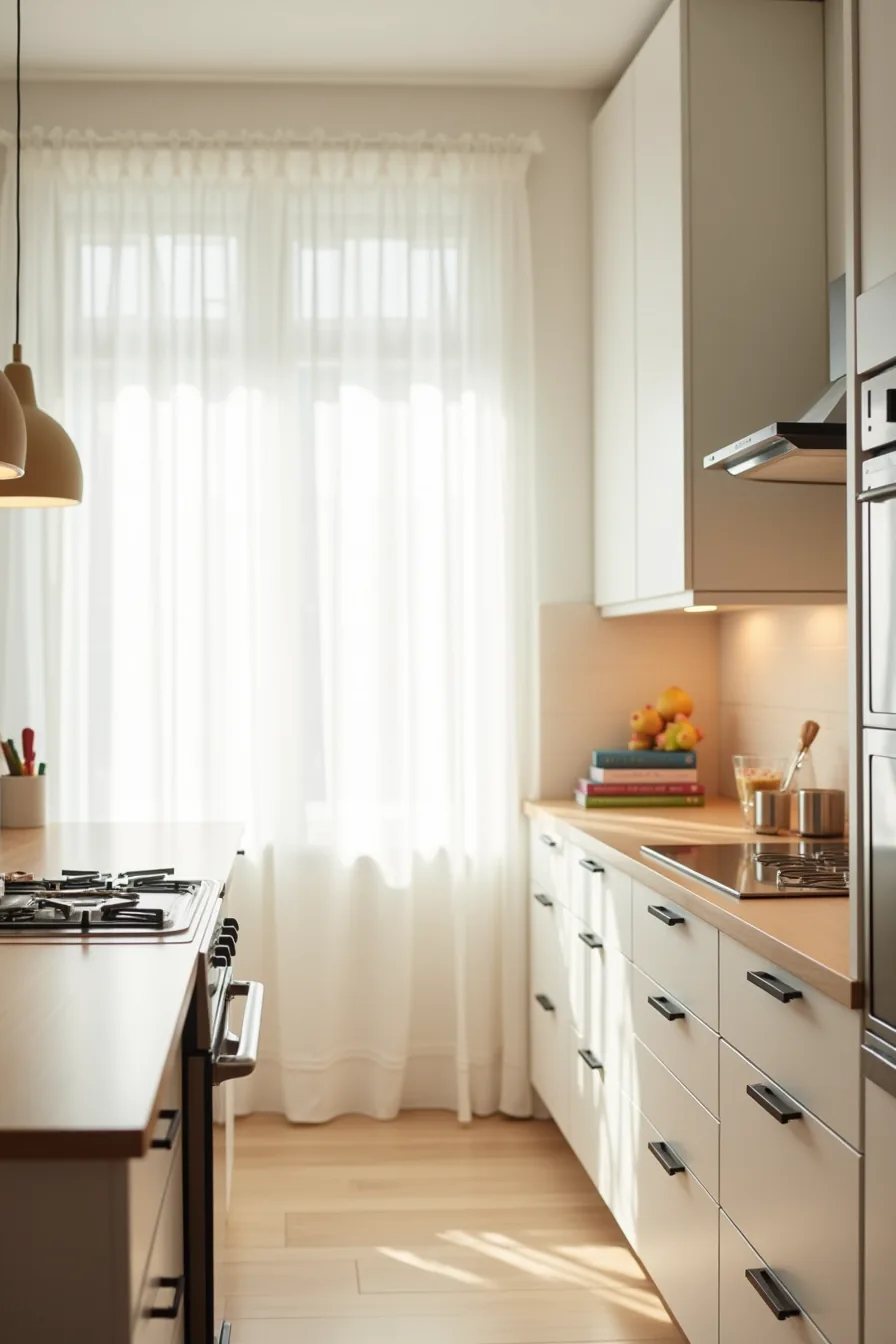
The fastest way to date a kitchen isn’t the countertop, it’s the hardware. Matte black bar pulls are the current standard because they disappear against the cabinet face while adding a crisp, architectural line. In a run of six doors with a stainless steel appliance nearby, the dark pulls anchor the visual rhythm without competing with the metal finishes around them.
For a cohesive look, keep the pull length consistent across all doors; a 4–6 inch bar works on both upper and lower cabinets.
Mixed metals are another way to update kitchen cabinets with handles that feel current. Pair a brushed brass pull on the main bank with a matte black knob on the pantry door, the contrast signals intentionality rather than mismatch. The key is limiting yourself to two finishes within the same room.
This approach requires no new cabinetry, just a screwdriver, a drill, and roughly 15 minutes per door, making it a low-commitment refresh you can reverse in an afternoon.
Budget, Rental, and Investment Routes

Your budget and lease length should dictate which of three tiers you choose. Adhesive-backed handles suit renters because they install in under five minutes per door and leave no holes when removed, just clean the surface with rubbing alcohol first, and expect the bond to weaken after 12–18 months of daily use. They also fail on textured or oiled wood, so test a corner before committing.
Screw-mounted pulls in the mid-range ($3–$8 per handle) are the default for homeowners planning to stay five years or more. A standard zinc-alloy base with a brushed finish holds up to daily opening without loosening, though you’ll need to retighten the set screws every six months or so.
For a long-term kitchen, invest in solid brass or stainless steel with a lifetime warranty, expect $15–$30 per piece. These survive decades of use, and the patina that develops on unlacquered brass adds character rather than wear. The vintage brass hardware on the heirloom cabinet in the center of the lineup demonstrates the payoff: it will outlast every other component in your kitchen.
Installation, Spacing, and Maintenance Essentials

Standard hole spacing for most cabinet pulls is 3 inches (center-to-center), though 4-inch spacing is common on larger drawers. The drilling template, drill bit, and measuring calipers on the workbench exist because a 1/16-inch offset is visible across an entire cabinet run and ruins the symmetry. Mark the center of the stile, not the door edge, and clamp a template before drilling through a 1/2-inch hardwood door, a brad-point bit prevents the bit from walking across the surface.
Finish care determines how long your kitchen cabinet handles stay presentable. Brushed nickel and chrome need only a damp microfiber cloth; abrasive cleaners strip the protective topcoat. Polishing cloths specifically designed for unlacquered brass remove fingerprints without chemical residue, while black hardware corrodes when exposed to acidic cleaners or citrus degreasers, wipe spills immediately.
Tighten set screws with a screwdriver, not a drill, to avoid stripping the threads.
Call a professional when your cabinet doors are solid wood over 2 inches thick, glass-fronted, or laminate where the drill bit can chip the surface. A cabinet installer charges roughly $50–$75 per hour, but the cost beats replacing a chipped door panel. Before drilling any hole, confirm the door material with the calipers, melamine and MDF require different drill speeds than solid oak.
Your 10-minute decision checklist
Before you order anything, grab a tape measure and a single cabinet door. Check the existing screw holes, if they’re 3 inches apart, most standard handles will fit; if they’re 64mm apart, you’ll need European-pattern hardware or a backplate that covers the old holes.
Walk through your kitchen and note your traffic flow. Handles that catch on apron strings or jut into a walkway will annoy you daily, regardless of how they look. Test the weight of a sample in-store, a handle that feels flimsy in your hand will feel worse on a heavy pot drawer.
Match your finish to your existing faucet and lighting. Brushed nickel and matte black dominate current catalogs, but oil-rubbed bronze hides fingerprints better in high-use households. Budget roughly $3–$8 per handle for decent quality, $15–$30 for solid brass or zinc that will survive ten years of daily pulling.
Your next step: Remove one existing handle, take it to a hardware store, and physically hold three alternatives against your cabinet door color. Buy one, install it, live with it for a week. That single test will tell you more than any catalog photo, then order the rest with confidence.
Frequently Asked Questions
What is the standard distance between cabinet handle holes?
Most cabinet handles use a 3-inch (76mm) center-to-center hole spacing, though 2.75-inch and 4-inch spacings are common on larger pulls. Always measure your existing holes before buying replacements, as European and Asian brands often differ.
Can I install new kitchen cabinet handles without drilling new holes?
Yes, if you choose handles with the same center-to-center spacing as your current holes. Alternatively, use backplates or adapter brackets that cover old holes while providing new mounting points. For mismatched spacing, you’ll need to drill, fill, and repaint.
Do brass kitchen cabinet handles require regular polishing?
Unlacquered brass will naturally patina and requires periodic polishing to maintain shine. Lacquered brass needs no polishing but can tarnish if the coating wears. Consider brushed or aged brass finishes, which hide fingerprints and require only occasional cleaning with mild soap.
What size handle should I use on a 24-inch-wide cabinet?
For a 24-inch cabinet door or drawer, choose a pull between 4 and 6 inches in total length. This keeps the handle proportional without overwhelming the surface. For drawers wider than 24 inches, use a bar pull spanning roughly one-third of the drawer width.