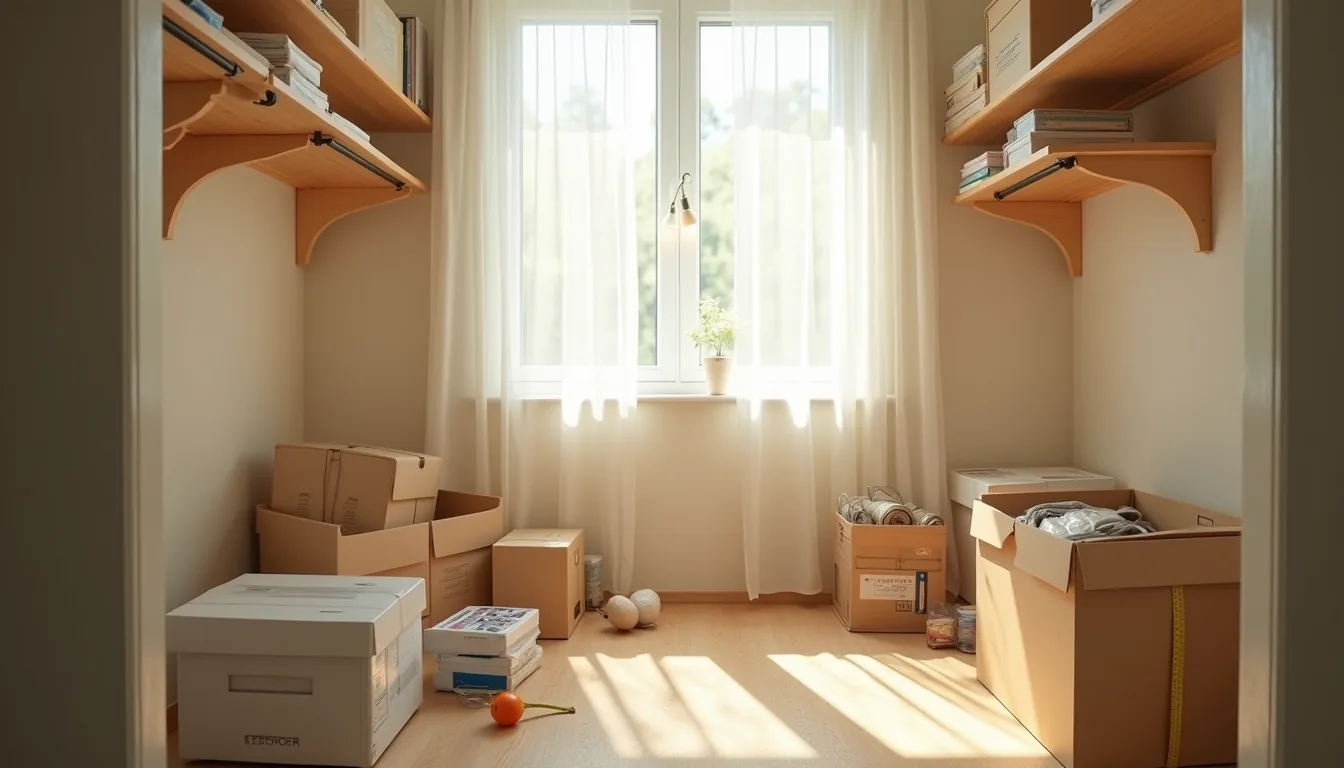
A closet becomes a pantry the moment you treat it as a storage system for food, not a dumping ground for miscellaneous household overflow. That shift in mindset is what separates a functional food room from a chaotic catch-all. The six layouts that follow are built around that principle, each tailored to a different space, budget, and lifestyle, so you can pick the one that matches how you actually shop, cook, and live.
Key takeaways
Audit first, buy later, empty the closet, group like items, and toss expired goods before you measure for a single shelf or bin. Fixed shelving wins on capacity, plywood or metal tracks run $50–$200 per closet and hold 50–100 pounds per shelf, but they require drilling and permanent installation. Modular bins beat open shelves, clear, stackable containers (8–12 inches deep) keep visibility high and dust low, and they adapt when your stock changes seasonally. Rotate weekly by hand, place newest items behind older ones and wipe shelves monthly with a damp cloth to prevent pests and stale inventory.
Audit Your Stock and Clear the Space
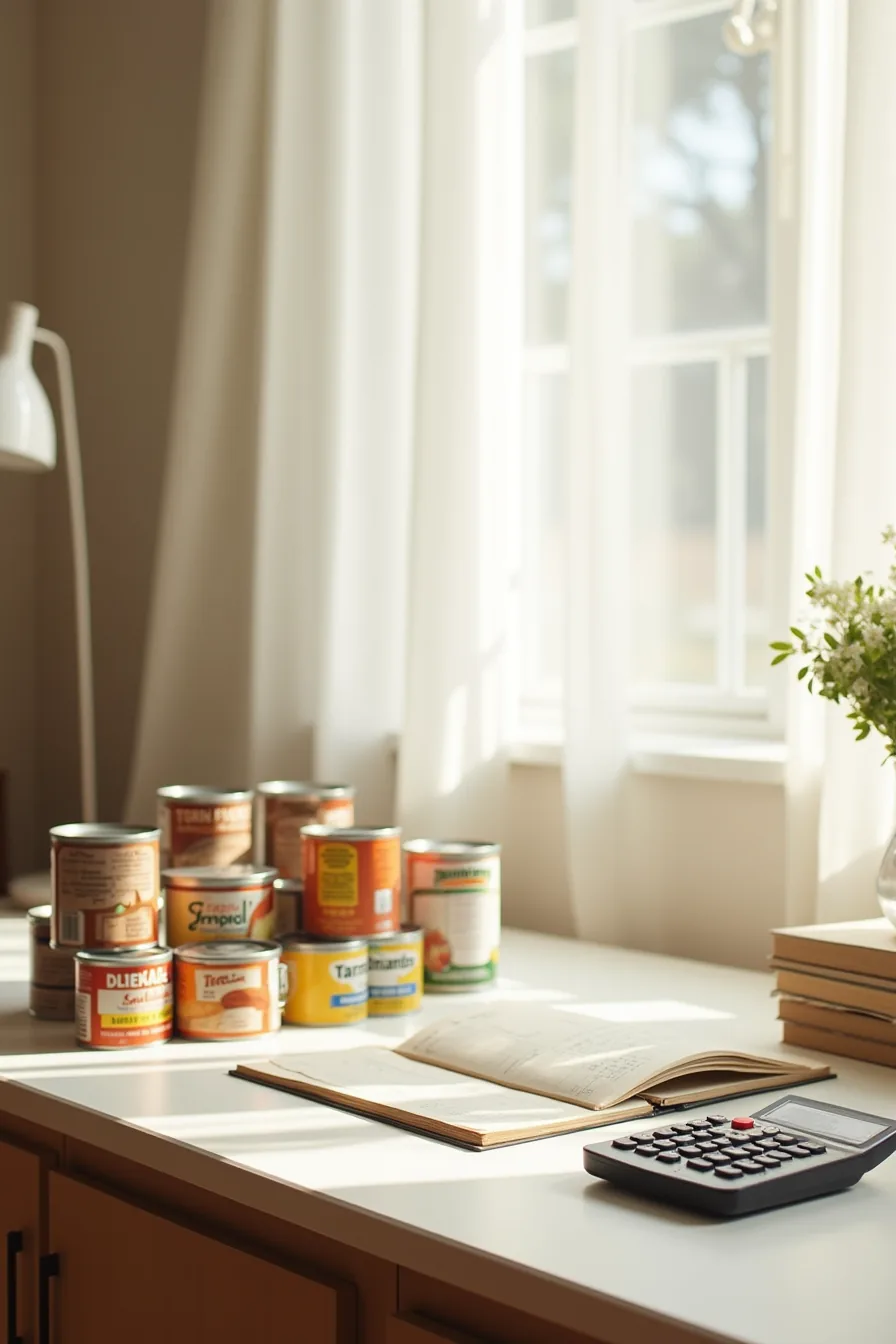
Before you buy a single shelf or bin, pull everything out and sort it into three piles: expired canned goods and packaging slated for discard, items you’ll keep but use soon, and overflow you rarely touch. The flat lay of expired cans, a hand-written inventory list, a calculator, a measuring tape, and a notepad is the exact workflow you need, not a styling exercise. Write down every kept item and its quantity so you know precisely what your pantry closet ideas must accommodate.
With your inventory recorded, measure the closet’s width, depth, and height at multiple points, since walls and floors are rarely square. Note the usable depth behind any door swing and subtract 3–4 inches for clearance. This audit takes 30–45 minutes for an average closet and prevents you from purchasing containers that are too tall, too deep, or simply redundant.
Skip this step, and you’ll likely re-buy items you already own or install shelving that blocks access to the back corners.
Fixed Shelving Systems for Permanent Storage
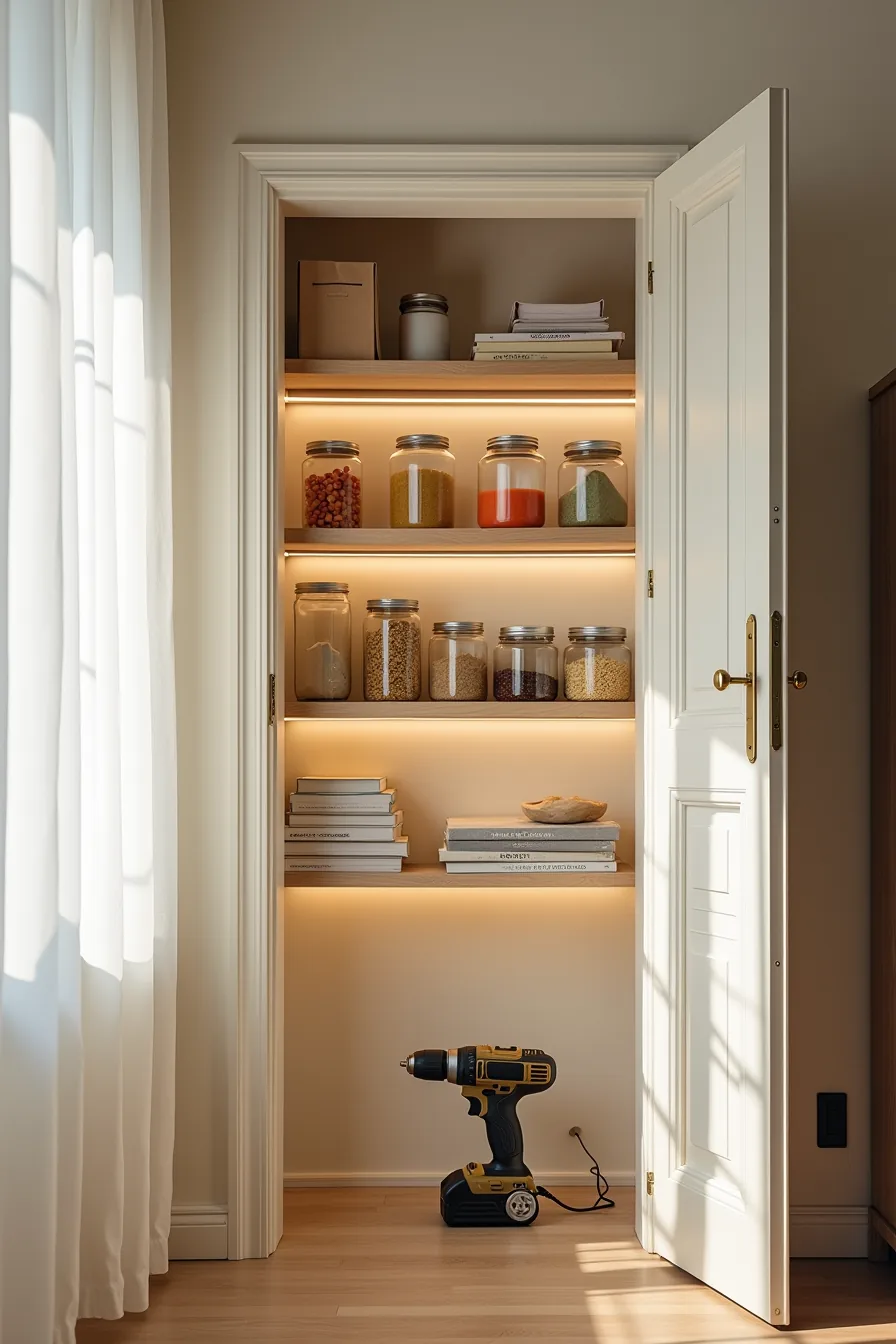
Fixed metal shelving suits homeowners who expect to stay put for five-plus years and want maximum load capacity. The staggered-height shelves in this setup, each mounted independently on wall brackets, handle heavy canned goods and glass jars without sagging, something particleboard units can’t promise. For a closet that’s 24–30 inches deep, plan shelf depths of 16–18 inches; anything deeper makes the back row unreachable without a step stool.
Installation requires locating wall studs, not drywall anchors alone, since a fully loaded shelf can easily exceed 50 pounds per linear foot. You’ll need a drill, a level, and about two hours per wall for a four-shelf configuration. The trade-off is permanence: patching holes and repainting become part of your exit plan if you rent, so this option is rarely worth it for lease terms under a year.
If you already own the space, spend the extra on 14-gauge steel brackets rated for 100 pounds per shelf, the cost difference over basic hardware is modest, and the peace of mind is substantial.
Modular Bins and Containers for Small to Medium Closets
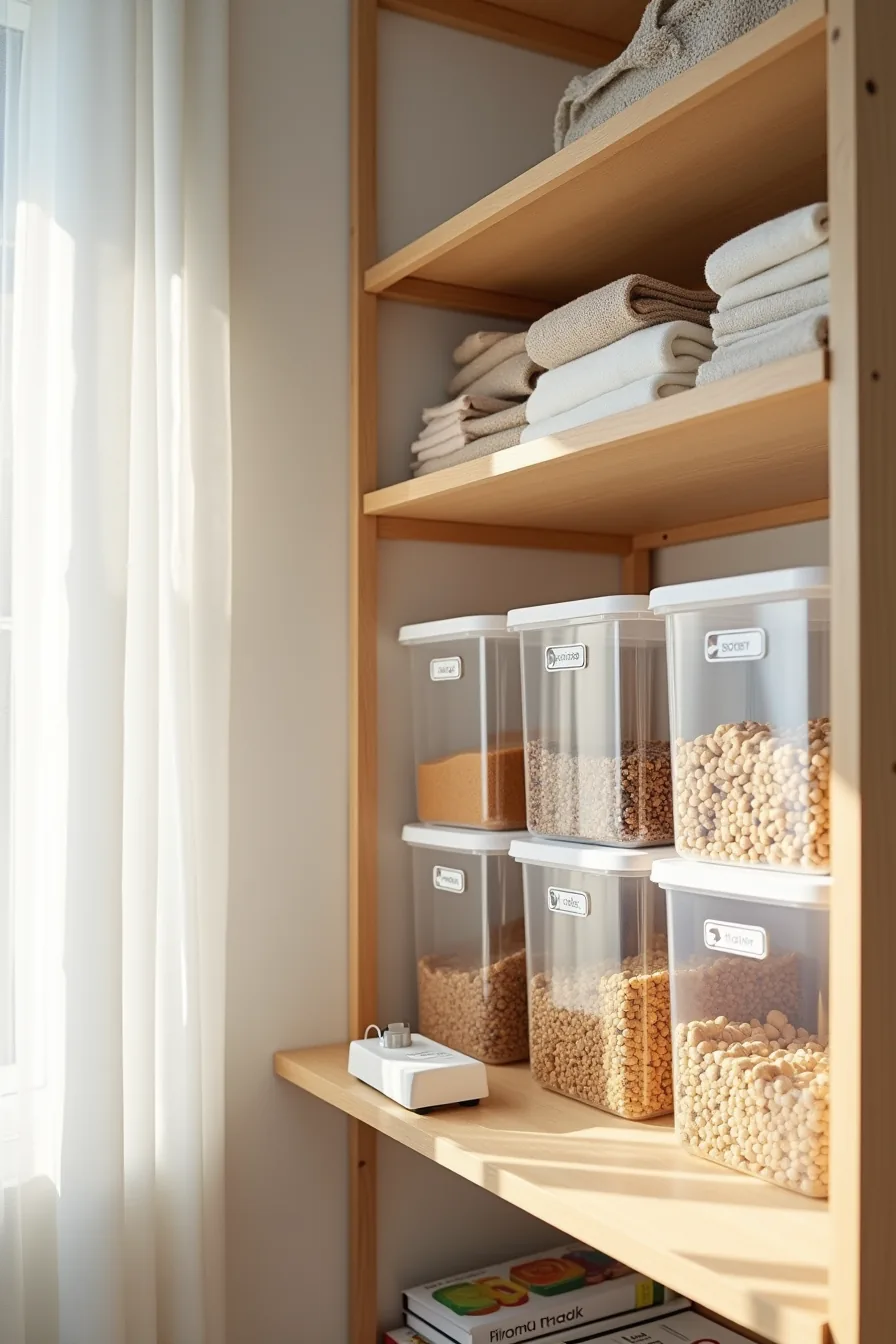
Clear plastic bins earn their place here because visibility replaces the guesswork of rummaging. The five bins stacked two-high on your shelf, each holding different dry goods, work only when you respect their limits: most stackable bins handle two, occasionally three, units before the bottom container distorts under weight. Keep each bin to 6–10 quarts for easy lifting when full; anything larger becomes a two-handed hazard on upper shelves.
Wire baskets offer airflow but let dust and pests reach contents, so reserve them for onions, potatoes, or items in sealed packaging. Fabric bins look tidier but hide what you store, which undermines the core promise of organized pantry closet inspiration: you should see the inventory at a glance. Label every bin on the front-facing edge, not the lid, stacked containers hide top labels entirely.
A basic label maker runs $20–40, while a full set of six to eight clear bins costs roughly $30–60 depending on thickness; thin walls crack at the corners within a year, so buy 0.8mm or thicker plastic if you plan to move them often.
Door and Wall-Mounted Storage for Tight Spaces
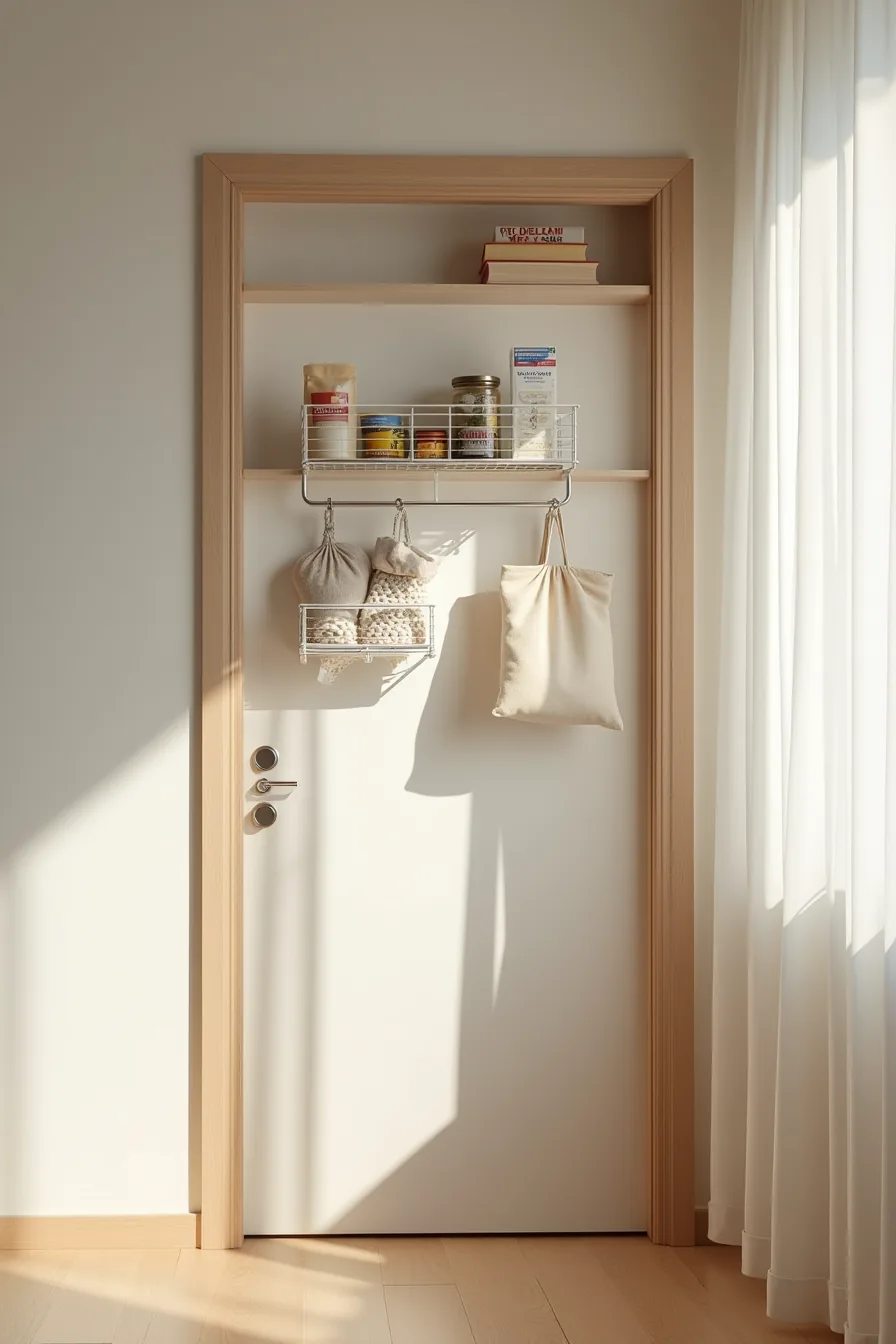
When floor space is off the table, the door and walls become your vertical real estate. An over-the-door wire rack with multiple tiers holds small cans, spice jars, and pouches, items you reach for daily, without stealing a single inch of shelf depth. Most racks rated for standard 1.5-inch-thick interior doors handle 25–50 pounds spread across the tiers; hanging one on a hollow-core door risks hinge stress over time, so check the door’s construction first.
Adhesive hooks on the side wall take cloth bags filled with onions or garlic, keeping them ventilated and off the shelves. The narrow floating shelf above the door frame suits seldom-used items like a backup bag of rice or specialty baking pans, since that height requires a step stool for most users. Weight limits on adhesive hooks typically range from 2–10 pounds per hook depending on the brand and wall texture; textured or painted drywall reduces grip strength noticeably.
This setup adds roughly 15–20 cubic feet of capacity to a small closet without any footprint, but remember that over-the-door racks reduce how far the door swings fully open, account for that clearance before committing.
Rotating Stock and Cleaning Routines
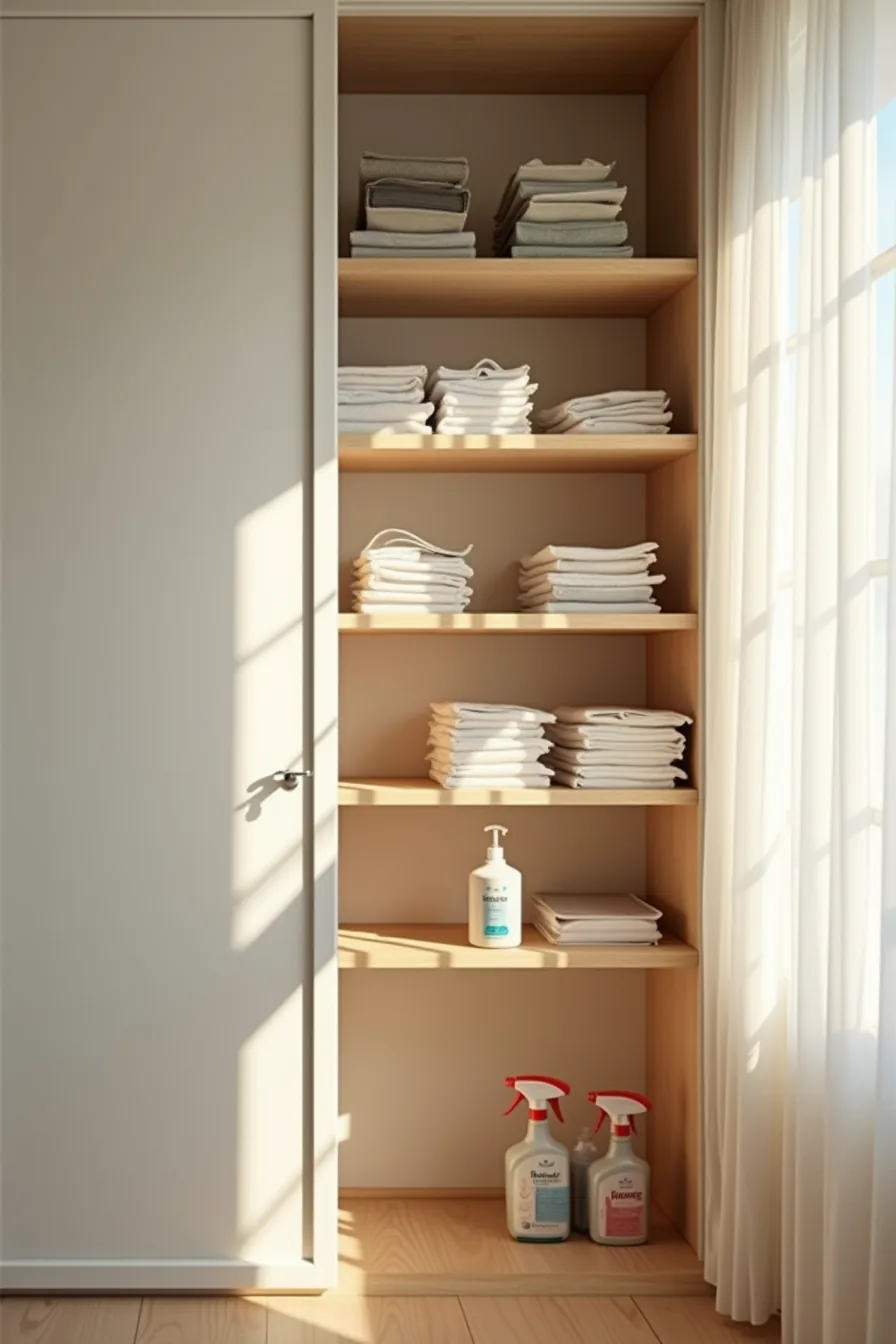
A working closet pantry needs a first-in, first-out rotation to prevent waste. When you restock, move older items to the front and place new purchases behind them, you see the bottles and cans you should use first. Canned goods maintain peak quality for 12–18 months, but that drops to 6–12 months for dried pasta and baking mixes, so front-facing expired stock is your prompt to cook with it.
Moisture is your shelf’s main enemy. Wipe down every surface monthly with a general-purpose cleaning spray and dry it fully before returning goods; residual dampness invites mold spores and pantry moths. Line shelves with washable, non-adhesive liners (vinyl or silicone versions wipe clean faster than textured rubber) and replace them yearly or sooner if they stain.
During that monthly wipe-down, check for torn packaging, spilled flour, or insect activity near grain products, catching a problem early beats fumigating the whole closet. Set a recurring calendar reminder so the routine survives busy weeks.
Adapting Pantry Closet Ideas to Your Space and Budget
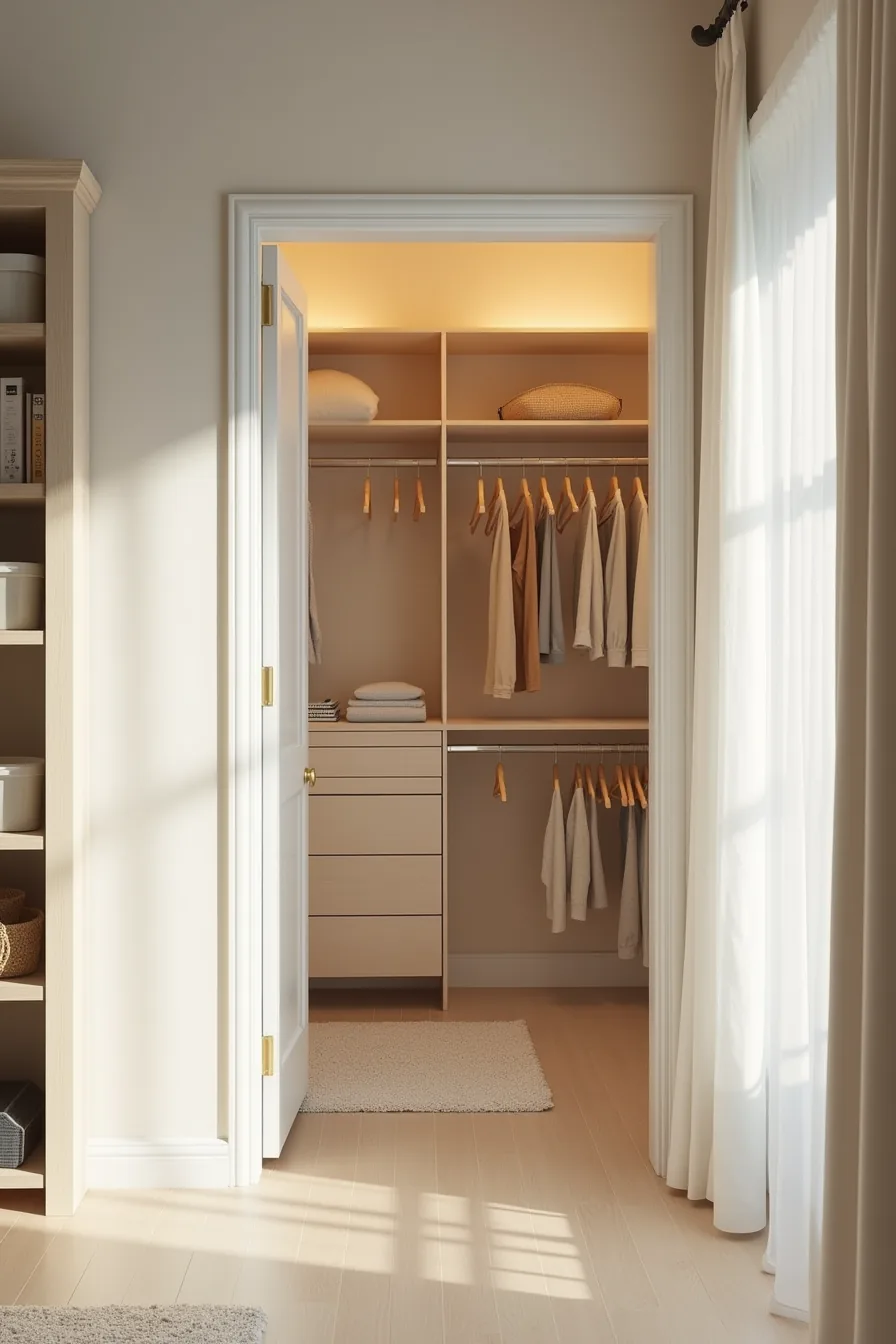
Start by measuring your closet’s floor area, not its total square footage, because deep shelves eat usable floor space. A closet under 20 square feet suits wall-mounted racks only, think single-depth wire shelves at 12 inches deep and door-mounted spice racks that leave a 24-inch walking path. Medium closets between 20 and 40 square feet handle a mix of fixed shelving along one wall and modular bins on the opposite side, which gives you permanent capacity plus flexibility for bulky items like paper towel rolls.
Large closets over 40 square feet justify full shelving on three walls plus floor storage for cases of beverages or large kitchen appliances.
For renters, tension rod systems and freestanding utility shelving (the steel-coated wire kind rated at 300–500 pounds per unit) install without drilling and come down in minutes, though they wobble under heavy loads. Permanent built-in options cost 2–3 times more but double as structural storage that survives daily use. Before buying anything, match the system to your inventory weight, cans need 18-inch-deep fixed shelves rated for 75+ pounds per linear foot; plastic bins only suffice for lightweight bags and boxes.
Match shelf spacing to your tallest storage item, typically cereal boxes at 11–12 inches, to avoid wasted vertical gaps.
Start with your inventory, not your Pinterest board
The difference between a pantry that works and one that frustrates you comes down to what you measured before you bought anything. Grab a notepad, count your cans, jars, and boxes, and note which items you reach for daily versus weekly. That list tells you whether you need deep shelves for bulk buys or shallow racks for everyday access.
Measure your closet’s width, depth, and height, accounting for door swing and ventilation. Then match your storage system to that actual footprint, not an aspirational image.
Your next step: empty the closet completely and sort everything into three piles, keep, donate, toss, before you purchase a single shelf or bin.
Frequently Asked Questions
What is the minimum closet size needed for a functional pantry closet?
A 24-inch-deep, 36-inch-wide closet works for a basic pantry. For comfortable access and storage of bulk items, aim for at least 30 inches deep and 48 inches wide, anything smaller limits shelving depth and visibility.
How do I prevent moisture and pests in a closet pantry?
Install a dehumidifier or moisture absorber, and keep the door closed. Store all dry goods in airtight containers, glass or heavy plastic, and check for gaps around pipes or doors. Clean spills immediately and inspect shelves monthly for signs of infestation.
Can I install shelving in a rental closet without damaging walls?
Yes. Use freestanding metal or plastic shelving units that require no drilling, or tension-mounted rods and over-door organizers. For wall-mounted options, use removable adhesive hooks or damage-free command strips rated for your shelf weight, always confirm with your landlord first.
What containers work best for dry goods in a closet pantry?
Use clear, BPA-free plastic or glass containers with airtight, gasket-sealed lids. Uniform rectangular or square shapes maximize shelf space and stack neatly. Label each container with the item name and purchase date, avoid paper bags or original packaging, which invite pests and reduce visibility.